manuals.online logo
Brands
  1. Home
  2. •
  3. Brands
  4. •
  5. GIULIANO
  6. •
  7. Tyre Changer
  8. •
  9. GIULIANO PRESS ARM User manual

GIULIANO PRESS ARM User manual

Instructions for
mounting/removing
tyres with HELP and
PRESS ARM
ed. 11/2005 cod. 3015761
Preliminary remarks: HELP and PRESS ARM are accessories fit to be installed on
S222 – S225 – S224 – S231 – (S232).
PRESS ARM only can be installed on S112F.
Their combined use is essential with “zero pressure” tyres.
The use of PRESS ARM is essential on low-profile tyres (from /45 to /30).
They are recommended on any kind of tyres.
Between the two devices, the PRESS ARM is the more versatile one.
Ty re
REMOVAL
Set the wheel on turntable, pressing tyre from over the jaws, and
lock the rim paying attention it doesn’t slip out of the jaws (this
operation might turn out difficult or even impossible).
Use the PRESS ARM to push the wheel downward so making its
clamping easier.
Correct clamping
Manual procedure
Assisted procedure
In case the rim to be removed has an “overturned” groove, use the
accessory shown above (WHEEL PRESSING CONE, part no.
9214251) to keep the tyre pushed on the jaws, so locking the rim.
In case the tyre bead slips back again into its seat, manually help
the tool positioning, acting a bit on the hexagonal arm (the
operation might turn out difficult or even impossible)
Manual procedure
Assisted procedure
HELP roller (if available) can be used for pushing the tyre in a way
to correctly set the tool on the rim without any effort.
PRESS ARM press pad can be used for pushing the tyre in a way
to correctly set the tool on the rim without any effort.
Assisted procedure
Assisted procedure
Use the PRESS ARM press pad to keep the tyre pushed while
inserting the lever between tyre and tool.
Push the tyre downwards, by hand, to let the bead lifting lever enter
the gap between tyre and tool (this operation might turn out difficult
or even impossible).
Manual procedure
Assisted procedure
Use the HELP roller (if available) to
push the tyre in a way to correctly
set the bead lifting lever between
tyre and tool.
To remove first bead from rim it is necessary
to push it downwards, at tool opposite side,
to position it at the rim groove level (this
operation might turn out difficult or even
impossible).
Manual procedure
Assisted procedure
Use the PRESS ARM disk to lift the tyre lower part from left side,
help yourselves by hand to also lift it from right side, in a way to
facilitate the insertion of the lever and complete detachment
operation.
Use the PRESS ARM press pad to push the tyre in a
way to bring the bead (tool opposite side) into the rim
groove and to make its detachment easier.
Manual procedure
Assisted procedure
Assisted procedure
If both devices are installed, use both disks to lift the tyre from both
right and left side.
If HELP is available, use its roller to lift the lower bead over tyre
edge to allow removal operation without lever.
The removed tyre
Assisted procedure
Assisted procedure
Use the HELP press pad (if available) to push the tyre in a way to
grease the rim inner side so facilitating the detachment.
Tyre MOUNTING
ATTENTION: being mounting operation on “zero pressure” tyres impossible, and on low
profile tyres (from /45 to /30) rather difficult to be performed by hand, the photographic
sequence related to manual procedures is not available in next section.
Set the tyre inner bead on tool Aupper side and the outer bead on
tool lower side B
A
B
B
A
Set the PRESS ARM pad at right of the tool and, by hand, push the
tyre bead section next to the tool while turning the turntable
clockwise, so proceeding mounting the tyre.
Tyre mounted with PRESS ARM assisted procedure.
If both HELP and PRESS ARM are available, set the HELP roller
and the PRESS ARM pad as shown above.
Make sure that the HELP roller and the PRESS ARM pad are at the
same height and at rim groove level. Act on rotation control pedal to
proceed mounting the tyre.
If the tyre bead tends to set itself as shown above, the pad will also
tend to move upwards owing to the tyre strength. In such case,
lower the pad to bring the bead back to turntable parallel position.
HELP roller position stays unchanged.
Bring the tyre bead back to correct position by acting on the pad.
Move roller and pad up and down as to keep the tyre bead C
levelled with rim groove D, all through the rotation.
C
D
Photo above shows the tyre bead correct position obtained acting
on roller Band on pad A. The force applied by Aand Bis different,
which is practically impossible to make by hand or by using only
one accessory.
.
AB
Tyre fully mounted.
Turn the turntable clockwise as to mount the tyre completely.
OK
0
NO
-
0
Tyre bead correct position as to the rim groove, for a correct
mounting operation.
This photo shows a too LOW position of the bead as to the rim
groove.
NO
+
0
This photo shows a too HIGH position of the bead as to the rim
groove.
GIULIANO S.p.A.
Via Guerrieri, 6 - 42015 CORREGGIO - ITALY
Tel. +39. 522. 73.11.11 - Fax. +39. 522. 63.31.09
E-mail: [email protected]
http://www.giuliano.it

This manual suits for next models

1

Other GIULIANO Tyre Changer manuals

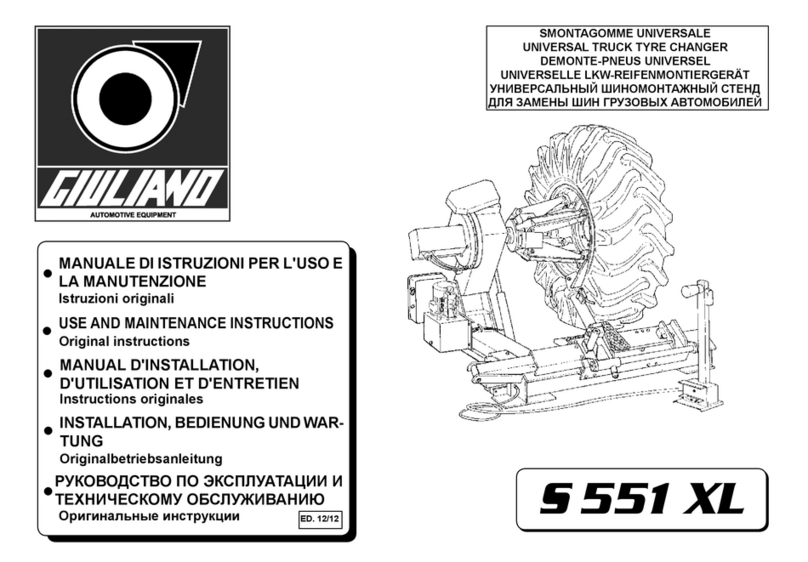
GIULIANO S 551 XL A Operation instructions

GIULIANO

GIULIANO S 551 XL A Operation instructions

GIULIANO S 554 Operation instructions

GIULIANO

GIULIANO S 554 Operation instructions

GIULIANO S 551 XL A Operation instructions

GIULIANO

GIULIANO S 551 XL A Operation instructions

GIULIANO S224 Technical Document

GIULIANO

GIULIANO S224 Technical Document
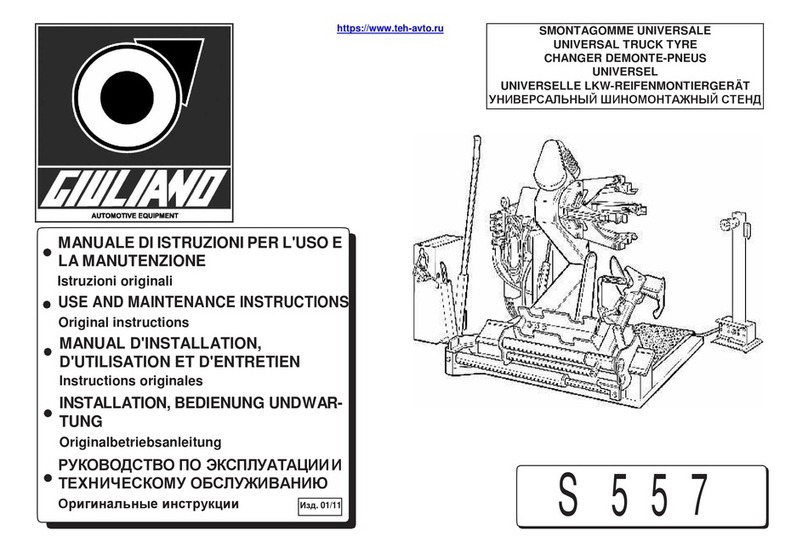
GIULIANO S 557 Operation instructions

GIULIANO

GIULIANO S 557 Operation instructions
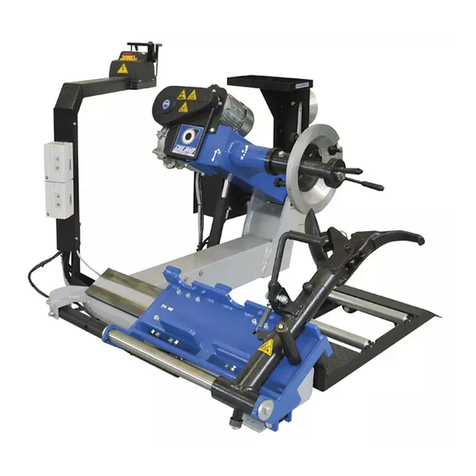
GIULIANO G1 SPORT User manual

GIULIANO

GIULIANO G1 SPORT User manual

GIULIANO S 561 Operation instructions

GIULIANO

GIULIANO S 561 Operation instructions
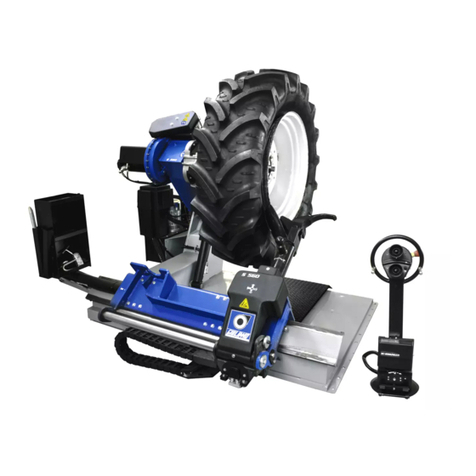
GIULIANO Crossage User guide

GIULIANO

GIULIANO Crossage User guide

GIULIANO S 560 Operation instructions

GIULIANO

GIULIANO S 560 Operation instructions
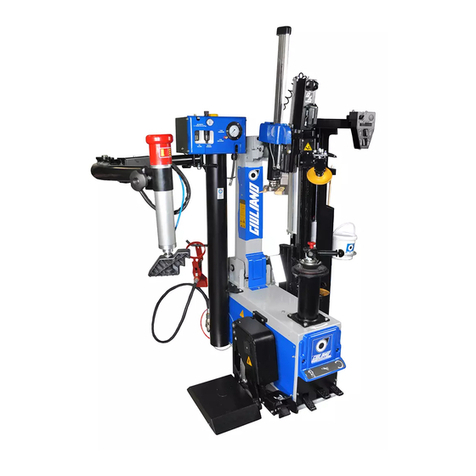
GIULIANO S 226 Instruction manual

GIULIANO

GIULIANO S 226 Instruction manual
Popular Tyre Changer manuals by other brands

Aston Global ATC-5800 Installation, Operation and Maintenance User’s Manual

Aston Global

Aston Global ATC-5800 Installation, Operation and Maintenance User’s Manual

Sicam JUMBO TCS52 NW Original instructions

Sicam

Sicam JUMBO TCS52 NW Original instructions

Hofmann monty 3850 Operation manual

Hofmann

Hofmann monty 3850 Operation manual

Corghi Artiglio 5000 manual

Corghi

Corghi Artiglio 5000 manual

SICE S545 instruction manual

SICE

SICE S545 instruction manual

MEFO-MOUSSE MOM BASIC Tyrefox MOM 96-10 manual

MEFO-MOUSSE

MEFO-MOUSSE MOM BASIC Tyrefox MOM 96-10 manual

Snap-On EEWH312A Operation instructions

Snap-On

Snap-On EEWH312A Operation instructions

Hofmann monty 1620 Operation manual

Hofmann

Hofmann monty 1620 Operation manual

SATA AE1016H user manual

SATA

SATA AE1016H user manual

Ranger R980XR Installation and operation manual

Ranger

Ranger R980XR Installation and operation manual

Jema Autolifte DWB-8-E operating manual

Jema Autolifte

Jema Autolifte DWB-8-E operating manual

SMART-Workshop TIRE TRUER operating manual

SMART-Workshop

SMART-Workshop TIRE TRUER operating manual

Zipper Mowers ZI-RMM94H-230V Operation manual

Zipper Mowers

Zipper Mowers ZI-RMM94H-230V Operation manual

Launch TWC-401NIC Operation manual

Launch

Launch TWC-401NIC Operation manual

QSP LM-350 Operation instructions

QSP

QSP LM-350 Operation instructions

Butler KENDO.30LIGHT instruction manual

Butler

Butler KENDO.30LIGHT instruction manual

Pro-tec TC-512A Installation, operation & maintenance manual

Pro-tec

Pro-tec TC-512A Installation, operation & maintenance manual

Bosch TCE 4460 Original instructions

Bosch

Bosch TCE 4460 Original instructions

manuals.online logo
manuals.online logoBrands
  • About & Mission
  • Contact us
  • Privacy Policy
  • Terms and Conditions

Copyright 2025 Manuals.Online. All Rights Reserved.