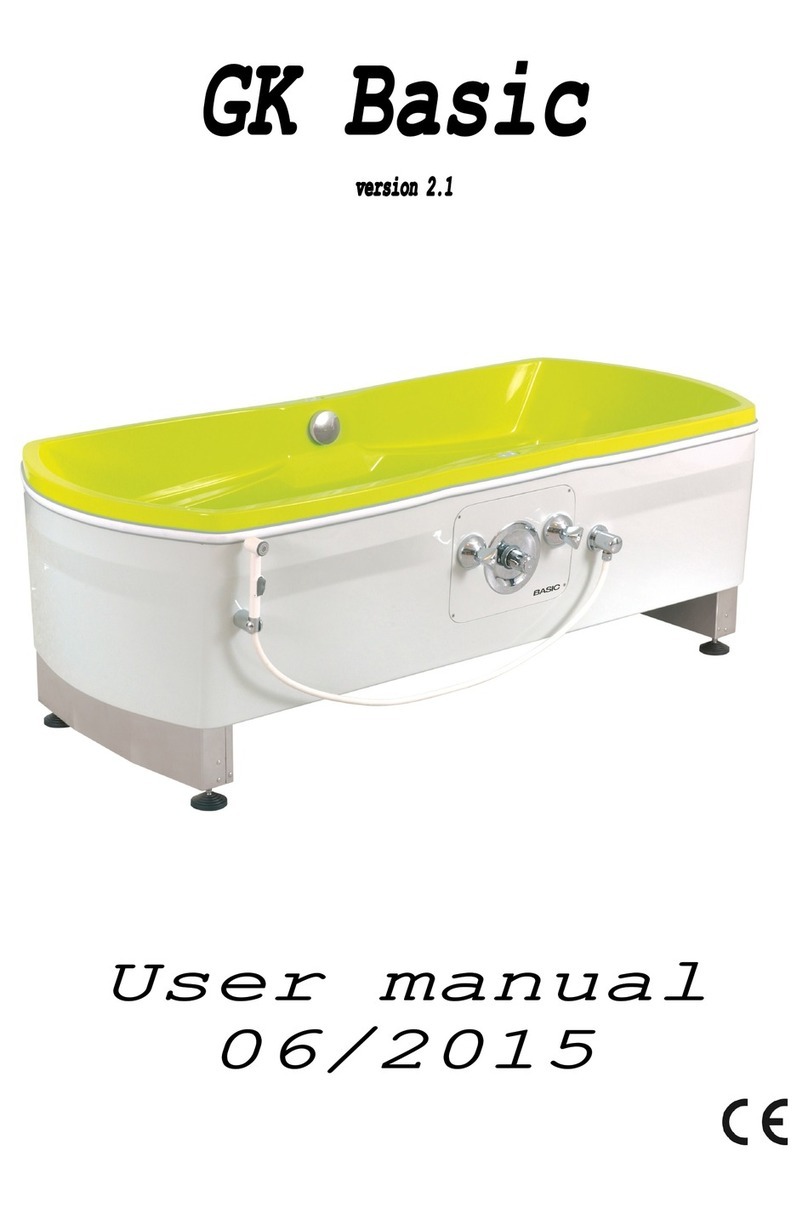
gk-medizinmechanik GK Basic+ User manual


11
Congratulations on your decision to purchase a GK
Bathtub. You have acquired an Austrian quality prod-
uct which will considerably ease the strain involved
in patient care.
Due to their advanced ergonomic design, GK Bathtubs
are simple and straightforward to use. In spite of
that, we would ask you to study the instructions
carefully before operating the bathtub. The detailed
information contained in this manual will facilitate
your practical work.

2
■ Contents
For your safety ···········································································
3
Preparations for bathing······························································
4
Components ················································································
5-7
Functions················································································ 8-10
Raising & Lowering of the tub ················································
8
Setting the temperature ·························································
8
Shower ···················································································
8
Filling the tub ·····································································
9
Drain the tub·········································································
9
Disinfection ··········································································
9
Flowmeter···············································································
9
Hydro massage········································································
10
Fill in —On ·········································································
10
Fill in —Off········································································
10
Care & cleaning of the tub··························································
11
Maintenance / Service ·································································
12
Intended use ···············································································
13
Certificates, Standards & Regulations·········································
13
Technical data ············································································
14
Identification plate···································································
15
Transport, Storage, Recycling ·····················································
15
Notes ·····················································································
16-18
Contents

■ For your safety
Make certain that this bathing system is operated only by
trained personnel.
Always check the water temperature before the client enters
the bathtub or when the shower spray is applied to the client.
Make certain that the equipment is thoroughly cleaned after
every use.
Make sure that each client is assessed for it’s ambulatory ca-
pability, ensuring the client’s safety when entering and exit-
ing the bathing system (utilize handgrips, correct entry
height, correct client transferring device, etc.).
When using disinfection, wear rubber gloves and eye protec-
tion. In case of eye or skin contact, follow the procedures on
the disinfectant container and material safety data sheet.
Always make sure that the device is supplied with power.
Make sure that there are no materials right next to the tub to
ensure a safe up and down movement. Disregarding this tip can
cause bad injuries or damage the device.
Don’t deposit any things on the bathtub. Because of movement
and vibrations, things can fall on the floor or in the tub.
We want to point out that a lifting bathtub is a nursing tub
and the bathing of the inhabitant has to be effected by use of
a suitable lifter.
Should no lift be used we recommend to furnish the bathtub
with handles.
Note: The safety rules and instructions in this operating man-
ual must be observed in order to ensure safe and proper
use of the equipment. Adjustments and repairs must be
carried out by authorized and appropriately qualified
persons. All claims under guarantee become void if these
requirements are not met.
For your safety
3
Preparations for bathing
4
■ Preparations for bathing
If the drain knob isn’t in the drain system put it back now.
Put the pillow to the right position.
If you are using a stretcher you don’t have to apply the pil-
low.
To fill the tub, move the inflow valve against the clockwise
direction.
Select a pleasant fill temperature.
As soon as the water has achieved the desired level, help the
client into the bathtub or bring the stretcher in the right
position.
Use the “UP“ or “DOWN“ buttons to bring the tub in a comfort-
able working height.
If you want to use the shower at any time during the bath cy-
cle, then move the shower valve against the clockwise direc-
tion and remove the white shower wand from its holder. To
start showering press the black trigger.
Now lower the tub and bring the client out of the water.
Drain the tub.
Before you start a new bath cycle you should clean the tub and
go through the disinfection procedure.

Components
5
1 2
3 4
5
8
7
6
10
9
11
12

Components
6
■ Components
1. Disinfection
2. Shower
3. Stop-valve fill-in
4. Stop-valve shower
5. Fill-in
6. Thermostat mixing valve
7. Overflow
8. Hydro jets
9. Up/down-button
10. Drain
11. Adjustable foot
12. Hydro-button

7
Components
Disinfection with
stop-valve
Fittings
Hydro-system

Functions
8
■ Functions
Raising & Lowering the tub
This tub allows caregivers to bathe clients in an ergonomic envi-
ronment. Adjusting the tub to a comfortable working height en-
hances the bathing process. The “UP” and “DOWN” buttons are used
to raise or lower the tub. The movement continues for as long as
the button is pressed. When the button is released, the movement
stops. In the upper and lower end positions the tub stops auto-
matically.
Setting the temperature
You can set the temperature for tub fill and shower
to any desired value, by turning the knob of the
mixing valve.
Note: For safety reasons the temperature is mechanically
limited to 38 °C (standard mixer). To override this
security appliance, press the red button on the
knob. Now it’s possible to reach a higher tempera-
ture. Use extreme caution when overriding the tem-
perature.
The thermostatic mixer is adjusted at 3 bar flow
pressure at both supplies. If you have different
supply pressure it may be necessary to do a read-
justment.
Shower
To use the shower move the shower valve against the
clockwise direction and remove the white shower wand
from its holder. Press and hold the black trigger
directly on the white shower wand to begin shower-
ing. If you want to stop showering, close the valve,
release the pressure from the hose by pressing the
black trigger and remove the shower wand.

9
Functions
Filling the tub
Move the inflow valve against the clockwise direction
to fill the tub. If the right amount of water is in
the tub close the valve to stop the water flow.
Drain the tub
To open or close the drain, turn the chrome drain
plug knob in the respective direction. We recommend
to close the drain system when the inflow is active.
Disinfection
The bathtub should be disinfected only when the tub
is empty. Move the disinfection valve against the
clockwise direction and remove the red shower wand
from its holder. When activated, an accurately meas-
ured amount of disinfectant is directed into the wand
for optimum disinfection and cleaning. Press and hold
the black trigger directly on the red shower wand and
spray all internal tub surfaces. Remove the red
shower into its holder and close the disinfection
valve. After the prescribed contact time use the
white shower wand to rinse the interior tub surfaces
thoroughly. For cleaning, maximum temperature should
be selected.
Flowmeter
The flowmeter is used to adjust the mixture ratio be-
tween water and disinfectant. The table next to it
should help you to find the right values. Always fol-
low the instructions of the liquid manufacturer. Gen-
erally the flowmeter setting should be done when you
install the tub.

Hydro massage
This therapy is only available with completely filled
tub. As soon as the tub is filled, you can start the
therapy by pressing the button on the side of the
tub. With the first pressing of the button you start
the Hydro-jets. If you want to stop the therapy you
have to press the button again.
Fill in —On
To activate the fill in press the chromed button,
which is labelled with “On”. Water will start coming
out of the fill in spout. On a preset fill-level wa-
ter flow will stop automatically. If more water is
needed, use the shower to add more water.
Fill in —Off
To deactivate the fill in press the chromed button,
which is labelled with “Off”. Water flow will stop
immediately.
10
Functions

11
Care & cleaning of the tub
■ Care & Cleaning of the tub
Any product used to clean or disinfect your GK bath must be free
from any abrasive, alcohol & corrosive ingredients. Never use any
kind of customary glass cleansers, solvents (e.g. acetone) or
similar detergents or dilutions. Never use harsh or pointed uten-
sils, e.g. rough clothes, scrubbing sponges, scouring pads or any
tools. If you are in any doubt about your usual cleaning products
please contact your GK representative before use.
Note: Any damage caused by unapproved / unsuitable products will
not be covered by the manufacturer’s warranty.
For cleaning, after use always rinse the bath tub thoroughly with
the shower hose. Any dirt which adheres to the bathtub surfaces
must be removed with a soft sponge or cloth and, if necessary,
customary detergents (besides the above mentioned restrictions).
Always clean the plastic parts wet or damp but never dry.
We recommend using our approved shampoo and bath additive products
with your GK bath. Other products may cause more persistent dirt
being harder to clean.
We also recommend for you to polish the white bath tub body once a
month with car polish cream. This will give the bathtub a smooth,
water repellent surface and will make routine cleaning considera-
bly easier –it will also enhance the appearance of your GK bath.
A disinfection cycle should always be performed after cleaning.
Where fitted, the hydromassage jet coverings should also be
cleaned & disinfected (see pictures).
To do that, unscrew the jet cover anti-
clockwise. Now clean the cover, the inlet aper-
ture and the outlet aperture thoroughly.
Re-assemble the jet cover by rotating it clock-
wise.
Note: Do not use excessive force!
If you have any further questions or require
more information please contact your local GK
representative, who will be happy to advise.

Maintenance / Service
12
■ Maintenance
Check the hoses, tubes and connections from time to time.
Make certain that the disinfectant container is monitored.
We recommend that you take advantage of our maintenance ser-
vice and request a safety and functional check every 12
months.
Adjustments and repairs must be carried out by authorized and
appropriately qualified persons.
Check if there are any cracks or other damages on the tub
body.
Check the sieves of the shower wands and clean them if neces-
sary.
When servicing the bathtub the unit must be unplugged and
switched off.
■ Service
At least once a year a service or safety inspection in accordance
with Medical Device Directive (MDD) is mandatory.
Remember that GK service is unmatched in quality and also with
regards to warranty issues. GK will only consider itself li-
able for safety-related matters if maintenance, repairs, modi-
fications etc. are exclusively carried out by our service team
or by agents authorized by us.
In the event of problems occurring, clear and detailed information
about symptoms, type and serial number (see type plate) will help
us to respond promptly.

13
Intended use / Certificates, Standards & Regulations
■ Intended use
Bathing system for bathing patients with restricted mobility. The
bathing system is mainly used in care institutes, to a lesser de-
gree also on hospital wards. It is used in a professional environ-
ment by trained and competent personnel.
■ Certificates, Standards & Regulations
The bathtub complies with the essential requirements pursuant to
Appendix I of the Medical Device Directive 93/42/EEC.
In accordance with the classification regulations pursuant to Ap-
pendix IX of the Medical Device Directive 93/42/EEC, the bathtub
is a Class I medical device.
ISO 9001
Our production is subject to a quality management
system according to ISO 9001.
CE mark
The CE mark has been affixed as proof of its com-
pliance with the legal requirements of Appendix I
of the Medical Device Directive 93/42/EEC.

Technical data
14
■ Technical data
- Bathtub GK Basic+:
Voltage: AC 230 V / AC 115 V
Frequency: 50 Hz / 60 Hz
Power consumption: 320 VA
Fuses: 6,3 A time-delay
15 A time-delay
Protection class: I (connection of protective
earth conductor necessary)
or II (see identification
plate on the bathtub)
Degree of protection: IPX4
Protection type: Type B
Lifting weight: 500 kg
Lifting height: 250 mm
Maximum length: 1950 mm
Maximum width: 830 mm
Maximum height: 940-1190 mm
Duration of warranty 2 years
(besides wear parts)
Classification according
to MDD 93/42/EEC: Class I

Identification plate / Transport, Storage, Recycling
15
■ Identification plate
■ Transport, Storage, Recycling
Operating conditions
Max ambient temperature: 40 °C
Max relative humidity: 80 % not condensed at 20 °C
Atmospheric pressure range: 500 hPa to 1060 hPa
Transport and Storage
Ambient temperature range: -20 °C to 60 °C
Relative humidity range: 80 % not condensed at 20 °C
Atmospheric pressure range: 500 hPa to 1060 hPa
Recycling
Package: Wood and corrugated cardboard, recyclable
Product: Electric, steel and plastic parts shall be
separated and recycled
Identification plate
This plate give you some information's about
the Product, for instance type, production
date, serial number,…

Notes
16
■ Notes

Notes
17
■ Notes

Notes
18
■ Notes

Typing, spelling or transmission errors excepted for all contents. All product-related information is not subject to change for technical production
or other reasons.
Georg Krämer Ges.m.b.H. & Co. KG
A-4061 Pasching
Neuhauserweg 14
Tel. +43 / (0) 7229 / 64450
Fax +43 / (0) 7229 / 70664
www.gk-medizinmechanik.at
Table of contents
Other gk-medizinmechanik Personal Care Product manuals

gk-medizinmechanik
gk-medizinmechanik GK PRIMUS 2000-HYD User manual

gk-medizinmechanik
gk-medizinmechanik Hera User manual

gk-medizinmechanik
gk-medizinmechanik GK Relax User manual

gk-medizinmechanik
gk-medizinmechanik GK Magic 2000 User manual

gk-medizinmechanik
gk-medizinmechanik GK PRIMUS 1000-HYD User manual

gk-medizinmechanik
gk-medizinmechanik GK Hera User manual

gk-medizinmechanik
gk-medizinmechanik GK Basic User manual

gk-medizinmechanik
gk-medizinmechanik GK Magic 3000 User manual

gk-medizinmechanik
gk-medizinmechanik GK Novum 1000 User manual

gk-medizinmechanik
gk-medizinmechanik GK Magic 100 User manual