Glidecam CENTURION User manual

Set-up and Operations Guide
Glidecam Industries, Inc. 23 Joseph Street, Kingston, MA 02364
Customer Service Line 1-781-585-7900
Manufactured in the U.S.A.
COPYRIGHT 2016 GLIDECAM INDUSTRIES,Inc. ALL RIGHTS RESERVED
MANUAL
GLIDECAM
CENTURION

2
TABLE OF CONTENTS
SECTION # PAGE #
1. Introduction 3
2. Disclaimer and Warnings 4
3. Specications 5
4. Glidecam CENTURION Assembly 7
5. Glidecam CENTURION Batteries 9
6. Glidecam CENTURION Tilt Balance 10
7. Glidecam CENTURION Roll Balance 12
8. Glidecam CENTURION Yaw (PAN) Balance 13
9. Glidecam CENTURION Power On 14
10. Glidecam CENTURION Mode Switch and Joystick 15
11. Glidecam CENTURION Custom Grip Positions 16
12. Glidecam CENTURION Software 18
13. Glidecam CENTURION Software Defaults 19
14. Troubleshooting 22
15. Other Camera Attachment Methods 23
16. Professional Usage 23
17. Warning 23
18. Warranty 24
19. Online Information 25

Congratulations on your purchase of a Glidecam CENTURION.
Glidecam is the industry leader in camera stabilization. We have been in business
for over 20 years and strive to innovate and bring the best camera systems to the
market. The Glidecam CENTURION is a culmination of all the best technologies
with additional advancement on all the camera gimbals on the market today. The
technology, craftsmanship, research and development put into this gimbal make it
the best gimbal on the market today.
The Glidecam CENTURION is designed for a variety of cameras between 1-5lbs.
The gimbal easily adjusts to balance primarily SLR and mirrorless cameras. Not all
camera and lens combinations are accepted, so please adjust your model to balance
properly on this gimbal. If a perfect balance is not achieved around each axis then
the gimbal will not perform as specied.
The Glidecam CENTURION is a 3-axis Motorized Gimbal. The motors work with
position feedback, encoders, and the IMU sensor (Inertial Measurement Unit) to
communicate with our custom 32-bit controller. Combining the accuracy of our
sensors with the speed of the controller equals perfectly stable video in all three axis
with .02 degrees of accuracy.
The Glidecam CENTURION requires practice and understanding to achieve
professional looking results. We highly recommend that the user read this manual
thoroughly before setting up and operating the Glidecam CENTURION. Doing
so will save you time, and will minimize the risk of damage to your camcorder or
the Glidecam CENTURION. It is important to perform and follow the Set-up and
Operation’s procedures in the proper sequence, so as to avoid both frustration and
a possible accident.
If you have need of any technical assistance, you can call our Technical Support
Line at 1-781-585-7900, Monday through Friday between the hours of 9:00 am and
5:00 pm, Eastern Standard Time.
We’re sure that once you have your Glidecam CENTURION up and running, you will
nd years of enjoyment with it.
#1 INTRODUCTION
3

#2 DISCLAIMERS AND WARNINGS
By using this product, you hereby agree to this disclaimer and signify that you have read it in full. You agree
that you are responsible for your own conduct and any content created while using this product, and for any
consequence thereof. By not following the manual properly or in the correct order, you understand the warranty
will be voided.
By reading this disclaimer, you also agree that Glidecam reserves the right of nal interpretation of this disclaimer,
and that any part of this disclaimer is subject to change without prior notice.
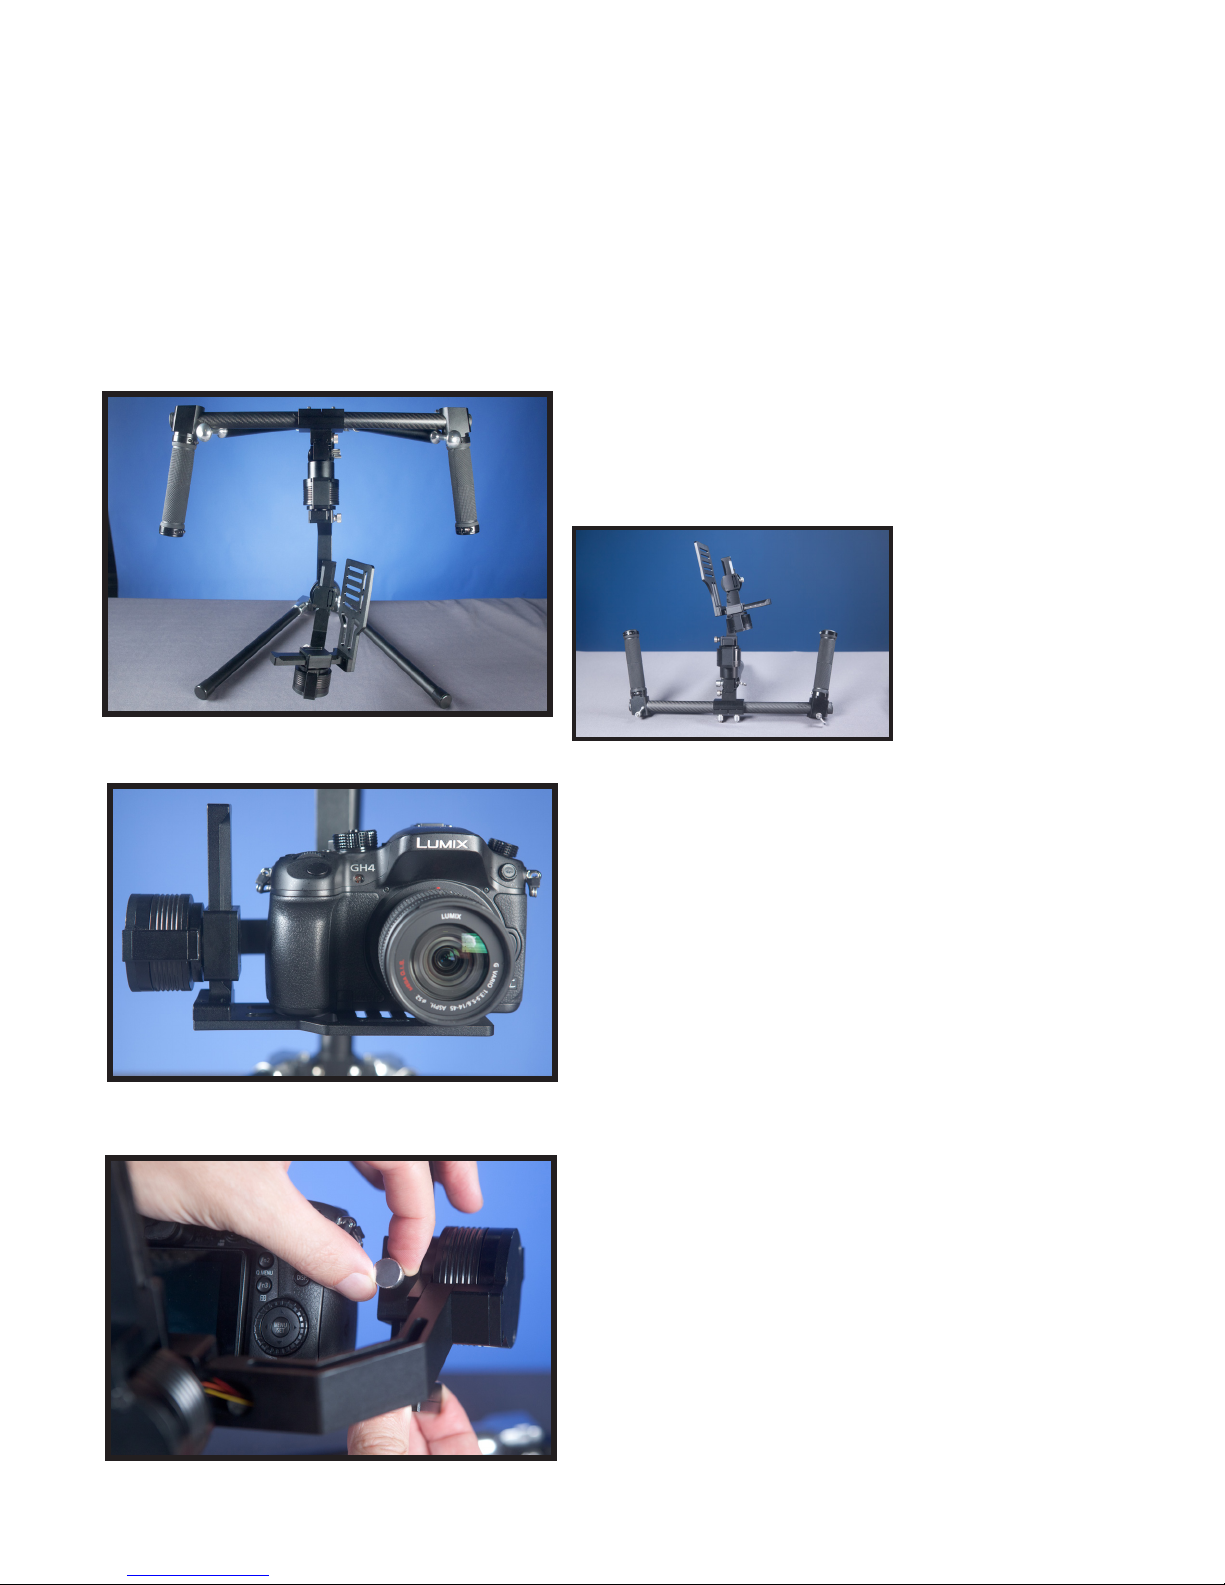
Only use the supplied batteries, or backup batteries purchased directly from Glidecam. Internal functions may
be damaged if an alternate power source is used. Do not modify or adjust the Gimbal. The gimbal has been
calibrated and uploaded with appropriate settings. Modication or amending the gimbal is prohibited. Since
Glidecam has no control over setup, nal assembly, use, modication or misuse, no liability shall be assumed nor
accepted for any resulting damage or injury. By the act of use, setup or assembly, the user accepts all resulting
liability. Glidecam assumes no liability for damage(s) or injuries incurred directly or indirectly from the use of this
product.
Lithium Polymer batteries (LiPo) can be extremely hazardous and require special attention:
• Do not charge batteries near ammable materials or on ammable surfaces such as carpet or wood.
• Never use or charge a swollen, leaky or damaged battery.
• Examine charger regularly for damage to the cord, plug, enclosure or other parts. Never use a damaged
charger.
• Disconnect the charger when not in use.
• Do not heat, drop, freeze, or strike batteries.
• Clean battery terminals with a clean, dry cloth.
• Do not expose batteries to extreme temperatures, including excessive heat. Never leave batteries inside a
vehicle on hot days.
• Do not store batteries in a moist environment, or allow batteries to come into contact with any kind of liquid.
• Do not attempt to repair batteries yourself.
• Do not place or use batteries on strong electrostatic or electromagnetic surfaces or surrounding areas.
• Do not place heavy objects on the batteries or charger. Avoid dropping batteries.
• Do not mix battery brands.
• Always use a Glidecam approved adapter/charger.
• Please dispose of batteries properly. Batteries cannot be discarded in the trash, re, or compost. Use an
appropriate battery disposal in your area.
**WARNING**
Do not change any of the software proles or settings without rst saving your current settings. Every
gimbal is uniquely calibrated. This means if you alter the settings of your original settings we cannot
send you the original prole. Save your prole before editing.
**WARNING**
In cold temperatures the sensor of the Glidecam CENTURION may have to warm up before use. Leave
the Glidecam CENTURION on, and stationary for a few minutes to allow the sensor to warm up and work
at full functionality.
4

#3 SPECIFICATIONS
Performance
Load Weight (Reference Value) 1-5 lbs
Angular Vibration Range ±0.02°
Rotation Range Pan Axis Control: 360°/s
Tilt Axis Control: 360°/s
Roll Axis Control: 360°/s
Electrical and Mechanical
Motor Type 3 x Brushless with AS5600 (I2C) Encoders
Processing 32-bit processor
System Requirements
Desktop/laptop: Windows (32- or 64-bit): 8, 7, XP SP3
Mac OS X: 10.9 or above
Software Download: Obtained on Glidecam CENTURION page on Glidecam.com
*******Always save current proles before updating rmware or changing settings.******
General
Control Modes Prole 1: Follow Mode
Prole 2: Lock Pitch/Follow Yaw
Prole 3: Lock Mode
Prole 4: Customizable
Prole 5: Calibrate ACC
Additional prole: Inverted mode, briefcase,
return home, RC…
Supported Camera Dimensions Maximum depth at center of mass on cam-
era base plate: 7”
Maximum height measured from top of cam-
era base plate: 6’’
Maximum width: 7+’’ – available room for
LCD to extend off the side
Power Requirements 4x Glidecam batteries (26350mah 3.7v)
Operating Temperature 15 to 105°F
Double Grip Dimensions (WxDxH) Varies depending on grip position.
18x12x12’’
Weight: Single Grip 3.4lbs (with batteries)
Weight: Double Grip 4.5lbs (with batteries)
Slip-Ring Built in slip-ring allowing 360 rotations of the
motor without twisting wires.
Packaging Info
Package Weight 6.2 lbs
Box Dimensions (LxWxH) 15 x 12.5 x 4.3”
5

6
BATTERY CHARGERS
USB CHARGER
CORDS
HANDLEBAR
LITHIUM
BATTERIES
GRIP
PITCH MOTOR
YAW MOTOR
ROLL MOTOR
CAMERA
PLATE
CAMERA
MOUNTING
SCREW
GRIP JOYSTICK
PC
USB CORD
20MM
SELF LOCKING
SCREWS
**NOTE**: The Glidecam CENTURION also has many accessories like the Glidecam CENTURION BALANCE
STAND. Please visit Glidecam.com for Glidecam CENTURION accessories.
15MM
SELF LOCKING
SCREWS

7
Figure 3
Insert both ends of the grip bar to the central stem.
#4 GLIDECAM CENTURION ASSEMBLY
Figure 1
Insert the handle posts into the handle lock.
Figure 2
Insert the self locking screws (15mm) into the handle
lock to secure the handle posts in place.
NOTE: The Glidecam CENTURION includes two different
kinds of screws. The longer screw (20mm) is for the grip
and the shorter screw (15mm) is for securing the handle
posts in place. A 3mm allen wrench may be required to
fully tighten the screws.

Slide in the handlebar quick release above the Yaw
Motor.
8
Figure 6
Figure 7
Securely tighten the knob.
Figure 5
Insert and secure the self locking screws (20mm)
onto both grips.
**NOTE**: The Glidecam CENTURION includes two different
kinds of screws. The longer screw (20mm) is for the grip
and the shorter screw (15mm) is for securing the handle
posts in place. A 3mm allen wrench may be required to
fully tighten the screws.
Figure 4
Position the grips in the most comfortable operation
position. Usually perpendicular to battery grip.
Position the double grips parallel to the battery grip if
you are balancing your gimbal in an inverted position.

9
The batteries are 26350 3.7v. Only use the supplied charger and connect to an outlet via the
USB cable. Charge all batteries fully (Charge times vary, but are around 3hrs). Battery life varies
depending on how aggressively the gimbal is used ranging from 3-8hrs. The encoders increase
the battery life and don’t send power to the motors unless it’s needed. Store batteries 2/3rds
charged at room temperature. If batteries are not stored properly their life is greatly reduced.
#5 GLIDECAM CENTURION BATTERIES
Insert batteries in the battery compartment as shown
in Figure #8.
**NOTE**: The Glidecam CENTURION uses Lithium
Polymer batteries which can be extremely hazardous and
require special attention.
Figure 8
Figure 9
Figure 10

10
Your camera setup must be properly balanced for all 3 axis to achieve the best performance from
the gimbal. Accurate balance is especially critical for shots where extreme angles or movements
are performed, such as car shots, running, biking, aerials, etc. Without properly following the
balance instructions, your gimbal may not perform at all, or with poor accuracy, and with decreased
battery performance. When changing cameras or lenses, make sure all three axis remain properly
balanced. Improper balance can ruin the motors and void warranty, so please follow all instructions
in order.
#6 GLIDECAM CENTURION TILT BALANCE
Balance your Glidecam CENTURION on the
BALANCE STAND.
**NOTE**: The Glidecam CENTURION BALANCE STAND is
sold separately.
Balance the camera with the Pitch motor on the left
hand side when looking at the gimbal from the front.
Figure 11
Figure 12
This can easily be moved up and down with the pitch
motor screw.
Figure 13
**NOTE**: Alternatively
if you do not have the
Glidecam CENTURION
BALANCE STAND,
you can setup the
Glidecam CENTURION
by placing it upside on
the table.

Place the camera on camera tray and attach with
¼’’ screw. Pick appropriate slot that will accept your
cameras size and weight. If your camera doesn’t t
properly, move the camera to a different slot.
Adjust the fore and aft camera position, so that the
camera sits level with the lens pointing straight out.
Adjust the vertical bar by pointing the camera lens
either straight up or down. Loosen the knob to slide
the bar up and down until the camera is no longer top
or bottom heavy.
The camera should hold its position when pointed at
any given angle.
Tighten the knob securely after the appropriate
balance is achieved. (See Figure 13)
11
Figure 14
Figure 15
Figure 16

12
The roll balance is adjusted in two different ways.
First: Roughly balance the roll axis by choosing the
appropriate slot on the camera plate. Heavy cameras
should be placed closer to the pitch motor, while
lighter cameras should use the furthest slot from the
pitch motor.
Second: Fine tune the roll balance by loosening the
knob under the roll motor and sliding the bar left or
right. Slide the bar to a position where the roll axis
maintains a level horizon. If the roll bar is maxed
out to one side, then change the slot position on the
camera plate. Tighten the knob after the appropriate
balance is achieved.
#7 GLIDECAM CENTURION ROLL BALANCE
Figure 17

13
Yaw balance is critical for moving the gimbal to
extreme angles.
Adjust by loosening the knob on the side of the Yaw
motor.
#8 GLIDECAM CENTURION YAW (PAN)
BALANCE
Tilt the handlebars to determine if it is front or back
heavy.
Move the yaw arm forward or backwards to nd the
center of gravity.
The yaw is balanced when you can tilt the handlebars
and the camera will not rotate. This also means you
should be able to put the camera at any given angle
and the camera will hold that position without power
to the motors.
Securely tighten the knob to hold the adjusted
position.
Figure 18
Figure 19
Figure 20

14
Once all three axis have been properly balanced,
double check all screws and knobs are securely
tightened. Your gimbal is ready to be powered on.
Locate the circular power switch located right above
the yaw motor and below the single battery grip.
Before pushing the power button in, make sure your
gimbal is completely still. The IMU sensor calibrates
at startup and the gimbal must be at rest for about 5
seconds after the Power Button is pushed.
**NOTE** Do not turn on the Glidecam CENTURION without
a camera attached. This can burn out the motors of the
Glidecam CENTURION.
#9 GLIDECAM CENTURION POWER ON
Push the power button.
You will hear the initiating beeps and the motors will
engage.
**NOTE** By default the Glidecam CENTURION calibrates
on startup and uses the last chosen prole. If movement
occurs during startup, the Glidecam CENTURION will skip
calibration and use the last used settings. This can be
changed in the software.
Figure 21
Figure 22

15
The joystick on top of the handle will manually
control the pitch and yaw axis by toggling forward,
backwards, left and right.
The joystick will move exponentially faster as you
push it further from the center position. Do not rotate
any axis more than 360 degrees with the joystick.
If you want the camera to move a different direction
or speed than how the joystick moves it, the function
can be inverted or customized in the software.
#10 GLIDECAM CENTURION MODE SWITCH
AND JOYSTICK
To change modes, push directly down on the joystick. The gimbal is shipped with 5 programmed
Modes. Make sure you have the handle bar in line before changing modes.
• One Push: Follow Mode - camera follows your movements with pan and tilt. If the pan or tilt axis are not
lined up where you want them, you can adjust the offset with the joystick.
• Two Pushes: Lock Pitch Mode - camera follows your pan, but the pitch is locked in position.
• Three Pushes: Lock mode - The camera stays locked in one position unless moved by the joystick.
• Four Pushes: Open for customization.
• Five Pushes: Calibrate ACC - This only needs to be done every once in a while to improve the gimbals
positioning, or if your Glidecam CENTURION is not working properly.
**NOTE**: Sometimes after being shipped overseas it is necessary to calibrate the accelerometer (sensor). Make
sure your Glidecam CENTURION is completely level because this re-calibrates the sensor for a level position.
• Hold Mode Switch: Calibrates Gyro - Make sure to hold the CENTURION completely still when
calibrating the gyro. The gyro is also calibrated at startup when the gimbal is completely still.
• Inverted mode: Achieved by ipping the camera upside down in follow mode, or restarting the gimbal in
an inverted position.
These modes are customizable in the software. Other modes include: set tilt angles by hand, briefcase, return home...
**WARNING** Do not change any of the software proles or settings without rst saving your current settings. Every
gimbal is uniquely calibrated. This means if you alter the settings of your original settings we cannot send you the
original prole. Save your prole before editing.
**WARNING** The joystick is used for trimming. Not following or framing.
**WARNING** It is important to be stationary when switching modes with the Glidecam CENTURION joystick.
**NOTE** Lock mode is the suggested mode to make software adjustments.
Figure 23

16
The gimbal can be operated with several grip
positions. You can also invert the gimbal with the
single grip or double grips.
Power the gimbal off.
#11 GLIDECAM CENTURION CUSTOM GRIP
POSITIONS
Hold the pitch motor or camera in place and invert
the rest of the gimbal 180 degrees around it. (Always
remember to keep the pitch motor on the right hand
side when looking at the camera lens.)
Keep the gimbal stable and power back on.
Figure 24
Figure 25
Figure 26

17
Glidecam CENTURION shown in SINGLE GRIP
MODE.
Figure 27
Glidecam CENTURION shown mounted on a tripod.
Figure 28
Glidecam CENTURION shown mounted on a tripod.
Figure 29
Glidecam CENTURION shown in vertical mode.
Figure 30

#12 GLIDECAM CENTURION SOFTWARE
SETUP
The Glidecam CENTURION works right out of the box. No setup or calibration necessary.
However if you want to make adjustments to the Glidecam CENTURION this has been provided
to you. The Glidecam CENTURION comes shipped with a USB drive with the appropriate
software and drivers required to make adjustments. Copy the contents and install the drivers
if necessary.
**WARNING** Do not change any of the software proles or settings without rst saving your current
settings. Every gimbal is uniquely calibrated. This means if you alter the settings of your original
settings we cannot send you the original prole. Save your prole before editing.
Glidecam CENTURION USB port.
Figure 31
Glidecam CENTURION USB connection with
software running.
**NOTE**: Save your prole before editing.
Figure 32
18

19
#13 GLIDECAM CENTURION SOFTWARE
DEFAULT SETTINGS
Figure 33 Figure 34
Glidecam CENTURION software basic settings.
**NOTE** Choose “AUTO” to ll in the custom
options to your Glidecam CENTURION.
Glidecam CENTURION software advanced
settings.
It is important to always save your prole so you can restore to your original settings. However
if you have lost your settings we have provided a default set of settings below. Certain options
are unique to your Glidecam CENTURION and are marked “CUSTOM” below. These can be
congured by choosing “AUTO” to automatically congure them to your values (Figure 33). In
Figure 39 the custom values are congured by choosing “CALIB. EL. FIELD”.
**NOTE** If you would like to manually calibrate the Glidecam CENTURION choose IMU Calibration
Helper. You will have to position the camera in each of the axises and register it’s position. A check
mark will appear when the position is registered. In this section you can also calibrate the gyro.
**NOTE** If you have a heavy camera or the shot is shaky you can adjust the PID Controller values. (P)
will add power, (D) will smooth the shot, and (I) is how fast the CENTURION corrects it’s position. To get
a smooth shot it will take adjusting all 3 values. Adding more (P) will make the Glidecam CENTURION
able to handle your heavier camera but may require you add more (D) to smooth the shot now that more
power is used. Reverse for lighter cameras.
**NOTE** The sensor of the Glidecam CENTURION can be reversed to the opposite side. This will require
the Glidecam CENTURION to be calibrated again.

20
Figure 37 Figure 38
Glidecam CENTURION software lter settings. Glidecam CENTURION software follow
settings.
Figure 36
Figure 35
Glidecam CENTURION software RC settings
continued.
Glidecam CENTURION software RC settings.
Table of contents
Other Glidecam Camera Accessories manuals