© 2017 Global Halotherapy Solutions, LLC Page 9
HALO-Fx Halogenerator™ Installation
20. Open HALO-Fx halogenerator(part #19) by unscrewing cap screw. Pull black power wire
through hole in rear of halogenerator.
* Optional white wire for additional LED/vent can be tucked inside as in figure below. Secure
halogenerator using 2/4(?) screws (part #20).
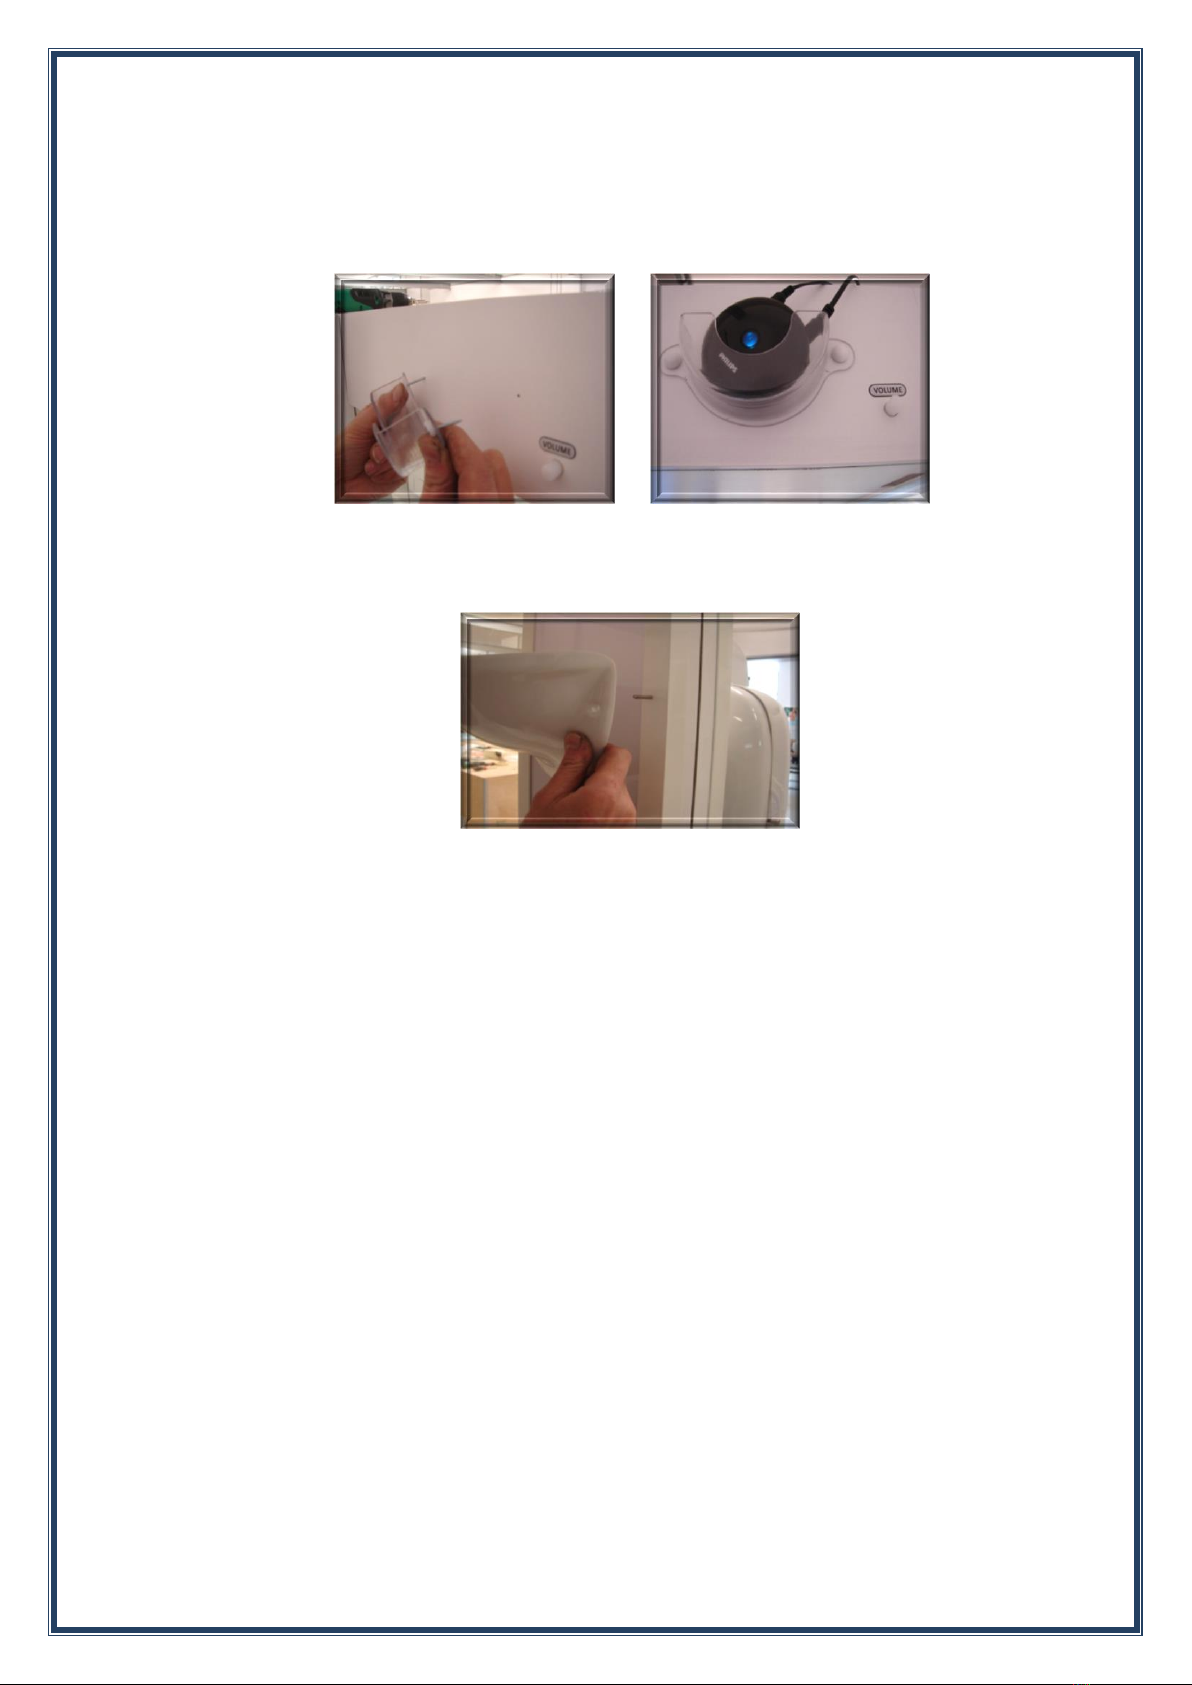
21. Attach Mill (part #19-B) using provided wing nuts. See figure below. Plug into appropriate
outlet on HALO-Fx halogenerator. Secure with Philips screwdriver.
22. Attach Fan /Vent (part #19-C) by sliding into place in front of Mill (part #19-B). See figure
below. Plug into appropriate outlet. Secure with Philips screwdriver.
23. Attach Feeder to top of HALO-Fx halogenerator. Plug into outlet on top of HALO-Fx
halogenerator.
24. Plug black power wire into appropriate outlet on side of HALO-Fx halogenerator. Secure
using Phillips screwdriver.
25. Connect cables on roof panel (part #2) using photo in figure below and labels on wires. Feed
light chain through hole in roof panel (part #2- see photo on next page).