DANUBE 2 R500
39
www.glomex.it
ENGLISH
1. FOREWORD
1.1 DELIVERY LETTER
Welcome: with the installation of this antenna, the
world of satellite television comes on board your
fluvial boat.
This manual has been drafted in order to help you
with the correct installation and operation of the
antenna.
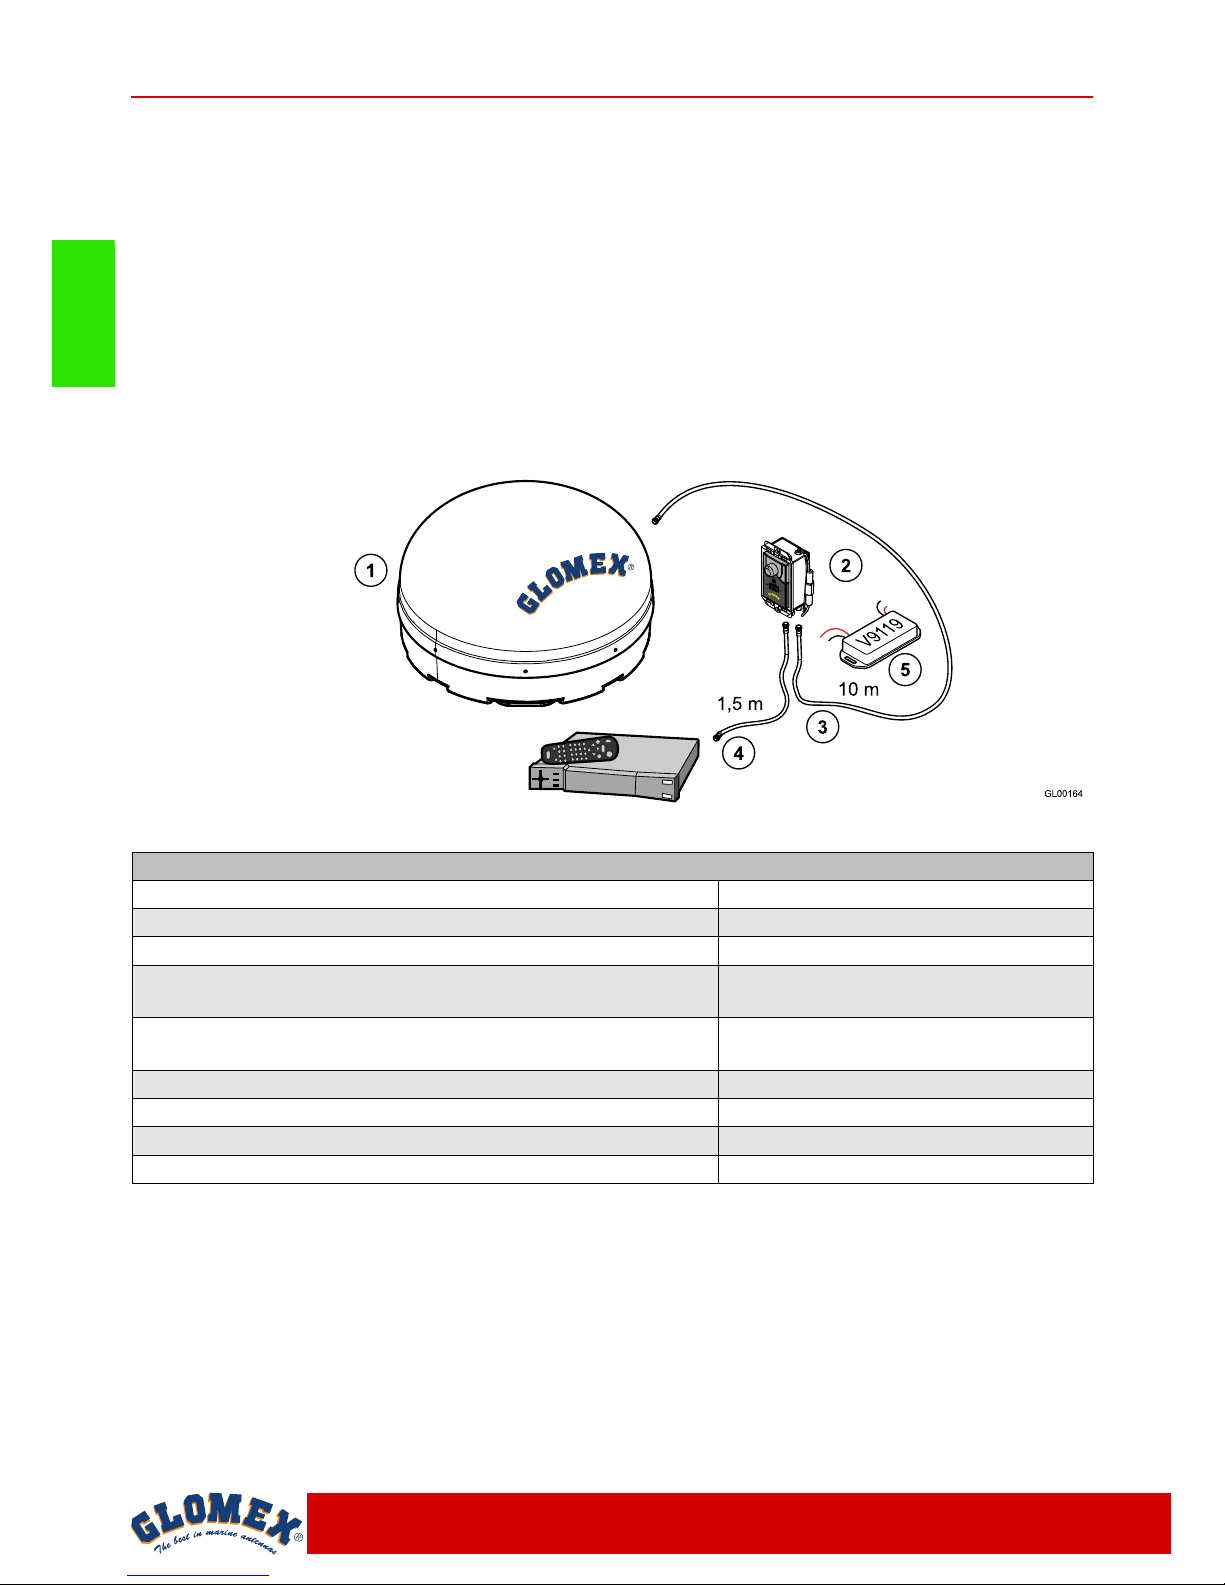
1.2 ANTENNA IDENTIFICATION
When calling GLOMEX or an authorized Service
Centre, always provide the serial number and the
model of the antenna, shown on the second page
of the manual, on the packaging, on the backside
of the control unit and on the backside of the
parabolic dish.
1.3 WARRANTY
GLOMEX guarantees the DANUBE 2 R500
satellite antenna series against conformity defects
for a period of 24 (twenty-four) months from the
date of shipment.
Warranty is intended as the repair or replacement
of the equipment showing conformity defects when
entering the sales contract, with no charge for the
materials.
In case of conformity defects, the customer is
entitled to the replacement of the goods with no
charge.
The warranty is only valid if the product comes
with a valid proof of purchase, (receipt or
invoice).
The non-conforming product must be sent back to
a Service Centre or authorized retailer, who, if
necessary, will forward it to:
GLOMEX S.r.l.
Via Faentina 165/G
48124, Ravenna (Italy)
along with all the accessories supplied at
purchase.
The serial number must neither be erased nor
made illegible, otherwise the warranty will be
voided.
SWARNING
Conserve the installation and user manual with
care! Losing the serial number makes the warranty
null and void!
The warranty does not apply in case of damage
due to carelessness, use or installation not
compliant with the instructions given, tampering,
product or serial number modification, damage due
to accidental causes or to the buyer’s negligence.
Moreover, warranty does not apply in case of
damage consequent to connections of the
equipment to different voltages than those
indicated or to sudden voltage variations of the
network the equipment is connected to, as well as
in case of damage caused by leakage, fire,
inductive/electrostatic discharges or discharges
due to lightning, use of cables different to those
provided, overvoltages or other phenomena not
related to the equipment.
The parts subject to wear consequent to use such
as connection cables, driving belts, connectors,
external parts and plastic supports are covered by
a one-year period warranty.
The warranty does not include: periodical checks,
software updates, product settings, maintenance.
After the expiration of the warranty period, the
technical support activities will be carried out
charging the customer for the replaced parts, the
labour costs and freight charges, according to
current rates.
The equipment will be replaced or repaired
under warranty only and exclusively on Glomex
quality department’s approval.
Should any dispute rise, the place of jurisdiction will
exclusively be Ravenna (Italy).
The warranty is provided by:
GLOMEX S.r.l.
Via Faentina 165/G
48124 Ravenna (Italy)