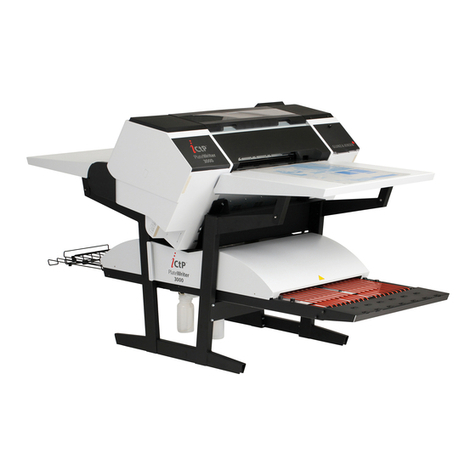
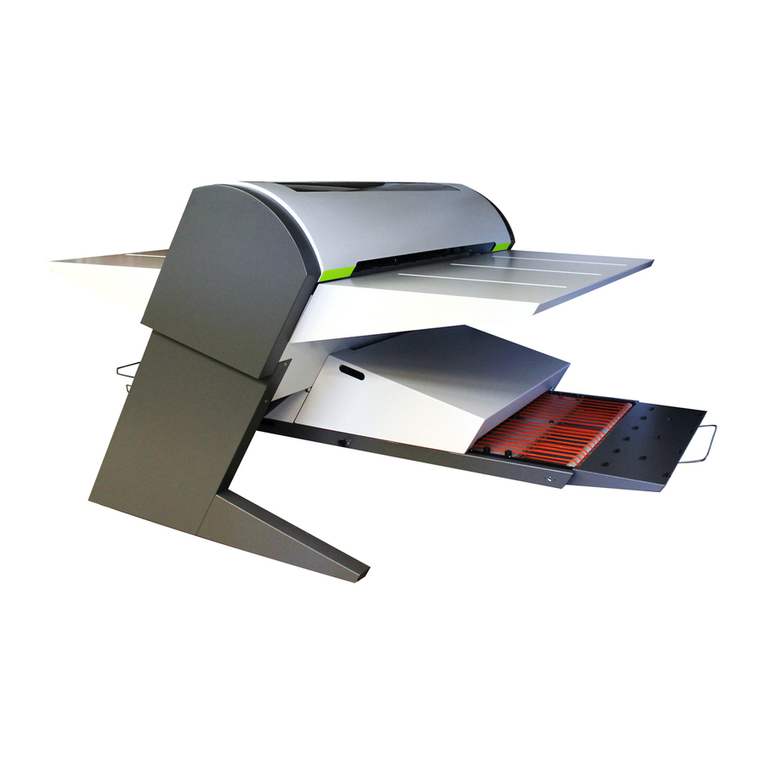
1610 Hardware Installation - PlateWriter™ 3600 Pro
0-3
Table of Contents
Table of Contents
Part 1: Introduction ...............................................1-1
About this manual ................................................1-1
Intended use of this manual .......................................1-1
Reservations ..................................................1-1
Important ......................................................1-1
Unintended use of the equipment....................................1-1
Installation ...................................................1-1
Notes, cautions, and warnings ! .....................................1-2
Part 2: Installation ................................................2-1
Overview .......................................................2-1
Preparing the installation site.........................................2-1
Environmental requirements .......................................2-1
Cleaning facilities ...............................................2-1
Power outlet requirements.........................................2-2
Power consumption .............................................2-2
Power cables ..................................................2-3
Printer + RIP workstation (USA) ..................................2-3
Printer + RIP workstation (rest of world, upon order only) ................2-3
Finishing unit (USA) ...........................................2-4
Finishing unit (rest of world) .....................................2-4
Free space around the PlateWriter ...................................2-5
Unpacking ......................................................2-6
Crate contents .................................................2-6
Tool box contents ...............................................2-8
Assembling the stand ............................................2-9
Installation of the finishing unit ....................................2-11
Attaching the dryer and curing oven assembly ..........................2-12
Mounting the printer onto the stand .................................2-13
Installing input and exit tables .....................................2-15
Connecting the imaging unit power cable & USB ........................2-16
Mounting the side panels ........................................2-17
Attaching the bottom panels and hatch...............................2-17
Attaching the finisher to the printer .................................2-18
Attaching the finisher extension and the plate exit tray ....................2-19
Leveling ....................................................2-20
Filling/attaching the gum/finisher and waste ink bottles....................2-21
Filling/attaching the water tank ....................................2-22
Connecting the print bed and registration system cables ...................2-23
Connecting the mains supply cable and USB...........................2-24
Attaching the monitor and the keybord stand...........................2-25
Program control and status indicator ................................2-26
