manuals.online logo
Brands
  1. Home
  2. •
  3. Brands
  4. •
  5. GLX
  6. •
  7. Lighting Equipment
  8. •
  9. GLX GLS-47 User manual

GLX GLS-47 User manual

GLX POWER LED 47 DUALFOCUS MANUAL
1
GLX
POWER LED 47
DUAL FOCUS
GLS-47
OWNERS MANUAL
GLX POWER LED 47 DUALFOCUS MANUAL
2
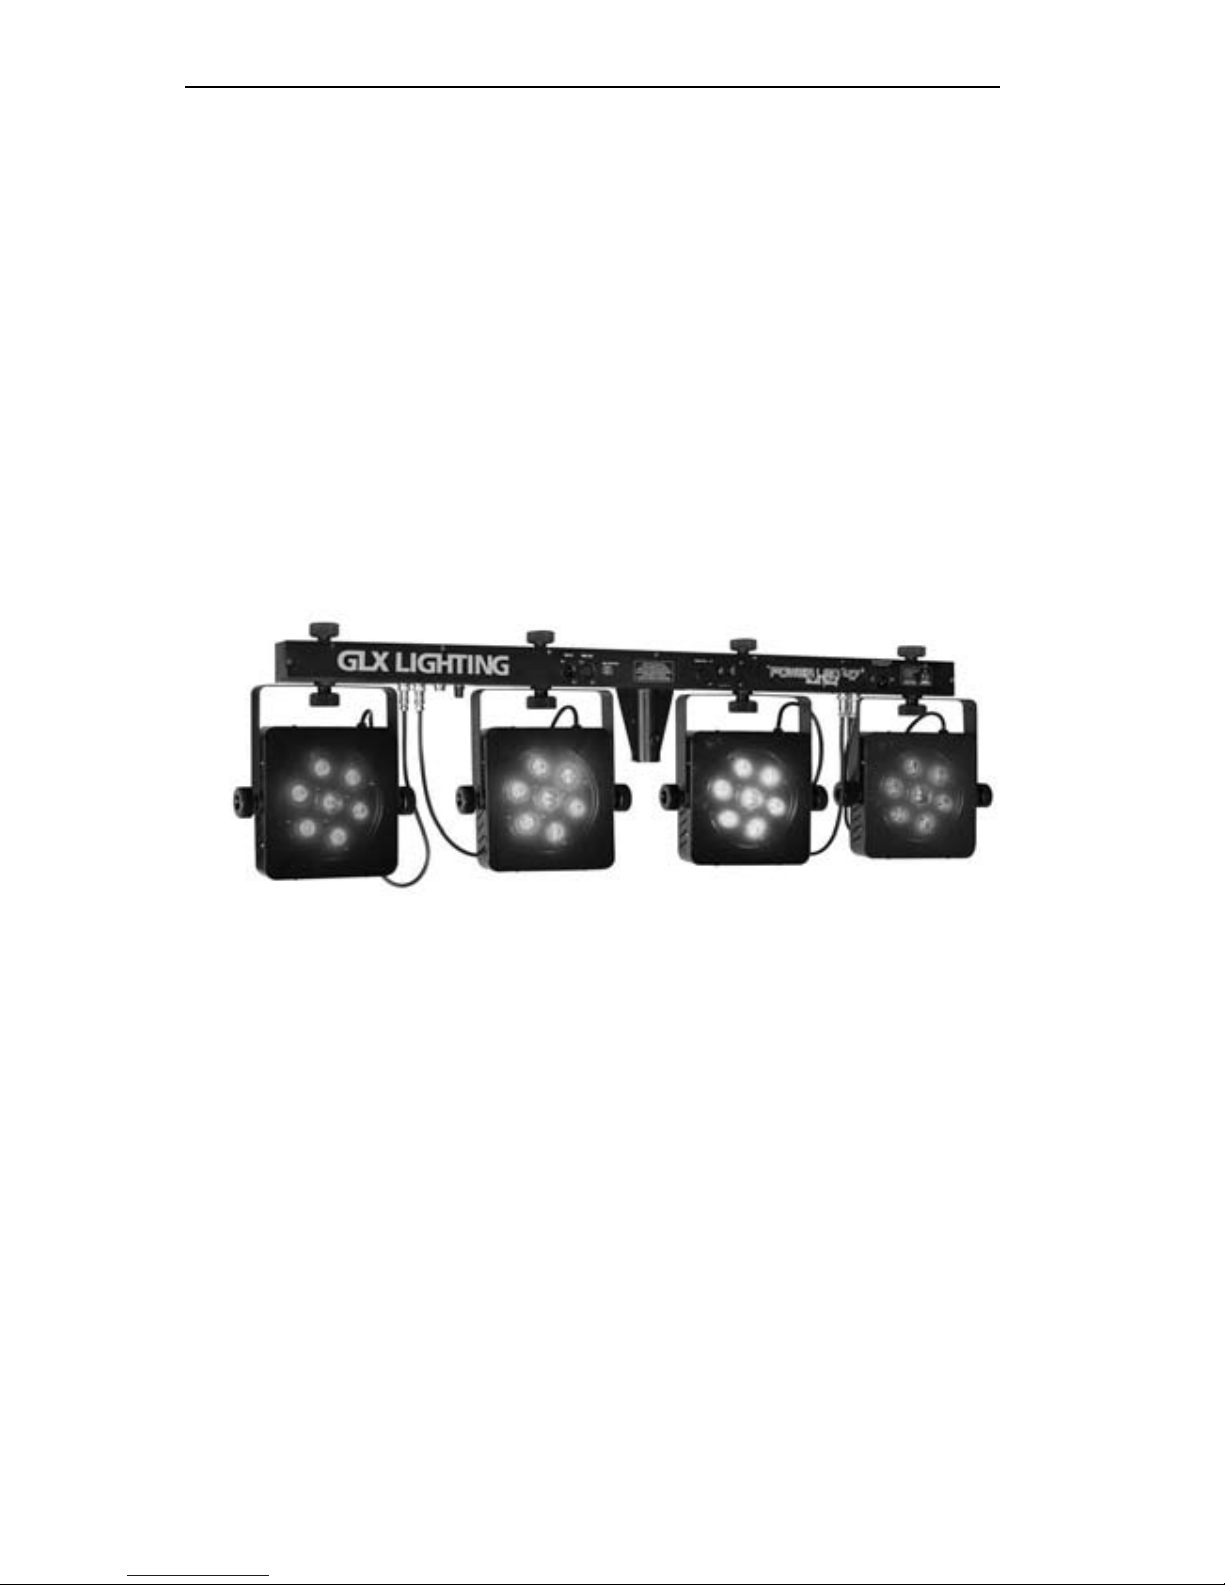
Thanks for choosing the GLX POWER LED 47 DUAL FOCUS lighting system. In order to make the
best use of your LED SYSTEM, please read the following carefully.
Important notes
1 Read these instructions.
2 Keep these instructions.
3 Do not use the POWER LED 47 DUAL FOCUS near water.
4 Clean only with dry cloth.
5 Install in accordance with the manufacturer’s instructions.
6 Do not block any ventilation openings.
7 To reduce the risk of fire or electric shock, do not expose this apparatus to rain or moisture.
8 Protect the power cord from being walked on or being pinched.
9 Unplug this apparatus when unused for long periods of time.
There are no user serviceable parts inside. All servicing has to be done by qualified service personnel.
Servicing is required when the POWER LED 47 DUAL FOCUS has been damaged in any way, such
as when the power supply cord or plug is damaged, when objects have fallen onto the GLS-47, when
it has been exposed to rain or moisture, or when the GLS-47 does not operate normally.
Warning: damages caused by the disregard of this user manual are not subject to warranty.
Installation of the GLX POWER LED 47 DUAL FOCUS
Attach the LED BAR to the top end of a 35mm diameter stand and fasten the fixation screw making
sure the unit’s weight is evenly balanced. Please note: for overhead rigging in public or industrial
areas, a series of safety instructions have to be followed that this manual can only give in part.
Main connection
The device must only be connected in compliance with the IEC standards. The electric installation
must be equipped with a Residual Current Device (RCD) with a maximum fault current of 30mA.
Lighting effects must never be connected to dimming packs.
Operation
After you power up the GLS-47, the LED’s start running and the display lights up. The device has two
operating modes; it can be operated in sound controlled or in DMX¬ controlled mode.
You can choose the desired mode via the button MENU,UP and DOWN:
When the display shows A*** you can choose the desired DMX address via the UP or DOWN buttons.
When the display shows *512 the device is in DMX mode. To switch to sound controlled mode, press
the DOWN button.
When the display shows *SND the device is in sound controlled mode. To switch to DMX mode, press
the UP button.
When the display shows S** you can choose the desired speed of the internal programs. Default is 51;
for increasing speed press the DOWN button, for decreasing speed press the UP button.
DMX controlled operation
You can control the spots individually via your DMX controller. The GLS-47 occupies 15 channels.
DMX¬512 connection
Only use a stereo shielded cable with 3¬pin XLR connectors in order to connect the controller with the
fixture or one fixture with another.
Dual Focus
The GLS-47 has an evenly spread beam angle of 40º. The center lens has a beam angle of 20º for a
much brighter center focus.
TCL
Tri-color lens technology holds a red, green and blue LED for an unlimited color palette and seamless
color mixing
GLX POWER LED 47 DUALFOCUS MANUAL
3
Master-slave operation
The Master slave operation enables several devices to be synchronized and controlled by one master
device: On the rear panel of the GLS-47 you can find an XLR socket, which can be used for
connecting several devices. Choose the device which is to control the effects (master). Connect the
OUT jack with the IN of the next device. Set the master device to SOUND mode and set each slave
device to the same DMX address.
Operation via footswitch
Connect the footswitch with the GLS-47 via the 5¬pin connection cable with plug. The foot switch can
be operated in sound controlled (*SND) or in DMX-controlled (*512) mode.
To discontinue operation of the footswitch, press pedals 1 and 4 simultaneously, then release both
pedals simultaneously.
Cleaning and maintenance
Make sure that:
1 All screws used for installing the devices or parts of the device have to be tightly connected
and must not be corroded.
2 There must not be any deformations of the housings, fixations and installation spots (ceiling,
suspension, trussing)
3 The electric power supply cable must not show any damages, (e.g. porous cables) or
sediments. Further instructions depending on the installation spot and usage have to be adhered by a
skilled installer and any safety problems have to be removed. Disconnect from mains before starting
maintenance operation.
We recommend frequent cleaning of the device. Please use a soft lint-free and moistened cloth. Never
use alcohol or solvents!
Replacing the fuse
Only replace the fuse by a fuse of the same type and rating. Step 1: Open the fuse holder on the rear
panel with a fitting screw driver. Step 2: Remove the old fuse from the fuse holder. Step 3: Install the
new fuse in the fuse holder Step 4: Remount the fuse holder in the housing Before replacing the fuse,
unplug the GLS-47.
Technical specifications
Power supply: 220¬250V AC, 50¬60 Hz~
Power consumption: 160W
Number of DMX channels: 15
DMX-512 connection: 3 pin XLR
Number of LEDs: 28 (TCL 3 WATT) 7 LEDs for each spot
Pedal functions
Pedal 1 Preset:
1 X press = white
2 X press = red
3 X press = green
4 X press = blue
5 X press = cyan
6 X press = yellow
7 X press = violet
8 X press = color change every second in a continuous loop
9 X press = color fade every 3 seconds in a continuous loop
Pedal 2 Sound
Pedal 3 Freeze
Pedal 4 Blackout
GLX POWER LED 47 DUALFOCUS MANUAL
4
Beam angle: dual focus 20º focus, 40º beam angle
Sound-control: Via built-in microphone
Maximum ambient temperature Ta: 45ºC
Maximum housing temperature TB 60ºC (steady state)
Min.distance from flammable surfaces: 0.50m
Min.distance to lighted object: 0.10m
Fuse: F 2A, 250V
Dimensions (LxWxH): 1110 X 55 X 295
Weight: 8kg
Channels
Channel 1 - Internal programs, auto mode and sound controlled mode
Value Function
000-009 Off
010-029 Program 1
030-049 Program 2
050-059 Program 3
070-089 Program 4
090-109 Program 5
110-129 Program 6
130-149 Program 7
150-169 Program 8
170-189 Program 9
190-209 Program 10
210-229 Program 11
230-249 Auto Mode: Internal Programs
250-255 Sound controlled Mode
Channel 2 - Master Dimmer Channel 3 - Strobe
Value Function Value Function
000-009 Off 000-009 Off
010-255 Dimming from 0 – 100% 010-255 Flash with increasing speed
Channel 4 – spot 1 RED Channel 5 – spot 1 GREEN
Value Function Value Function
000-255 Dimming from 0 - 100 % 000-255 Dimming from 0 - 100 %
Channel 6 – spot 1 BLUE Channel 7 – spot 2 RED
Value Function Value Function
000-255 Dimming from 0 - 100 % 000-255 Dimming from 0 - 100 %
Channel 8 – spot 2 GREEN Channel 9 – spot 2 BLUE
Value Function Value Function
000-255 Dimming from 0 - 100 % 000-255 Dimming from 0 - 100 %
Channel 10 – spot 3 RED Channel 11 – spot 3 GREEN
Value Function Value Function
000-255 Dimming from 0 - 100 % 000-255 Dimming from 0 - 100 %
Channel 12 – spot 3 BLUE Channel 13 – spot 4 RED
Value Function Value Function
000-255 Dimming from 0 - 100 % 000-255 Dimming from 0 - 100 %
Channel 14 – spot 4 GREEN Channel 15 – spot 4 BLUE
Value Function Value Function
000-255 Dimming from 0 - 100 % 000-255 Dimming from 0 - 100 %

Popular Lighting Equipment manuals by other brands

Larson Electronics EPL-BS-70-100 Instruction guide

Larson Electronics

Larson Electronics EPL-BS-70-100 Instruction guide

Chauvet Nexus 4x4 user manual

Chauvet

Chauvet Nexus 4x4 user manual

Ledvance 7016649 quick start guide

Ledvance

Ledvance 7016649 quick start guide

Chauvet Professional COLOR Strike M Quick reference guide

Chauvet Professional

Chauvet Professional COLOR Strike M Quick reference guide

Stahl 6018/11 Series operating instructions

Stahl

Stahl 6018/11 Series operating instructions

LED's light 1000527 quick start guide

LED's light

LED's light 1000527 quick start guide

iFootage HL1 C4 user manual

iFootage

iFootage HL1 C4 user manual

Clevertronics ARGOPRO-1200 Series Installation instruction

Clevertronics

Clevertronics ARGOPRO-1200 Series Installation instruction

Blizzard Lighting the puck pro zoom user manual

Blizzard Lighting

Blizzard Lighting the puck pro zoom user manual

Avolites Tiger Touch Operator's manual

Avolites

Avolites Tiger Touch Operator's manual

SGM Q?7 user manual

SGM

SGM Q?7 user manual

Iluminarc LOGIC DRIVE 2X Quick reference guide

Iluminarc

Iluminarc LOGIC DRIVE 2X Quick reference guide

Generac Power Systems MLT4060M owner's manual

Generac Power Systems

Generac Power Systems MLT4060M owner's manual

Griven RB250 instruction manual

Griven

Griven RB250 instruction manual

Laserworld Club Series manual

Laserworld

Laserworld Club Series manual

Vision & Control LDLF30x120-G525/UDC Instructions for use

Vision & Control

Vision & Control LDLF30x120-G525/UDC Instructions for use

S.R.Smith TYPHOON Assembly and installation instructions

S.R.Smith

S.R.Smith TYPHOON Assembly and installation instructions

ARRI EB MAX 1.8 operating instructions

ARRI

ARRI EB MAX 1.8 operating instructions

manuals.online logo
manuals.online logoBrands
  • About & Mission
  • Contact us
  • Privacy Policy
  • Terms and Conditions

Copyright 2025 Manuals.Online. All Rights Reserved.