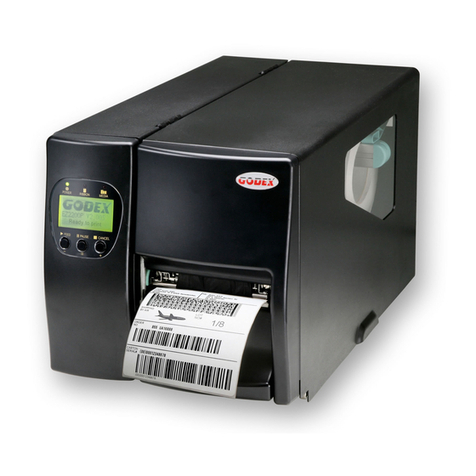
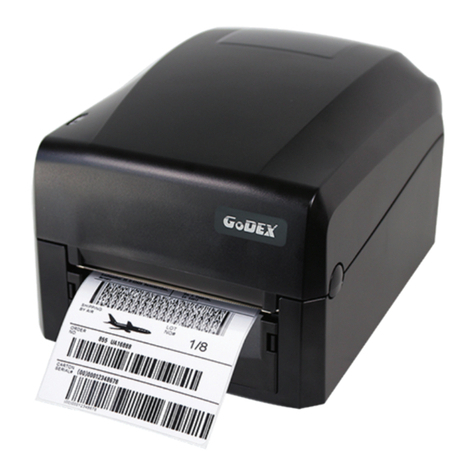
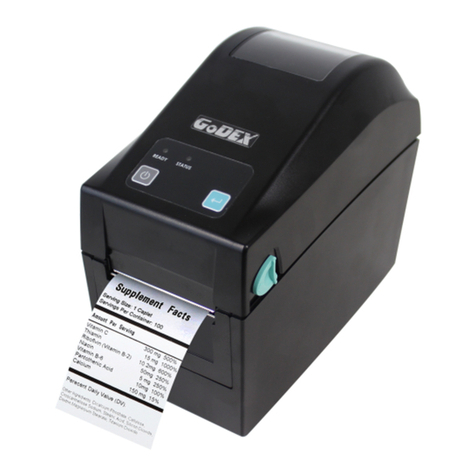
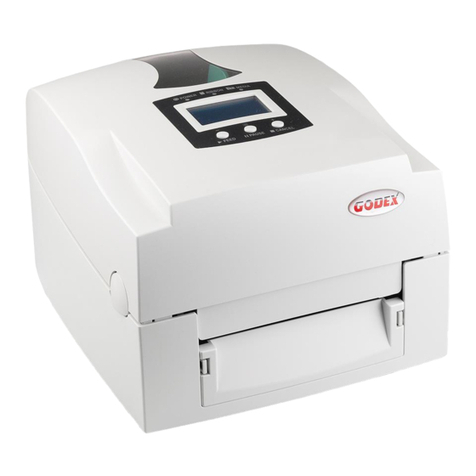
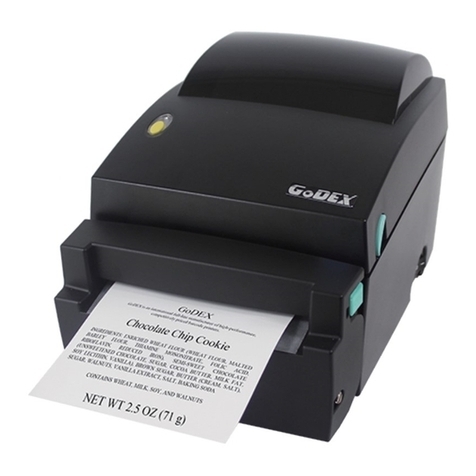
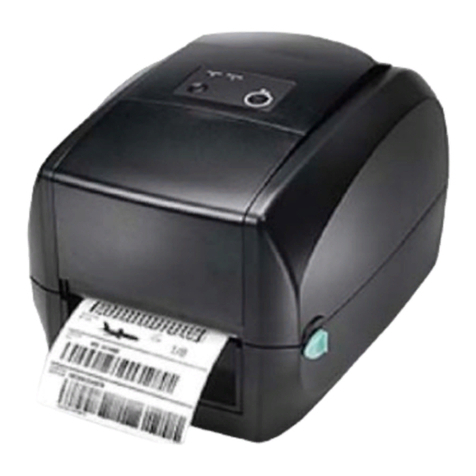
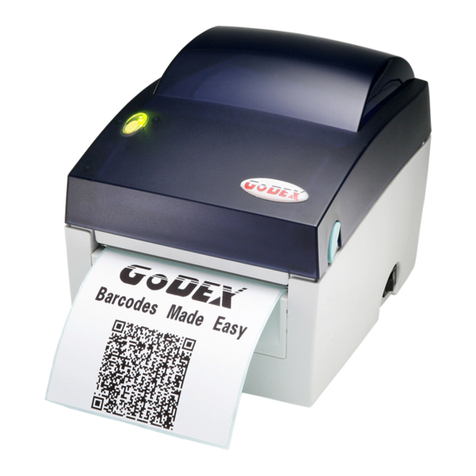
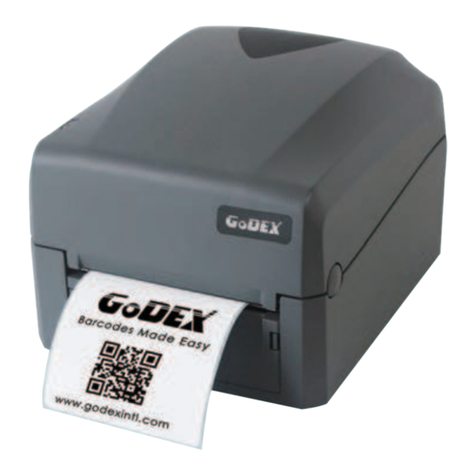
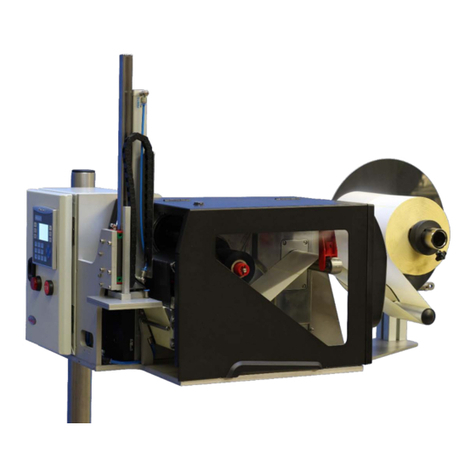
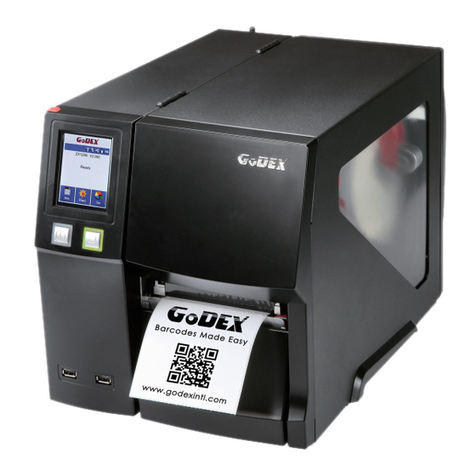
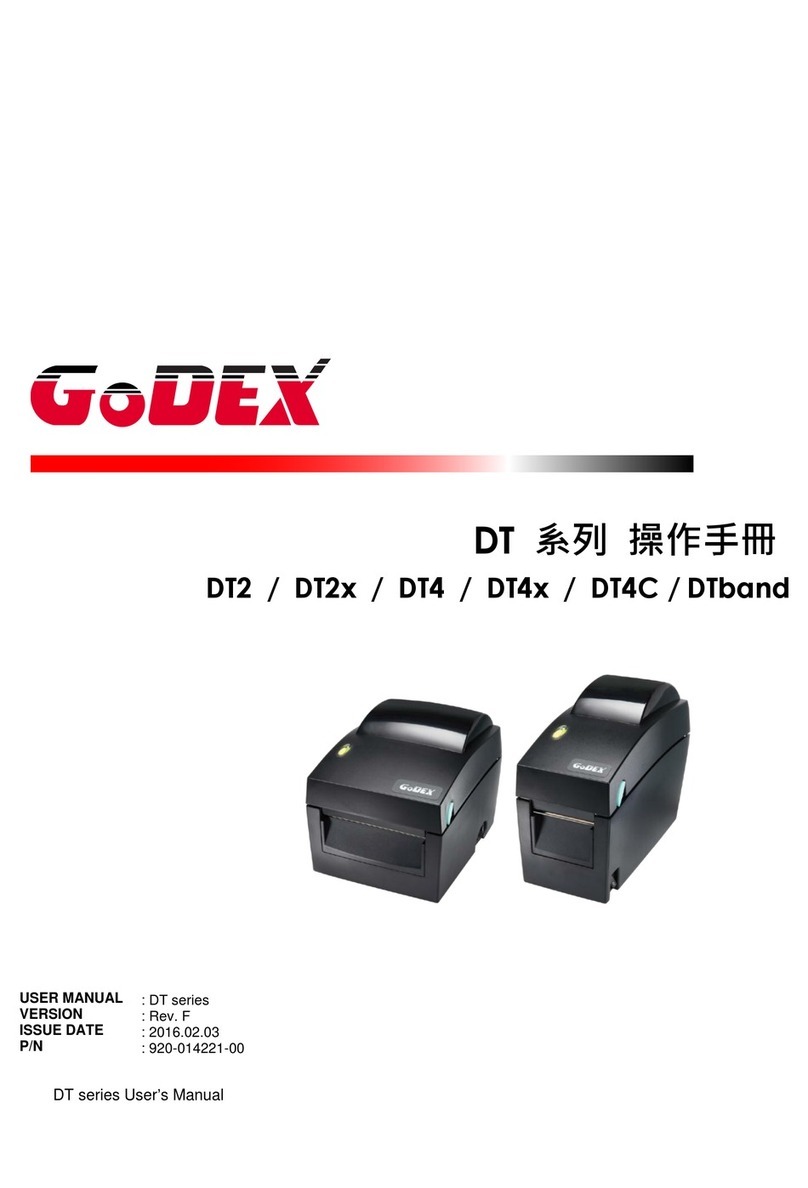
Godex EZ-DT User manual

Updated: 1/30/2012
©2012 Shelby Systems, Inc. All Rights Reserved
Other brand and product names are trademarks or registered trademarks of the respective holders.
User Guide

Godex Label Printer User Guide
Page 2
Table of Contents ............................................................................................ 2
Installing the Godex EZ-DT Printer .................................................................. 3
Unpacking the Printer .......................................................................................3
Connecting the Printer to a Workstation with the USB Cable ...................................3
Loading the Printer Driver .................................................................................4
Loading the Label Paper Stock ...........................................................................8
Installing the Godex HD90 Printer with Wireless Networking .......................... 9
Unpacking the Printer .......................................................................................9
Connecting the Printer to Your Network...............................................................9
Loading the Printer Driver ............................................................................... 14
Loading the Label Paper Stock ......................................................................... 21
Printing a Test and Calibrating the Printer..................................................... 22
Configuring the Printer Driver ....................................................................... 23
Adjusting the Tear Position.............................................................................. 23
Adjusting the Stop Position for Operation with the Cutter Module .......................... 25
Configuring the Printer Driver to Print over the Network (Network Installation Only) 27
Configuring the Check In Receipt Design ....................................................... 30
Installing the Cutter Module (EZ-DT model only) ........................................... 36
Installing the Ethernet Networking Module (EZ-DT model only)..................... 37
Installing the Control Center Software (for Network Installation Only) ......... 40
Godex Label Printer User Guide
Page 3
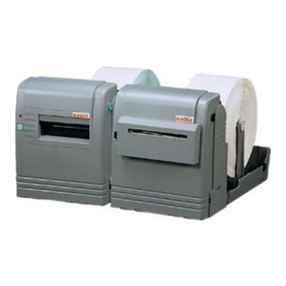
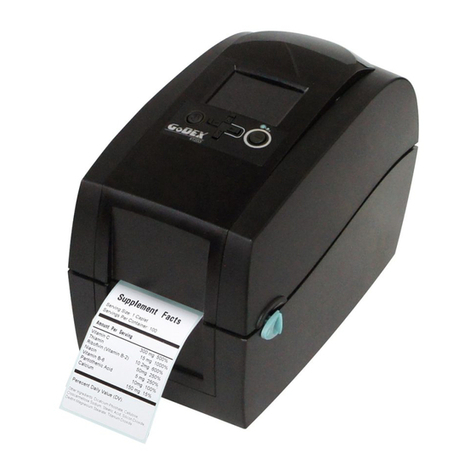
The Godex EZ-DT Printer comes with the following materials:
Quick Guide for unpacking, connecting, and loading paper into the printer.
Products Guide CD
USB cable
Power cables (2) –one is for international outlets and one for American outlets
Power adapter
Starter roll of 4” x 4” labels
Thermal printer
If you purchased the printer with the optional network adapter already installed, skip to the steps for Loading
the Printer Driver on the next page.
1. Remove all the packing tape from the thermal printer.
2. Make sure the printer power switch is in the off position.
3. Plug the power adapter into the printer.
4. Plug the power cable into the outlet and connect it to the power adapter.
5. Plug the USB cable into the printer.
6. Plug the other end of the USB cable into the workstation PC.
7. Turn on the Godex printer. Windows will detect the device but may not recognize it as a printer. Just
continue with the installation process to load the required driver.

Godex Label Printer User Guide
Page 4
1. Insert the Products Guide CD into the workstation PC. If you do not have the CD handy, the driver is
also available at http://godexintl.com/downloads.aspx?cid=14.
2. If the index.htm file opens automatically, click the Install Printer Driver link. All of the printers use the
same driver, so it does not matter which printer is visible on the web page when you click the link. If
the index.htm file does not open automatically, browse the CD to \Windows
Drivers\GodexWindowsPrinterDrivers.exe and run that program.
3. Accept the terms in the license agreement and click Next.
4. Accept the default directory or choose another location and then click Next.

Godex Label Printer User Guide
Page 5
5. Make sure the option to Run Driver Wizard is checked and then click Finish.
6. If Windows prompts you for permission to allow the software to make changes to the computer, click
Yes. You may need to click the printer installation icon on the Windows taskbar to bring the next install
screen up.
7. Make sure the option on the welcome screen is set to Install printer drivers, and then click Next.

Godex Label Printer User Guide
Page 6
8. If you have connected the printer to the computer with the USB cable, the wizard should detect your
printer and the USB port to use with it. Simply click Next to install the driver for the Plug and Play
printer. If you are connecting to the printer over the network, the wizard will not be able to detect
your printer type. Choose the Godex EX DT-4 printer model and click Next.
9. Although the default printer name is fine, you may want to provide a more meaningful name for your
check-in environment. You may want a simpler name, such as Labels. The name of the printer is up to
you. If this is a dedicated check-in workstation, you will want to set this printer as the default printer to
make the Check-in module setup easier. If multiple check-in stations will be using the same printer, you
may also need to share the printer. If this is the case, you may wish to work with your network
administrator to connect the other workstations to this printer. Once the settings are to your
satisfaction, click Next.

Godex Label Printer User Guide
Page 7
10. Click Finish to allow the printer drivers to install.
11. Click Close to acknowledge that the drivers were installed.

Godex Label Printer User Guide
Page 8
1. Pull forward on the lower portion of the two tabs on either side of the cover to open the printer.
2. Pull up on the spool axle to release it from the latch.
3. The axle is set originally for a 1” core spool. It can also be switched to accommodate a 1.5” core spool
by flipping over the axle and turning it back to the original orientation across the printer. The sample
spool of labels that came with the printer is a 1” core spool.
4. Place the spool of labels on the axle so that the labels will feed forward toward the front of the printer.
5. Pull the two label guides apart and then feed the first label between them.
6. Once the first label has been fed between the guides, push them gently together until they are snug
with the label, but not pinching.
7. Close the lid of the printer so that it snaps back into place.
8. Press the yellow feed button on the top of the printer to set the printer for the next label to print.
There is a video illustrating how to load the label paper stock at
http://www.youtube.com/user/GodexInternational#p/u/3/I1PGZf4Rd_0.

Godex Label Printer User Guide
Page 9
The Godex HD90 printer comes with the following materials:
Quick Guide for unpacking, connecting, and loading paper into the printer.
Products Guide CD
USB cable (unused when you purchase the printer with wireless capability pre-installed)
Power cable
Power adapter
Starter roll of 4” x 4” labels
Thermal printer
Wireless antenna
Before you can configure the wireless LAN settings, you must connect the printer with a patch cable to your
network.
1. Install the Control Center software package, as described on page 40. The Control Center software will
enable you to configure the printer easily.
2. Remove all the packing tape from the thermal printer.
3. Make sure the printer power switch is in the off position.
4. Screw the wireless antenna into the antenna port on the lefthand side of the rear of the printer just
above the power switch.
5. Plug the power adapter into the printer.
6. Plug the power cable into the outlet and connect it to the power adapter.
7. Plug a network cable into the RJ-45 port on the printer.
8. Plug the other end of the network cable into a networking port for your LAN.
9. By default the printer is set to use DHCP, so it should receive an IP address assignment from your
DHCP server.
10. If it is not already open, open the Control Center software.

Godex Label Printer User Guide
Page 10
11. Your printer will appear as a “server” in the upper pane of the window. The default name of the printer
is GodexLAN.
12. .Click on the printer item in the upper pane to select it. This will automatically populate the lower pane
with details about the printer’s current network settings.
13. Click the Configure Server button on the toolbar to open the configuration window.

Godex Label Printer User Guide
Page 11
14. Type in the user name and password for the administrator account. The default values are “admin” for
both.Then click Login.
15. You can establish static IP address information on the first tab of the configuration window.

Godex Label Printer User Guide
Page 12
16. On the second tab of the configuration window you can establish wireless networking settings.
17. After entering your wireless networking information, click Apply.
18. Click OK on the warning that the server will reset.

Godex Label Printer User Guide
Page 13
19. Wait a few moments while the printer resets. You will first see this message:
And then you will see this message when the printer is back online:
20. Click Close to return to the Control Center main window.
21. Turn off the printer.
22. Unplug the network cable from the printer.
23. Turn the printer on.
24. Click Refresh Server List in the Control Center software. The printer should still be listed. If it is not,
reconnect the network cable and check your wireless networking settings and IP settings to be sure
they are correct.
25. Before you close the Control Center software, be sure you know the IP address of the printer. You
will need this information to configure the printer driver.
26. When you are able to see the printer through the wireless connection, close the Control Center
software.

Godex Label Printer User Guide
Page 14
1. Insert the Products Guide CD into the workstation PC. If you do not have the CD handy, the driver is
also available at http://godexintl.com/downloads.aspx?cid=14. Download the Seagull Scientific
Windows Driver that is specifically for the HD90 printer.
2. If the index.htm file opens automatically, click the Install Printer Driver link. If the index.htm file does
not open automatically, browse the CD to \Windows Drivers\GodexWindowsPrinterDrivers.exe and
run that program.
3. Accept the terms in the license agreement and click Next.
4. Accept the default directory or choose another location and then click Next.

Godex Label Printer User Guide
Page 15
5. Make sure the option to Run Driver Wizard is checked and then click Finish.
6. If Windows prompts you for permission to allow the software to make changes to the computer, click
Yes. You may need to click the printer installation icon on the Windows taskbar to bring the next install
screen up.
7. Make sure the option on the welcome screen is set to Install printer drivers, and then click Next.

Godex Label Printer User Guide
Page 16
8. Choose the Godex HD90 printer model and click Next.
9. Click Create Port…

Godex Label Printer User Guide
Page 17
10. Click on Standard TCP/IP Port to select it, and then click New Port…
11. A wizard begins to walk you through the process of adding the TCP/IP port. Click Next on the opening
screen of the wizard.
12. Type in the IP address of the Godex HD90 printer. The Port Name value will automatically become the
IP address, but you can change the port name if you wish. Then click Next.

Godex Label Printer User Guide
Page 18
13. Click Next to confirm the standard device type of Generic Network Card.
14. Click Finish to allow the printer drivers to install.

Godex Label Printer User Guide
Page 19
15. Click Close on the Create Port window.
16. Make sure the new port you just created is the selected port in the Seagull Driver Wizard window and
click Next.

Godex Label Printer User Guide
Page 20
17. Customize the name of the printer if you wish. Set the printer as the default printer if this is a check-in
workstation that should normally print to the Godex HD90. As a network-based printer, you should not
need to share the printer from the workstation. Once these settings are set the way you want them to
be, click Next.
18. Click Finish to complete the process.
This manual suits for next models
1
Other Godex Label Maker manuals

Godex
Godex ZX1000i+ Series User manual

Godex
Godex AG3000T User manual

Godex
Godex Stand Alone Printer User manual

Godex
Godex GE300 User manual

Godex
Godex MX3 series: MX30 User manual

Godex
Godex ZX1000i Series User manual

Godex
Godex GE300 User manual

Godex
Godex LZX400i User manual

Godex
Godex BZB-2U User manual

Godex
Godex BP700 Series User manual

Godex
Godex EZ-DT-2 User manual

Godex
Godex DT4C User manual

Godex
Godex DT2L User manual

Godex
Godex EZ6000 Plus Series User manual

Godex
Godex DT200+ Series User manual

Godex
Godex STE5 User manual

Godex
Godex RT700 SERIES User manual

Godex
Godex DT Series User manual

Godex
Godex EZ-4TT Plus User manual

Godex
Godex ZX400+ Series User manual