01. LED Beads
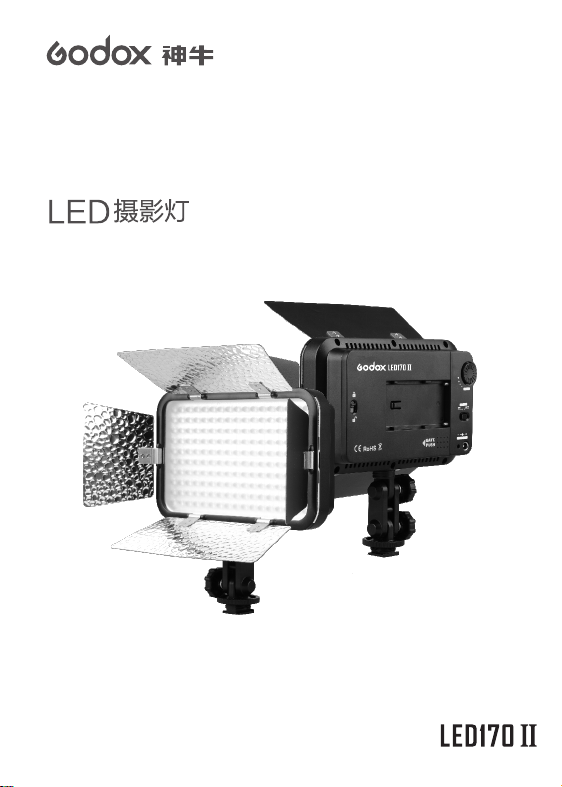
02. Color Filters
03. Power Switch
04. Brightness Controller
05. Battery Level Indicator
06. DC Power Jack
07. Battery Compartment Lock
08. Battery Compartment
09. Lithium Battery Container
10. Angle Adjusting Knob A
11. Angle Adjusting Knob B
12. Locking Ring
13. Camera Hotshoe Connection
14. 1/4″ Bracket Mounting Hole
15. Reflector
Parts:
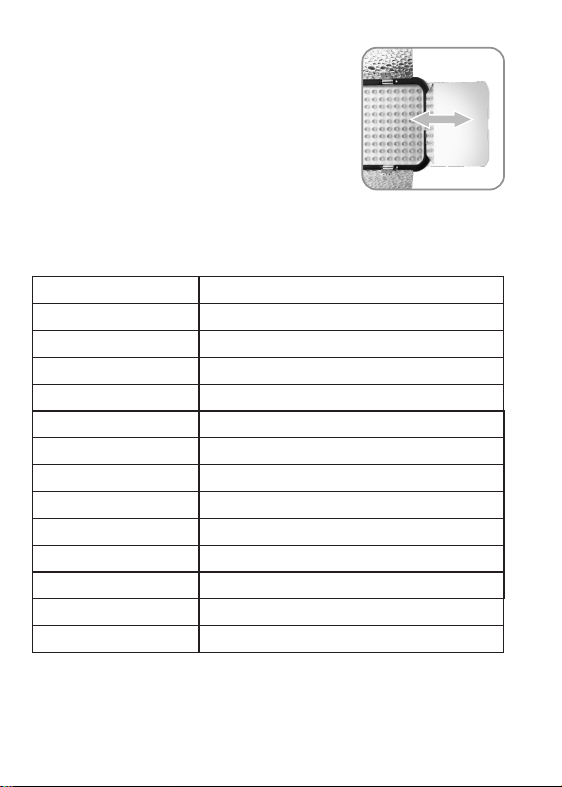
1.Power Supply
Three power supply modes are available:
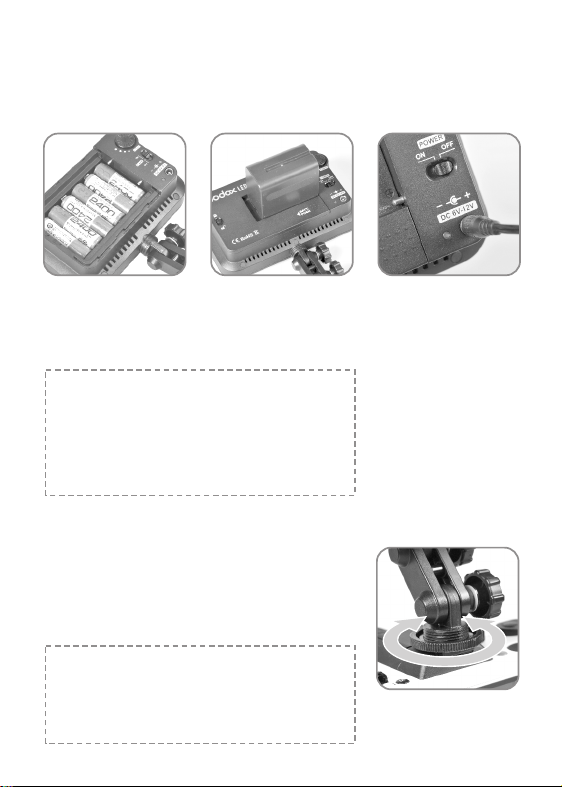
2.Installing the Video Light
● Screw the Locking Ring (12) to the highest point
and insert the Camera Hotshoe Connection (13)
horizontally into the hotshoe of a camera or a
camcorder.
● Tighten the Locking Ring (12).
* When using AA batteries or lithium battery, the Battery
Level Indicator (05) turns green, meaning battery power is
sufficient. When the indicator turns red, the battery power
is low.
* When the indicator turns red and blinks, the lithium battery
power is low. Please recharge it immediately before use in
order to avoid forceful auto off.
* When using DC power supply, the indicator shows green.
● Using batteries: This
light uses AA-sized
alkaline or Ni-MH
rechargeable batteries.
● Using lithium battery:
This light uses SONY
NP-F970 model lithium
battery.
● Using DC power jack:
This light can be powered
by DC power supply. Use
an adapter (purchased
separately) to connect the
light with the AC power
supply. LED126 uses a
6V-9V adapter and
LED170 uses a 6-12V
adapter.
Installation and Operation
03
04
05
06
07
14
11
10
12
09
08
01
02
10
15
13
Note: If your camcorder has no hotshoe connection,you
are advised to purchase a connecting bracket for camcorder.
The video light has a 1/4″Bracket Mounting Hole as your
camcorder does. Therefore, you can easily connect both the
light and the camcorder to the purchase a connecting bracket
for camcorder.The video light has a 1/4″ Bracket