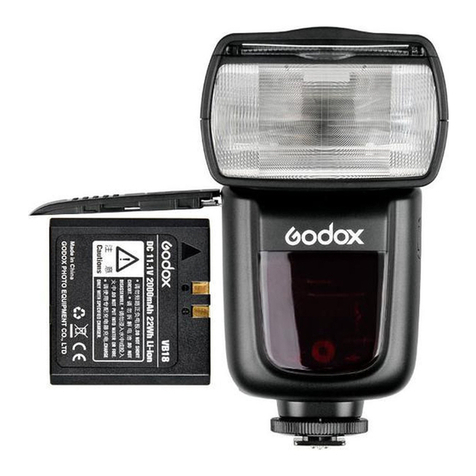
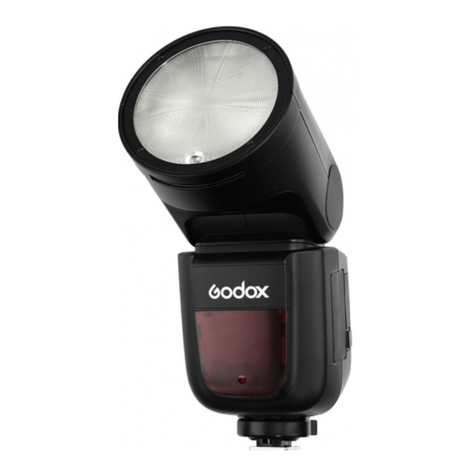
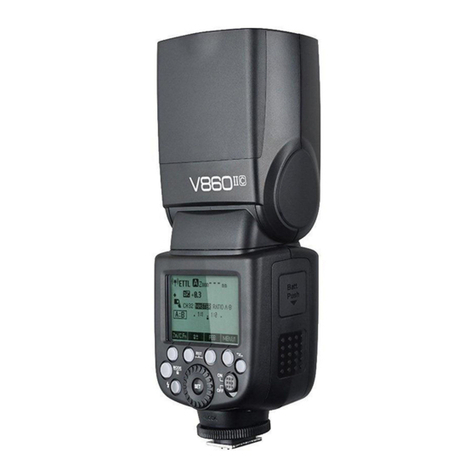
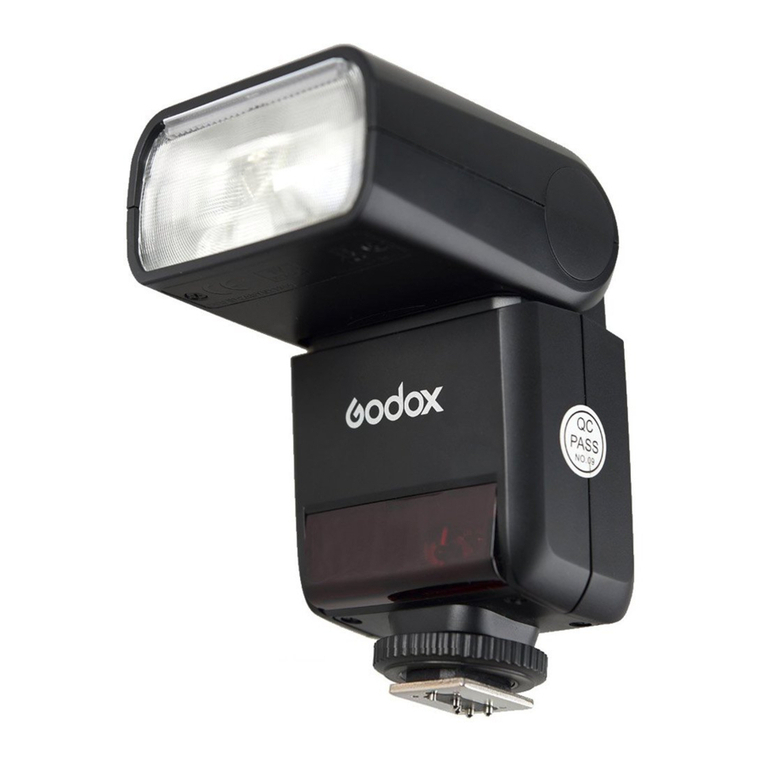
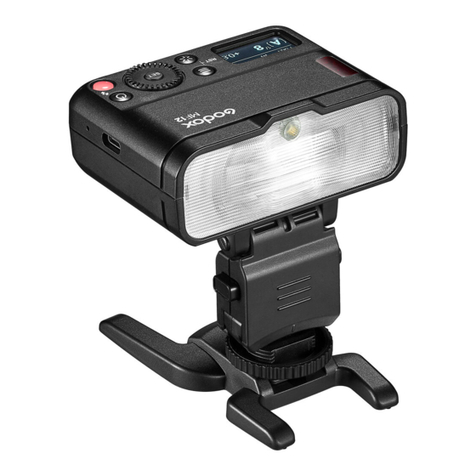
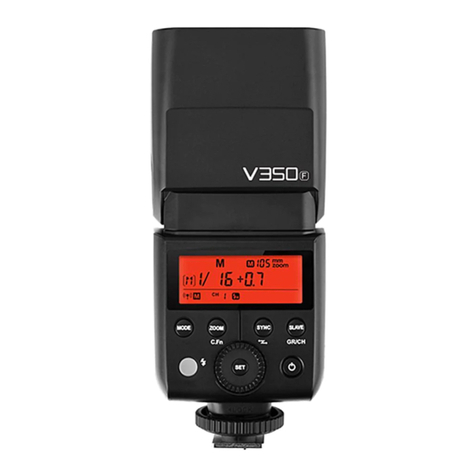
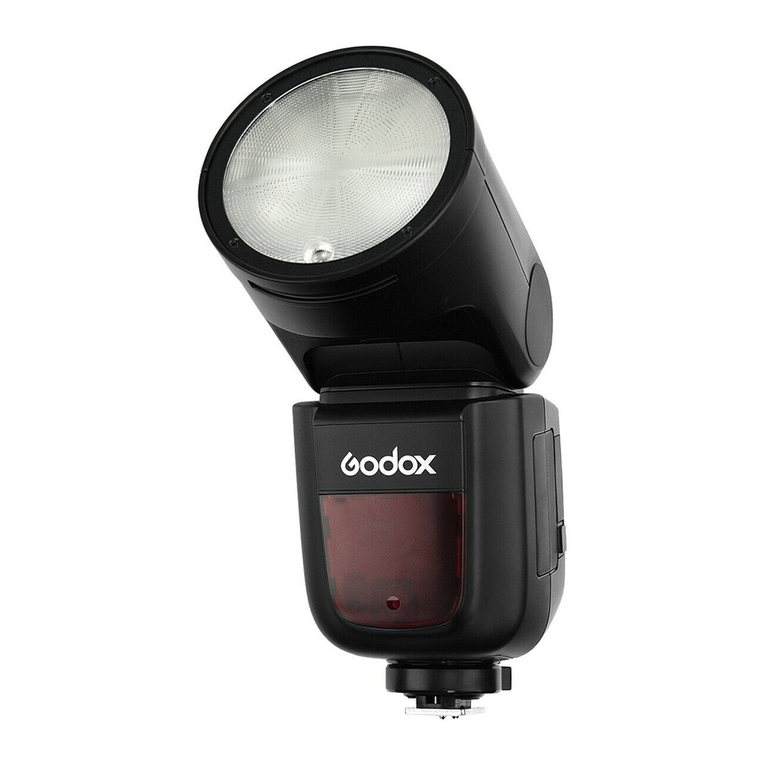
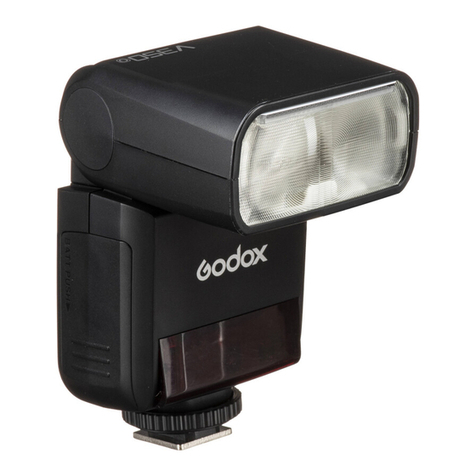
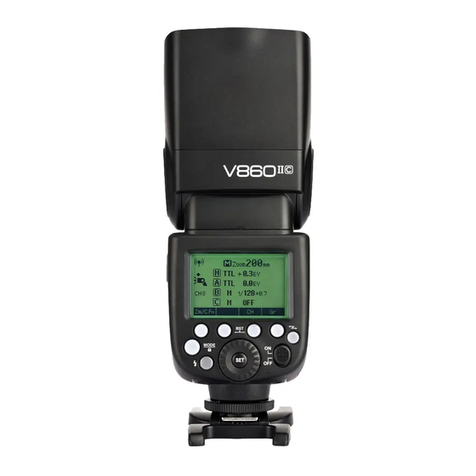
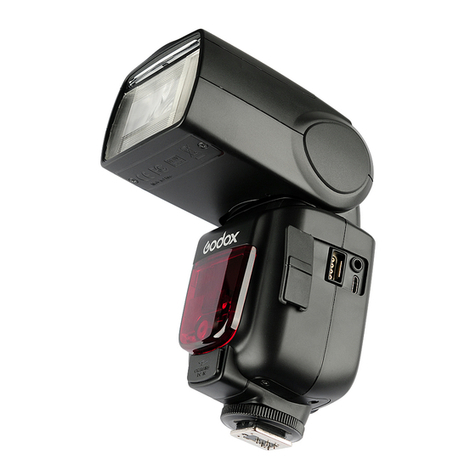
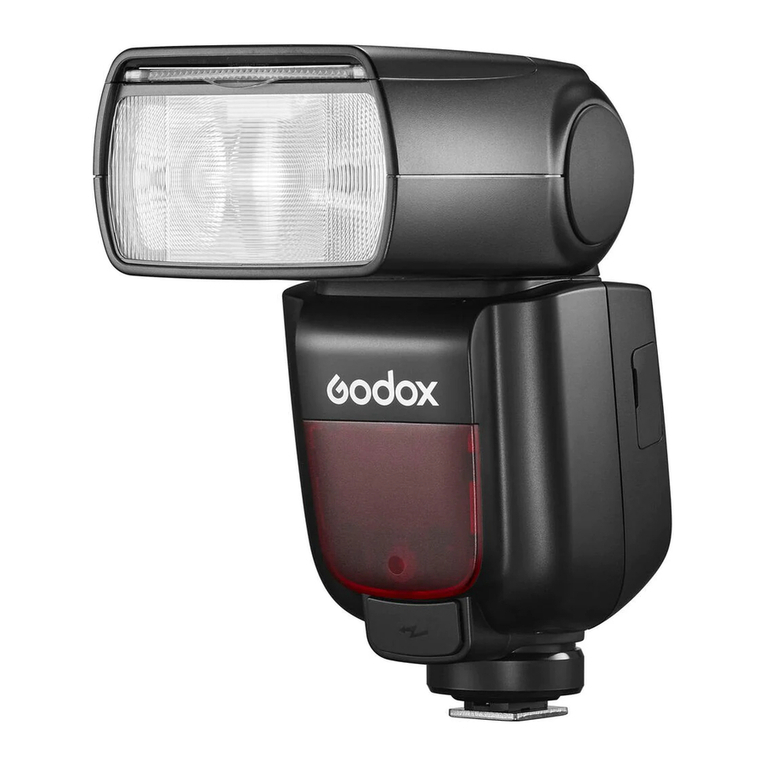
Godox V860III-C User manual

V860III-C
User Manual • Uživatelský manuál •
Užívateľský manuál • Használati utasítás •
Benutzerhandbuch

2
English
3 –42
Čeština
42 –81
Slovenčina
82 –120
Magyar
121 –160
Deutsch
161 –202

3
Dear customer,
Thank you for purchasing our product. Please read the following instructions carefully
before first use and keep this user manual for future reference. Pay particular attention
to the safety instructions. If you have any questions or comments about the device,
please contact the customer line.
✉www.alza.co.uk/kontakt
✆+44 (0)203 514 4411
Importer Alza.cz a.s., Jankovcova 1522/53, Holešovice, 170 00 Prague 7, www.alza.cz

4
Foreword
Thank you for purchasing this product.
This V860IIIC camera flash applies to Canon EOS series cameras and is compatible wit E-
TTL II autoflash. With this E-TTL II compatible flash, your shooting will become simpler.
You can easily achieve a correct flash exposure even in complex light-changing
environments.
This camera flash features:
•It has a 2W LED modeling lamp, which can be used off the camera.
•Approx. GN60 (m ISO 100, @200mm), 81 steps from 1/1 to 256.
•Pro 2600mAh Li-ion Battery-max. 1.5s recycle-480 full power pops.
•Fully support Canon E-TTL II camera flash. Workable as Transmitter or Receiver
unit in a wireless flash group.
•Use dot-matrix LCD panel to make clear and convenient operations.
•With built-in 2.4GHz wireless remote system to support transmitting and
receiving.
•Provided multiple functions, include HSS (up to 1/8000s) FEC, FEB, etc.
•Stable consistency and color temperature with good even lighting.
•Support with firmware upgrade.
Warning
•Always keep this product dry. Do not use in rain or in damp conditions.
•Do not disassemble. Should repairs become necessary, this product must be sent
to an authorized maintenance center.
•Keep out of reach of children.
•Stop using this product if it breaks open due to extrusion, falling or strong hit.
Otherwise, electric shock may occur if you touch the electronic parts inside it.
•Do not fire the flash directly into the eyes (especially those of babies) within short
distances. Otherwise, visual impairment may occur.
•Do not use the flash unit in the presence of flammable gases, chemicals, and
other similar materials. In certain circumstance, these materials may be sensitive
to the strong light emitting from this flash unit and fire or electromagnetic
interference may result.
•Do not leave or store the flash unit if the ambient temperature reads over 50°C.
Otherwise the electronic parts may be damaged.
•Turn off the flash unit immediately in the event of malfunction.
5
Name of Parts
Body
1. Flash Head
2. LED modeling Lamp (01~>)
3. Focus Assist Beam
4. Wireless Sensor
5. Sync Cord Jack
6. Type-C USB Port
7. Battery Remove Button
8. Hotshoe
9. LCD Panel
10. Hotshoe Fixing Buckle
11. Lithium Battery
12. TTL/M/Shortcut

6
Control Panel
13. <MENU> Flash Menu Button/Locking Button
14. Wireless Selection
15. Select Dial
16. Set Button
17. ON/OFF Power Switch
18. Test Button / Flash Ready Indicator
19. <ZOOM> Focus Length Setting
20. <MODE> Mode Selection Button
21. Modeling Lamp Setting
22. Power Output
23. Function Button 1
24. Function Button 2
25. Function Button 3
26. Function Button 4

7
LCD Panel
E-TTL Autoflash
Zoom: zoom display
•The display will only show the settings currently applied.
•The functions displayed above function button 1 to 4, such as SYNC and
<A/B/C/D>, change according to settings status.
•When a button or dial is operated, the LCD panel illuminated.
M Manual Flash
Automatic
Manual
E-TTL II
autoflash
Flash exposure compensation
Flash exposure
compensation amount
Focus length
High-speed sync
Second curtain
sync
Distance indicator
display
M: Manual flash
Manual flash output

8
Multi Flash
Radio Transmission Shooting
•Transmitter Unit (TX)
Multi: Stroboscopic flash
Number of flashes
Flash frequency
Flash mode
Radio transmission
wireless shooting
Transmitter unit
flash ON
: Transmitter unit
flash OFF
Firing group
Channel

9
•Receiver Unit (RX)
Note: The flash unit attached to the camera is refereed to as the “Transmitter” and other
flash units controlled wirelessly are referred to as “Receivers”
LCD Panel in Three Modes
Attached to the Camera
2.4G Radio Transmission: As a Transmitter Unit
2.4G Radio Transmission: As a Receiver Unit
: Receiver icon
Receiver

10
What’s in the Box of V860IIIC Kit?
1. Flash Unit
2. Lithium Battery
3. USB Battery Charger
4. USB Line
5. Charger
6. Mini Stand
7. Protection Case
8. Instruction Manual
Separately Sold Accessories
The product can be used in combination with the following accessories sold separately,
so as to achieve best photography effects: XProC & X2T-C & X1C TTL wireless flash
trigger, AK-R1 accessory kit for round flash head, etc.

11
Battery
Features
1. This flash unit uses Li-ion polymer battery which has long runtime.
The available charger-and-discharge times are 480.
2. It is reliably safe. The inner circuit is against overcharge, over discharge,
overcurrent and short circuit.
3. Take only 3.5 hours to fully charge the battery by using the standard battery
charger.
Cautions
•Do not short circuit.
•Do not expose to the rain or immerse into water. This battery in not waterproof.
•Keep out of reach of children.
•No over 24 hours continuous charging.
•Store in dry, cool, ventilated places.
•Do not put aside or into fire.
•Dead batteries should be disposed according to local regulations.
•If the battery had ceased using for over 3 months, please make full recharge.
•If do no use it for a long time, please charge the battery to approx. 60% before
placing it.
•It is recommended to use a brand-new battery after charging and discharging
over 500 times or being used over 3 years.
Loading and Unloading the Battery
To unload battery, hold down the battery remove button and push the battery
downwardly to take it out.

12
According to the triangle sign on the battery pack, insert it into the compartment until a
white knob locks the battery with a click sound.
Battery Level Indication
Make sure the battery pack is securely loaded in the flash. Check the battery level
indication on the LCD panel to see the remaining battery level.
Battery Level Indication
Meaning
3 grids
Full
2 grids
Middle
1 grid
Low
Blank grid
Lower battery, please recharge it
Blinking
The battery level is going to be used out
immediately. And the flash will auto
power in 1 minute.
Note: Please recharge the battery as soon
as possible (within 10 days). Then, the
battery be used or be placed for long
period.
Led Modeling Lamp
Press the Modeling Lamp Setting button to set the modeling lamp. Short press the Set
Button to turn on or off the modeling lamp. When turning the modeling lamp on, turn
the select dial to set its brightness. There are 10 levels (01~10) for choice.

13
Attaching to a Camera
Attach the Camera Flash
Rotate the hotshoe fixing
buckle to the left and insert
the camera flash into the
camera’s hotshoe.
Secure the Camera Flash
Rotate the hotshoe fixing
buckle to the right until it
locks up.
Detach the Camera Flash
Press the button and
rotate the hotshoe fixing
buckle to the left until it is
loosened.
Power Management
Use ON/OFF Power Switch to power the flash unit on or off. Turn off it will not be used
for an extended period of time. Setting as transmitter flash, it will turn the power off
automatically after a certain period (approx. 90 seconds) od idle use. Pressing the
camera shutter halfway or pressing any flash button will wake up the flash unit. Setting
as a receiver flash, it will enter sleep mode after a certain period (adjustable, 60 minutes
by default) of idle use. Pressing any flash button will wake it up.
Disabling Auto Power Off function is recommended when the flash is used off
camera. (C.Fn-STBY)
Receiver Auto Power Off Timer is set to 60 minutes by default. Another option “30
minutes” is available (C.Fn-RX STBY)
Flash Mode—E-TTL AutoFlash
This flash has three flash modes: E-TTL, Manual (M), and Multi (Stroboscopic). In E-TTL
mode, the camera and the flash will work together to calculate the correct exposure for
the subject and the background. In this mode, multiple TTL functions are available: FEC,
FEB, FEL, HSS, second curtain sync, modeling flash, control with the camera’s menu
screen.
*Press <MODE> Mode Selection Button and three flash modes will display on the LCD
panel one by one with each pressing.

14
ETTL Mode
Press <MODE> Mode Selection Button to enter E-TTL mode. The mode LCD panel will
display.
•Press the camera release button halfway to focus. The aperture and effective
flash range will be displayed in the viewfinder.
•When the shutter button is fully pressed, the flash will fire pre-flash that the
camera will use to calculate exposure and flash output the instant before the
photo is taken.
FEC: Flash Exposure Compensation
With FEC function, this flash can adjust from -3 to +3 in 1/3 stops. It is useful in situations
where minor adjusting of the TTL system is needed based on the environment.
FEC Setting:
Press Function Button 2
Press the <+/-> button. The
< > and flash exposure
compensation amount will
be highlighted on the LCD
panel.
Set the flash exposure
compensation amount.
•Turn the Select Dial
to set the amount.
•“0.3” means 1/3
step, “0.7” means
2/3 step.
•To cancel the flash
exposure
compensation, set
the amount to “+0”.
Press Set Button again to
confirm the setting.
FEB: Flash Exposure Bracketing
You can take three flash shots while automatically changing the flash output for each
shot from -3 to +3 in 1/3rd stops. The camera will record three images with different
exposures: one exposed according to camera calculations, one over-exposed and
another under-exposed. Over and under exposure amount is user adjustable. This
function helps get correct exposure especially in shooting moving objects or when
environmental lights are complex.

15
Press function button 3
<FEB icon>. The icon
< > and the exposure
bracketing will be
highlighted on the LCD
panel.
Set the flash exposure
compensation amount.
•Turn the Select Dial
to set amount.
•“0.3” means 1/3
step, “0.7” means
2/3 step.
Press Set Button again to
confirm the setting. Then
your FEC and FEB settings
are displayed on the LCD
panel.
•FEB will be cancelled after three photos are taken.
•For best result, set the camera drive mode to “single” and ensure the flash is
ready before shooting.
•FEB can be used with FEC and FEL.
You can prevent the FEB from being cancelled automatically after three
photos are taken. (C.Fn-FEB ACL)
FEL: Flash Exposure Lock
FEL can lock the correct flash exposure setting for any part of the scene.
With <ETTL> displayed on the LCD panel, press the camera’s <FEL> button. If the camera
does not have the <FEL> button, press <*> button.
1. Focus the subject
2. Press the <FEL> button.
•Aim the subject at the center of the viewfinder and press <FEL> button.
•The camera flash will fire a preflash and the required flash output for the subject
in retained in memory.
•Each time the <FEL> button is pressed, a preflash will be fired and a new flash
exposure setting will be locked.

16
•If the subject is too far away and underexposure, the < > icon will blink in the
viewfinder. Move closer to the subject and try the FE lock again.
•If <ETTL> is not displayed on the LCD panel, FE lock cannot be set.
•If the subject is too small, FE lock might not be very effective.
High-Speed Sync
High Speed Sync (FP flash) enables the flash to synchronize with all camera shutter
speeds. This is convenient when you want to use aperture priority for fill-flash portraits.
Press Function Button 2 <SYNC> so that
< > is displayed.
Check that < > is displayed in the
viewfinder.
•If you set a shutter speed that is the same as or slower than the camera’s
maximum flash sync speed, < > will not be displayed in the viewfinder.
•With high-speed sync, the faster the shutter speed the shorter the effective flash
range.
•To return to normal flash, press <SYNC> button again. Then < > will disappear.
•Multi flash mode cannot be set in high-speed sync mode.
•Over-temperature protection may be activated after 15 consecutive high-speed
sync flashes.

17
Second-Curtain Sync
With a slow shutter speed, you can create a light train following the subject. The flash
fires right before the shutter closes.
Press function button 2 <SYNC> button so that < > is displayed on the LCD panel.
M: Manual Flash
The flash output is adjustable from 1/1 full power to 1/256th power in 1/10th stop
increments. To obtain a correct flash exposure, use a hand-held flash meter to
determine the required flash output.
Press <MODE> button so
that <M> is displayed.
Turn the Select Dial to
choose a desired flash
output amount.
Press Set button again to
confirm the setting.

18
Optic S1 Secondary Unit Setting
In M manual flash mode, press <S1/S2> button so that this flash can function as an optic
S1 secondary flash with optic sensor. With this function, the flash will fire synchronously
when the main flash fires, the same effect as that by the use of radio triggers. This helps
create multiple lighting effects.
Optic S2 Secondary Unit Setting
Press <S1/S2> button so that this flash can also function as an optic S2 secondary flash
with optic sensor in M manual flash mode. This is useful when cameras have pre-flash
function. Whit this function the flash will ignore a single “preflash” from the main flash
and will only fire in response to the second, actual flash from the main unit.
•S1 and S2 optic triggering is only available in M manual flash mode.
Multi: Stroboscopic Flash
With stroboscopic flash, a rapid series of flashes is fired. It can be used to capture
multiple images of a moving subject in single photograph.
You can set the firing frequency (number of flashes per sec. expressed as Hz), the
number of flashes, and the flash output.
Press <MODE> button so that <MULTI> is displayed.
Set the flash frequency and flash times.
•Press the Function Button 2 <Times> to select the flash times. Turn the Select Dial
to set the number.
•Press the Function Button 3 <Hz> to select the flash frequency. Turn the Select
Dial to set the number.

19
Turn the Select Dial to choose desired flash output. After you finish the setting, press Set
Button and all the settings will be displayed.
Calculating the Shutter Sped
During stroboscopic flash, the shutter remains open until the firing stops. Use formula
below to calculate the shutter speed and set it with the camera.
Number of Flashes / Flash Frequency = Shutter Speed
For example, it the number of flashes is 10 and the firing frequency is 5 Hz, the shutter
speed should be at least 2 seconds.
To avoid overheating and deteriorating the flash head, do not use stroboscopic flash
more than 10 times in succession. After 10 times, allow the camera flash to rest for at
least 15 minutes. If you try to use stroboscopic flash more than 10 times in succession,
the firing might stop automatically to protect the flash head. If this camera happens,
allow at least 15 minutes rest for the camera flash.
•Stroboscopic flash is most effective with a highly reflective subject against a dark
background.
•Using a tripod and remote control is recommended.
•A flash output of 1/1 and 1/2 cannot be set for stroboscopic flash.
•Stroboscopic flash can be used with “bulb”
•If the number of flashes is displayed as “--”, the firing will continue until the
shutter closes or the battery is exhausted. The number of flashes will be limited
ah shown by the following table:

20
Maximum Stroboscopic Flashes
Flash Output / Hz
Flash Output / Hz
Other manuals for V860III-C
1
Table of contents
Languages:
Other Godox Camera Flash manuals

Godox
Godox WITSTRO AD400Pro User manual

Godox
Godox witstro ad360II-c User manual

Godox
Godox MF-R76N User manual

Godox
Godox TT685II User manual

Godox
Godox TT6855F User manual

Godox
Godox AT Series User manual

Godox
Godox QS-800 User manual

Godox
Godox V860IIIO User manual

Godox
Godox TT350N User manual

Godox
Godox AD600B User manual

Godox
Godox SK300II User manual

Godox
Godox WITSTRO AD600BM User manual

Godox
Godox Quicker300D User manual

Godox
Godox QE300 User manual

Godox
Godox TT685IIC User manual

Godox
Godox TT600S User manual

Godox
Godox ThinkLite TT520 II User manual

Godox
Godox A1 User manual

Godox
Godox WITSTRO+ AD600M User manual

Godox
Godox MS200 User manual