Goldair GPP250 User manual

SandwichPress
Models: GPP250
Operating Instructions

Thank you for choosing this GOLDAIR Sandwich Press. This
GOLDAIR appliance has been designed and manufactured to high
standards of engineering and with proper use and care, as
described in this leaflet, will give you years of useful service.
Please read these instructions carefully and keep them safely for
future reference.
ALWAYS
✔Always ensure hands are dry before
handling the plug or the Sandwich Press.
✔Always operate the Sandwich Press in
the middle of a secure, dry, level surface.
✔Always allow adequate air space
above and on all sides for air circulation.
Do not allow the Sandwich Press to touch
curtains, wall coverings, clothing,
dishtowels or other flammable materials
during use. Do not use under cupboards
or curtains.
✔Caution is required on surfaces where
heat may cause a problem –an insulated
heat pad is recommended. Do not use
the Sandwich Press on non heat-
resistant glass, on wooden surfaces or on
a tablecloth.
✔Turn off at the wall and unplug from
the socket when not in use and before
cleaning.
✔Always allow the Sandwich Press to
cool before cleaning and storing.
✔Carry out regular checks of the supply
cord to ensure no damage is evident.
✔Return the Sandwich Press after a
malfunction, or if it has been damaged in
any manner, to an authorised electrical
service technician for examination, repair
or adjustment as special purpose tools
are required.
✔Children should be supervised to
ensure that they do not play with the
appliance.
✔The temperature of accessible
surfaces may be high when the appliance
is operating; always exercise caution.
Use oven mitts when handling hot
materials.
✔Always use only heat resistant
wooden or plastic utensils to remove
waffles from the unit. Other utensils may
damage the non-stick coating.
CAUTION: This appliance generates
heat during use. Proper precautions
must be taken to prevent the risk of
burns, scalds, fires or other injury to
persons or damage to property.
CAUTION: The temperature of
accessible surfaces may be high when
the appliance is operating. Always
exercise caution. Use oven mitts when
handling hot materials.
General care and safety guide
TECHNICAL SPECIFICATION
Model No: GPP250
Power Supply: 240V, 50Hz
Power: 2000W

NEVER
✘Never use this appliance outdoors.
✘Never use this appliance for any
purpose other than its intended use. This
appliance is intended for household use
only or in similar applications such as:
•Staff kitchen areas in shops, offices
and other working environments;
•Farm houses
•By clients in hotels, motels and other
residential type environments;
•Bed and breakfast type environments.
✘This appliance is not intended for use
by persons (including children) with
reduced physical, sensory or mental
capabilities or lack of experience and
knowledge, unless they are supervised or
have been given instruction concerning the
use of the Sandwich Press by a person
responsible for their safety.
✘Never leave the appliance unattended
when in use. Close supervision is
necessary when the appliance is near
children.
✘Never allow the power cord to overhang
the edge of a table or bench top or to touch
any hot surface.
✘Never place this appliance on or near a
hot gas or electric burner or where it could
touch a heated oven or microwave oven.
Do not place in a hot oven.
✘Never touch hot surfaces.
✘Never use this appliance on non heat-
resistant glass, on wooden surfaces or on
a tablecloth.
✘Never immerse the Sandwich Press, the
cord set or plug in water or any other liquid
to protect against electrical hazards.
✘Never place the Sandwich Press in a
dishwasher.
✘Never use harsh, abrasive or caustic
cleaners to clean this appliance. Such
cleaners may damage the non-stick
coating.
✘Never operate the appliance with a
damaged cord or plug, after it
malfunctions, or if it has been damaged in
any manner. Have the appliance checked
and repaired buy a qualified electrician if
repair is necessary. If the supply cord is
damaged, it must be replaced by the
manufacturer, its service agent or similarly
qualified persons in order to avoid a
hazard.
✘The Sandwich Press is not intended to
be operated by means of an external timer
or separate remote-control system. The
use of an extension cord is not
recommended.
✘Never use metal scouring pads for
cleaning. Small metal pieces can come
loose and cause short-circuiting of
electrical components, which can cause
electric shock or damage the appliance.
General care and safety guide, continued
WARNING:
To prevent the risk of electric shock this appliance is equipped with a plug for a
grounded electrical outlet that only fits in a matching wall outlet. If the plug does not fit,
contact a qualified electrician for assistance. Never attempt to change the plug yourself.
To reduce the risk of electric shock or fire do not attempt to disassemble the power
base. There are no components included that could be useful separately. Repairs only
by approved professionals.

Components
Top Plate Adjustment Knob
Bottom Grilling Plate
Top Grilling Plate
Top Plate Adjustment Knob –
Holds Top Plate In Place For
Use On Melts, etc

Before First Use
Care and cleaning
IMPORTANT:
Before use and when heating up the
Sandwich Press for the first time, a slight
odour and/or fine smoke may occur. This
is caused by the heating of the elements
and new components and is harmless.
Provide adequate ventilation.
CAUTION:
To avoid burns, caution should be
taken when handling the Sandwich
Press.
1. Before first use, carefully unpack
Sandwich Press and remove all
packaging and materials.
2. Wipe all surfaces with a slightly damp,
soft cloth and dry well. Never immerse
in water.
3. Place Sandwich Press on flat, level
surface. Unscrew Adjustable Height
knob, allowing top and bottom to open
and close.
4. Cooking plates must be in closed
position for pre-heating.
5. Before using the Sandwich Press for
the first time, the non-stick plates must
be seasoned during the preheating
(until the green light comes on) to
protect the non-stick surface. Season
plates by applying a thin coat of
cooking oil, butter or margarine to the
cooking surfaces and rub in with a
paper towel. Exercise care as the
cooking surfaces will be hot.
After use and before cleaning, turn off
power at wall, unplug unit and wait for it to
cool.
Wipe inside and edges of heating plate
with absorbent paper towels or with a soft
cloth.
If any filling is difficult to remove from the
plates, pour a little cooking oil onto the
heating plate and reheat for 1-2 minutes.
Turn power off and wipe off after 5 minutes
when filling has softened.
Wipe outside with slightly moist cloth,
ensuring that no moisture, oil or grease
enter the appliance.
DO NOT clean any parts of the unit with
abrasive scouring pads or steel wool as
they will damage and scratch the non-stick
plates.
DO NOT place this unit in a dishwasher.
DO NOT use spray-on cleaners as they
will affect the performance on the non-
stick surface on the cooking plates.
STORAGE: Wrap cord around Cord
Storage Wrap which is underneath the
unit. Store in upright position.

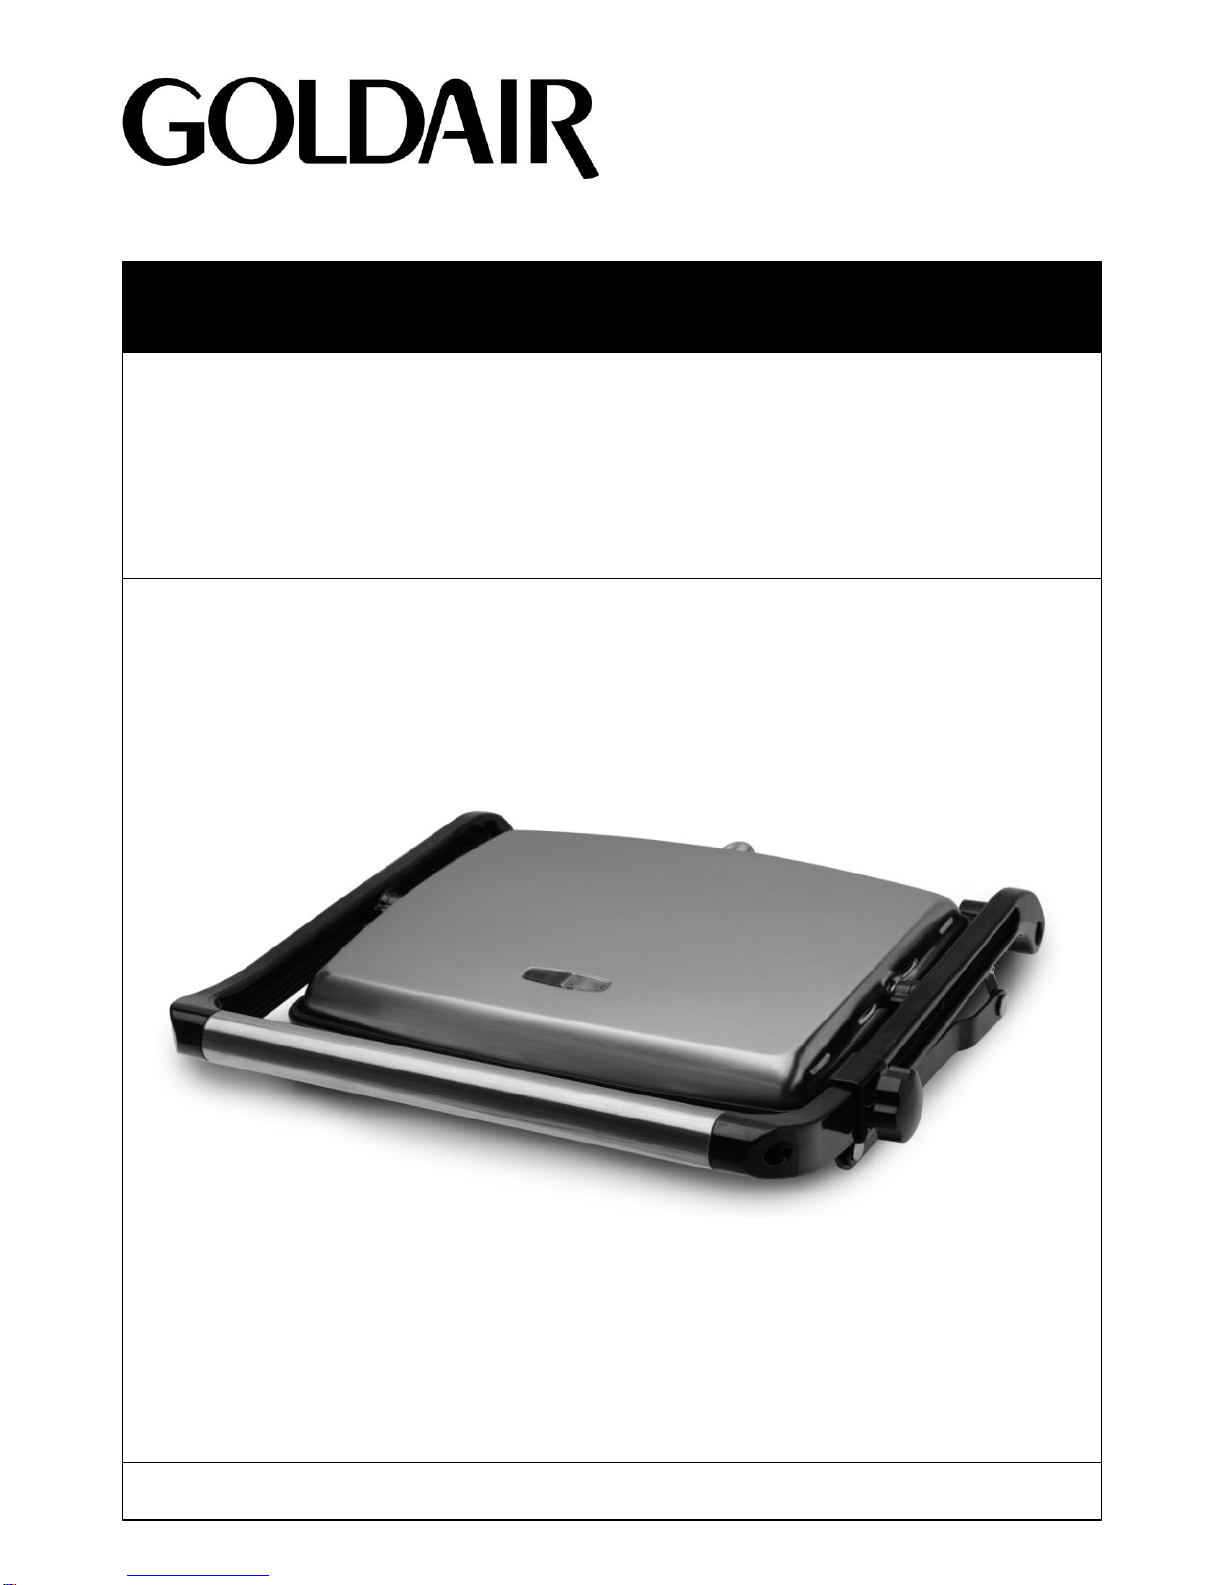
Operating Your Sandwich Press
1. Plug power cord into a 240V power
outlet and turn power ON.
2. The Power On (red) light will
illuminate, indicating that there is
power to the unit.
3. Preheat the plates for 2-4 minutes.
The Ready (green) light will illuminate
to indicate when preheat is completed.
4. Maximum temperature is reached 5
seconds after Ready (green) light
comes on.
5. If you are using the Sandwich Press
for the first time only, season the
cooking plates as described in the
BEFORE FIRST USE section.
6. Prepare your sandwich while the unit
preheats and, when the Ready (green)
light comes on, place your sandwich
on the Bottom Cooking Plate. Always
place sandwich towards rear of
cooking plate. Ready (green) light will
light on and off as thermostat
regulates temperature.
7. Close Top Cooking Plate, which, due
to the Floating Hinge, automatically
adjusts to the thickness of the
sandwich. This ensures even toasting
8. If you do not want your sandwich to be
pressed down, turn the Top Plate
Adjustment Knob clockwise to hold the
Top Plate at desired height. This is
also useful is you are cooking a “Melt”
or similar style snack where you wish
top plate and heat to be close to, but
not to push down on, the snack.
9. Toasting should take approximately 5-
8 minutes. Exact toasting times will
depend on type of bread, thickness of
bread and types of fillings.
10. Open the lid when sandwich is
cooked. Always remove the sandwich
by using a plastic or wooden spatula.
Never use metal utensils as they will
scratch or damage the non-stick
coating.
11. Close lid to preserve heat until ready
to toast next sandwich.
12. After use, turn off power at wall and
unplug.
1. The Sandwich Press can be used to
toast most types of bread; white,
wholemeal, multigrain, rye, raisin/fruit,
foccacia, Turkish, baguettes, bread
rolls.
2. Sweet breads such as raisin/fruit
bread and brioche, that contain a
higher sugar content, will tend to
brown more quickly.
3. For soft or liquid sandwich fillings, use
medium sliced bread.
4. The Sandwich Press is ideal for
toasting plain breads or Turkish
breads with no fillings or toppings.
5. The Sandwich Press will heat food but
WILL NOT cook raw ingredients. We
recommend that you precook raw
meats or fish and partially precook
large pieces of raw fruit or vegetables.
Tips For Best Results

Recipes
SUPPORT AND TECHNICAL ADVICE
PO Box 100-707, NSMC, North Shore City,
Auckland, New Zealand
Monday –Friday 8am-5pm
Phone: 0800 232 633
Website: www.goldair.co.nz
BREAKFAST ON THE RUN
Egg, pre-fried
Bacon strips, pre-cooked
Tomatoes, sliced
Mushrooms, sliced
2 slices crusty bread
Pre-cook filling ingredients and layer on one
piece crusty bread. Placed second slice
bread on top then cook in Sandwich Press
until bread is toasted and warmed.
Alternate fillings: sausage, cooked and
sliced lengthways; zucchini, sliced and
cooked; roasted capsicum.
VEGETARIAN WRAP
Tomato, sliced
Avocado, sliced or in chunks
Canned kidney beans
Cheddar cheese, grated
Red chillies, finely chopped
Onion, sliced (precooked or not, according
to taste)
Tortilla wraps
Combine filling ingredients in bowl and
season to taste. Spoon mix into tortilla wrap
and fold. Grill in Sandwich Press until beans
have fully heated and cheese has melted.
Serve with sour cream and green salad.
BACON, CHEESE & ROCKET FOCACCIA
Bacon strips, pre-cooked
Brie, or cheese of your choice, sliced
Bunch rocket (or other lettuce)
Fresh ground black pepper
Slice focaccia through lengthways. Layer
bacon and brie on one piece. Top with
rocket. Place other piece of bread on top.
Season and grill in Sandwich Press until
cheese has melted.
GOURMET TURKEY DELIGHT
Turkey pieces, pre-cooked
Goat’s cheese, sliced
Fresh spinach, torn
Cranberry sauce
Fresh ground black pepper
Crusty Italian bread
Spread two pieces of bread with cranberry
sauce. Top one piece with goat’s cheese
and torn spinach. Season. Place other piece
bread on top. Cook on Sandwich Press until
cheese melts and spinach wilts.
SWEET APPLE CROISSANT
Eating apples, peeled, cored and sliced
thinly
Lemon juice
Light brown sugar
Maple syrup or honey
Rum (or water)
Raisins, sultana or currants
Sweet bread such as croissant or cinnamon
fruit loaf
Soak fruit in a little rum (or water) for as long
as possible. While soaking, sprinkle apples
with a little brown sugar and lemon juice and
either grill the apple slices or fry in hot pan
with butter. Slice bread lengthways and
drizzle with good measure maple syrup or
honey. Top one piece with the apples and
raisin, put other piece of bread on top and
heat through on Sandwich Press.

Your Goldair product has been inspected and
tested and is guaranteed subject to the
following for a period to two years from the
date of purchase against defects in
workmanship and materials. During this
period, such defects will be rectified by repair
or replacement of the product purchased.
Your product contains no user serviceable
components and this warranty becomes
invalid if in our opinion the product has been
misused, abused, incorrectly installed,
tampered with, connected to an electrical
supply not corresponding with the name plate
specification, or subjected to power surges.
The warranty does not include any labour or
other associated expense that may be
involved in removal or installation of the
product. Normal wear and tear is expressly
excluded.
If your Goldair product fails to operate
satisfactorily, please return it to the retailer
from whom it was purchased. To obtain a
repair or replacement product under this
warranty, you will need to produce satisfactory
evidence of date of purchase. The completed
warranty and purchase receipt must be
presented with the product. The warranty
should be filled out at the time of purchase. It
is in your interest to make sure this is done.
If the product is to be replaced (cannot be
repaired) then that replacement will be of the
same or similar product or accessory
excluding packaging, instruction card etc.
Where a replacement product is supplied, this
shall be guaranteed for the balance of the
original warranty period.
Any model that is no longer available will be
replaced by a model of a value and with such
features as we consider appropriate in the
circumstances. Goldair Ltd is not responsible
for freight forwarding charges, losses or
damage in transit.
If service is required after the warranty period
has expired, the product should be returned to
a qualified electrical technician. Service
outside of the warranty period will be at your
cost.
Consumers Guarantee Act (1993).
In accordance with the above act consumers
are advised that: The manufacturer does not
undertake that repair facilities and parts are
necessarily available for this product.
If any of the provisions of the foregoing are
contrary to any relevant legislation, then that
provision shall be deemed to be excluded from
the warranty and the rest of the provisions will
continue to apply.
Name ………………………………………………
Address ……………………………………………
……………………………………………………….
Suburb ……………………………………………
Purchased from …………………………………
Date of purchase …………………………………
Name of product …………………………………
Model no ……………………………………………
IMPORTANT: Please retain this warranty card
Two year warranty
Table of contents
Other Goldair Kitchen Appliance manuals

Goldair
Goldair GBQR120 User manual

Goldair
Goldair FMF100 User manual

Goldair
Goldair FMC375 User manual

Goldair
Goldair GSR100 User manual

Goldair
Goldair FEP250 User manual

Goldair
Goldair GMC300 User manual

Goldair
Goldair FMC350 User manual

Goldair
Goldair GSDM200 User manual

Goldair
Goldair GSM220 User manual

Goldair
Goldair FEW210 User manual