GUARANTEE
Your machine is guaranteed for 24 months from date of purchase, so please ensure you register the machine online at
www.golfstream.co.uk/guarantee
The battery has a separate longer guarantee, please see the battery guarantee card for details. (excludes internal battery)
Golfstream Ltd., Wilton Road, Haine Industrial Park, Ramsgate, Kent CT12 5HG
+44 1843 594213 • sales@golfstream.co.uk • www.golfstream.co.uk
– – : – –
LH / RH
NORMAL
A single press of the control knob will offer power to the motor at the selected
speed, speed can be controlled with the control knob.
Press the control knob to stop the trolley and the display will revert to flashing.
Please note that on a downward slope there is the potential for the machine to
carry on moving through momentum. When stopped park so that the machine
will not freewheel downhill.
Your vision has super grip slick PU tyres that will offer far more grip and around
5 times the wear of a traditional golf trolley wheel.
DISTANCE CONTROL
Your Vision trolley comes with a Distance Control function allowing you to send
your trolley off on its own for 10, 20 or 30 metres (approx.) Sometimes it can be
useful to send your machine off towards the next Tee whilst you putt out.
To access DC Mode press and hold the control knob for 2 seconds, DC will appear.
Whilst DC is showing, rotate the control knob to cycle between 10, 20 and 30.
Press the control knob down when the distance required appears on the screen.
Your machine will then proceed at speed 6.0 and the display will count down.
You can stop the machine by pressing the control knob.
BATTERY INDICATOR
Your Vision comes with a battery indicator on the top left of the main screen –
this will give you an indication of how much power you have remaining in your
battery. Please note – in Simplicity/Competition Mode the battery indicator
will not show.
In the box you will find your Golfstream Vision, battery and charger. Take the
battery and charger out and put them on charge by plugging the charger into the
battery and battery into the mains, making sure the red charging light is
illuminated. Once the light goes green your trolley is ready for use.
Now take a minute or two to register your guarantee
at www.golfstream.co.uk/guarantee and keep your original receipt in a safe
place so that in the unlikely need of a claim you have everything to hand.
QUICK START
1. Before your first opening of the Vision please unwrap the bungee cords that
were wrapped around in manufacture. Now lift the handle into the fully erect
position, the central catch will lock with a reassuring click.
2. Now, if using the supplied Caddycell battery, plug the adaptor cable into the
socket on the power platform – we anticipate that in most cases you will
leave this plugged in permanently. Plug the T piece into the battery noting it
can only go in one way. The screen has now changed from “VISION” to “0:0”
flashing. Press the on off button down and the flashing will go solid, power
is now available to the motor, rotating the on/off knob will set the machine
into action.
Once you have these basics, add the golf bag and away you go.
For a more in depth explanation of your new Vision trolley, please read on.
When carrying the machine lift from the area highlighted
in the image, the magnetic catch will prevent it from flaying
open. Lay the trolley flat and lift from the handle, the
magnet will be released and you can extend the handle
upwards until it clicks into place.
Add the battery and your Vision is ready for action.
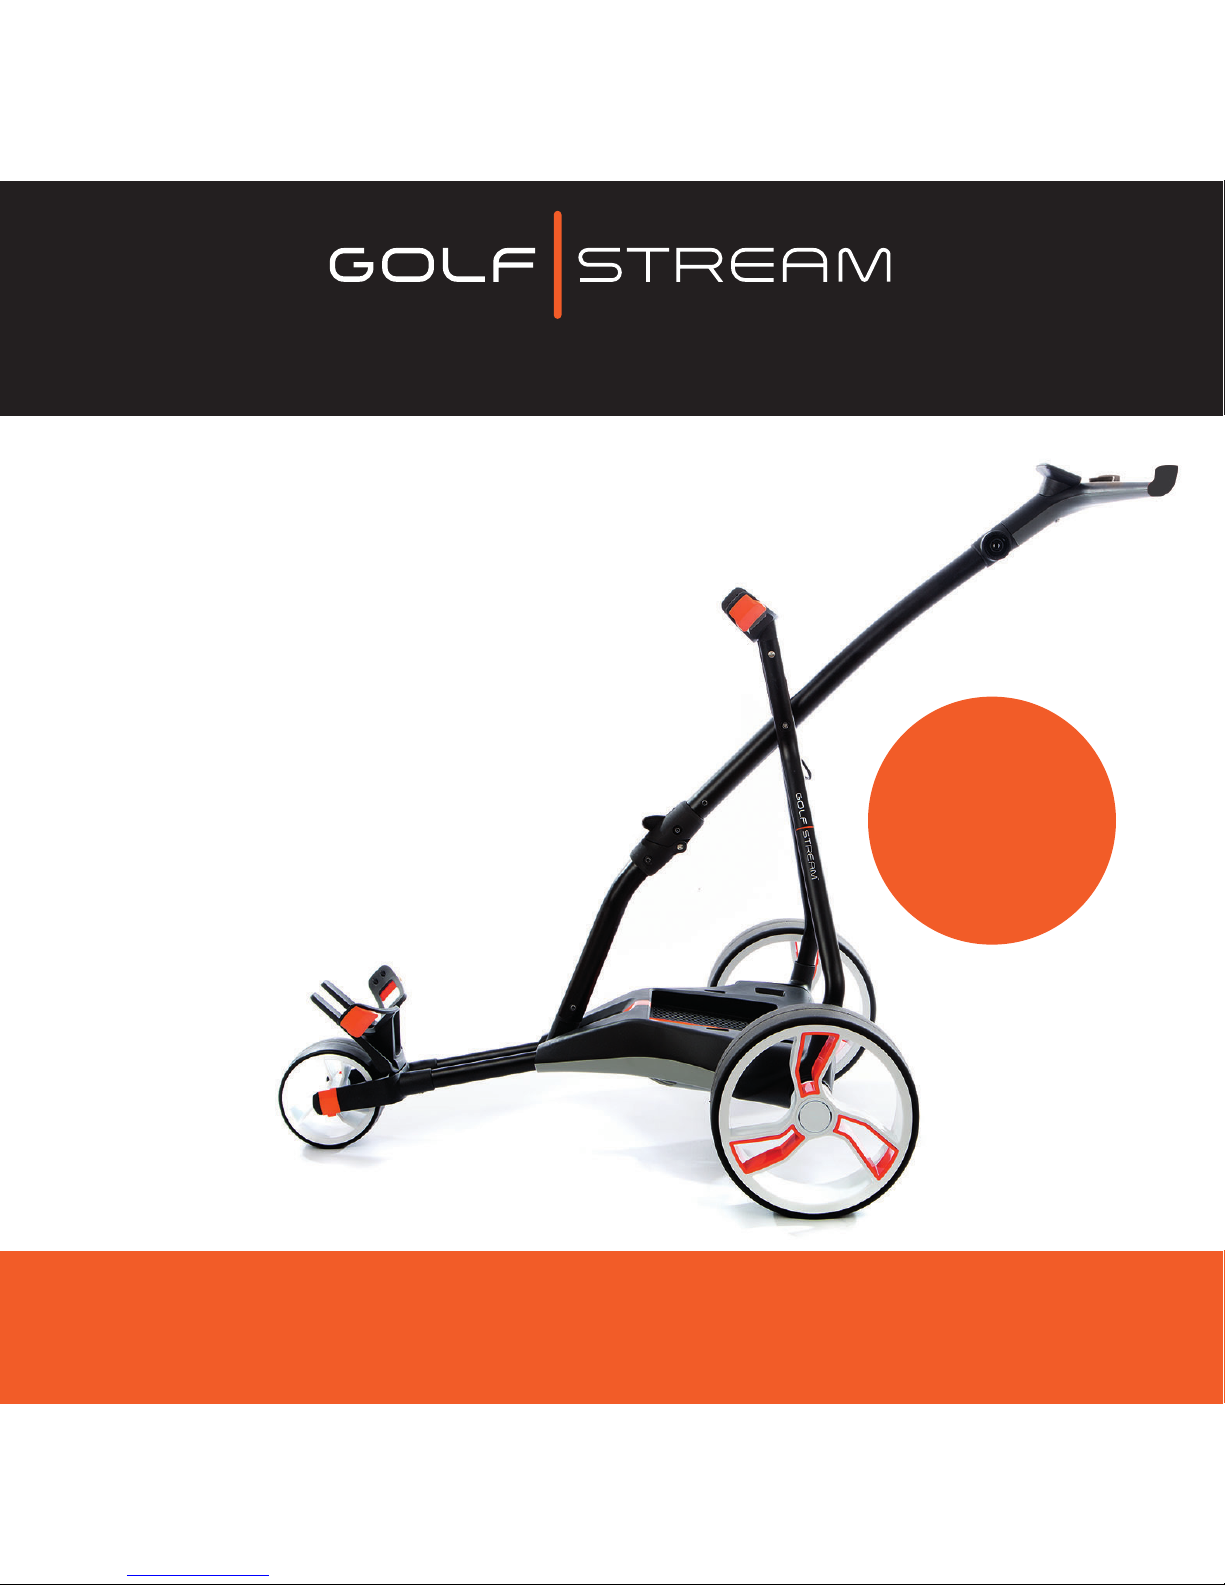
When you plug in your Vision the logo will be replaced with 0.0 flashing. This is the
speed indicator, whilst it is flashing no power is offered to the motor.
Rotating the control knob will change the display in 0.5 increments allowing you to
choose the exact speed to match your walking pace.
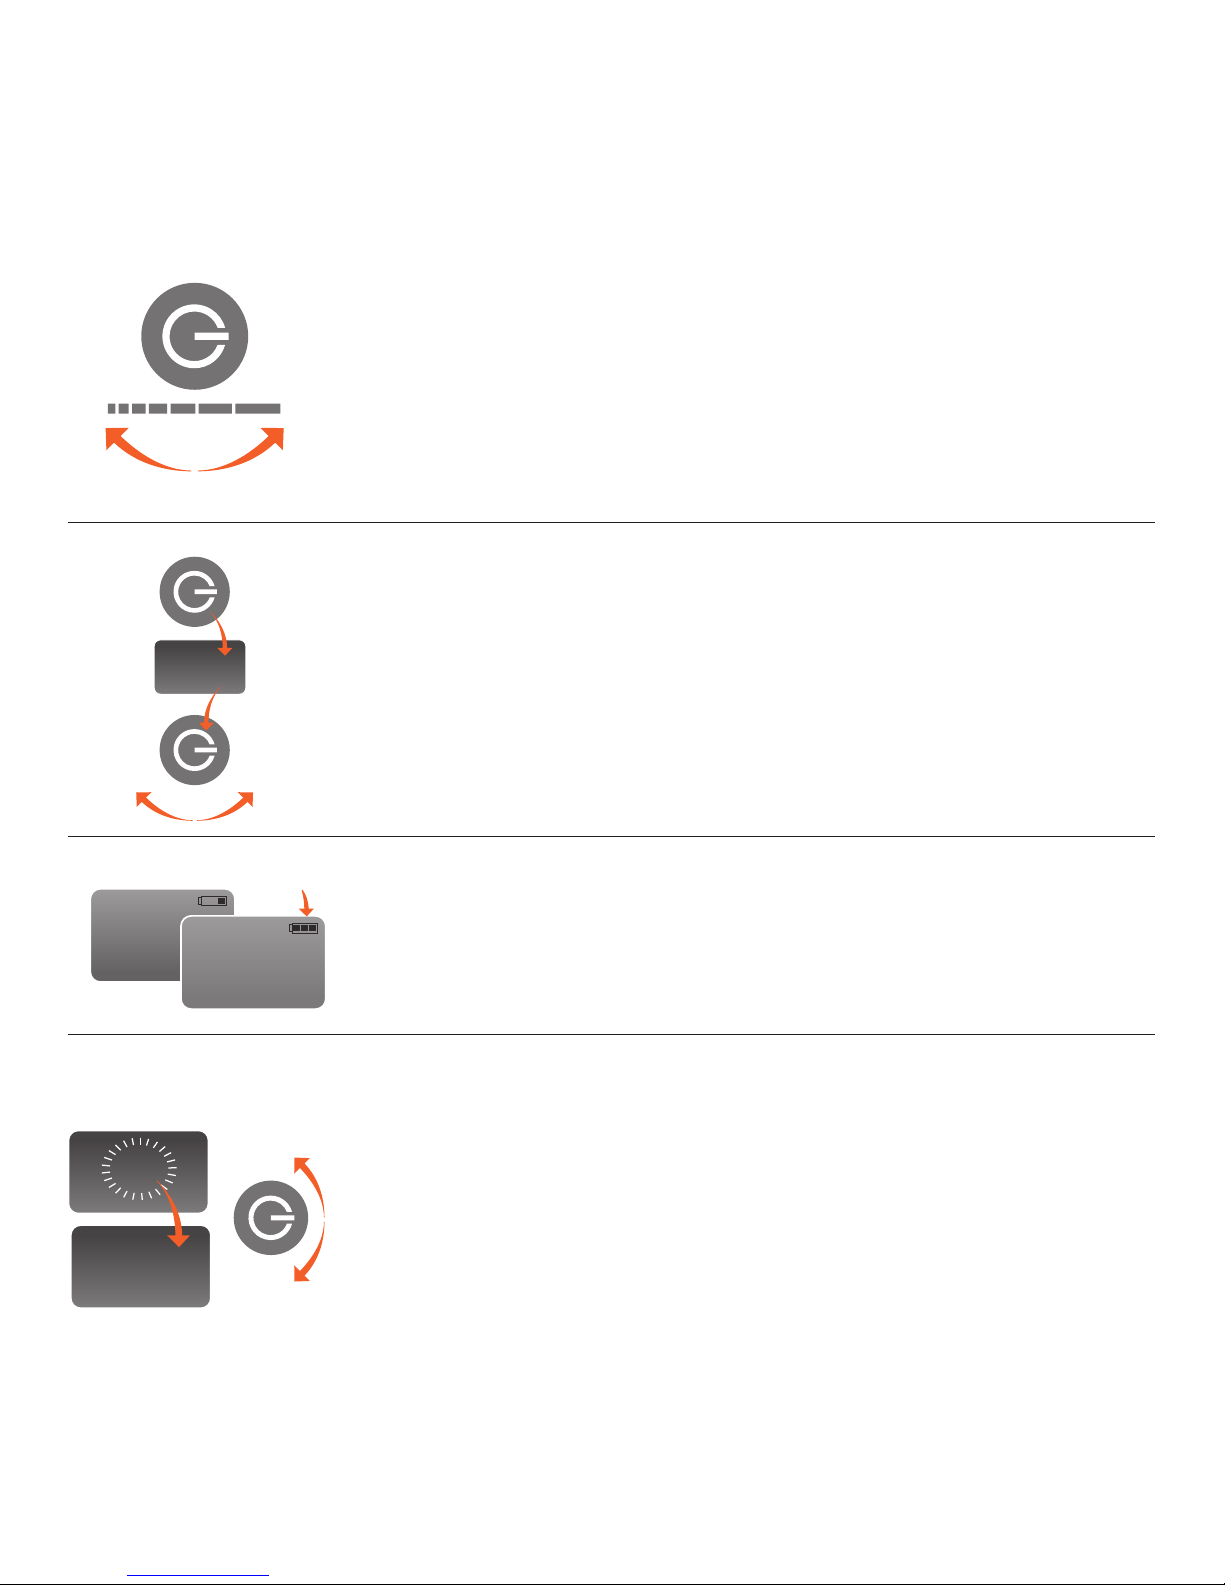
SIMPLE / NORMAL–
This facility
enables you to get rid of any “bells and
whistles” that you really don’t want
leaving just simple stop/star faster/
slower controls. Select Simple and hold
for 3 seconds to save. You can revert to
normal mode by going through the
procedure again and selecting “Normal”.
CLOCK–
Select clock and flashing
numerals will appear. Rotate the control
nob to alter hours and minutes, pressing
the knob to save changes.
LIFTING–
When lifting your Vision into
the boot of your car lift from the outer arm
close to the main wheel. Pick up without a
“tug” so that the magnetic catch is not
deactivated and keeps the handle section
from flaying out.
HAND–
If you are left handed you will
want to select LH, this will reverse how the
rotary control knob works so that faster is
anticlockwise and slower is clockwise.
Press and hold to save the LH or RH option.
EXIT
EXIT–
Select exit to come out of
programming mode.
HILLS–
Your Vision has super grip PU
tyres however, if you ramp up the speed
quickly you will be able to spin the wheels,
just like a car really. So particularly on hills,
move the speed control gradually to gain
maximum grip.
WARNINGS: Under excessive pressure your machine may show “Over Current Please Reset” if this happens simply
unplug and re-plug the battery – if it persists please contact Golfstream.
If the main screen doesn’t revert to VISION (or your chosen main screen) when the battery is unplugged your screen
battery needs to be replaced, the machine will still work normally when plugged in. However please contact Golfstream.
If your Vision shows “Failed Authentication” please unplug and try again – after this please contact Golfstream.
GET ME HOME GROOVE: Should you ever need to; the wheels can be moved into an outer disengaged position that will
allow the machine to be pushed very easily. Simply press in the sprung hub cap whilst pulling the wheel away from the
trolley until it locates in the outer groove. Repeat with the other side.
GENERAL MAINTENANCE:Occasionally take the wheels off and remove any debris from the axle such as straw or
string. Before you put the wheel back on wipe the axle with a greasy rag (tiny smear).
Periodically clean the machine with a damp soapy cloth but never jet wash.
COLOURS: If you fancy a change or you want colours to match your football team or outfit you can purchase a colour
pack that will transform your machines look in 30 minutes. See www.golfstream.co.uk/visioncolours for details.