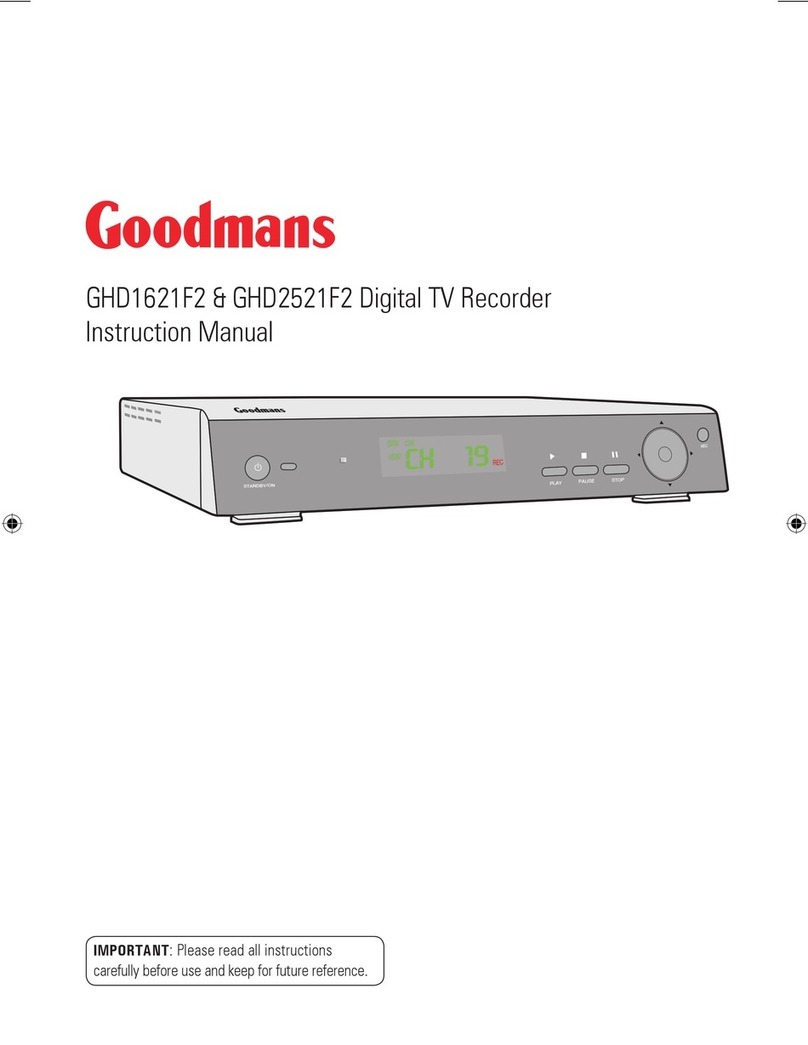
Goodmans GHD1621F2 User manual


IMPORTANT SAFETY INSTRUCTIONS
Thank you for purchasing this product. Please check carefully in the box for
the following parts:
1. 1 X GHD1621F2
2. 1 X Remote control
3. 2 x AAA Batteries
4. 1 x RF Cable
5. 1 x Scart Cable
6. Instruction manual
This sysmbol isintended to alertthe user toavoid the riskof
electric shock. Onlyqualified service personnelshould attempt
repair or disassembly.
Toavoid to damage"Digital TV Recorder",Please switch to
standby mode beforeyou want tounplug the "DigitalTV Recorder" .


Unqualified attempts to repair this unit will invalidate the warranty. Refer repairs
to this unit to a qualified service personnel only.
Do not disassemble this unit. There are dangerous-voltage parts inside that may
cause electric shock even after power is disconnected.
Store your unit in a clean, dry environment, Unplug the unit immediately it gets
wet, and consult a servicing technician.
Always unplug the unit before cleaning it. Wipe dust off the cabinet of the unit
with clean, dry & soft cloth.
Do not place any objects on top of the unit.
Avoid exposing your unit directly to sunlight or other heat sources.
Put your unit in a well-ventilated area away from high humidity.
Do not expose this unit to rain or moissture, dripping or splashing.
For stubborn stains use a damp (not dripping) cloth.
Do not use any cleaning solutions on this model.
Safety Tips
If smoke, abnormal noise or odour comes out of this unit, unplug from the
mains supply immediately and contact the retailer.
Never try to repair the unit on your own. Always contact the dealer for repairs.
This user's manual contains for-reference-only graphics and information that are
subject to change without notice.
Note
This appliance is labelled in accordance with European Directive 2002/96/EG
concerning used electrical and electronic appliances(waste electrical and electronic
equipment - WEEE). The guideline determines the framework for the return and
recycling of used appliances as applicable throughout the EU.
WEEE:

SAFETY INFORMATION
INTRODUCTION
About the "Digital TV Recorder"
SYSTEM CONNECTION
GETTING STARTED
Switching on
Automatic / Manualchannel scan
Accessing the ElectronicProgramme Guide (EPG)
OPERATION
SYSTEM SET-UP
TROUBLESHOOTING
SPECIFICATIONS
CONTENTS
Front panel
Rear panel
Remote control
1
1
2
Connecting to theTV
Connecting a HiFisystem
Connecting a videorecorder
3
3
3
4
4
4
Recording
Playback of recordedfile
Channel List
Infor Bar information
5
6
6
7
9
10
Channel Setting
"Digital TV Recorder" Setting
OSD Setting
Factory Reset
TV Shape
Video Output
Software Version
7
7-8
8
8
8
8
8

TV
AUX
RS 232
RF LOOP
THROUGH
RF LOOP
THROUGH
AC 220-240V
~50/60Hz
V
R
L
Coaxial
Digital Audio
Video Down Mix Audio
Aerial
input 1
Aerial
input 2
PLAY PAUSE STOP
REC
STANDBY/ON
Rear panel
INTRODUCTION
1
Front panel
Standby button
PLAY
Open the Library/Start
playback of selected
recording
PAUSE
(pause playback
or start timeshift)
Remote sensor
Power indicator
Display STOP
(Stop Playback/Timeshift
Cursor
Channel Up/Down
Skip forward/backwards
Coaxial Digital
TV Scart
Connection to TV
Serial port
AUX Scart
for connection toa VCR
or a DVDRecorder
RF Loop through
Connect the suppliedRF loop-
through cable tothe TV.
AC Mains cable
Composite Video
Down Mix Audio
2 Channel L/R
RECORD
Record Current Event
Aerial Input
Connect the aerial tothis socket
Please note, the AUXsocket can only beused to
loopthrough SCART video, itis only possible to
record possible
to record from externalequipment connected to
the AUX socket.
from the internal tuner,it is not
Tuner interconnect
cable - donot
disconnect

1 2 3
456
78 9
0
OK
STANDBY TV/AUX
RECALL
WIDE
GUIDE
CH
CH
i
SUBTITLE
AUDIO
PLAY REC
FRW FFW
STOP
SLOW
SETUP EXIT
CH. LIST TEXT
PAUSE
SEARCH
SKIP FWD
SKIP BACK
2
NAVIGATION/OK
navigate up/down/left/right inmenus/on
screen displays
8
9
11
10
12
13
15
14
7
16
17
18
19
20
21
INTRODUCTION
22
23
POWER ON/STANDBY
between ON andSTANDBY
1
2
3
4
5
24
25
26
27
28
29
RED BUTTON
GREEN BUTTON
STOP
Stop playback orRecording
TV/AUX
Cycle between internalAudio/Video and
AUX loopthrough Audio/Video
YELLOW BUTTON
BLUE BUTTON
SETUP
Display setup menu
TEXT
Display the DigitalTeletext where available
AUDIO
Cycle through availableAudio languages
SLOW
Cycle through theavailable slow
motion playback speeds
RECALL
Return to previousselected channel
SEARCH
During Playback, pressthis button togoto a
favourite section.
SUBTITLE
Cycle through theavailable subtitles forthe
current broadcast.
1
2
3
4
7
5
10
8
9
17
18
19
20
21
11
12
13
22
23
6
14
24
25
15
16
26
27
28
29
CH.LIST Display channel list
CHANNEL UP/DOWN
RECORD
During Live TV,press once torecord the current
event, press againto record thefollowing event.
When viewing theEPG, press onceto select an
event for recording.
SKIP FORWARD
Jump forwards duringplayback
SEARCH FORWARDS
Press this buttonrepeatedly during playback to
cycle through theavailable speeds forsearching
forwards.
EXIT
6INFO
Display the I-Bar
NUMERIC ENTRY
Select a channeldirectly by entering
its channel number
WIDE
Adjust the aspectratio of thevideo output
GUIDE
Display the EPGElectronic Program Guide
SKIP BACKWARDS
Jump backwards duringplayback
PAUSE
When watching liveTV, press tostart
Timeshift mode.
During playback press onceto pause playback,
press again toplay frame byframe
Confirm selection inmenu/on screen
displays.
PLAY
Press once toopen the videolibrary and
also to resumeplayback when videois paused.
SEARCH BACKWARDS
Press this buttonrepeatedly during playbackto
cycle through theavailable speeds
for searching backwards.

TV
AUX
RS 232
RF LOOP
THROUGH
RF LOOP
THROUGH
AC 220-240V
~50/60Hz
V
R
L
Coaxial
Digital Audio
Video Down Mix Audio
Aerial
input 1
Aerial
input 2
Hi-Fi (With Digital Coaxialinput)
COAXIAL CABLE (not supplied)
TV
AUX
RS 232
RF LOOP
THROUGH
RF LOOP
THROUGH
AC 220-240V
~50/60Hz
V
R
L
Coaxial
Digital Audio
Video Down Mix Audio
Aerial
input 1
Aerial
input 2
SYSTEM CONNECTION
3
Connecting to the TV
SCART CABLE
RF CABLE
AERIAL
TUNER
INTERCONNECT
CABLE
(already
connected)
STEREO AUDIO
(Not Supplied)
COMPOSITE VIDEO
(Not Supplied)
RF CABLE
(The existing cable
from your Aerial)
VCR
TV
F CABLE
(Not supplied)
TV
AUX
RS 232
RF LOOP
THROUGH
RF LOOP
THROUGH
AC 220-240V
~50/60Hz
V
R
L
Coaxial
Digital Audio
Video Down Mix Audio
Aerial
input 1
Aerial
input 2
SCART CABLE
SCART CABLE
(Not supplied)
Connecting a video recorder
TUNER INTERCONNECT CABLE
(already connected)
Video Cassette Recorder
RF cable
Connecting a HiFi system
AERIAL
RF CABLE
(The existing cable
from your aerial)
R

Switching on
NOTE
Accessing the Electronic Programme Guide (EPG)
From the EPG,you can changechannels available ,checkprogramme
information ,access one-weekprogramme schedule whichdetails the
times and programmesfor the nextseven days and set reminders/
recording timers .
1
2
3
4
Press the "GUIDE"button to enterthe Channel Schedule.
Press "UP "or"DOWN" cursor buttonto select the desiredchannel.
Press "LEFT"or "RIGHT"cursor button tonavigate the selected channel.
Press "Yellow " or "Blue "button to view information for previous or
next days.
Press "OK" button to add a reminder, then a white line will appear under the selected
event. When the reminder programme is about to start, a reminder window will appear.
Press "EXIT" button to exit the channel schedule.
A reminder cannotbe set forthe currently showingprogram on achannel.
5
GETTING STARTED
8
5
6
4
Turn on your TV set and select the corresponding AV input (For Instructions, please consult the
instruction manual supplied with the TV).
If you use the "Digital TV Recorder" for the first time or have deleted all channels in the "Digital TV
Recorder" , the "TV Setting" is shown.
Press "LEFT" or "RIGHT" cursor button to choose either "16:9" (widescreen)
or "4:3" (traditional) according to the TV shape you have.
Make sure that the TV aerial is connected to the unit then, press "OK" button
to continue installation.
"Scan Progress" menu will appear and list the channels as they are found.
A bar appears below the found channels indicates the progress of the
channel search.
When all channels have been found, the channel at the top of the list
will be shown on the TV.
Press the "SETUP"button to enterthe main menuof the "DigitalTV Recorder" .
Press the cursorbutton to select"System Setting",then "ChannelSetting",
then "Channel Tuning".press the "OK"button to enterChannel Tuning menu.
Use "LEFT" or"RIGHT" cursor buttonto select "Autoscan"
or "Manual scan".
If "Auto" isselected press the"OK" button toautomatically scan for auto
channels. If Manualscan (recommended foradvanced users only) is selected,
the UHF channelnumber that therequired channel ison will need to be entered
before scanning.
Press "EXIT"button tocancel scan fornew channels.
1
2
3
4
5
Automatic / Manual channel scan
6
It may takeupto several secondsfor the HardDrive to start,therefore there may be a short
delay after pressingthe standby buttonand the unitturning on.
If new channelsare broadcast, youwill need to rescan the "Digital TV Recorder" before they are
added to thechannel list. Pleasefollow one of the below methods to add these channels.
Channel Schedule
09 OCT,2007 14:39
09 OCT,2007 14:00 14:30 15:00 15:30
BBC ONE
BBC NEWS 24
BBC TWO
BBC THREE
Updating...
12:00-18:57 This is BBC THREE
BBC THREE: Refreshing TV for thedigital age.
Tune in daily from 7.:00pm.
Updating...
Updating...
Updating...
Channel
OK
ReminderProgram Event Record
HDD Used Reserved Free
Prev day Next day Reminder Record Reminder+Record
Channel Tuning
Search Type Auto Scan
Select
OK
Enter
Exit
AdjustExit
Channel Tuning
Select
OK
Enter
Search Type Manual Scan
Exit
Channel No
21
Quality
0%
Strength
0%
AdjustExit
Scan Confirm
Channels Found:
BBC ONE
21/49
36%
Channel No 52(722 MHZ)
BBC NEWS 24
Exit
Exit
NOTE
If you select "Yes"and press OK button,the "Digital TV Recorder" will change
the channel immediately.
If you select "Postpone2 min" and press"OK" button , thereminder window
will be shown againin two minutes (thiscan be useful ifthe programme that
you are currently watchingis overrunning and thereforeyou need to delay
the channel change).
To cancel the reminderand continue watching thecurrent channel,
select "No" and press"OK"button.
Information
BBC ONE
will be played in
15 seconds.
Do you want to watch it?
Yes NoPostpone 2 min
The "Digital TVRecorder" will changeautomatically to theselected channel afterthe countdown isshown.
TV Setting
Select
OK
16:9
Please ensure the aerial is connected
Please choose correct TV Shape:
Please press to Start Scan
OPERATION
When viewing liveTV, press the"PAUSE" button toactivate
timeshift function.
Press "PLAY" buttonto continue watching.
During playback,
Press "FRW" or"FFW" button repeatedly to cyclethrough the availablesearch speeds.
Press " " or " " button toskip backward orforward by 30 seconds.
Press "PAUSE" buttononce to pauseplayback,press again toadvance frame by frame.
Press the SLOWbutton repeatedly tocycle through theavailable slow motionplayback speeds.
Press "STOP" buttonto stop timeshiftplayback and then return the live TV, the timeshift function
is then cancelled.
SKIP BACK SKIP FWD
1
2
Recording
Recording current event:
When viewing achannel, press "Record"button torecord the currentevent directly, to recordthe
following event pressthe record buttonagain.
When there isa recording oncurrent event, it is possible
to view adifferent channel .
Timeshift :
Timeshift allows youto pause thecurrently showing programme,for example whenthe phone rings.
It is notpossible to changechannels when thetimeshift function isactive.
If the recording starts , Timeshift will be cancelled.
Recording :
Press the "SETUP"button and select"1. Record anew program" (orpress the guidebutton on the
remote control) todisplay the EPG.
Use the cursor button toselect desired programme,
Press the "Record"button, If the seriesinformation is broadcastfor
the selected eventa pop-up willbe shown. Torecord only that
occurrence select "SingleEvent". To recordthe entire series,
select "Entire Series", this willthen add bookingsfor every eventthat
is signalled asbeing part ofthat series -Please note, thisinformation is broadcastby the channel.
To cancel a recording timer, select the programme and
press "Record" buttonagain.
1
2
3
Timeshift: five
-0:00:18
3
8
5
6
5
4
Your "Digital TVRecorder" can record two events at same time.
Press "STOP" buttonto stop thedesired recording andreturn to liveTV.
13:00-13:27 BBC News
1 BBC ONE
13:28-13:39 South Today
13:27
Change Time
OK
View
Change Channel
Record
Exit
Exit
The unit willupdate the recordings
automatically based onany schedule
changes that aremade to theEPG by
the broadcasters.
Timer List
Auto Resolve
No ENENT NAME START Date Start End Mode
Delete
001
Marry, kiss or miss?
23.10.2007
15:20 15:29
OK
Resolve
Pic-1
Conflicts with existed Events:
No ENENT NAME START Date Start End Mode
Delete
ne
Marry, kiss or miss?
23.10.2007
15:20 15:29
Alternative
Pic-2
001
Through The Ke
23.10.2007
14:55 15:24
002
BBC News
23.10.2007
15:00 15:59
SETUP
Return
Conflict Resolution:
To try andautomatically resolve theconflict press theGREEN button. Ifthe
"Digital TV Recorder" can find alternativeoccurrences of theevent, it will
record this instead.This will beindicated by agreen tick inthe mode column.
If no alternativescan be foundthe unit willinform you bydisplaying a
pop-up window, pressthe OK buttonto close thispop-up.
In this casethe conflict willhave to beresolved manually.
To do thispress OK buttonwith the timerscreen (Pic-1) shown.From the
new on screendisplay that isshown (Pic-2) selecta recording thatshould be
cancelled by highlightingit and pressingthe GREEN button.
Finally, press theOK button toconfirm any changesthat have beenmade.
Your Digital TV Recorder can record fromtwo channels atonce.
If you tryto add athird recording thetimer list screenwill be shown(Pic-1).
""
If there aretwo recordings youcan
only watch eitherof the channels
being recorded ora program
previously recorded fromthe library.

8
5
6
6
Search Forward:
Press the "FFW" button repeatedly
to cycle through the available
search forward speeds as follows:
Pause/Step:
Press the "PAUSE" button to pause playback. Once paused, press the "PAUSE" button repeatedly to
advance frame by frame.
Search:
Press "SEARCH" button, the Searchmenu window isshown.
1
22
Use "SEARCH" functionto jump toa specific point.
Use the numericbutton to inputthe desired timeand press "OK"
button to confirm.Then playback willjump to thattime .
OPERATION
Slow motion playback:
Press the "SLOW" button to
cycle through the available
slow motion playback speeds
as follows:
Search Backward:
Press the "FRW" button repeatedly
to cycle through the available
search backward speeds as follows:
Channel List
The Channel Listpresents a listof all channelsfound during thechannel search. Fromthe Channel
List you can select a channelto watch, deletea channel orLock/Unlock the channel.
Press "CH.LIST " button, Channel listappears.
Press "UP " or "DOWN " cursor button toselect the desiredchannel.
Press "OK " button to view the channel.
Press " YELLOW"button to deletethe channel.
Press " BLUE"button to lock/unlockthe channel. If the channel is
locked the PINnumber will needto be enteredbefore the
programmes can beviewed.
Press "EXIT"button to exitthe channel list and view thechannel
on full screen.
1
2
3
4
5
6
NOTE:
You will beasked to input apin code when youwant to lock /unlock
the selected channel. Thedefault pin code is"888888".
Channel List
Select
OK
Enter
Exit
Exit
82-Sky News
83-Sky Spts News
106- Yooplay Games
Quality:
Strength:
100%
65%
Delete Lock
723- Talk SPORT
SearchSearch
Goto:Goto: 00:00:0000:00:00
Max Length:Max Length: 00:00:4900:00:49
OKOK
ConfirmConfirm
ExitExit
ExitExit
X1/2 X1/4 X1/8 (Play)(Play)
X4 X8 X16 (Play)(Play)X2X2 X4X4 X8X8 X16X16 (Play)
NOTE:
For "Keep"setting, you needto enter Pin code.
The default Pin codeis "888888".
Playback of recorded files
4
5
Press" YELLOW " button to delete the selected recording.
Press"BLUE" button to keep the selected recording.
If this is selected then the PIN code will need to be
entered before the file can be deleted in the future.
To view thesynopsis of therecorded event pressthe i
button, a pop-upwill be showndetailing the synopsis
that was broadcastat the timeof recording.
6
Press the "GREEN" button,the rename
windows is shown,
Press "UP" and "DOWN"button to input
character, press "LEFT" or"RIGHT" button
to move cursor,
Press "OK" button toconfirm the new
name after finish allrevision.
"Digital TV Recorder" Rename Program
InsertInsert
Select charactorSelect charactor Move cursorMove cursor
OK-Confirm Setup- Return DeleteOK-Confirm Setup- Return Delete
New Name:New Name: Sky News TodaySky News Today
Press "SETUP" andselect "2. Playbacka recorded program"(or press the"PLAY" button onthe remote
control) to displaythe Video Library.
Video Library
1.BBC News
2.SKY News Today
10/10/2007
10/10/2007
Wednesday
Wednesday
HDD Information
Used Reserved Free
OK
Play Continue
Rename Delete Keep
Auto discard: None
Sky News Today
Sky News
Sky News all the...
Recorded at 02:45:48 PM
Press "UP" or"DOWN" buttons to selecta recording, then
press "OK" buttonto play.
Press"RED" button to continue from the last viewed point.
Press"GREEN" button to Rename the selected recording.
1
2
3

7
SYSTEM SET-UP
Press the "SETUP"button to enterthe setup menuof the "Digital
TV Recorder" .
Press the "UP"or "DOWN" buttonto select "3.System Setting" .
Press the "OK"button to enterthe sub-menu.
Press "UP" or"DOWN" button tohighlight desired itemand
press "OK" buttonto enter thesub-menu .
Select the desiredoption and press"LEFT" or "RIGHT" button
to select desiredsetting and press"OK" button toconfirm..
Press "EXIT" buttonto quit.
1
2
3
4
5
"Digital TV Recorder" Setting
Main Menu
Enter
Select
OK
Exit
AdjustReturn
1. Record a new program
2. Play back a recorded program
3. System Setting
0. System Information. System Setting
Select
OK
Enter
Exit
AdjustReturn
1. Channel Setting
2. "Digital TV Recorder" Setting
3. OSD Setting
4. Factory Reset
5. TV Shape
6. Video Output
4:3
RGB
Set this optionto automatically deletefiles according to one of the following rules if the hard drive is full.
Auto Discard:
None:
Do not deleteany recordings (thetimer event
will not recordas the HardDrive is full)
These setting determinehow the recordingfunction operate.
To keep unviewedrecordings please ensurethat "exclude unviewedrecordings" is selected.If you
wish to discardunviewed recordings aswell as viewedrecordings select "includeunviewed recordings".
Timer:
Oldest:
Discard the oldestrecording first.
Shortest:
Discard the shortestrecording first.
Biggest:
Discard the biggestrecording first.
SYSTEM SETTING
Channel Setting
This menu allowsusers to setChannel list andChannel Tune. Pleasesee page 4for details.
Info-Bar information
13:00-13:27 BBC News
1 BBC ONE
13:28-13:39 South Today
13:27
Change Time Change Channel
Exit
Exit
1
2
3
With an eventin the futurehighlighted. press the"OK" button toset a reminderfor that event.
4
With an eventin the futurehighlighted. press the"REC" button torecord that event.If the series
event information for thatevent is being broadcast, a pop upwill show, select "SINGLEEVENT"
and press "OK"to record onlythat occurrence orselect "ENTIRE SERIES"and press "OK"to record
the entire series.
5
The info-bar allowsyou to viewlimited programme detailsfor each channelwhilst watching the
selected channel.
Press the "i"button, the info-barwill be shownand will showthe now andnext programmes for
the current channel.
Press the "UP"or "DOWN" buttonto view thelimited schedule informationfor the channel.
Press "LEFT" or"RIGHT" buttons tochange the channelthat the informationis shown for.
Enter this menu,PVRcan display Timerlist in whichinclude details forthe reserved recordingsand
events such asEvent name, StartDate reserved, starttime reserved,End timereserved and eventmode .
In timer list,
Press "UP" or "DOWN" button to select the desired reserved event,

OSD Setting
INFO bar time-out:
These setting determinehow the OnScreen Displays (OSD)operate.
The info barwill time outafter the numberof seconds setfor this optionafter the lastbutton press.
Available options are5 , 10 , 15 o r 20 seconds.
EPG style:
Select the defaultstyle of EPGthat should beshown when pressingthe "GUIDE" button.The two styles
can be cycledthrough by pressingthe "SETUP" buttonwith the EPGshown on screen.
OSD color style:
Change the coloursused for allon screen displays.
SYSTEM SETTING
8
SYSTEM SETTING
Press "SETUP" buttonand choose "0.System Information" todisplay the systeminformation page which
displays information whichmay assist inthe resolution ofcertain problems whencontacting our helpline.
SYSTEM INFORMATION
This option canbe used todisplay information pagefor the "Digital TV Recorder" such as ModelNo,
Subtitle status, Languagestatus, type, Total size, Free space,Number of
existing Channel, HelplineNo., Transmitter nameand Software version.
the hard drive the hard drive
Factory Reset
This menu allowsyou to Restoredefault settings, Delete all channels, Format Hard Disk ,
Update software andchange Pin code(Thedefault Pin codeis "888888").
TV Shape
Video Output
Use this menu to set Video output.
Software Version
This menu allowsusers to viewsoftware version.
Factory Reset
Use this optionto delete allchannels and settingsand reset "Digital TV Recorder"to the firsttime
installation mode.
Delete All Channels
Use this optionto delete allexisting channels .
Format Hard Disk
Use this optionto format the hard drive.You will beasked to inputPin code. Allrecordings will bedeleted.
Software Update
Use this optionto Update softwareby Auto orManual mode.
Change Pin Code
Use this optionto Change pincode.
Change Pin Code
Old Pin Code
New Pin Code
Enter Again
Confirm Exit
Exit
OK
Input Old Pincode,
Move down cursorand input NewPin code,
Move down cursorand input NewPin code again.
Press "OK" buttonto confirm, press"Exit" to cancel.
1
2
3
4
This option canbe used tospecify the typeof TV thatyour "Digital TV Recorder" is connected to.Select 16:9
if the "DigitalTV Recorder" is connected to awidescreen TV orselect 4:3 ifthe "Digital TV Recorder" is
connected to atraditional (non-widescreen) TV.
Auto Mode:
Status
Start Time
Confirm Return
SETUP
OK
ON
xx:xx HH:MM
Select "Auto Mode",Setstatus to "ON"and set thedesired time
you want tostart updating .Thenthe "Digital TV Recorder"will
uptate software automaticallyif a update isavailable.
Manual Mode:
Select "Manual Mode",highlight " Scan"and press "OK"button,
"Digital TV Recorder" will update tothe current software.
Upgrade
Current Release:
xxxx
Scan for Upgrade now
Scan Cancel
Press "SETUP" buttonto return tothe timer menu,press"RED" button to
filter the selectedone, press "OK"button to deletethe selected one.
White: reminder
Red: Current Recording
Yellow: Reserved Recording
Event mode:
Timer
OK
Delete
SETUP
Return
No ENENT NAME START Date Start End Mode
Filter
001
Marry, kiss or miss?
002 MADE
23.10.2007
23.10.2007
14:00 14:59
14:00 14:59
This option allowsyou to setthe amount ofspace reserved fortimeshift.
For example if60 minutes isselected then theunit timeshift for60 minutes.
Timeshift:

Should you experience a problem withyour "Digital TVRecorder" , pleasecontact our helplinebefore returning
the product to the retailer as many problems canbe resolved inthis manner. Thecontact details forthe
helpline are:
Tel: 0871 2301777
Internet: www.goodmans.co.uk
In the unlikelyevent of requiringspare parts, pleasecontact our spare parts department on:
Tel: 0871 2300790
Please note indooraerials are notrecommended for usewith this product (this includes loft aerials) otherwise
you may experienceproblems with receptionor picture breakups on somechannels.
TROUBLESHOOTING
Problem
Standby light not lit
No signal found
No picture or sound
Scrambled channel
message
No response to remote
control
Forgotten PIN code
After moving
another room you find
you are no longerable to
receive digital reception
your recorder
to
Timeshift will notstart.
Possible cause
Mains lead unplugged
Mains fuse blown
Aerial is disconnected
Aerial is damaged/misaligned
Out of digital signalarea
Tuned to digital teletextchannel
Channel is scrambled
Receiver off
Handset not aimed correctly
Front panel obstructed
Hand set batteries exhausted
The aerial feed formnew point
may come through a distribution
system which may reducethe
digital signal now receivedby the
box.
Your "Digital TV Recorder" is recording.
What to do
Check mains lead
Check fuse
Check aerial lead
Check aerial
Ensure that you are capable of-
receiving Digital TV.
Reduce to another channel
channel - This "Digital TV Recorder"
is not able to decode scrambled
channels.
Plug in andturn on plug
Aim handset atfront panel
Check for obstructions
Replace handset batteries
Contact help line
Try a directfeed from theaerial
Stop the current recording and then
press the pause button again to
resume timeshift.
21
9

TUNER & CHANNEL
DECODER
TRANSPORT STREAM
PROFILE LEVEL
VIDEO FORMATS
Audio Format
VIDEO OUTPUT
INPUT RATE
CONNECTION
MAIN POWER CABLE
TUNER
AUDIO
DATA PORT
POWER SUPPLY
INPUT VOLTAGE
POWER CONSUMPTION
SPECIFICATIONS
NOTE
Due to continual revision and improvements to our products design, Specifications are subject to
change without notice.
HARD Disk
VIDEO
RF INPUT CONNECTOR
(IEC-TYPE, IEC169-2, FEMALE)
RF OUTPUT CONNECTOR
(IEC-TYPE, IEC169-2, MALE(LOOPTHROUGH))
FREQUENCY RANGE:
470MHz ~862MHz (UHF)
SIGNAL LEVEL:
-20 ~ -78.5dBm
MPEG-2 ISO/IEC 13818
MAX. 15Mbit/s
MPEG-2 MAIN PROFILE@MAIN LEVEL
4:3/16:9 SWITCHABLE
RGB, CVBS
MPEG Layer I& II, 32/ 44.1 /48KHz
FIXED TYPE
ANTENNA INPUT, RFLOOPTHROUGH OUTPUT
COMPOSITE VIDEO OUTPUT, TWIN SCART
STEREO AUDIO OUTPUT, DIGITAL COAXIAL AUDIOOUTPUT
RS-232 (for serviceuse only)
AC 220-240V ~50/60Hz
MAX. 20W/STANDBY 9W
10
160GB

2007.12
C
Other manuals for GHD1621F2
1
Table of contents
Other Goodmans DVR manuals

Goodmans
Goodmans freesat GS104TRH User manual

Goodmans
Goodmans VP2600S User manual

Goodmans
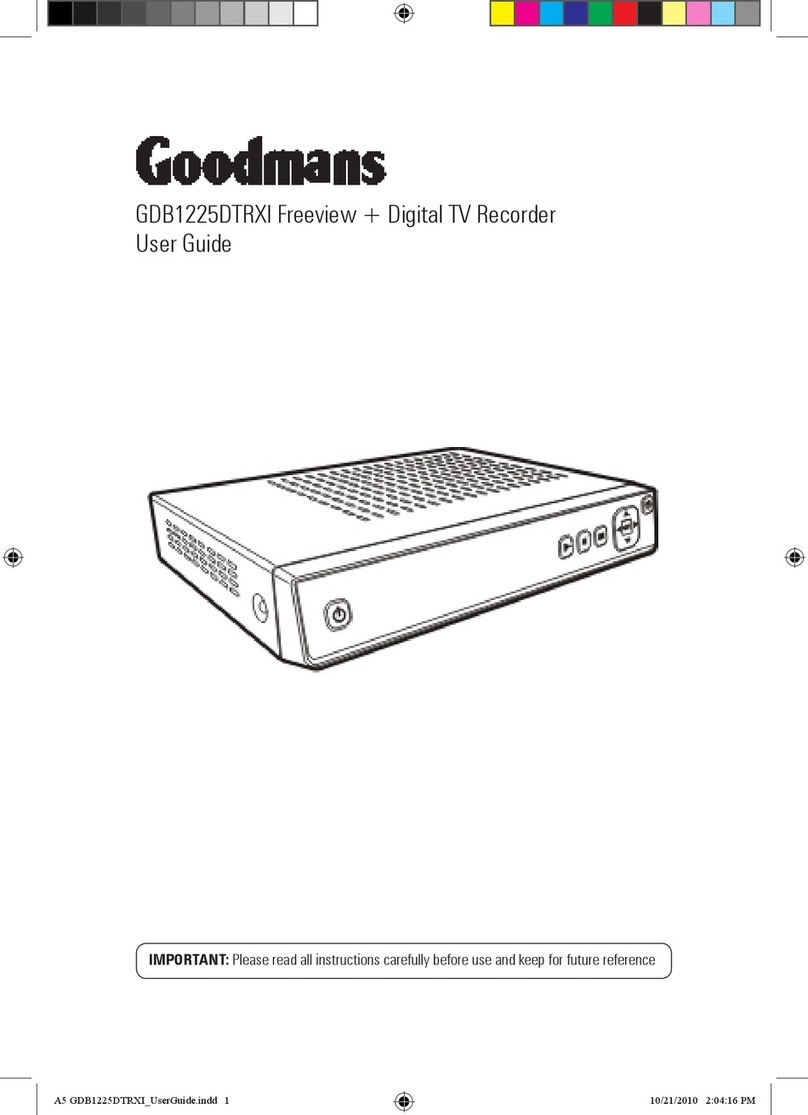
Goodmans GDB1225DTRXI User manual

Goodmans
Goodmans GHDD1785DVBT User manual

Goodmans
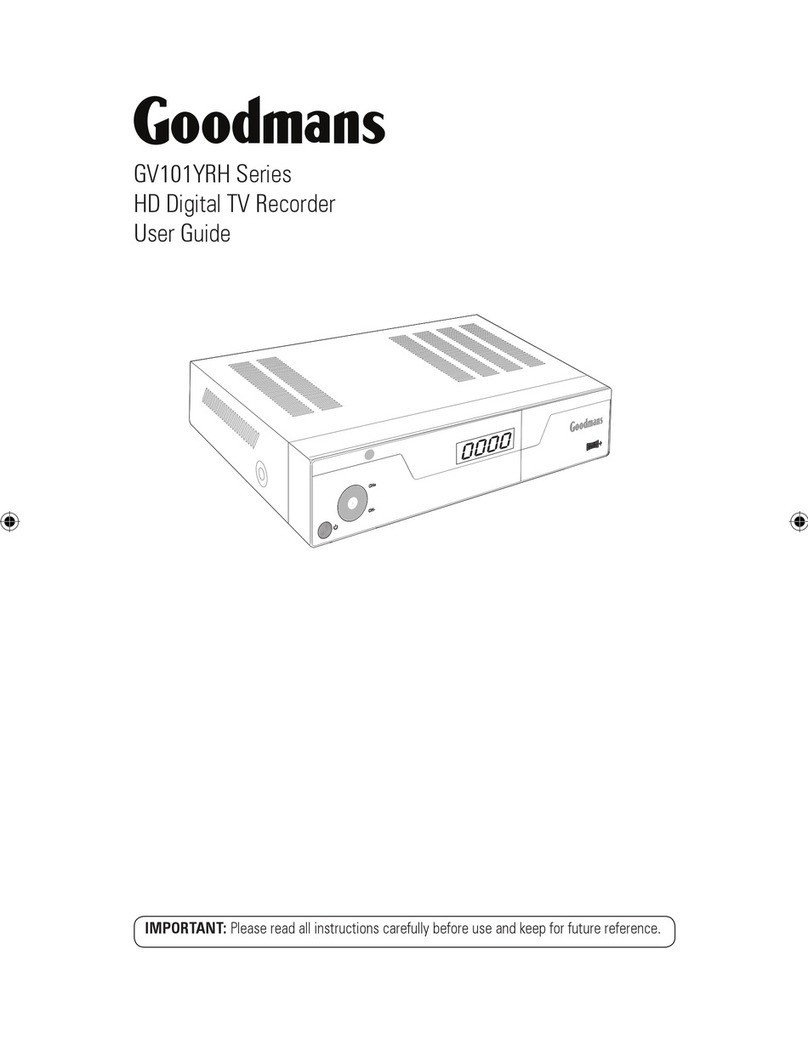
Goodmans GV101YRH Series User manual

Goodmans
Goodmans GHDD1782DVBT User manual

Goodmans
Goodmans 320GB User manual

Goodmans
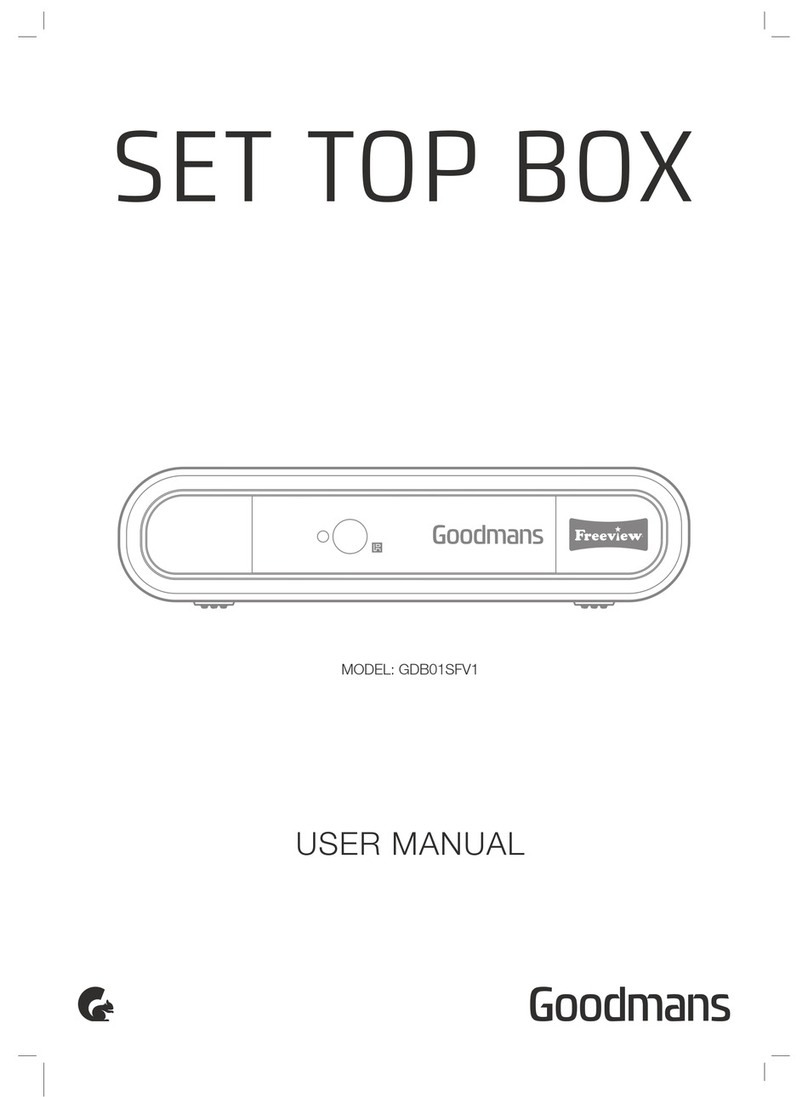
Goodmans GDB01SFV1 User manual

Goodmans
Goodmans GHD1621F2 User manual

Goodmans
Goodmans GD11FVRSD32 User manual