GPE 700-2 User manual

GPE Pneumatic Cold Compression Massage Device
ANMO
Instruction Manual
www.gpe-rd.com
GPE-700-2

Contents:
1. Safety Information………………………………………………………………………
2. System description………………………………………………………………………
3. Components list and specifications……………………………………………..
4. Attachments………………………………………………………………………………..
5. Contraindications………………………………………………………………………..
6. Control panel description……………………………………………………………
7. Operation……………………………………………………………………………………
8. Program’s Description…………………………………………………………………..
9. Device storage and maintenance………………………………………………..
10. Battery Change………………………………………………………………………….
11. Troubleshooting….…………………………………………………………………….
11. Warranty Information………………………………………………………………..
Page 1
P2
P3
P4
P5
P6
P7 ~ P17-1
P18 ~ P23
P24
P25
P26
P27 ~ 27-1
P28

Thank you for choosing ANMO. To assure you have the best experience possible, please
be sure to read the entire Instruction Manual prior to using the product.
1. Safety Information
• Please do not dismantle any part of the system. Please contact the vendor if any repairs are required.
• In order to prevent damage to the device, please do not twist or bend the water lines.
• Avoid puncturing the sleeves and tubing. If any defects or blemishes are found in the sleeves and tubing, please cease use.
• ANMO could be cold enough to seriously damage skin.
• ANMO could reach pressure high enough to damage muscle and blood vessels. Please use the device with caution.
• Many device functions can be manually controlled; the user must stay alert and sober while operating.
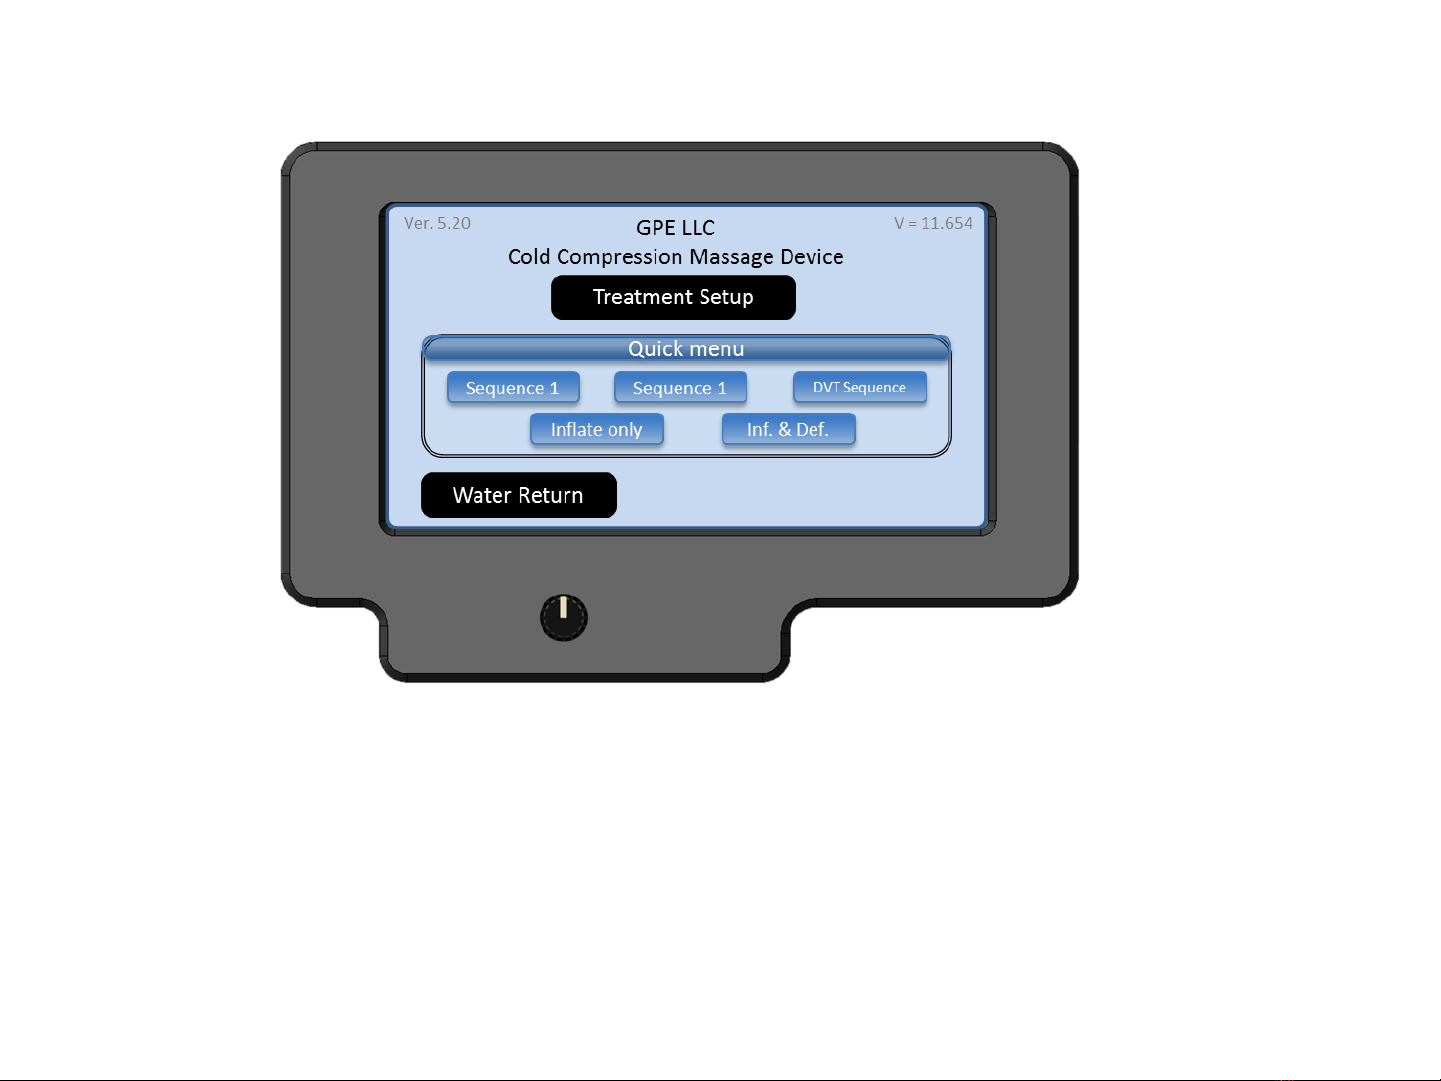
• The air pump system is semi-manual; amount of pressure and options to inflate or deflate are mainly controlled by the user.
For the sake of safety, please cease use of the device in the event of numbing or lack of sensation in the affected limbs.
• Wrap deflation: Turning off the system will automatically open the air-release valve and release air from the wrap.
• Improper placement or prolonged use of ANMO could result in tissue damage from frostbite or inhibited blood circulation.
Please be attentive while using this device.
• During ANMO treatment, patients should monitor the skin surrounding the treated region or the digits of the extremities of the
treated limb for any burning, itching, increased swelling, or pain. If any of these signs are present, or any changes in skin
appearance occur (such as blisters, increased redness, discoloration, or other noticeable skin changes), patients
are advised to discontinue use and consult a physician.
• ANMO sleeves are not sterile; do not place directly against open wounds, sores, rashes, infections, or stitches. May be applied
over clothing or dressing.
• ANMO sleeves are available in multiple configurations but are not intended for all possible orthopedic uses. Use caution when
selecting a particular wrap for use on anatomic regions other than that for which the wrap is indicated and closely supervise
the user’s status. For example, the arm wrap is not designed for use on the legs.
• ANMO should be used only under the supervision of a licensed healthcare practitioner in users:
- Who have a wound in the affected region (the wound must be dressed prior to use of ANMO).
- Who have an acute, unstable (untreated) fracture in the affected region.
- Who are children under 18 years old or patients who have cognitive disabilities or communication barriers, whether
temporary due to medication or permanent.
- Who have a cardiac insufficiency or congestive heart failure (with associated edema in the extremities or lungs).
- Who have a localized skin condition (e.g., dermatitis, vein ligation, gangrene, skin graft) in the affected region.
- Who have erysipelas or other active infections in the affected region.
WARNINGS
Page 2

Female quick connectors
T Type 6 Way air
connector (Splitter)
6 Way air connector
OD 7mm x ID 4mm x
L 24” Silicon water
tube
OD 7mm x ID 4mm x L 24”
Silicon air tube
GPE Micro-USB cable
110V AC power cord
AC Adapter
(Battery charger)
DC power cord
12V Rechargeable
battery
System controller
(LCD Touch screen)
Pump unit
Water suction connector
Water
return
connector
Water filter
10 Liter Ice & Water container
2. System Description
Page 3
System carry bag

3. Components list and specifications
Item
Description Specifications Qty.
1Pump unit
Power input: 12.6V DC 3.5A (Size: L 31Cm 12.2" x W 19Cm 7.5"
H 10Cm 4") 1
2AC Adapter (Battery charger) Input AC 100V ~ 240V 50/60 Hz 1.5A max. Output: 12.6V 5.0A
1
3AC power cord L: 60 Inches (152 cm) 1
4Rechargeable battery 12V DC Capacity: 12V 8300mAh limited charge voltage: 12.6V 1
5DC power cord L: 19.5" (50cm) 1
6Silicon air tube with 6-way air connector OD 7 x ID 4 Tube length 24" (60 cm) 1
7T Type 6-way air connector (Splitter) OD 6mm x ID 3.25mm 1
8Silicon water tube with sleeve and female connectors OD 7 x ID 4 Tube length 24" (60 cm) 4
9Silicon water suction tube with water filter OD 7 x ID 4 Tube length 20" (50 cm) 1
10
Silicon water return tube with connector OD 7 x ID 4 Tube length 20" (50 cm) 1
11
LCD System controller 7 Inches LED touch screen 1
12
GPE-Micro USB 6.5' (200 cm) 1
13
Ice and water container 10 liter 1
14
System carry bag W 12.5" x L 19.5" H 7" (EVA + 1680D) 1
Page 4

4. Attachments (Not Included in the system, must be purchased separately)
6 Chamber ankle sleeve 6 Chamber full arm sleeve
30” 6 Chamber full leg sleeve35” 6 Chamber full leg sleeve
15” 6 Chamber straight knee sleeve
19” 6 Chamber straight knee sleeve
Page 5

5. Contraindications
Compression therapy (pneumatic compression) using ANMO should not be used on patients who:
•Are in the acute stages of inflammatory phlebitis in the affected region
•Have significant arteriosclerosis or other vascular ischemic disease in the affected region
•Have a condition in which increased venous or lymphatic return is not desired in the affected extremity
(e.g., carcinoma)
•Have decompensated hypertonia in the affected region
•Have pre-existing deep vein thrombosis (DVT)
•Have presumptive evidence of congestive heart failure
Cryotherapy using ANMO should not be used on patients who:
•Have significant vascular impairment in the affected region (e.g., from prior frostbite, diabetes,
arteriosclerosis or ischemia)
•Have acute paroxysmal cold hemoglobinuria or cryoglobulinemia
•Have acute inflammatory skin diseases or infection
In the event of any pain or discomfort, IMMEDIATELY POWER OFF the device and
disconnect ALL sleeve air lines.
Page 6
WARNINGS

Ver. 5.20 V = 11.654
GPE LLC
Cold Compression Massage Device
Treatment Setup
Quick menu
Water Return
Sequence 1 DVT Sequence
Sequence 1
Inflate only Inf. & Def.
6. Control panel description
First screen
1
1. Tap “Treatment Setup” to begin
2. Quick menu
3. Tap “Water Return” to evacuate water from sleeves.
4. Rotary switch.
Voltage Display
2
3
4
Page 7

Page 7-1
6. Control panel description
Tap the treatment setup to go to
treatment setup screen
Tap any option in Quick Menu to run one of the
system default settings. Water circulation will not
run and needs to be turned on by the user in the
menu below. (Before operating the water pump,
please make sure all the water lines are connected.
See pages 20 and 22 )
Tapping the "Water Return" button will
proceed to the screen below. Please
follow the instructions to return water to
the reservoir from sleeves. (See page 25)
(See next page 7-2 for detail)

6. Control panel description
Quick menu
The quick menu is provided for ease-of-use. After the air and water connectors between the sleeve
and main unit are connected, tap any option in Quick Menu. (These default settings do not turn on
the water circulation. The water circulation must be turned on by the user.)
During operation, the user can still make changes to default settings to increase user comfort.
Page 7-2

6. Control panel description
1. Air bladder effective area setup
1. Control the target treatment area by selecting either: Full limb, Proximal (upper half of limb), or Distal (lower half of limb)
Details in pages 8-1 ~ 8-4
Page 8
Treatment Setup Manual
Choose Full Limb for standard operations. Choose Proximal or Distal for special cases.
Caution

1
2
3
45
6
Chamber 4,5,6
Chamber 1,2,3
Distal:
Proximal:
Full limb: Chamber 1,2,3,4,5,6
1
2
3
45
6
Page 8-1

6. Control panel description
1 2 4
3 5 6
Full limb
Page 8-2
1. Air bladder effective area setup

6. Control panel description
1. Inflate
2. Inf. & Def
3. Massage
Proximal (upper half of limb)
Page 8-3
4 5 6
1. Air bladder effective area setup

6. Control panel description
1. Inflate
2. Inf. & Def
3. Massage
1 2 3
Distal (lower half of limb)
Page 8-4
1. Air bladder effective area setup

6. Control panel description
2. Tap the pressure setting for one of the chambers and turn the control dial to change the pressure in the
individual chamber.
NOTE: If “SYNC” is selected, individual chambers cannot be adjusted.
2
Page 9
2. Pressure setup

6. Control panel description
3
3. To change pressures in all the chambers simultaneously, tap “Sync” and turn the control dial to the desired
pressure.
Page 9-1
3. Sync. Pressure setup

6. Control panel description
4
Air Cuff Programs:
(1) Sustained press*
(2) Incremental press*
(3) Deep push 1*
(4) Deep push 2*
(5) DVT prevention 1
(6) DVT prevention 2
(7) DVT prevention 3
(8) Holding press 1*
(9) Holding press 2*
(10) Recovery*
(11) Acupressure*
(12) Inflate
(13) Inflate & Deflate
See page 35 for details
4. Tap the number under “Program” and turn the control dial to change the pneumatic massage program.
Page 10
4. Program setup

6. Control panel description
5. If multiple massage programs are desired, tap “Customize” and select all desired programs. Tap the selected programs
again to deselect. Tap “Clear” to deselect all selected programs. Press “Back” when all desired programs are selected.
5
5. Customize function setup
Page 11

Press “Back” when all desired
programs are selected.
Tap “Clear” to deselect
all selected programs
6. Control panel description
5. Customize function setup
Page 11-1
Tap “INS” to increase
program
Tap “DEL” to delete
program
Table of contents
Other GPE Personal Care Product manuals