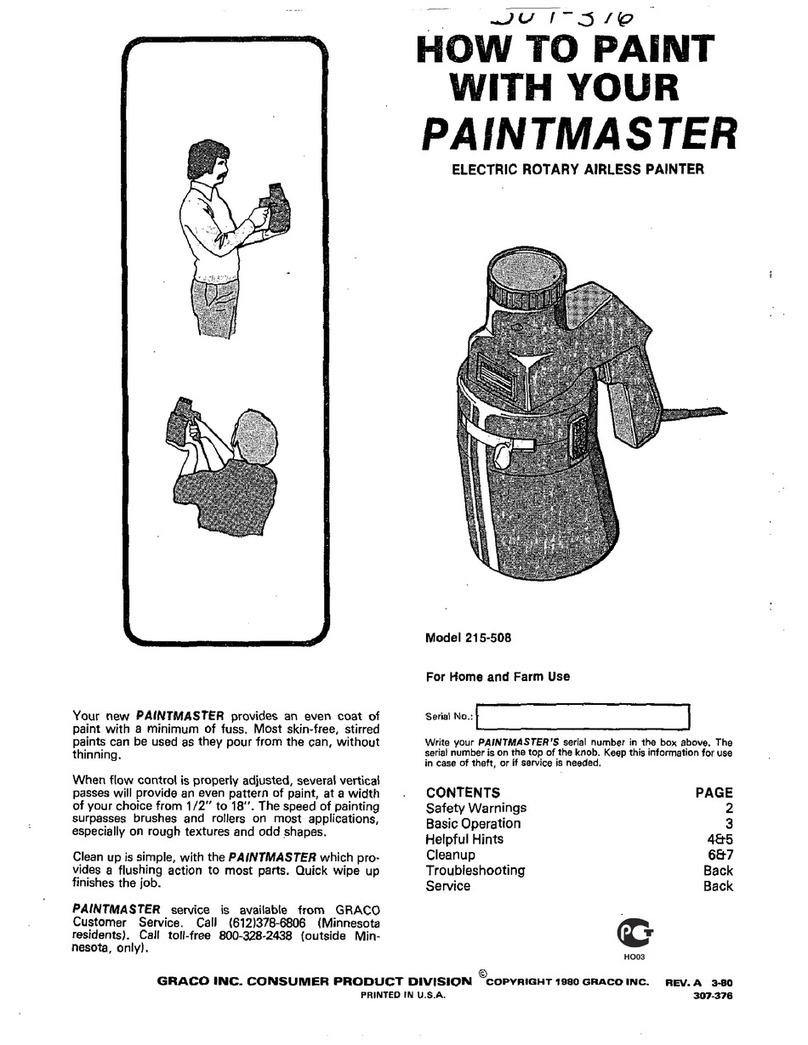
Graco RentalPro 230PC HDR User manual
Other Graco Paint Sprayer manuals
Graco
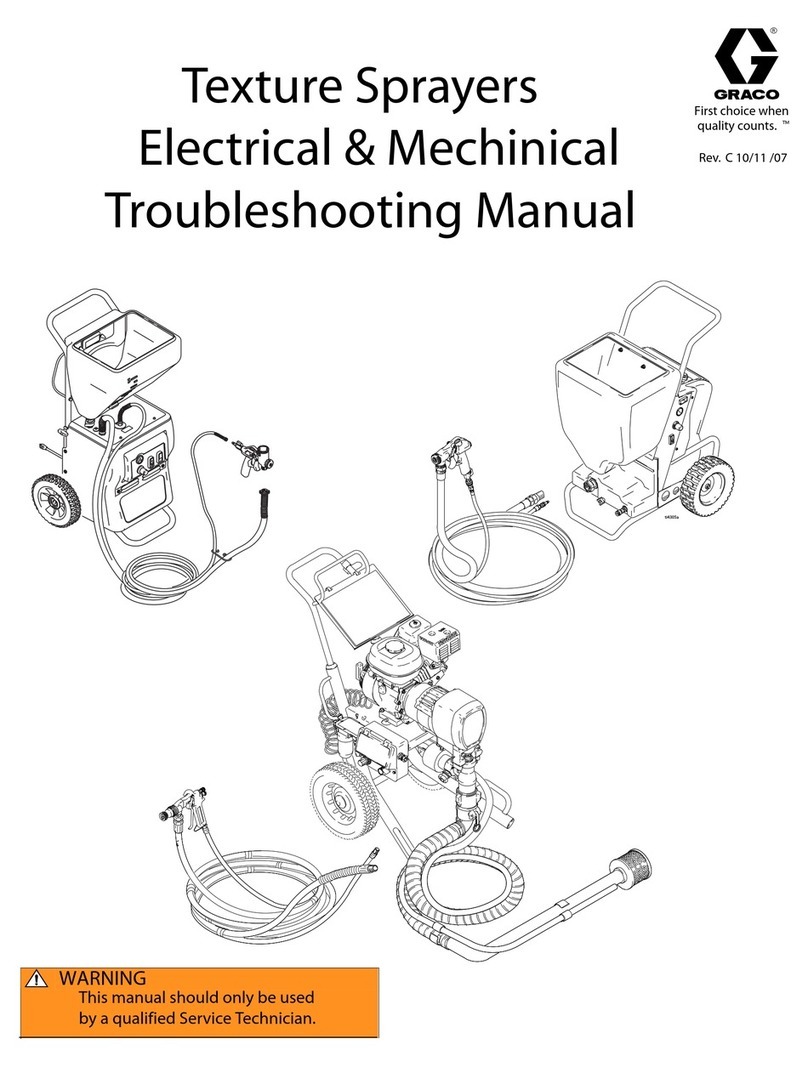
Graco RTX-650 Programming manual
Graco
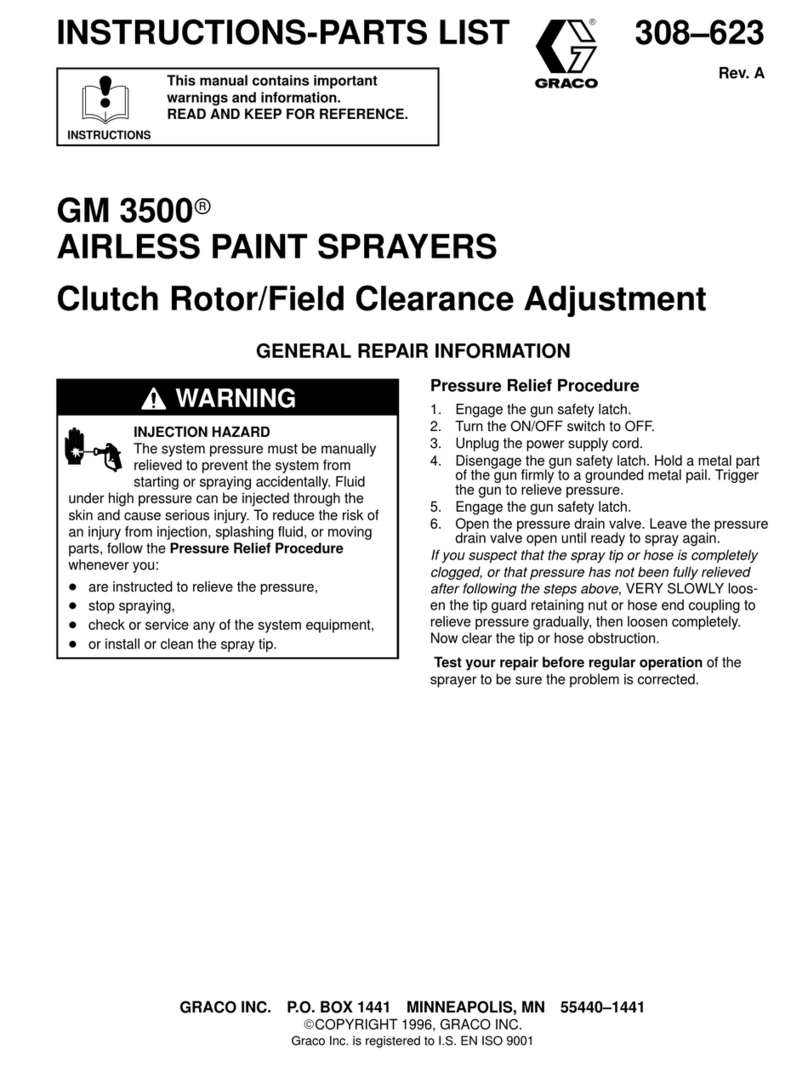
Graco GM 3500 Operation manual
Graco
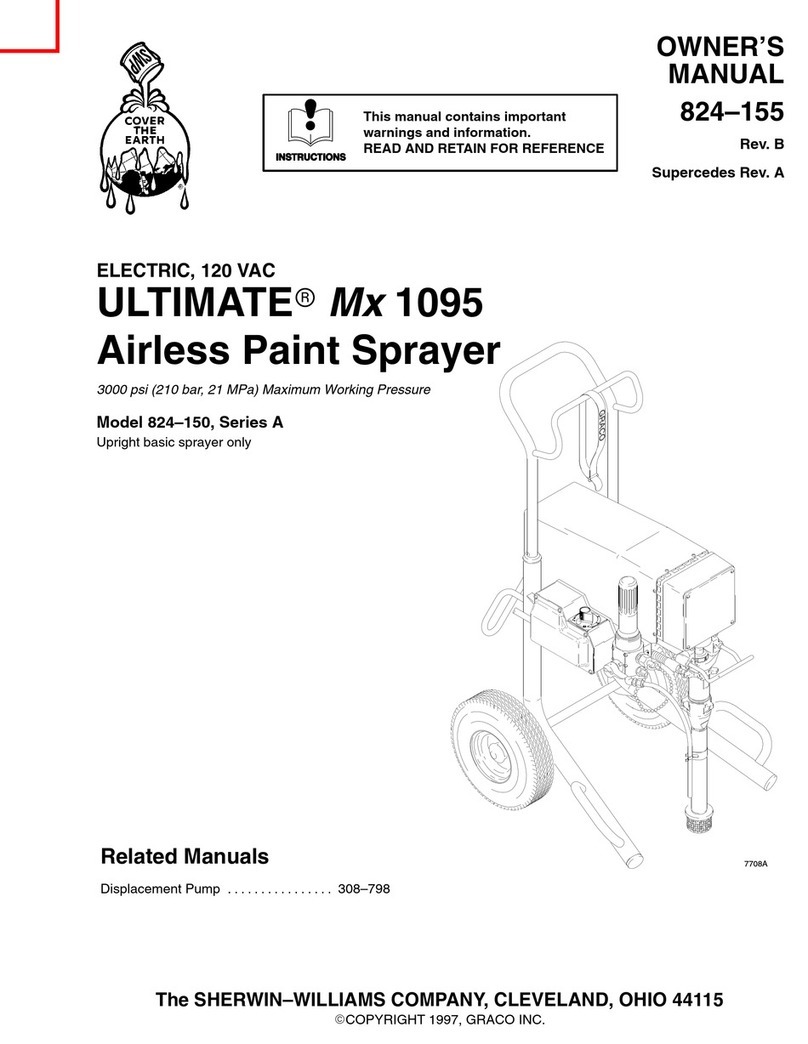
Graco ULTIMATE Mx 1095 A Series User manual
Graco
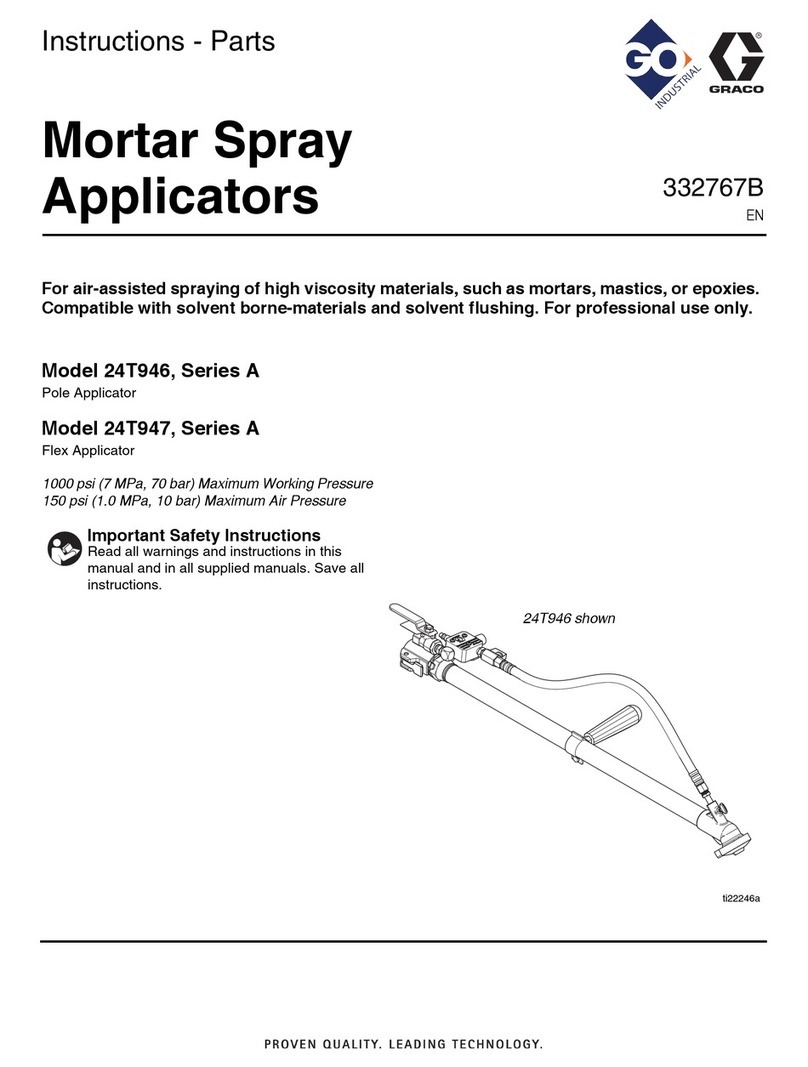
Graco 24T946 Operation manual
Graco
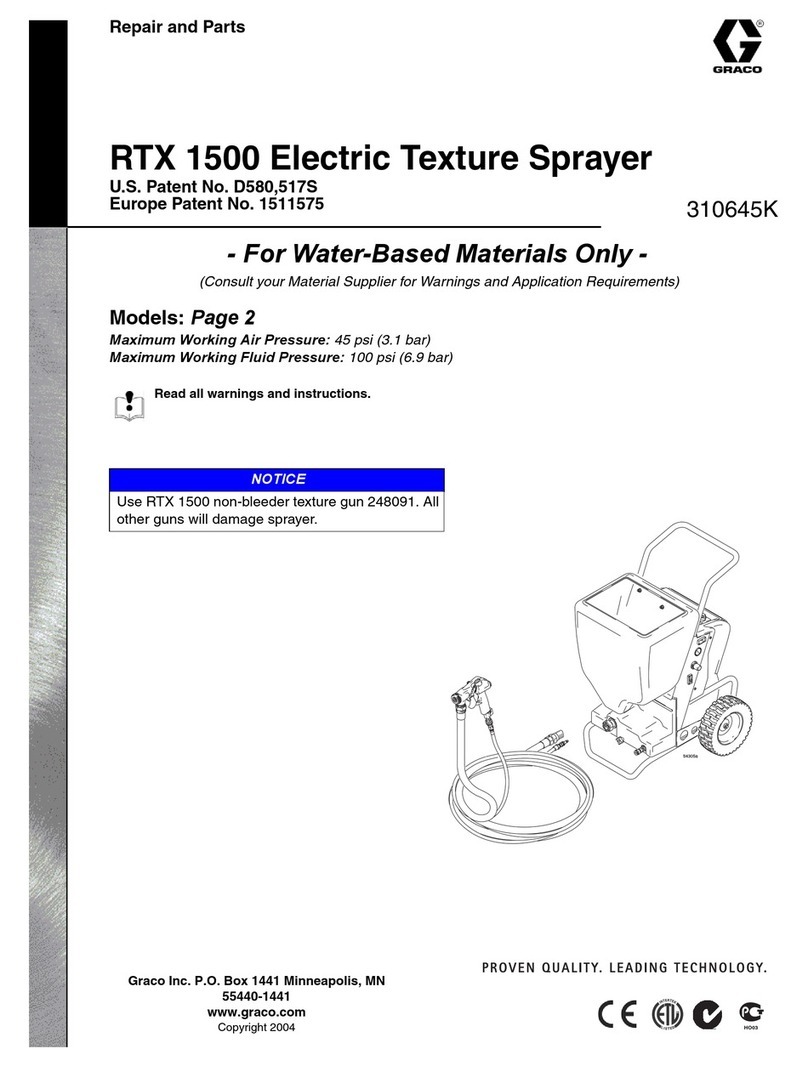
Graco 310645K Use and care manual
Graco
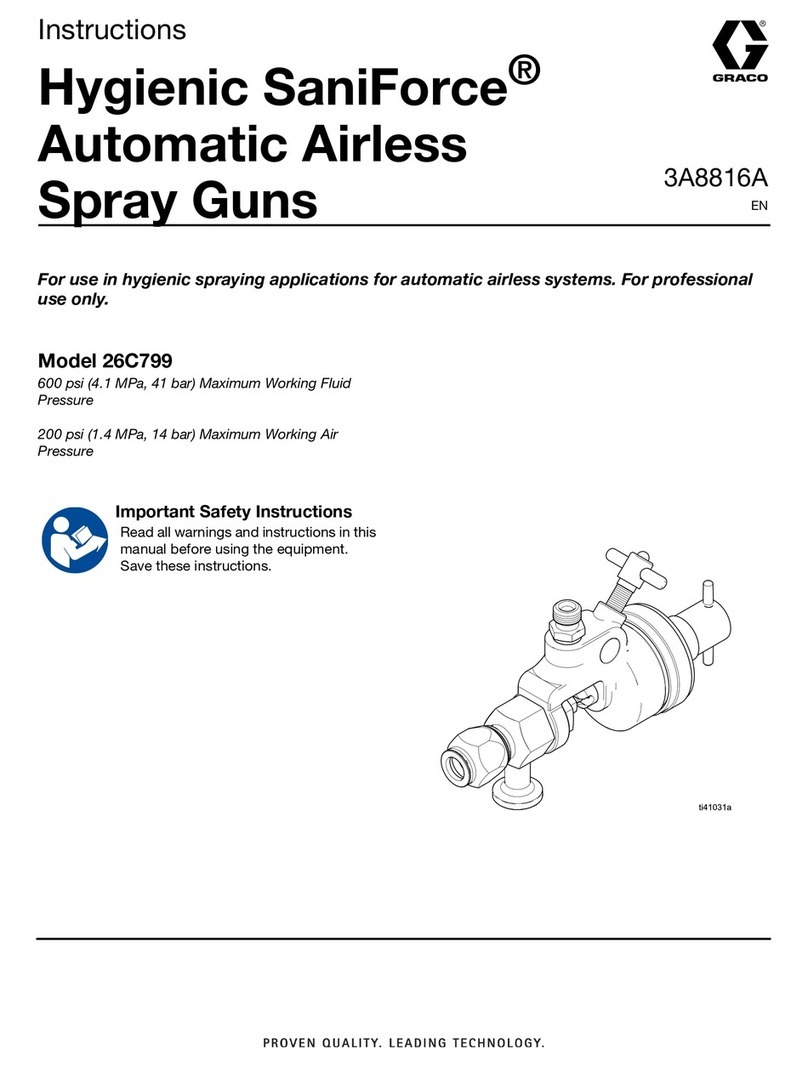
Graco SaniForce 26C799 User manual

Graco
Graco Optimiser 02017 User manual
Graco
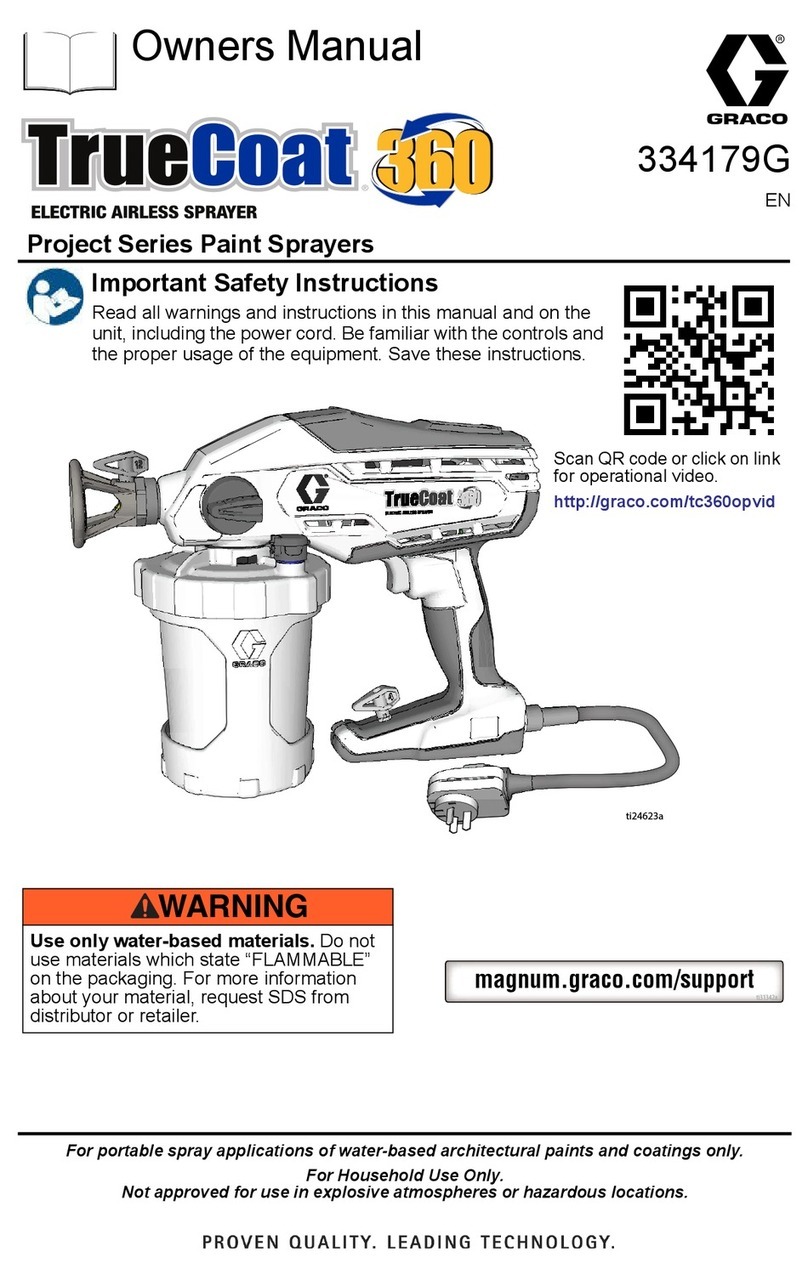
Graco TrueCoat 360 Project Series User manual

Graco
Graco e-Xtreme Z25 Use and care manual

Graco
Graco NOVA 390 PC Guide

Graco
Graco RTX 1500 Instruction Manual
Graco
Graco HydraMax-225 233640 User manual
Graco
Graco TexSpray GTX Owner's manual

Graco
Graco C Series User manual
Graco
Graco DutyMax DH230 HD Guide
Graco
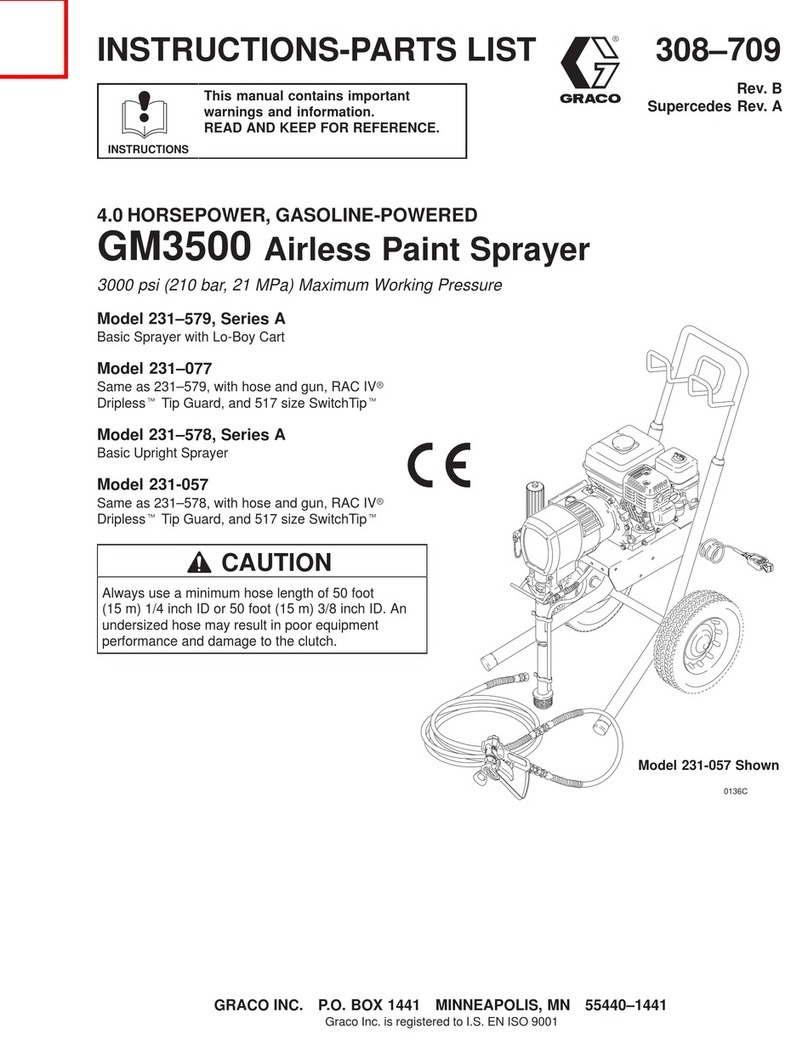
Graco Series B Operation manual
Graco
Graco GM3500 SPRAYER 231-078 Operation manual
Graco
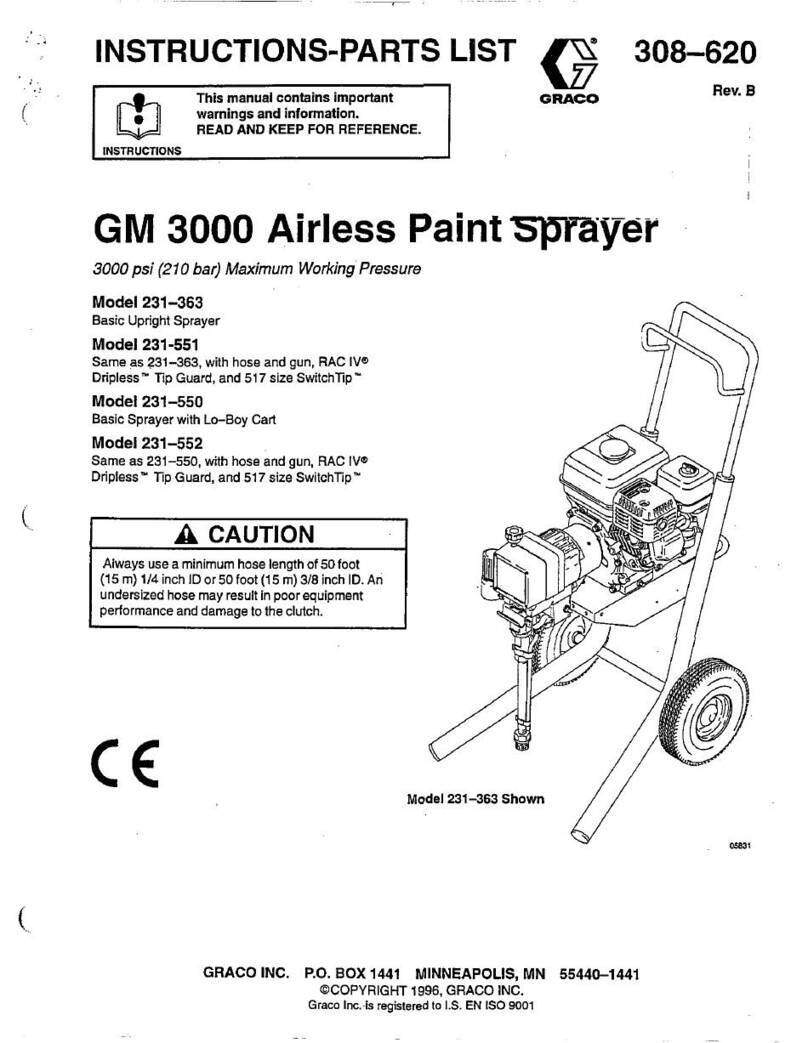
Graco GM3000 Operation manual

Graco
Graco 24N319 Operation manual

Graco
Graco C Series Operation manual
Popular Paint Sprayer manuals by other brands

zogics
zogics Z-DAS instruction manual

KISANKRAFT
KISANKRAFT KK-KBS-165 Operation manual

Matrix
Matrix SG 650 Translation of the original instructions

Anest Iwata
Anest Iwata SGA-3 Installation, use & maintenance instruction manual

paasche
paasche VV Instructions and parts list

Carlisle
Carlisle DeVilbiss JGA-510 Service manual


