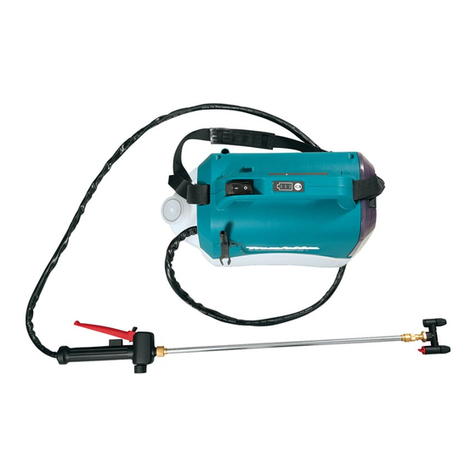
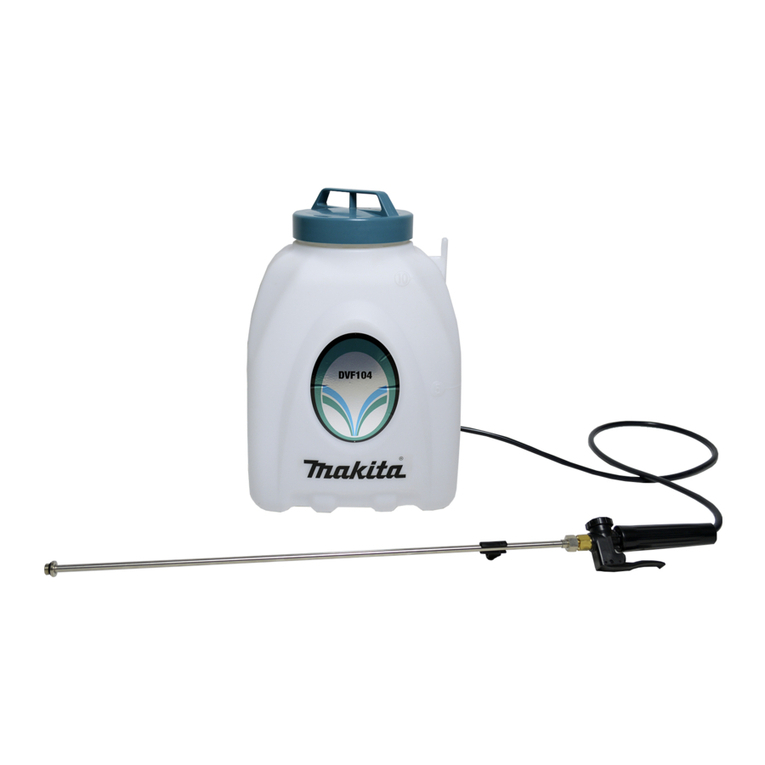
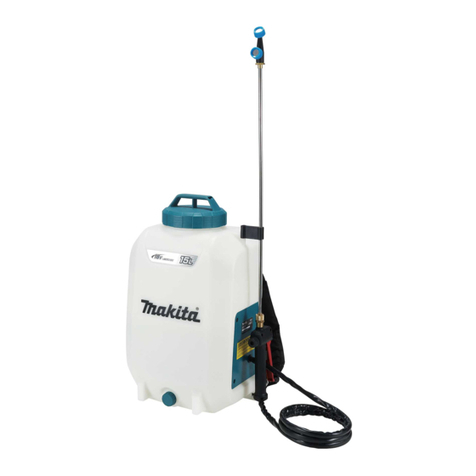
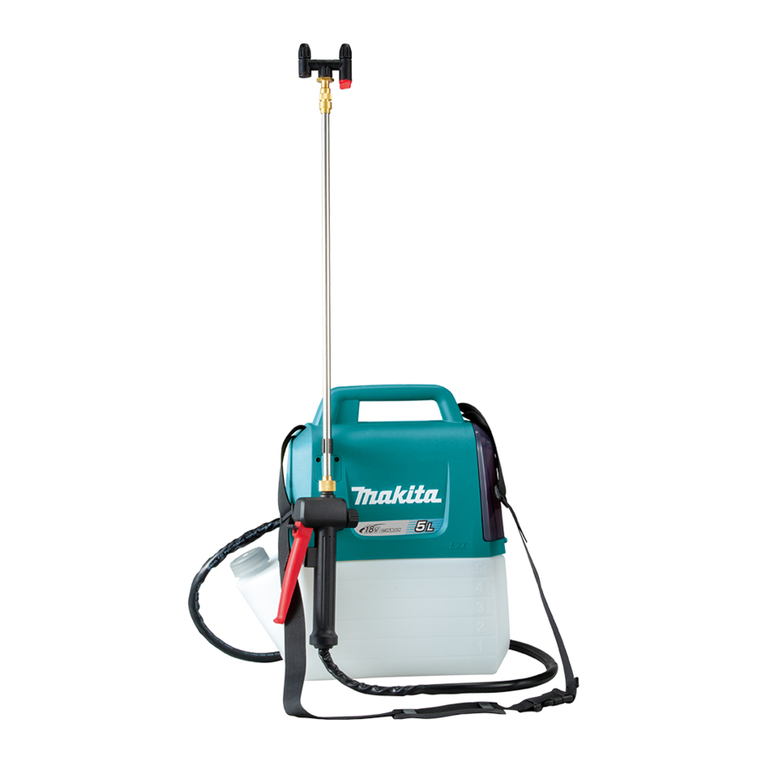
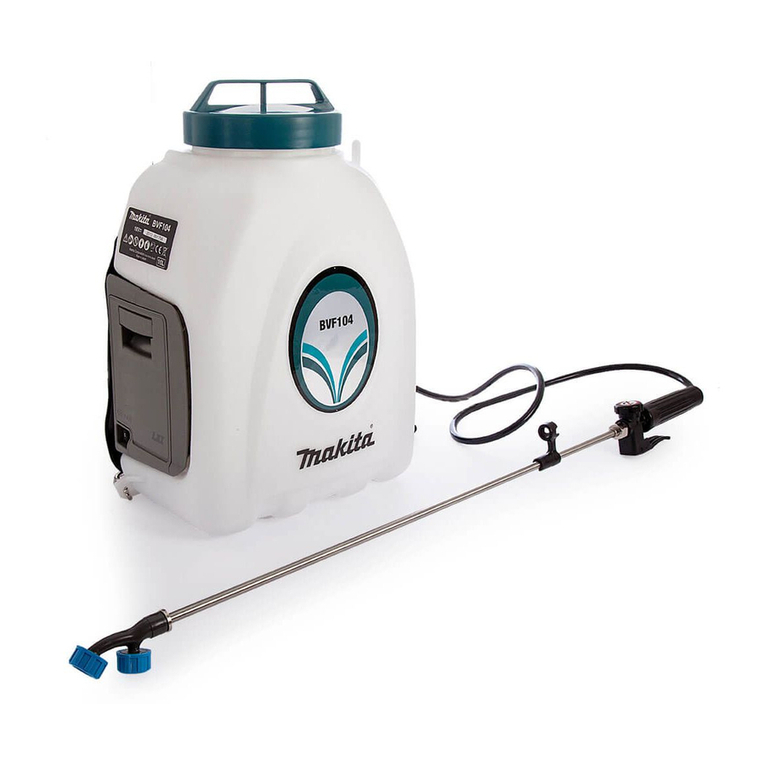
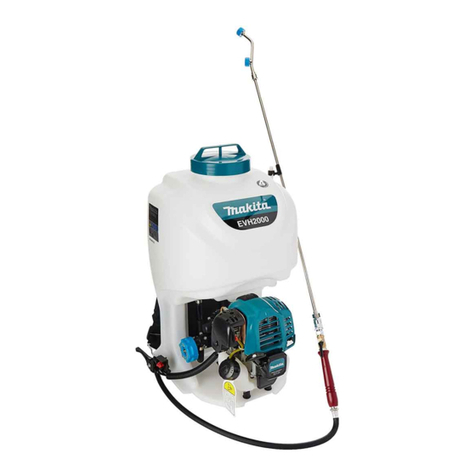
Makita BVF104 User manual

1
GB Cordless Garden Sprayer INSTRUCTION MANUAL
S
Batteridriven ryggspruta för trädgård
BRUKSANVISNING
N
Batteridrevet sprøytemaskin til hagebruk
BRUKSANVISNING
FIN Akkukäyttöinen puutarharuiskutin KÄYTTÖOHJE
LV Bezvada dārza izsmidzinātājs LIETOŠANAS INSTRUKCIJA
LT Belaidis purkštuvas NAUDOJIMO INSTRUKCIJA
EE Juhtmevaba aiakastmispihusti KASUTUSJUHEND
RUS
Аккумуляторный садовый опрыскиватель
РУКОВОДСТВО ПО ЭКСПЛУАТАЦИИ
BVF104
BVF154

2
1
2
3
4
1 012664
1
2 010143
A
B
C
3 010137
1
2
3
4 010135
1
5 010136
1
6 010138
1
2
7 010144
1
8 010140
1
9 010141
10 010142
1
11 010145

3
ENGLISH (Original instructions)
Explanation of general view
1-1. Red indicator
1-2. Button
1-3. Battery cartridge
1-4. Battery pack cover
2-1. Switch
4-1. Buckle
4-2. Lift up buckle
4-3. Pull
5-1. Pull
6-1. Water absorption strainer
7-1. Lever cock cap
7-2. Strainer
8-1. Hooking holder onto post on
shoulder of tank
9-1. Hooking holder onto metal ring of
back strap
11-1. Insert water hose here
SPECIFICATIONS
Model BVF104 BVF154
Pump type Ceramic gear system
Chemical tank capacity 10 L 15 L
Tank drain Without With
Spray valve Integral grip lever
Dimension (W X L X H)
315 mm x 225mm x 415 mm 345 mm x 235 mm x 525 mm
Net weight 3.8 kg 4.1 kg
Maximum pressure 0.3 Mpa
Upright double-headed nozzle 0.8 L / min
Discharge Wide-angle herbicide nozzle 1.3 L / min
Upright double-headed nozzle 60 min
Battery
BL1815 Wide-angle herbicide nozzle 90 min
Upright double-headed nozzle 125 min
Performance
Continuous
work time
Battery
BL1830 Wide-angle herbicide nozzle 200 min
Rated voltage D.C. 18 V D.C. 18 V
• Due to our continuing program of research and development, the specifications herein are subject to change without notice.
• Specifications and battery cartridge may differ from country to country.
• Weight, with battery cartridge, according to EPTA-Procedure 01/2003
END007-4
Symbols
The following show the symbols used for the equipment.
Be sure that you understand their meaning before use.
・Read instruction manual.
・Do not use in rain.
・Wear protective mask.
・Wear protective gloves.
・Only for EU countries
Do not dispose of electric equipment or
battery pack together with household
waste material!
In observance of the European
Directives, on Waste Electric and
Electronic Equipment and Batteries and
Accumulators and Waste Batteries and
Accumulators and their implementation
in accordance with national laws,
electric equipment and batteries and
battery pack(s) that have reached the
end of their life must be collected
separately and returned to an
environmentally compatible recycling
facility.
ENE071-1
Intended use
The tool is intended for spraying agricultural and
horticultural chemicals for pest and weed control.
ENG905-1
Noise
The typical A-weighted noise level determined according
to EN60745:
Sound pressure level (LpA) : 70 dB(A) or less
Uncertainty (K) : 3 dB(A)
The noise level under working may exceed 80 dB(A)
Wear ear protection
ENG900-1
Vibration
The vibration total value (tri-axial vector sum) determined
according to EN60745:
Work mode : spraying liquid
Vibration emission (ah) : 2.5 m/s2or less
Uncertainty (K) : 1.5 m/s2
Cd
Ni-MH
Li-ion

4
ENG901-1
•
The declared vibration emission value has been
measured in accordance with the standard test method
and may be used for comparing one tool with another.
• The declared vibration emission value may also be
used in a preliminary assessment of exposure.
WARNING:
•
The vibration emission during actual use of the power
tool can differ from the declared emission value
depending on the ways in which the tool is used.
• Be sure to identify safety measures to protect the
operator that are based on an estimation of
exposure in the actual conditions of use (taking
account of all parts of the operating cycle such as
the times when the tool is switched off and when it
is running idle in addition to the trigger time).
ENH003-14
For European countries only
EC Declaration of Conformity
We Makita Corporation as the responsible manufacturer
declare that the following Makita machine(s):
Designation of Machine:
Cordless Garden Sprayer
Model No./ Type: BVF104, BVF154
are of series production and
Conforms to the following European Directives:
2006/42/EC
And are manufactured in accordance with the following
standards or standardised documents:
EN50580, EN60745
The technical documentation is kept by:
Makita International Europe Ltd.
Technical Department,
Michigan Drive, Tongwell,
Milton Keynes, Bucks MK15 8JD, England
12. 2. 2009
000230
Tomoyasu Kato
Director
Makita Corporation
3-11-8, Sumiyoshi-cho,
Anjo, Aichi, 446-8502, JAPAN
GEA010-1
General Power Tool Safety Warnings
WARNING Read all safety warnings and all
instructions.
Failure to follow the warnings and instructions
may result in electric shock, fire and/or serious injury.
Save all warnings and instructions for
future reference.
GEB044-4
SPRAYER SAFETY WARNINGS
Safety Warnings for Spraying Operation:
1. Do not use the sprayer for any other purpose
than spraying agricultural and horticultural
chemicals for pest and weed control.
2. Do not use the sprayer for spraying flammable
materials.
3.
Be aware of any hazards presented by the
material being sprayed. Consult the markings
on the container or the information supplied by
the manufacturer of the material to be sprayed.
4. Do not spray any material where the hazard is
not known.
5. Concerning the use of chemical sprays, be
sure to thoroughly read the chemical
instructions, in order to become fully
acquainted with toxicities and usage methods.
6. If chemical comes into contact with skin,
immediately wash thoroughly with soap.
7.
Firmly close chemical tank lid to prevent leaking.
8. Never transfer chemical to another container.
9. Always thoroughly wash empty chemical
containers when mixing spray liquid and then
follow chemical manufacturer’s instructions to
correctly dispose of containers at all times.
10. Before using the sprayer, be sure to check
there are no abnormalities, such as
displacement of packing from connector,
looseness of screws, missing components,
and/or cracked/worn/damaged hose.
Using an incomplete sprayer may cause an
accident and/or injury.
11.
People not involved in spraying should refrain
from approaching the worksite during spraying.
12. When transporting a chemical-loaded sprayer
by vehicle, there is a risk of leaking, so always
firmly tighten the chemical tank lid, and secure
the sprayer in an upright position.
13. Never use items such as strongly acidic
chemicals, paints, thinners, gasoline or
benzene with the sprayer, as there is a danger
of burns or fire.
14.
Do not clean the sprayer with flammable solvents.
15. Be sure to select the appropriate chemical
(taking into consideration usage method and
effectiveness) to deal with the pest or weed in
question.
16. An inappropriately mixed chemical may harm
humans as well as damage crops/plants.
When mixing chemical, thoroughly read
chemical instructions, and dilute chemical
correctly prior to use.
17.
Always mix chemical before loading it into tank.
18. To prevent inhalation and/or contact with
chemical, be sure to wear safety clothing (hat,
protective goggles, protective mask, rubber

5
gloves, long-sleeved pest-control jacket, long
trousers and gumboots), so that skin is not
exposed when spraying.
19.
Always load the tank with chemical or clean water
when operating the sprayer, as operating the
sprayer with an empty tank may damage the pump.
20. If the sprayer stops running, or an abnormal
sound is emitted, immediately switch OFF the
sprayer, and discontinue use.
21.
Constantly be aware of wind direction while
spraying, to ensure spraying from upwind to
downwind, in order to prevent direct chemical
contact with body. Also, be careful to keep
chemical from reaching surroundings, and stop
using the sprayer when the wind is strong.
22. As there is a risk of chemical poisoning when
spraying in a greenhouse, always ventilate
while spraying.
23. Avoid spraying when atmospheric
temperature is high.
24. Avoid prolonged operation of sprayer.
Whenever possible, rotate operators.
25.
If even a slight headache or dizziness, etc., occurs,
stop spraying work immediately, and consult a
doctor. Moreover, be sure to clearly inform the
doctor of the name of the agrochemical being used,
and the operating circumstances.
26. In cases where spray status deteriorates and
nozzle needs cleaning, there is a risk of the
chemical liquid coming into contact with the
face, so be sure to switch OFF the sprayer,
and then remove the nozzle to clean.
27. Be sure to dispose of wastewater generated
from washing used containers and chemical
tank appropriately in a location where it will
not flow into rivers and streams and/or
contaminate groundwater.
28.
After spraying, if chemical remains in the
chemical tank, spray hose, spray pipe and nozzle,
it may cause spray injury. Be sure to fully wash
away residual chemical with clean water - in
particular, after spraying with herbicide.
29. Keep agrochemicals away from children. Be
sure to store residual chemicals in
chemical-designated storage containers.
30. After completion of spraying, be sure to wash
(spray wash) equipment with clean water,
drain off the washing water, and store indoors
away from direct sunlight and freezing
temperatures, and out of reach of children.
31. After completion of spraying, be sure to
thoroughly wash entire body with soap, rinse
eyes, and gargle. During spraying period,
change clothes daily.
SAVE THESE INSTRUCTIONS.
WARNING:
DO NOT let comfort or familiarity with product
(gained from repeated use) replace strict adherence
to safety rules for the subject product. MISUSE or
failure to follow the safety rules stated in this
instruction manual may cause serious personal
injury.
ENC007-8
IMPORTANT SAFETY
INSTRUCTIONS
FOR BATTERY CARTRIDGE
1. Before using battery cartridge, read all
instructions and cautionary markings on (1)
battery charger, (2) battery, and (3) product
using battery.
2. Do not disassemble battery cartridge.
3. If operating time has become excessively
shorter, stop operating immediately. It may
result in a risk of overheating, possible burns
and even an explosion.
4.
If electrolyte gets into your eyes, rinse them out
with clear water and seek medical attention right
away. It may result in loss of your eyesight.
5. Do not short the battery cartridge:
(1) Do not touch the terminals with any
conductive material.
(2) Avoid storing battery cartridge in a
container with other metal objects such as
nails, coins, etc.
(3) Do not expose battery cartridge to water
or rain.
A battery short can cause a large current flow,
overheating, possible burns and even a breakdown.
6. Do not store the tool and battery cartridge in
locations where the temperature may reach or
exceed 50 ゚C (122 ゚F).
7. Do not incinerate the battery cartridge even if
it is severely damaged or is completely worn
out. The battery cartridge can explode in a fire.
8. Be careful not to drop or strike battery.
9. Do not use a damaged battery.
10. Follow your local regulations relating to
disposal of battery.
SAVE THESE INSTRUCTIONS.
Tips for maintaining maximum battery life
1. Charge the battery cartridge before
completely discharged.
Always stop tool operation and charge the
battery cartridge when you notice less tool
power.
2. Never recharge a fully charged battery
cartridge.
Overcharging shortens the battery service life.

6
3. Charge the battery cartridge with room
temperature at 10 ゚C - 40 ゚C (50 ゚F - 104 ゚F).
Let a hot battery cartridge cool down before
charging it.
4. Charge the battery cartridge once in every six
months if you do not use it for a long period of
time.
FUNCTIONAL DESCRIPTION
CAUTION:
• Always be sure that the tool is switched off and the
battery cartridge is removed before adjusting or
checking function on the tool.
Installing or removing battery cartridge
Fig.1
• Open Garden Sprayer’s battery pack cover.
• Always switch off the tool before insertion or
removal of the battery cartridge.
• To remove the battery cartridge, withdraw it from
the tool while sliding the button on the front of the
cartridge.
• To insert the battery cartridge, align the tongue on
the battery cartridge with the groove in the housing
and slip it into place. Always insert it all the way
until it locks in place with a little click. If you can see
the red part on the upper side of the button, it is not
locked completely. Insert it fully until the red part
cannot be seen. If not, it may accidentally fall out of
the tool, causing injury to you or someone around
you.
• Do not use force when inserting the battery
cartridge. If the cartridge does not slide in easily, it
is not being inserted correctly.
ASSEMBLY
CAUTION:
• Always be sure that the tool is switched off and the
battery cartridge is removed before carrying out
any work on the tool.
Spray pipe and nozzle assembly method
1
23
010133
• As shown in the figure, assemble spray pipe and
then nozzle onto lever cock.
• Adjust direction of nozzle using nut on spray pipe.
• Firmly attach components to ensure there is no
leaking.
• Select nozzle according to type of spraying to be
done.
NOTE:
• All connector units use packing. Before assembly,
always check to see that the units have packing.
• Check to make sure that the spray hose is not
cracked, worn and/or damaged.
• Firmly tighten on the spray pipe to prevent liquid
leaks.
• If there is a leak from a connector unit, tighten
further using a hand tool (by approximately 45
degrees).
• Do not use a spray pipe that is longer than the
standard one provided. Doing so may cause
leaking from connector units.
1. Spray pipe
2. lever cock
3. Nozzle

7
Back strap attaching method
BVF104
BVF154
1
2
3
010134
Use the figure pointers to attach the back strap at top and
bottom, making sure there are no twists in the strap.
NOTE:
• Check to make sure that back strap is securely
attached to chemical tank.
OPERATION
CAUTION:
• Before inserting the battery cartridge into the tool,
always check to see that the tool is switched off.
Spraying
CAUTION:
• To prevent sudden spraying, be sure to set the
lever cock to STOP, before turning sprayer switch
1. Pass the belt part of the back strap through the slot on the sprayer.
2. Clip on back strap hooks
3. Clip on back strap hooks

8
ON or OFF.
• When spray work is interrupted, be sure to turn
switch OFF, to prevent inadvertent spraying.
Fig.2
Be sure to check the situation of surroundings before
turning sprayer switch ON.
Operate lever cock to spray.
Once spraying is complete, immediately set lever cock to
STOP, and then turn sprayer switch OFF.
How to use lever cock
Fig.3
1. Position “A” is the STOP position.
2. Position “B” is the spray position. Release the
lever, and it will return to position “A” and spraying
will stop. (Intermittent spraying)
3. Position “C” is the continuous spray position.
(Continuous spraying)
NOTE:
• Check to make sure the tank is loaded with
chemical or clean water when operating the sprayer,
as continued operation of the sprayer with an
empty tank may burn out the pump.
• Running the sprayer for prolonged periods with the
lever cock closed may have an adverse effect on
the pump as well as drain the battery. Be sure to
turn sprayer switch OFF whenever possible.
• If spray splutters, or pumps suddenly screeches,
the chemical tank is empty, so immediately turn
sprayer switch OFF.
•
Do not spray with the battery cover open and/or with
the back-support cushioning removed, as there is a
risk of damage to electrical system. Moreover, do not
spray pointing the spray nozzle at the sprayer.
• Do not forcibly handle the lever cock and/or the
spray pipe.
Mixing chemical
CAUTION:
• Never use Kelthane water dispersible powder
(acaricide) because it tends to harden due to heat
generated by pump during operation, which causes
the pump to stop. Use a Kelthane emulsion, Akar
emulsion or Osadan water dispersible powder as
the acaricide.
• When using a water dispersible powder or lime
sulfur, be sure to dissolve well prior to use.
• Take maximum care when handling chemicals.
Wash away thoroughly if chemical comes into
contact with body.
•
Chemicals are harmful. Always adhere to chemical
manufacturer instructions when handling chemicals.
• See the following chart for ratio information that is
useful when diluting chemicals.
• Never spray chemicals undiluted.
•
When using a water dispersible powder, etc.,
dissolve thoroughly in a container such as a bucket.
Chemical
Water
Dilution ratio
4 L
6 L
8 L
10 L
12 L
15 L
500 1,000 2,000
8 mL
12 mL
16 mL
20 mL
24 mL
30 mL
4 mL
6 mL
8 mL
10 mL
12 mL
15 mL
2 mL
3 mL
4 mL
5 mL
6 mL
7.5 mL
012665
Chemical replenishment
WARNING:
• When changing chemical, be sure to carefully wash
the tank, pump, and nozzle, etc. with clean water.
Residue of the previous chemical may cause a
spray injury. Moreover, if chemicals mix, a chemical
change may occur, with the danger of generating a
toxic gas.
• Be sure to wear protective gloves.
• Do not change chemical in poorly ventilated locale.
(prevent chemical poisoning)
Check to make sure the sprayer switch is OFF and
replenish chemical tank with mixed chemical.
When filling tank with chemical, always strain chemical
through equipped tank strainer.
The side of the chemical tank is marked with scale
divisions, so be sure to use these as operation guidelines.
Firmly tighten chemical tank lid to prevent leaking.
Back strap adjustment
Adjust back strap to a length that brings the sprayer as
close to the body as feasibly possible.
Lengthening strap
(1) Lift up buckle.
(2) Pull the belt on the side connected to the
sprayer.
Fig.4
Shortening strap
Pull the belt on the free side.
Fig.5
NOTE:
When shortening the strap, it will move relatively easily if
there is no weight exerted on the strap.
MAINTENANCE
CAUTION:
• Always be sure that the tool is switched off and the
battery cartridge is removed before attempting to
perform inspection or maintenance.
• For inspection and maintenance, always wear
protective gloves.
•
Never use gasoline, benzine, thinner, alcohol or the
like. Discoloration, deformation or cracks may result.

9
After-use maintenance
• After use, remove residual liquid from chemical
tank, and wash away clinging chemical from inside
of tank using clean water.
• Now fill up chemical tank with clean water and run
the sprayer for 2 to 3 minutes to wash out residual
chemical from the pump, hose, and nozzle, etc.
• Remove the residual liquid from inside the chemical
tank, restart the pump, and run the sprayer until
residual liquid ceases to come out of the nozzle,
and then turn sprayer switch OFF.
• Wipe away moisture and dirt from equipment, and
then check for damage and leaks.
Daily checks
• Before work, check to see whether or not fastened
units are loose and components are missing.
• Check to make sure the spray hose is not cracked,
worn and/or damaged.
• After use, always be sure to wipe dirt off of exterior,
and to check for damage and/or leaks.
Cleaning water absorption strainer
Fig.6
After removing chemical from tank, remove the water
absorption strainer at the bottom of the tank, and clean it.
Cleaning lever cock strainer
Fig.7
Remove lever cock cap and clean strainer.
NOTE:
Water absorption strainer
• This is a filter used to prevent dirt and dust (that for
some reason has got passed the tank strainer into
the tank) from getting into the pump. If the water
absorption strainer becomes blocked, spraying will
deteriorate, and there is a risk of the pump being
adversely affected.
Lever cock strainer
• Spraying deteriorates if the lever cock strainer
becomes blocked.
Sprayer storage
• Wash the equipment using the after-use
maintenance procedures.
• In particular, when storing during the winter season,
breakdown or damage may occur due to freezing of
residual chemical and/or washing water in the
pump. Run the pump until all residual liquid has
exited from the nozzle, check to make sure there is
no more residual liquid, turn the sprayer switch OFF,
and then store the sprayer away.
CAUTION:
Store the Garden Sprayer out of reach of children, in an
indoor locale that does not freeze, is away from direct
sunlight, and has good ventilation.
−Take full care in storing the sprayer, as, in some
cases, the plastic components will deteriorate
markedly if left in direct sunlight for a prolonged
period; moreover, product caution labels will
discolor and/or come off.
Useful Tips
Spray pipe holder
Be sure to attach the holder in the right direction.
1
010139
NOTE:
• For configuration reasons, force is required in the
attaching process, but care should be taken not to
bend the spray pipe.
Use the holder when taking a rest, replenishing chemical
liquid, and at times of storage, etc.
Fig.8
For Model BVF154 only
Fig.9
Chemical tank holder post
The holder post also serves as a temporary holder for the
chemical tank lid, so please hook it onto this post.
Fig.10
Tank strainer
Hands can be freed up by inserting the water hose in the
useful notched section of the tank strainer.
Fig.11
Main plant diseases and pests
Always adhere to chemical manufacturer instructions
when handling chemicals.Thoroughly dissolve chemical
prior to use.
What to do if you think there is a breakdown
Before asking for repairs, first, conduct your own
inspection. If you find a problem that is not explained in
the manual, do not rashly dismantle the sprayer. Instead,
ask Makita Authorized Service Centers, always using
Makita replacement parts.
1. Spray pipe holder

10
Malfunction status Cause Action
Switch OFF
Motor (pump) will not work
The switch is OFF Turn switch ON
Switch ON
Battery problem
(under voltage)
Recharge
If recharging is not
effective, replace battery.
Wiring connector
is disconnected
Wiring break
Switch breakdown
Motor breakdown
Blown fuse
Request an overhaul
Request an overhaul
Request an overhaul
Request an overhaul
Request an overhaul
Pump is working but spray is not coming out
Blocked nozzle
No liquid in
chemical tank
Chemical tank lid's
blowhole is blocked
Blocked piping
Broken or cracked
piping
Disconnected or
broken piping
Blocked water
absorption strainer
Clean or replace
Replenish
Clean
Request an overhaul
Request an overhaul
Request an overhaul
Remove and clean
010146

11
Malfunction status Cause Action
Sprayer sprays but is abnormal or
spray pressure is weak
Chemical tank lid's
blowhole is blocked Clean
Blocked piping Request an overhaul
Broken or cracked
piping Request an overhaul
Disconnected or
broken piping Request an overhaul
Blocked water
absorption strainer Remove and clean
Blocked lever cock
strainer Remove and clean
Abnormal pressure
regulator Request an overhaul
Request an overhaulWorn gear case
A strange sound is emitted when
switch is turned ON
Coupling that drives
pump is broken Request an overhaul
Blocked nozzle Clean or replace
When sprayer is left after being switched OFF,
a large amount of liquid flows out of the nozzle
Lever cock is set to
continuous spray Set lever cock to STOP
010147
To maintain product SAFETY and RELIABILITY, repairs,
any other maintenance or adjustment should be
performed by Makita Authorized Service Centers, always
using Makita replacement parts.
OPTIONAL ACCESSORIES
CAUTION:
• These accessories or attachments are
recommended for use with your Makita tool
specified in this manual. The use of any other
accessories or attachments might present a risk of
injury to persons. Only use accessory or
attachment for its stated purpose.
If you need any assistance for more details regarding
these accessories, ask your local Makita Service Center.
• Various nozzles
• Makita genuine battery and charger
NOTE:
• Some items in the list may be included in the tool
package as standard accessories. They may differ
from country to country.
Other manuals for BVF104
7
Table of contents
Other Makita Paint Sprayer manuals

Makita
Makita DUS054Z User manual

Makita
Makita EVH2000 User guide

Makita
Makita BVF104 User manual

Makita
Makita DUS054 User manual

Makita
Makita EF1550RH User manual

Makita
Makita BVF154 User manual

Makita
Makita US053D User manual

Makita
Makita PM7651H User guide

Makita
Makita DUS108 User manual

Makita
Makita DVF104 User manual

Makita
Makita EVH2000 User guide

Makita
Makita DUS054 User manual

Makita
Makita US053D User manual

Makita
Makita DVF104 User manual

Makita
Makita DUS108 User manual

Makita
Makita DVF104 User manual

Makita
Makita DUS108 User manual

Makita
Makita BVF104 User manual

Makita
Makita DUS054 User manual

Makita
Makita BVF104 User manual