AQTF-2035-INS-LAB-RevC11
1
AQTF-2035 TENDERFLO® WATER OVERLAY:
INSTALLATION INSTRUCTIONS
PLEASE SAVE THESE INSTRUCTIONS FOR FUTURE USE
Info: The most current version of these instructions can be found online at www.grahamfield.com
WARNING:
Important!Readandunderstandtheseinstructionsbeforeinstallingorusingthe
LumexTenderoWaterOverlay.Theseinstructionscontaininformationthatwillaidyouinachiev-
ingmaximumtherapeuticresults.Ifyoudonotunderstandanypartofthesewarnings,cautions
orinstructions,contactahealthcareprofessionalfordirectionintheuseofthisproduct.Ifthe
overlayisnotproperlyinstalled,personalinjuryanddamagetotheoverlaycouldresult.
WARNING:
Ifcomponentsaredamagedormissing,contactyourdealerimmediately.DONOTuse
substituteparts.UseonlyLumexreplacementparts.Theuseofnon-Lumexreplacementparts
couldcausepersonalinjury,propertydamage,andvoidthewarranty.
WARNING:Thisproducthasamaximumweightcapacityof225lb.
WARNING:GFHealthProducts,Inc.assumesnoresponsibilityforanydamageorinjurycaused
byimproperassemblyoruseofthisproduct.
INTENDEDUSE
The intended use of the
AQTF-2035
is as a support and pressure reduction surface.
INSTALLATION
Setup
Unfold the overlay and place it on either a conventional or hospital mattress, with the ll valve facing up
and visible at the foot of the bed.
Filling
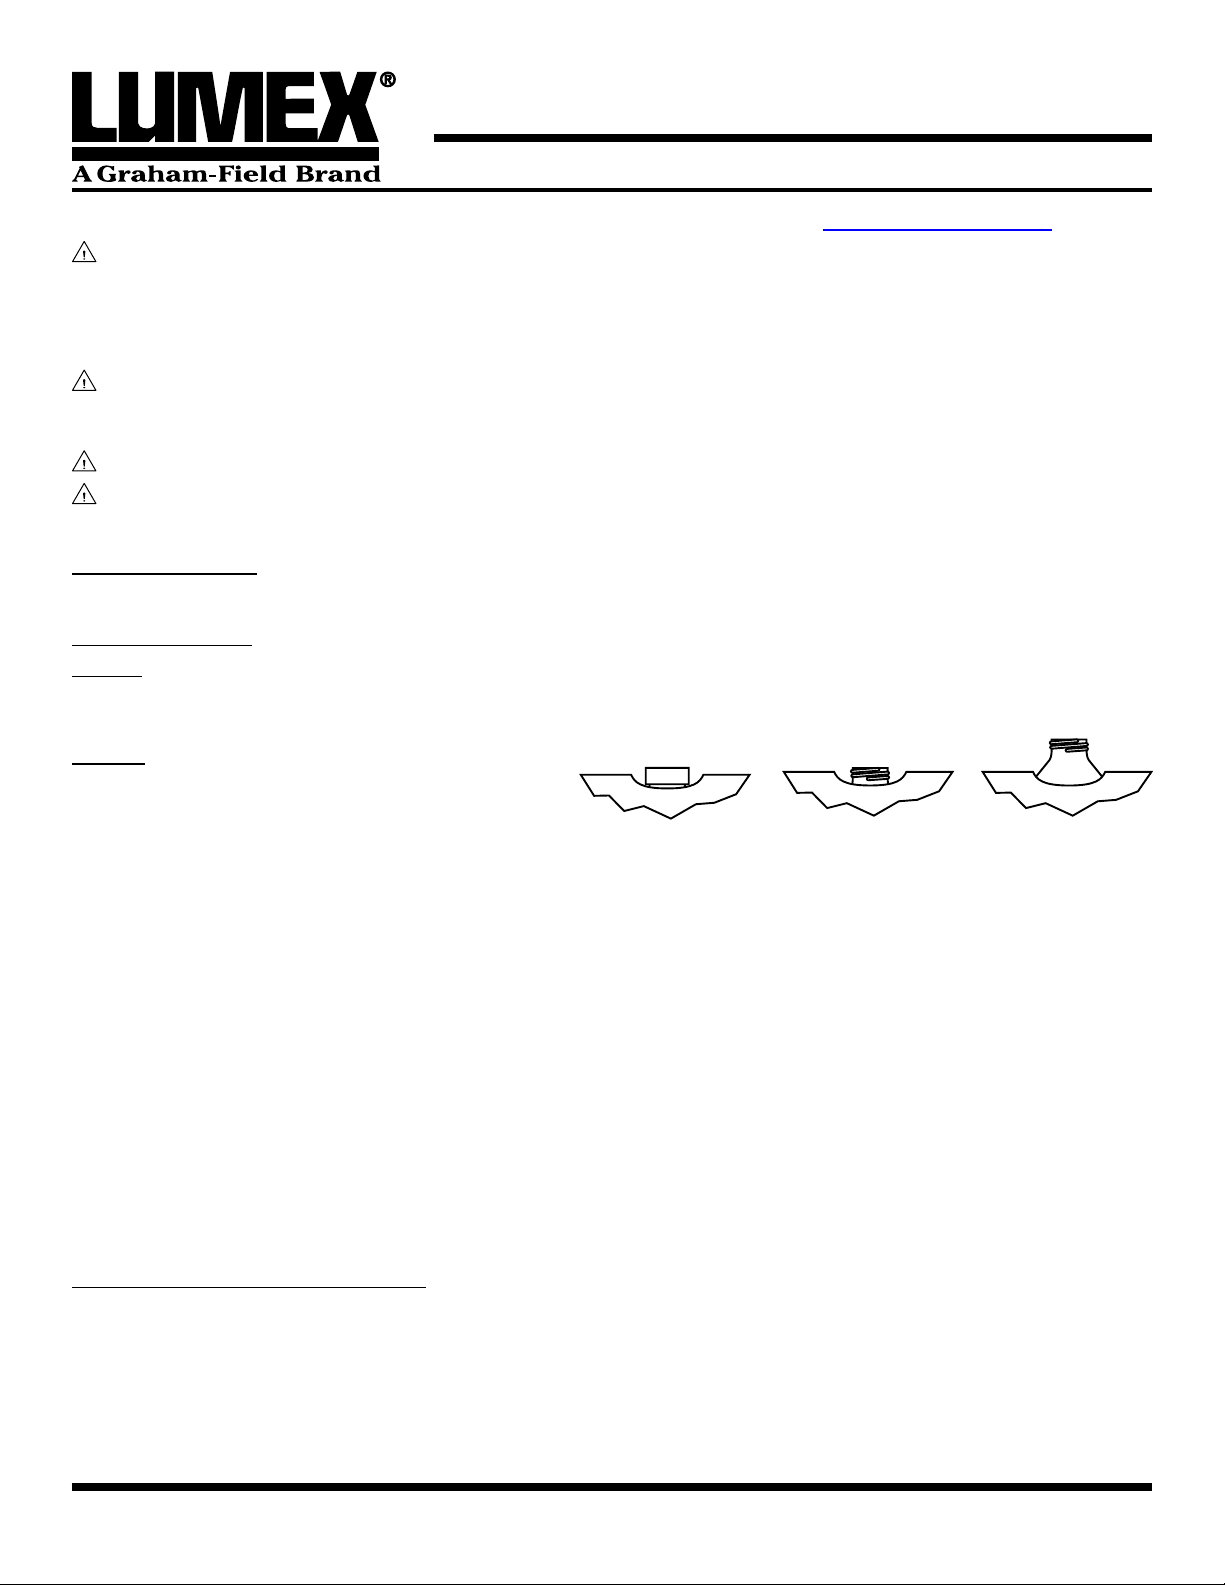
1. See picture at right: Unscrew and remove
the ll valve cap. Holding the base of the ll
valve, carefully insert your nger into the
opening and gently pull the valve to its raised
position.
2. Locate a nearby faucet to obtain warm water, approximately 98°F - 99°F (36°C - 37°C).
3. Connect one end of a standard garden hose to the faucet. Screw the female end of the garden hose onto
the overlay's male ll valve.
4. Gently turn on the warm water. Do not leave the overlay unattended. Hold the ll valve upright until the
water level reaches the lling line.
5. Turn off the water when the desired level has been reached. Do not overfill.
s NOTICE:Ifyouaccidentallyoverlltheoverlay,drainouttheexcesswaterimmediately.
6. Close the ll valve cap.
s NOTICE:Ensurellvalvecapissecurelyclosed.Crossedthreadscouldresultinleakage.
7. Gently push the cap downward to the recessed position.
8. Mark date lled.
CheckingforProperFillLevel
1. Fill the overlay with as little water as possible, as previously described. After all the caps are tightly in
place, check for proper ll level:
2.
Position the patient on the overlay with heels at end of mattress and head on pillow. Place your hand
(palm up) under the overlay beneath the patient's buttocks. There should be approximately one to two
inches between these two surfaces. The overlay should contour to the patient's body and not appear hard
from overlling. If too soft, add more water, and if too hard, remove water, until appropriate ll is achieved.


