manuals.online logo
Brands
  1. Home
  2. •
  3. Brands
  4. •
  5. Graham Field
  6. •
  7. Indoor Furnishing
  8. •
  9. Graham Field Lumex PATRIOT LIBERTY GF6570B-1 Installation instructions

Graham Field Lumex PATRIOT LIBERTY GF6570B-1 Installation instructions

GF6570B-1-INS-LAB-RevB09
1
GF6570B-1 PATRIOT™LIBERTY FULL-LENGTH BED RAILS:
INSTALLATION & OPERATION INSTRUCTIONS FOR PATRIOT™BED
PLEASE SAVE THESE INSTRUCTIONS FOR FUTURE USE
Note: The most current version of these instructions can be found online at
www.grahamfield.com
Note: Use these instructions to mount rails on Patriot™Bed only. Instructions to mount
rails on WhisperLite™Bed can be found online at www.grahamfield.com
GF6570B-1 Full-Length Bed Rails are intended for homecare use or institutional use with
Patriot™beds. Ensure that you have read and understood the following safety informa-
tion before installing or using the Full-Length Bed Rails.
WARNING: Important! Read and understand these instructions before installing or us-
ing the GF6570B-1 Patriot™Liberty Full-Length Bed Rails. If you do not understand any
part of these warnings, cautions or instructions, contact a healthcare professional
for direction in the use of this product. If the bed rails are not properly installed and
adjusted, personal injury and damage to the rails and bed could result.
Entrapment may occur. The bed frame and its components, including the mattress,
bed side rails, head and foot board, bedding, and any accessories added to the bed,
can all affect the risk of entrapment. Thorough patient assessment and monitoring are
necessary to reduce the risk of entrapment, including establishing whether the use of
a bed rail is in the best interest of the patient. Patients most vulnerable to entrapment
are those who are frail, confused, restless, or who have uncontrolled body movement.
Please read and understand the following full-length bed rail decal before use:
For information on Bed Rail safety, please see the following brochure: "A Guide to Bed
Safety: Bed Rails in Hospitals, Nursing Homes and Home Health Care: The Facts" on
the FDA website, at http://www.fda.gov/cdrh/beds/
WARNING: GF6570B-1 Full-Length Bed Rails are intended to prevent a patient from ac-
cidentally rolling out of bed. The rails are not intended as a restraint device. DO NOT
use the rails as a restraint.
WARNING: DO NOT push or pull the bed by the bed rails.
WARNING: GF6570B-1 Full-Length Bed Rails are intended for use only with Lumex
beds; their use with non-Lumex beds could result in personal injury, property damage
,
and void the warranty.
WARNING:
If components are damaged or missing, contact your Graham-Field distribu-
tor immediately. DO NOT use substitute parts. Use only Lumex replacement parts. The
use of non-Lumex replacement parts could result in personal injury, damage the rails,
and void the warranty.
WARNING: GF Health Products, Inc. assumes no responsibility for any damage or in-
jury caused by improper assembly, installation or use of this product.
INSTALLATION
Remove bedding and mattress. Ensure that the bed deck is in the at position.
2
GF6570B-1-INS-LAB-RevB09
stabilizer
rail guide
head end slot
anti-slide tab
spring button
long end
detail: install
head end
crossbrace
head end
spring
button
rail guide head end
crossbrace
detail: head end
crossbrace
installed
head end
foot end slot
foot deck angle
foot end
locate
foot end
slots
head end
detail area
Crossbrace Position
Please note that crossbrace installation posi-
tion differs from nal position. To facilitate
installation, it is necessary to expose the sta-
bilizers that hook the crossbraces to the bed
deck angle. The pictures at right will aid you
during the following crossbrace installation
instructions.
Head End Crossbrace Installation
1. Locate the two head deck angle slots on
either side of the bed closest to the pivot
point (see picture at right).
2. Position the head end crossbrace so it
extends across the bed. Ensure the stabiliz-
ers remain at the bottom of the crossbrace
and rotate the rail guides so the long ends
face upward and the spring buttons face the
bed's head end, as shown at right.
3. Insert one of the crossbrace stabilizers into
the slot across the bed from you. Compress
the spring-loaded crossbrace until the sec-
ond stabilizer aligns with the slot closest to
you and lower it into the slot. Slowly release
crossbrace until it locks into place.
4. Rotate the crossbrace so the long ends
of the rail guides face downward and the
spring buttons face the bed's foot end, as
shown at right.
Foot End Crossbrace Installation
1. Locate the two foot deck angle slots on ei-
ther side of the bed closest to the bed's foot
end (see picture at right).
head end
pivot point
head end slot
head deck
angle
foot end
locate
head end
slots
head end
detail area
bed deck angle
stabilizer
spring button
anti-slide tab
rail guide
crossbrace
in installation
position
crossbrace
rotated
to final
position
GF6570B-1-INS-LAB-RevB09
3
2. Position the foot end crossbrace so it
extends across the bed. Ensure the stabiliz-
ers remain at the bottom of the crossbrace
and rotate the rail guides so the long ends
face upward and the spring buttons face
the bed's foot end, as shown at right.
3. Insert one of the crossbrace stabilizers into
the slot across the bed from you. Com-
press the spring-loaded crossbrace until
the second stabilizer aligns with the slot
closest to you and lower it into the slot.
Slowly release crossbrace until it locks into
place.
4. Rotate the crossbrace so the long ends
of the rail guides face downward and the
spring buttons face the bed's head end, as
shown at right.
Rail Installation
1. Align the two legs of each rail over the crossbrace rail guides. Ensure the outer telescoping
rail tubes are facing the bed's head end and the rail rivet stops are facing outward, as shown
below.
2. Gently pull out the spring buttons and lower the rail until both buttons click into position in
the rst holes on both rail legs, locking down the rail.
WARNING: Ensure
the outer telescop-
ing rail tubes face the
head end of the bed as
shown at right; if po-
sitioned otherwise, a
pinch point could occur
when bed is raised or
lowered.
spring button
long end anti-slide tab
rail guide
stabilizer
detail: install
foot end
crossbrace
head end
foot end slot
spring button
rail guide
foot end
crossbrace
detail: foot end
crossbrace
installed
head end
foot end
head end
right
side
left
side
head end
crossbrace
foot end crossbrace
right rail outer
telescoping tube
left rail outer telescoping tube
rail rivet stops
face outward
head end
rail guide
foot end
rail guide
spring buttons
face each other
full-length bed rails installed
4
GF6570B-1-INS-LAB-RevB09
© July 2009 GF Health Products, Inc. • 2935 Northeast Parkway • Atlanta, GA 30360 • tel 800-347-5678 • fax 800-721-0601 • www.grahameld.com
GF Health Products, Inc. is not responsible for typographical errors.
Packaging, warranties, products and specications are subject to change without notice.
Graham-Field and Lumex are registered trademarks, and Patriot is a trademark, of GF Health Products, Inc.
OPERATION
WARNING: Always ensure the bed rails are securely installed as described before use.
Lowering the Rails
To lower the rails to the MID position, pull out the spring buttons and lower the rail until the
buttons lock in the second holes. Release the spring buttons. To lower the rails to the DOWN
position, pull out the buttons and lower the rail until it sits on the two rail rivet stops.
Raising the Rails
To raise the rails to the MID position, pull out the spring buttons and raise the rail until the but-
tons catch in the second holes. To raise the rails to the UP position, pull out the buttons and
raise the rail until the buttons catch in the top holes.
WARNING: Ensure the bed rails lock into place during adjustment, and that both ends
of each bed rail are adjusted to the same height.
MAINTENANCE
WARNING: Inspect the bed rails frequently and adjust as needed to ensure secure
installation.
Cleaning
To clean the bed rails, wash them with soap and water or a mild detergent, then rinse with
water.
Caution: Never use abrasive cleaners or scouring pads on any part of the bed rails.
WARRANTY
GF Health Products, Inc. warrants the Lumex®GF6570B-1 Patriot™Liberty Full-Length Bed Rails
for three years against manufacturer's defects. If a product is deemed to be under warranty,
GF Health Products, Inc. shall provide, at its option, (1) replacement of any defective part or
product or (2) a credit of the original selling price made to GF Health Products, Inc.'s initial cus-
tomer. The warranty does not include any labor charges incurred in replacement part(s) instal-
lation or any associated freight or shipping charges to GF Health Products, Inc.

Other Graham Field Indoor Furnishing manuals

Graham Field intensa 620 Parts list manual

Graham Field

Graham Field intensa 620 Parts list manual

Graham Field TENDERFLO AQTF-2035 User manual

Graham Field

Graham Field TENDERFLO AQTF-2035 User manual

Graham Field 7150 Series User manual

Graham Field

Graham Field 7150 Series User manual

Graham Field LUMEX SELECT Series User manual

Graham Field

Graham Field LUMEX SELECT Series User manual

Graham Field Grafco 1697-1M-220 Parts list manual

Graham Field

Graham Field Grafco 1697-1M-220 Parts list manual

Graham Field Basic American A919000 Parts list manual

Graham Field

Graham Field Basic American A919000 Parts list manual

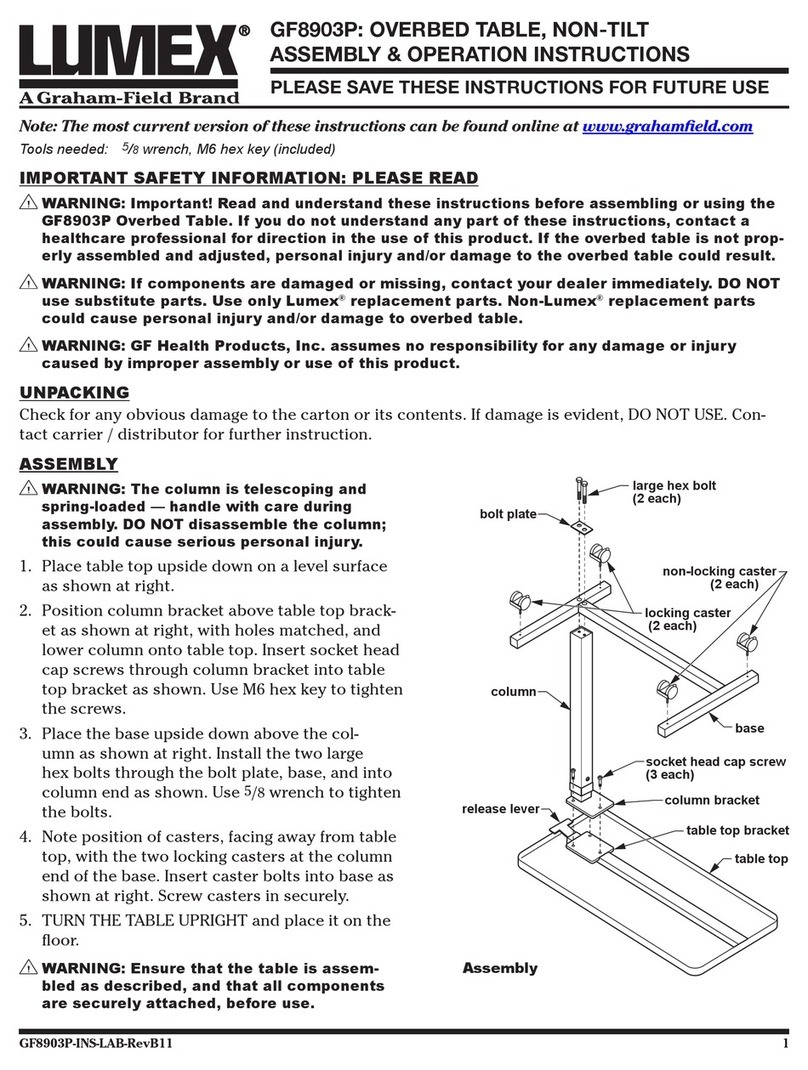
Graham Field Lumex GF8903P Parts list manual

Graham Field

Graham Field Lumex GF8903P Parts list manual

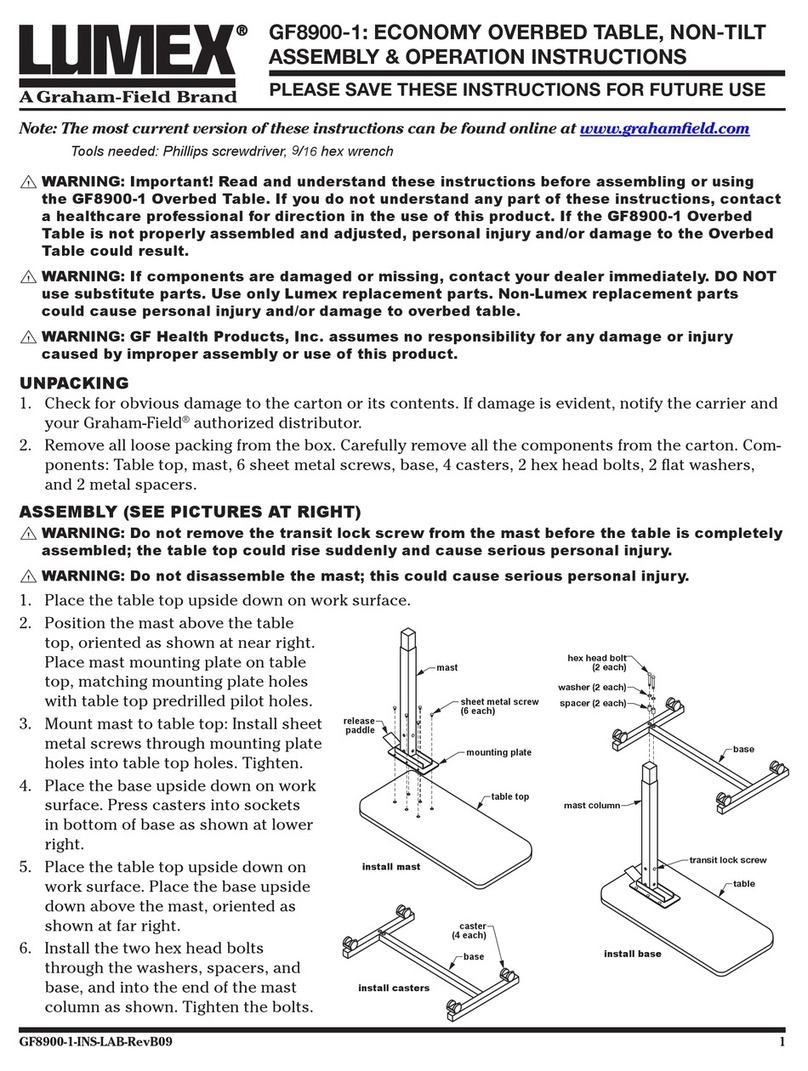
Graham Field Lumex GF8900-1 Parts list manual

Graham Field

Graham Field Lumex GF8900-1 Parts list manual

Graham Field CKD12F7T Instruction Manual

Graham Field

Graham Field CKD12F7T Instruction Manual

Popular Indoor Furnishing manuals by other brands

ID USA 13752 Assembly instruction

ID USA

ID USA 13752 Assembly instruction

Astonica 50105221 instruction manual

Astonica

Astonica 50105221 instruction manual

LS Bedding Group Comfort Lift Assembly instructions

LS Bedding Group

LS Bedding Group Comfort Lift Assembly instructions

ELEGANT HOME CORDLESS ROMAN SHADE installation instructions

ELEGANT HOME

ELEGANT HOME CORDLESS ROMAN SHADE installation instructions

Kaboodle 750mm overhead cabinet manual

Kaboodle

Kaboodle 750mm overhead cabinet manual

Xxxlutz Regale/30-3er Assembly instructions

Xxxlutz

Xxxlutz Regale/30-3er Assembly instructions

Living Spaces SEDONA 4710 Assembly instructions

Living Spaces

Living Spaces SEDONA 4710 Assembly instructions

Polywood Oxford 4453X Assembly instructions

Polywood

Polywood Oxford 4453X Assembly instructions

BREDABEDS STUDIO Assembly instructions

BREDABEDS

BREDABEDS STUDIO Assembly instructions

Furniture of America CM-AC405-C Assembly instructions

Furniture of America

Furniture of America CM-AC405-C Assembly instructions

Home Styles 88502395 C quick start guide

Home Styles

Home Styles 88502395 C quick start guide

Home Styles 20 05520 0027 Assembly instructions

Home Styles

Home Styles 20 05520 0027 Assembly instructions

HAMPTON BAY FCS00015Y2PKBWC Use and care guide

HAMPTON BAY

HAMPTON BAY FCS00015Y2PKBWC Use and care guide

Simpli Home AXCMIL12-RNAB manual

Simpli Home

Simpli Home AXCMIL12-RNAB manual

FANCII GALA instruction manual

FANCII

FANCII GALA instruction manual

Costway 93465280 user manual

Costway

Costway 93465280 user manual

mlmeble ADAGIO 08 Assembling Instruction

mlmeble

mlmeble ADAGIO 08 Assembling Instruction

dreambaby Brighton L879 instructions

dreambaby

dreambaby Brighton L879 instructions

manuals.online logo
manuals.online logoBrands
  • About & Mission
  • Contact us
  • Privacy Policy
  • Terms and Conditions

Copyright 2025 Manuals.Online. All Rights Reserved.