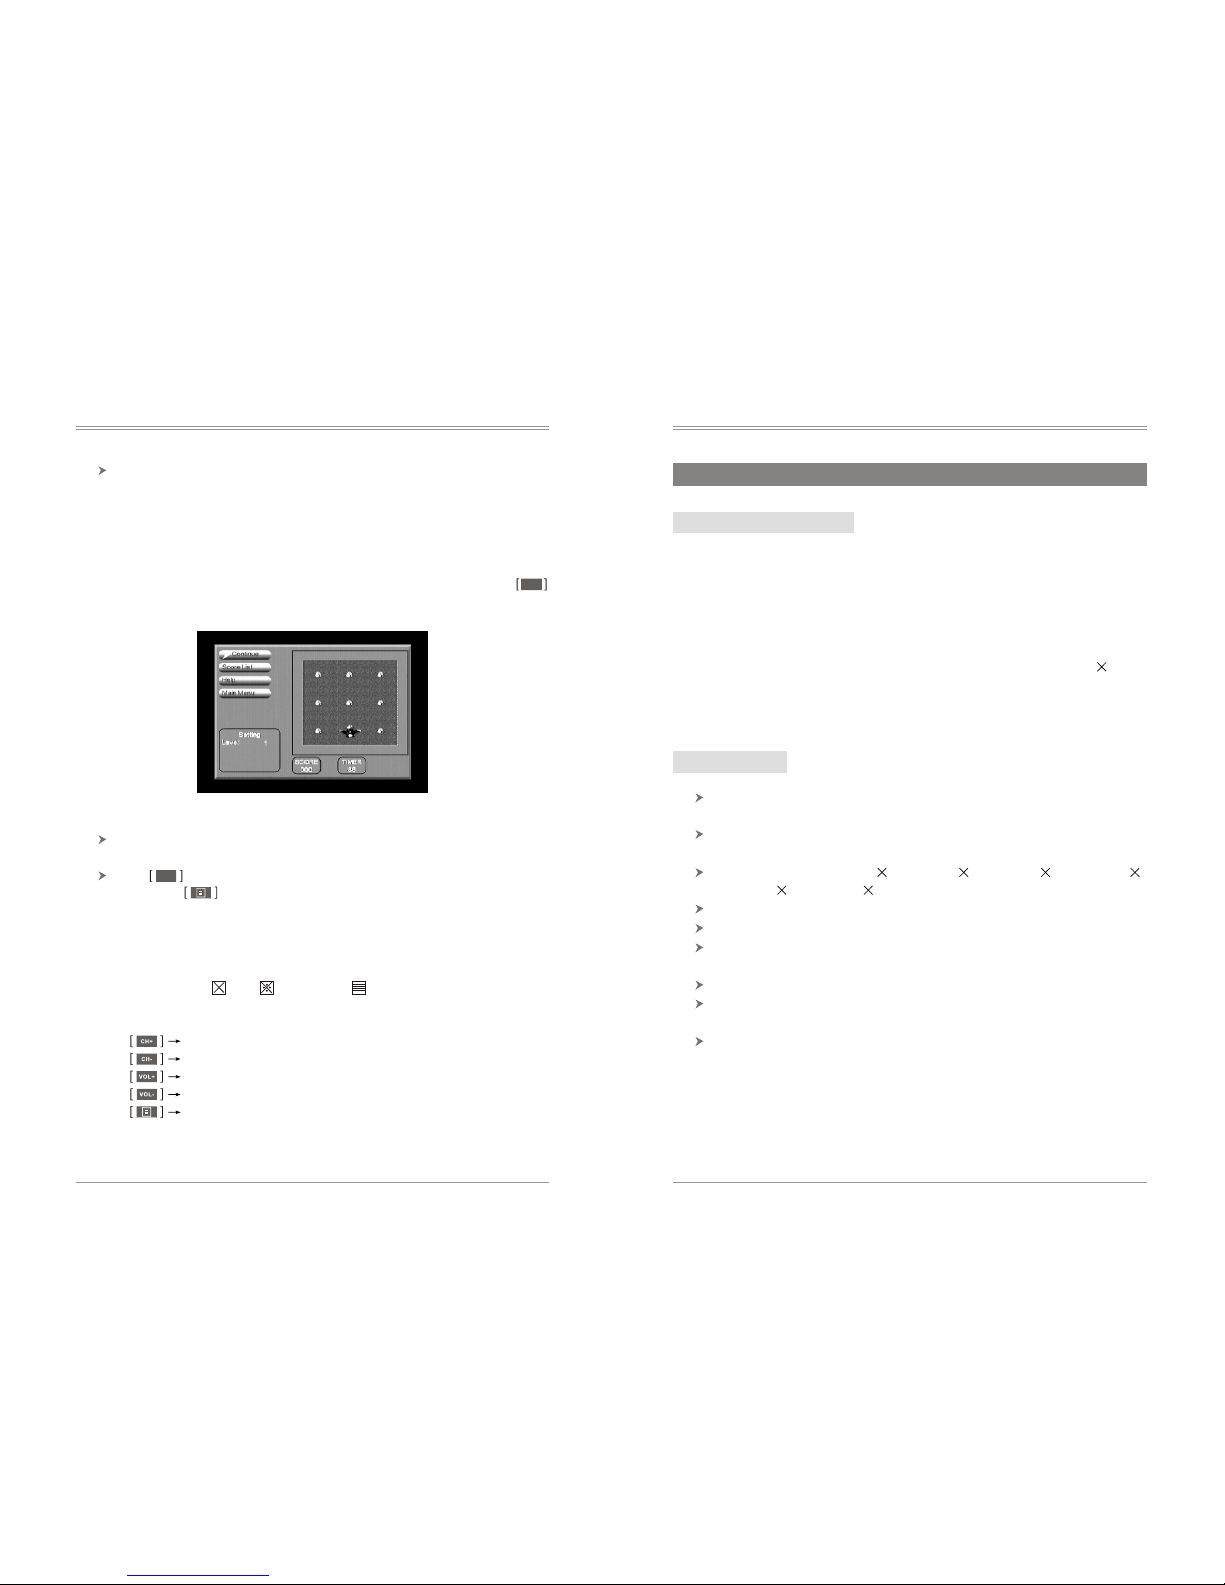
Grand TV6818E User manual

User’s Manual

TV6818 User’s Manual-V1.0

42
Contents
Troubleshooting
4.3 Troubleshooting of PIP
4.4 PC display mode (PIP standard status)
Resolution Refresh rate
Symptoms Solution
Normal sound without
picture(in PIP status)
PIP invalid
Check whether the output format of display card is
standard (Refer to Part4).
Check whether there is PC signalinput.
Note: PIP function is not supported when the resolution is 1680 1050/ 1920 1200.

41
Troubleshooting
4. Troubleshooting
4.1 Troubleshooting of digital TV
4.2 Troubleshooting of analog TV
Solution
Symptoms
No image, no sound
Imperfect image and sound
Two sound track
Cannot play USB
Check the connection of DVB-Tantenna
Check the connection of DVB-T antenna,and adju
-st the place of DVB-Tantenna
RADIO
The program is bilingual.
Press on the remote control toswitch track.
The playing file formats are notthe unit supported
formats.
Solution
Symptoms
No picture, no sound
Abnormal sound
Picture without color
Normal sound
without image
Without image or
abnormal picture
Low sensitivity of
remote control
Picture with snow spots,
oblique or vertical line
No power supply or the receiver is in the standby mode.
Wrong sound system.
Set the right sound system.
Adjust the item of chroma.
It is black and white TVprogram.
Wrong video system setting. EnterVIDEO SYSTEM
of Picture to adjust.
The plug of the monitor isnot inserted well.
Strong interruption of TV signaland the monitor is in
protective status.
Make sure the VGAcable is well connected and the
PC works normally.
Make sure right insertion of battery.
Low battery or interruption of remotecontrol signal.
Weak signal. Using amplifier to strengthen it.
Defective connection of antenna,or the wire in antenna
cable is broken off.
Failure of TV station.

(Picture 3.54)
There are five functional selection menus on the left of the interface for
user:
New Game: Restart Game
Speed: Set Game Speed (press LEFT/RIGHT key to set)
Score List: Score list
Help: Help information
Exit: Exit the game;
After game-setting, move the cursor to New Game button, press
to enter the game , game interface as following(picture3.54):
“”
40 1
OK
1. Introduction
1.1 Brief introduction
TV6818E is a kind of TV box that allows you to access free to air
digital TV and analog TV with DVB-T and CATV functions and can
be connected to DVD,PS2,PS3,WII devices with input signal such as
VIDEO,S-VIDEO,YPbPr. It adopts advanced progressive scanning
and 3D noise reduction technology, transferring a sharp and stable
picture with refresh rate up to 60Hz or 75Hz. Compatible with CRT
and LCD monitor, TV6818 supports high resolutionup to 1920 1200.
Built-in speaker and fashionable outlook, connecting to your monitor,
presents a full function LCD TV.
1.2 Features
Advanced progressive scanning and 3D noise reduction technology,
deliver sharp and stable pictures.
Compatible with CRT and LCD monitor and wide-screen LCD
monitor.
Adjustable resolution: 800 600 / 1024 768 / 1280 1024 / 1440
900 / 1680 1050 / 1920 1200.
PIP function, work synchronizeswith entertainment.
Memorize up to 250 channels (analog TV).
Support EPG/Subtitle/Teletext/Parental Lock/Channel Edit function
and Stereo /Radio programs (digital TV).
USB media playing function is available(digital TV).
Support VIDEO/S-VIDEO/ YPbPr input via MMI cable (YPbPr input
support: 408i/480p/576i/576p/720p/1080i signal).
STB sharing when connected to TV via MMI cable.
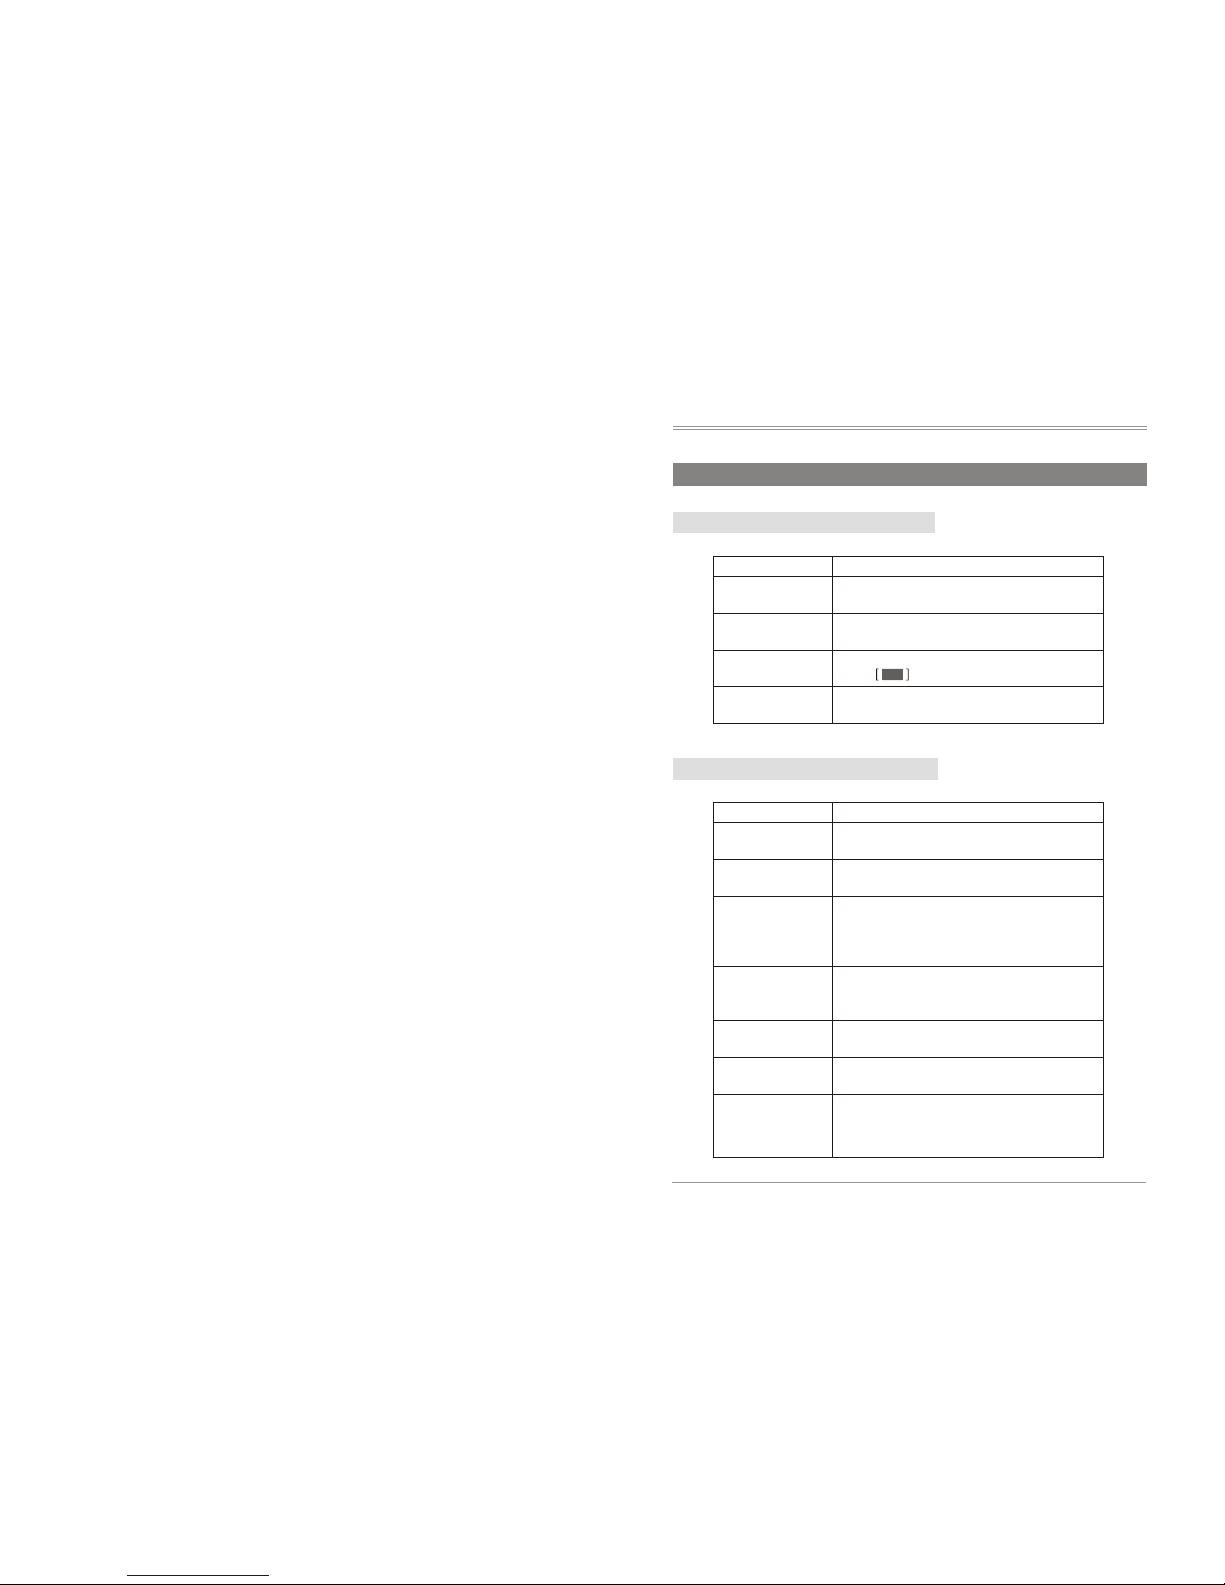
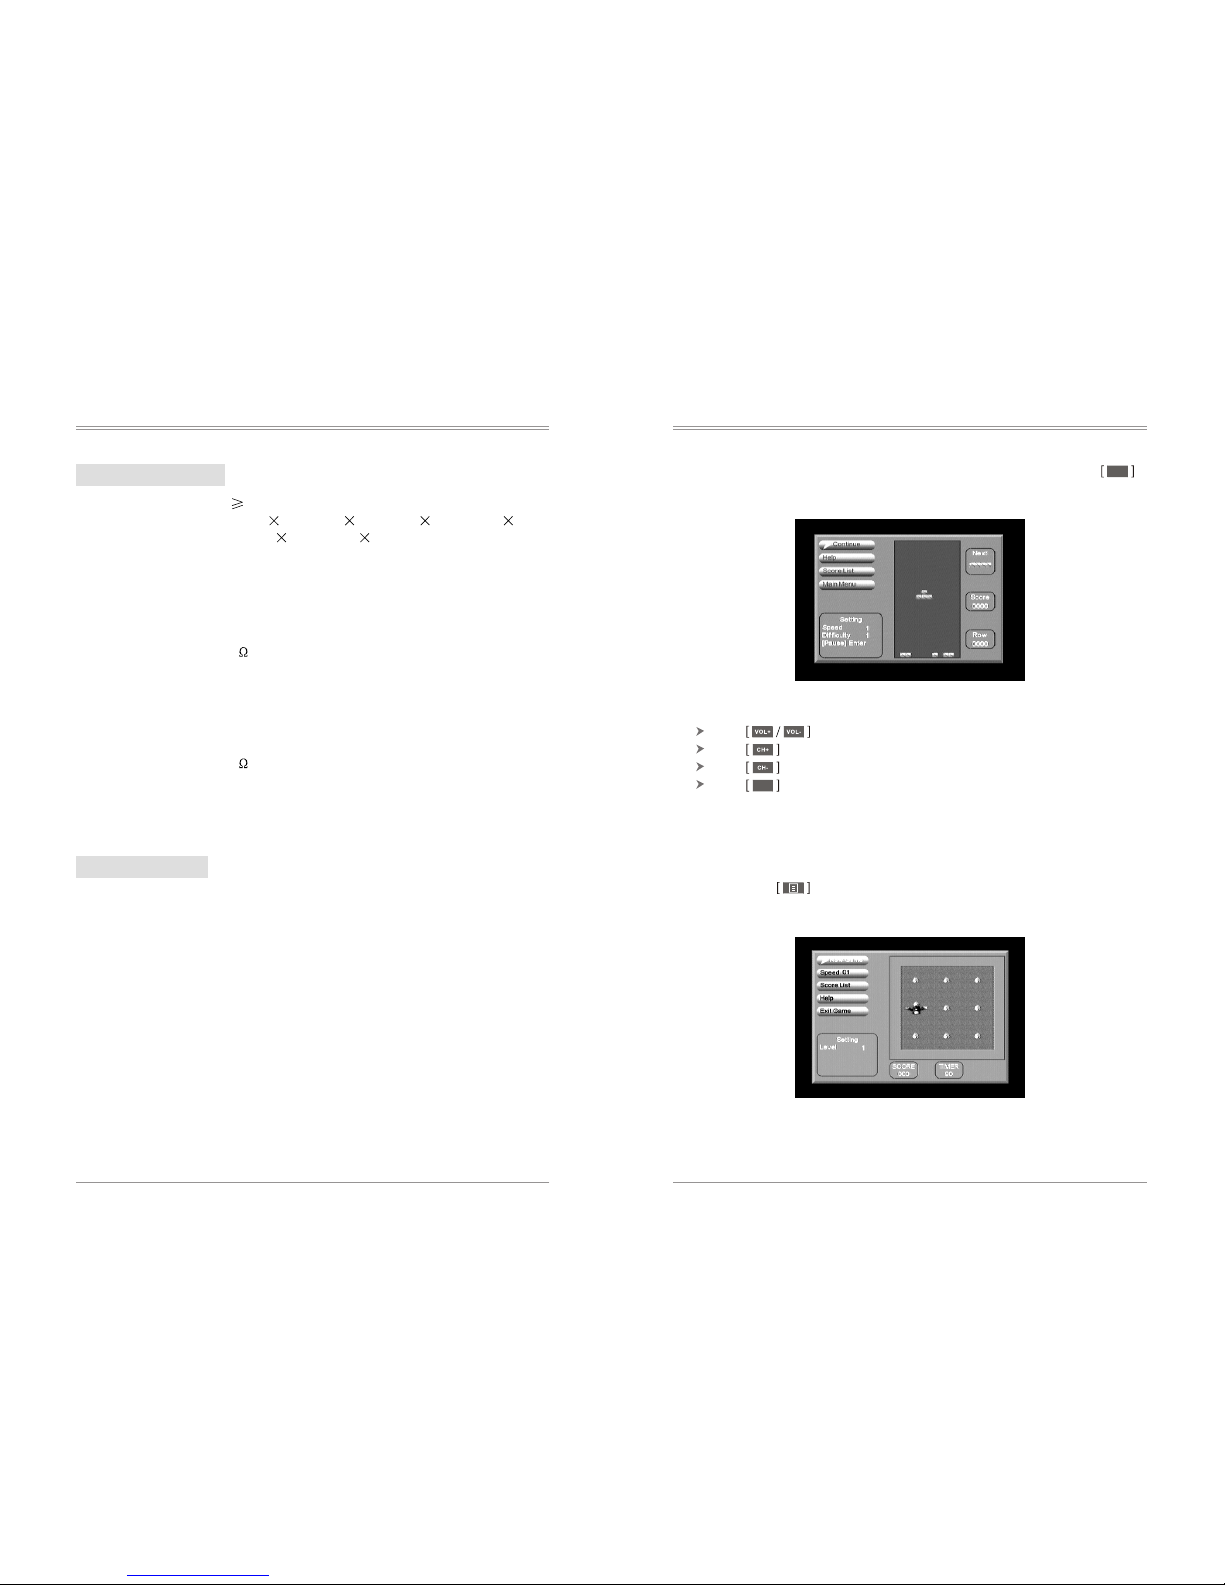
The direction keys compose of 1,2,3,4,5,6,7,8,9 vs top left, top mid,
top right, mid left, mid right, down left, down mid, down right.
Press to pause the game.Left button Continue to continue the
game.Press to return to the previous menu and reset games.
“”
OK
2) Analog TV game
A. How to start: Enter the image menu to select game
B. How to play: Box Destination Wall
Use UP/DOWN/RIGHT/LEFT to move the box to the destination.
C. Function illustration:
Up
Down
Right
Left
Exit
Introduction
Operation instruction

Play: Press under normal playing mode and select GAME->Native
Games->Hit Rat, game interface as following (picture3.53):
2 39
OK
3) Hit Rat
Picture 3.53 Hit Rat
Press to move the square to left and right;
Press to change the shape of bricks;
Press to accelerate the square down;
Press to pause game, press CONTINUE to continue game, Main
Menu returns to the previous menu, reset Game or exit.
“” “
”
OK
After game-setting, move cursor to start game button, press
to enter the game, game interface as following (picture3.52):
“”
Picture 3.52 Start game
1.3 Specifications
Power input: DC 5 1500mA
Resolution (output): 800 600/ 1024 768/ 1280 1024/ 1440 900/
1680 1050/ 1920 1200 (optional)
Output frequency: Horizontal: 48-74 KHz
Vertical: 60Hz /75Hz (optional)
Video output: 1Vp-p
DVB-T parameters:
Frequency input: VHF 177.5MHz-226.5MHz UHF 474MHz-858MHz
Input impedance: 75
Input symbol rate: 4.98-31.67Mbit/s
Module pattern: QPSK 16QAM 64QAM
FFT mode: 2K/8K
Bandwidth: 6/7/8MHz
CATV parameters:
Input impedance: 75
Bandwidth: 6/7/8MHz
Image system: PAL/NTSC/SECAM (optional)
Sound system: D/K.I.B/G.M.L (optional)
1.4 Accessories
Common accessories:
Optional accessories:
MMI video input cable (DIN 200N)
MMI S-Video input cable (DIN 200S)
MMI YPbPr input cable (DIN 201V)
MMI video output cable (DIN 200T)
VGA toYUV output cable
TV6818E user’s manual ---------------------1pcs
Remote control -------------------------------1pcs
Power adaptor --------------------------------1pcs
Stereo audio cable ---------------------------1pcs
DVB-T MINI antenna cable ----------------1pcs
VGA cable ------------------------------------1pcs
MINI USB cable -----------------------------1pcs
Introduction Operation instruction

Play: Press under normal playing mode and select GAME-> Native
Games->Tetris, game interface as following:
38 3
VGA MONITOR PC AUDIO LINE OUT MMI-C DC IN ANT IN USB
Tetris
(Picture 3.50 Tetris)
There are five functional selection menus on the left of the interface for user:
Start : Start Game
Setting: Set game speed and level, as shown in picture 3.51:
(Picture 3.51 Setting)
Help: Provide game help information
Score List: Score list
Exit: Exit the game
1.5 Panel instruction
1) Front:
: Standby status (press for long)
Enter or exit (briefly press)
CH+/CH- : Increase or decrease channels/Menu selected (up and down).
VOL+/VOL- : Increase or decrease volume/Menu selected (left and right).
LED indicator : Standby(flicker slowly)/Analog TV status(light on) / Dig
-ital TV status(flicker quickly).
2) Rear:
USB : Connect to USB flash driver via MINI USB cable.
ANT IN : Antenna input slot.
DC IN : Power input port(Specification: 5V 1500mA).
MMI-C : MMI expansion terminal, VIDEO, S-VIDEO, YPbPr signal
input and AV signal output via MMI cable.
LINE OUT : Audio output port, connected to power amplifier
PC AUDIO : Audio input port (connect to PC audio output via stereo a
-udio cable,the other end is connected to this terminal.)
MONITOR : Monitor connection terminal.
VGA : PC signal input, connect VGA cable(15 pin) to PC VGA output
slot, the other end isconnected to this terminal.
Introduction
Operation instruction

In New Game option, press to enter Game. If the function menu
on the left turning into grey,it is not valid.
Press and to up, down, left and right to move the
cartoon man here and there.
Press to pause game, you can reset game on the function menu on
the left of the interface while the menuturns black.
437
P/N
HD
RES
OK
INFO.
PRLIST
RADIO
EPG
SEARCH
S.TITLE
T. T
AUDIO
STILL
OK
1.6 Remote control
POWER: Power on/ standby (PC status).
P/N: PAL/NTSC switch (DTV status).
TIMING-OFF: To set timing-off time (15/30/60/90/120/180 minutes).
SOURCE: Switch between DTV, ATV, VIDEO, S-VIDEO and YUV.
NUMERIC KEY: Directly input numbers toswitch channels.
OSD: Display the current signal information (ATV status).
HD: VGA/YUV output switch (only for customized unit).
ASPECT RATIO: 4:3/16:9/16:10 switch (ATV status)
4:3/16:9 switch (DTV status).
RETURN: Skip to the latest watching channel.
TV WALL: Multi-channel browsing (ATV status).
MUTE: Switch between mute and sound.
3.4 Game operation
1) Digital TV game
If you want to have a rest or to relax after hard working, you can play
the games attached in the system.
Box Man
Play:Press under normal playing mode and select GAME->Native
Games->Box Man, game interface as following:
Picture 3.49 Box Man
There are six functional selection menus on the left of the interface for user:
New Game: Restart game
Reset: Reset map
Continue: Continue game
Level: Display game level
Help: Offers help information
Exit: Exit game
OK
Introduction Operation instruction

In TV or PC status, press PIP on the remote control, for a seconds a
small picture menu will appear on the top left (it also switch the sound).
You can press PIP to enlarge the picture menu, press again to resume
the normal size. Exit PIPfunction by fourth pressing.
Adjust the position of PIP via and on the remote control (in
PIP status, support DTV/ATV/VIDEO/S-VIDEO input, not support
YPbPr input).
Connect antenna of cable / air TV toANT IN port.
Enter TUNING menu to select AUTO to auto search channels.
If you want to ignore the channel of strong interruption, you can select
CH. Skip to skip it.
If you want to put the channels in order, select CH. Swap (for example:
you want put CH-8 in the place of CH-1, select CH-8 enter channel
setting menu select CH. skip change 8 into 1 press MENU).
36 5
STILL
MENU: Enter or exit the menu.
CH+/CH-: Channel (increase or decrease)/ menu (up or down).
INFO: Display the current channel information and the current menu
button information (DTV status).
RES: Switch VGAoutput resolution and refresh rate.
VOL+/VOL-: Volume (increase /decrease) or menu (left /right).
OK: Confirm (DTV status).
PIP: Picture in picture function.
RADIO: TV/RADIO switch in DTV status. ( Notice: only support the
program with radio reception).
STILL: Picture freeze/OSD move left (PIP status).
PIC.MODE: Bright/Standard/Mild/Preset switch(ATV status) or OSD
move right (PIP status).
EPG: Enter PRLIST/ favourite program selection (DTV status).
PRLIST: Enter the list or skip (DTV status).
SUBTITLE: Subtitle (DTV status).
TEXT: a.Display the current channel information
b.DEL key.
PLAY/PAUSE: Play/pause USB Media(DTV status).
FAV: Display the user-setting favorite list.
AUDIO: Sound switch (DTV status).
SEARCH: Area searching (DTV status).
2) Analog program search
3.3 PIP function (PC status)
Introduction
Operation instruction
Note:Before using the remotecontrol,please remove the plasticfilm on the remote
control battery to avoid poor contact ofthe battery.

AREA: Set searching mode.
CHANNEL: To display the current
channel number.
AUTO: Press to auto search.
MANUAL:Press to manual
search.
Menu Eight: OSD
Menu Seven: Timer
Menu Six: Tuning
635
VGA MONITOR PC AUDIO LINE OUT MMI-C DC IN ANT IN USB
CATV DVB-T
2. Hardware connection illustration
Display card
Monitor
Sound card Speaker
Power adaptor
TV
TV signal
USB
DVD/VCD player
CLOCK: To set current time
(invalid when powered off).
OFF.TIME: To set power off time
(in ON status).
ON.TIME: To set start up time (in
ON status).
AVAILABLE: Once or everyday
mode.
ON.STATE:Set the start-up status
when timing on.(optional
status:VIDEO/S-VIDEO/TV).
LANGUAGE: Set OSD language.
STYLE: 3 optional style (classic/
modern/ romantic).
HORIZONTAL: Adjust the
position of menu in right or left
direction.
VERTICAL: Adjust the position
of menu in up or down direction.
OSD.TIME: Adjust displaying
time of OSD.
Hardware connection illustration
CLOCK 00:17
OFF.TIME 12:00 OFF
ON.TIME 12:00 OFF
AVAILABLE ONCE
ON.STATE DTV
TIMER
:EXIT :SEL :ADJ
LANGUAGE ENGLISH
STYLE CLASSICAL
HORIZONTAL 50
VERTICAL 50
OSD.TIME 44
OSD
:EXIT :SEL :ADJ
FINE:Press to have freq
-uency fine tuning.
AREA COMMON
CHANNEL 2
AUTO
MANUAL
FINE
TUNING
:EXIT :SEL :ADJ
VL-862.00M
Hardware connection illustration
Operation instruction

Menu Five: Tuning
Menu Four: Accessory
Menu Three: Display set
Init install includes: OSD language and area selection.
Language: To set the language of your country.
Area: To search programs (all the local programs) according to the
selected country(Area).
34 7
3. Operation instruction
3.1 Digital TV operation
1) Init Install
The init install will appear as below when it is the first time topower
on or no program is memorized (picture3.1).
“”
Picture 3.1 Init Install
The supported area: Germany/ England/ Italy/ France/Spain/Holland/
Taiwan/China/Norway/Swead/Finland
After setting, press to search channels as the picture3.2 below:
OK
Picture 3.2 Channel Search
Adjust OUT.FT to change image
resolution and refresh rate.
PIC.RATIO to adjust image
aspect ratio.
CALENDAR is to display date.
and to adj
-ust year and month.
Simple calculating function.
GAME: Refer to game operation.
(CATV part)
INFO: Display version informati
-on(unit model/software and har
-dware version).
CHANNEL: To display the current
channel number.
CH.SKIP: To skip the channel of
poor signal or no signal.
CH.SWAP: Put the programs in
sequence.
SOUND.SYS: Depending on the
local sound system (wrong sound
system, abnormal sound).
TUNE: To search program (refer
to Menu Six).
Operation instruction
CALENDAR
CALCULATOR
GAME
INFO
ACCESSORY
:EXIT :SEL :ADJ
CHANNEL 2
CH.SKIP ON
CH.SWAP 2
SOUND.SYS D/K
TUNE
TUNING
:EXIT :SEL :ADJ
VL-862.00M
DISPLAY.SET
:EXIT :SEL :ADJ
OUT.FT 1024 768@60Hz
PIC.RATIO 4:3
Operation instruction

Change channel
In full-screen playing status, press to switch to the previous
(or next) of the current TV programs (or radio programs).
In full-screen playing status, press to enter the selection list. To
sort the program via .Press to move up or down to
select programs. Follow the picture as below:
833
OK
The system will automatically to search all channels of the current
selected country and area.
Press to stop and exit program searching when auto-searching.
When program is searched, the system will auto exit program
searching, then memorize it and return to full-screen playing.
Note: DVB-T antenna cable should beconnected well.
2) Basic function
Start up and power on/off
When power on, it will enter DVB-T status. If no TV program was
selected, it will enter initial setting as the picture3.1 shows:
If have program, will play the previous program.
Power on: press on the remote control or briefly press MENU on
the panel to active system.
Power off: press on the remote control or continuously press
MENU on the panel.
Volume control
In full-screen playing status, press to adjust volume (the
volume bar will display).
In full-screen playing status, press to enter mute status. Press
again to cancel mute .
TV/RADIO switch
In full-screen playing status, press to switch between TV and
radio.
Note: when there is noradio programs, this key isinvalid.
RADIO
3.2 Analog TV operation
1) Menu display and illustration
CONTRAST/BRIGHT/SHARPNESS
adjust range: 0-100 (notice: only
in NTSC system, hue item will
appear).
NOISE.REDUCE: ON/OFF when
noise reduction is on, it can
make image clearer.
VIDEO SYS: Optional items(
AUTO/PAL/N3.58/N4.43).
Menu One: Picture
Menu Two: Function
SOURCE: DTV / ATV / VIDEO / S-
VIDEO / YUV.
Adjust SCREEN in On/Off status
to open or close the blue
background in no signal state.
PIC.DIVIDE to set the number of
multi-channel browse (9/12
available).
DISPLAY.SET item: As menu III
show.
ACCESSORY item includes four
items: as Menu Four show.
CONTRAST 50
BRIGHT 50
SHARPNESS 50
NOISE.REDUCE ON
VIDEO.SYS AUTO
PICTURE
:EXIT :SEL :ADJ
SOURCE ATV
SCREEN ON
PIC.DIVIDE 12P
DISPLAY.SET
ACCESSORY
FUNCTION
:EXIT :SEL :ADJ
Operation instruction Operation instruction

In Main Menu (picture3.43), press to select PHOTO. Press
to confirm. The USB directory is shown as below:
Press to enter the sub-directory, only the picture files and file fo
-lder will appear in the directory.As picture3.48 showing:
Press to select photo file name.
Press to play photo file.
Press to play the previous; to play the next.
Press to exit photo playing mode and return to file list.
Photo slide show playing automatically and sequentially without any
key pressed.
( Note: Only play JPG format. )
32 9
OK
OK
Press to confirm the selected program, to exit the menu.
Directly input the channel number via the numeric key.
If the favorite program has been set, press to switch to that (or
radio program) as the below picture:
OK
Picture 3.3 QUICK SELECT
Press to move up and down to select your favorite program.
Press to confirm the program you selected. Press to exit the menu.
Picture 3.4 Favourite LIST
OK
Multimedia photo play
OK
Picture 3.48
Operation instruction

Press to fast forward play music ( 2/ 4/ 8/ 20/ 1).
Press to fast backward play music ( 2/ 4/ 8/ 20/ 1).
Press to play the previous; to play the next.
Press to switch right/left track and stereo.
Press to pause/play.
If the music is stopped during playing, it will resume playing.
Press to exit music playing mode and return to file list.
Press to select track (left / right / stereo), press to
move up or down to select language.
After setting, press to return to playing status or press to exit
the menu and memorize it.
In full-screen playing status, press to switch to the current playing
program language list and left/right track list. Show as the following
picture:
In full-screen playing status, press to display the current playing
program information. As the following picture:
10 31
INFO.
AUDIO
OK
STILL
AUDIO
Program information display
Program language and track switch
Picture 3.5 Program information
Picture 3.6 Program language and track list
OK
Press to select music file name.
Press to play music file as the following picture3.47:
Picture 3.47 music file playing
Operation instruction Operation instruction

In Main Menu (picture3.43) , press to select MUSIC. Press
to confirm. Enter the USB directory. As Picture3.46 below:
Press to enter the sub-directory. Music files will be shown in the
directory.As picture3.46 showing:
Press to select movie file name;
Press to play movie program;
Press to fast forward play movie ( 2/ 4/ 8/ 20/ 1);
Press to fast backward play movie ( 2/ 4/ 8/ 20/ 1);
Press to play the previous; to play the next;
Press to switch right/left track and stereo;
Press to pause/play;
Press to exit movie playing mode and return to file list.
Title displaying.
Time and data displaying.
Detail information about date.
Program list displaying ( ).
Display the current time and program information.
Detail displaying about the information of Part5.
Display warning information by pressing ,corresponding keys:
.
Press to switch part4 and part5.
Press to enter WEEKLYMODE to display the current program list
in a week to be played in different period. As picture3.8:
30 11
T.T
OK
OK
STILL
AUDIO
OK
EPG
If you want to know the TVprogram information for now or near future,
press to enter EPG to get it. Show as the following picture3.7:
EPG
Picture 3.7 EPG menu
Press to enter default mode (DAILY MODE), the menu is divided
into 7 parts as picture3.8 showing:
EPG
Picture 3.8 Weekly Mode
Press to enter the sub-directory(movie file directory)as Picture3.45:
Picture 3.45
Multimedia music play
OK
INFO.
PRLIST
EPG
S.TITLE
T.T
Operation instruction

In Main Menu (picture3.43), press to selectMOVIE. Press
to confirm. Enter the USB directory.As Picture3.44 below:
If you want to watch teletext, you can press on the remote control
and then press to enter the program guide menu. Picture3.10 as
below:
Press to move up or down to select items in part5 ( switch
between different programs).
Press to select items in part6 ( program information in
different time is available).
Press to display the detailed information of current programas
shown in picture3.9 (when the cursor is in the part5 of picture3.7
and part6 ofpicture3.9).
12 29
PRLIST
T.T
OK
In EPG status, press to exit EPG
Teletext
Picture 3.9 Extended Mode
Picture 3.10 Teletext
Input three numbers to skip to the corresponding page:
Press to turn to the previous page and press to the next page.
Press to reverse 100 pages and to forward skip 100 pages.
Press to exit teletext.
Multimedia(Picture 3.43)
Picture 3.43 Multimedia
Powerful USB interface function, you can connect USB device via
MINI USB cable (support common media playing in USB).
This unit supports MP3/JPEG/MPEG-4(AVI) formats (only support
the format shown in the list and or the fixed format of the unit).
Copy the media file to USB device.
Insert USB device into the unit (USB device only support USB Flash
Driver).
Enter from Main Menu.
Multimedia movie play
OK
Picture 3.44
Operation instruction Operation instruction

28 13
Subtitle
The default is subtitle off.You can press on the remote control to
enter the current program menu toselect subtitle. Picture as below:
Open or close SUBTITLE via ,press to choose
languages. Picture as below:
S.TITLE
Picture 3.11 Subtitle
Picture 3.12
Time(Picture 3.41)
Picture 3.41 Time
Clock: Set current time.
Off. Time: Set auto-off time (only after the current time is valid).
On. Time: Set auto-on time (only after the current time and unit in power
-on status is valid).
Available: Set auto-on/off valid times.
On.State: Set auto-on status.
Picture 3.42 OSD
OSD menu (Picture3.42)
OSD Style: Optional styles(classic/ pop/ romantic).
OSD Time out: Select the OSD displaying time depending on the user's
need.
OSD Trans: OSD transparency selection(Off/Low/Normal/High).
OSD language: OSD language selection (multi-language selecting).
Operation instruction

Press to choose YES and press to confirm.
To delete all RADIO channel, press to move the cursor to All
Radio Channels option, press , then the system will hint with Delete
all Radio Channels? ialogue box , press to choose ,
press to confirm.
“”
“
” d“YES”
If you do not like one or some channels, you can delete it/them in
Channel Organizer menu but if you do not like all TV or Radio, you
can enter Delete All menu to choose to delete all TV, RADIO.
Under Channel Manager menu, press to choose Delete All
option, press , then the system will hint with a dialogue box of
inputting password. The system will detect the inputting default
password or user-customizing password. If correct, enter Delete All
menu as shown in Picture3.39.
To delete all TV channels, press to move the cursor toAll TV
Channels option, press , then the system will hint with Delete all
TV Channels? dialogue box as shown in Picture3.40:
“
”
14 27
OK
OK
3) Menu display and instructions
The Main Menu interface is as below:
Picture 3.13 Main Menu
The Main Menu items includes: items as Picture, Function, Tune,Time,
OSD, Multimedia.
Picture menu as below (picture3.14):
Picture 3.14 Picture
Brightness: VGAoutput brightness adjust: 0-100.
Contrast: VGAoutput contrast adjust: 0-100.
Saturation: VGAoutput saturation adjust: 0-100(valid for NTSC).
Hue: VGAoutput hue adjust: 0-100 (only NTSC is valid).
Noise reduce: Turn on/off noises reduce. When it is on,the video noi
-se interruption can be reduced.
Delete All (Picture 3.39)
Picture 3.39 Delete All
OK
OK
OK
Picture 3.40 Warning dialogue box
Operation instruction Operation instruction

In Add Channel menu, six parameters include:
Area name: Press to enter the area name list on the right, and then
press to select, to confirm.
Carrier: Press to select.
Channel name: Press to enter the channel name page to revise
as picture3.32 showing:
Audio PID/Video PID/PCR PID: Revise the parameter via 0-9
numeric keys.
Press to confirm adding.System will hint successful upgrading ,
and then return to Edit Channel menu.
Press return to Edit Channel menu.
The yellow on the remote control to revise the channel menu.
Picture3.38 as below:
“”
26 15
EPG
OK
PRLIST
OK
Function menu picture as below:
Picture 3.15 Function
Input source: DTV/ATV/VIDEO/S-VIDEO/YUV (picture3.16)
Output format: VGAoutput format selection (picture3.17)
Audio setup: Sound setting (picture3.18)
Parental lock: Channel locking (picture3.19)
Software upgrade: USB software upgrading (picture3.20)
Factory default: Restore to factory default parameter (picture3.21)
Input source menu picture as below:
Picture 3.16 Input Source
Press on the remote control to select, press to
select input source and then press to confirm.
Press the red key to enterAdd Channel menu. Asthe following
picture3.37:
OK
The operation of this menu is the same as that of Add Channel.
Picture 3.37 Add Channel
Picture 3.38 Edit Channel
Operation instruction

Group channels according to Movies, Sport, Music, Kids, Fashion etc.
It will pop up a dialogue box prompting Channel not available when
there is no channel in database, and channel Grouping page cannot be
visited.
Press to choose the channel to be grouped, then press the
number keys 1-8 on the remote control to set different channel groups.
After finishing channel editing, press to exit the menu, if need to
edit channel, the system will carry out renewal by group, with the hint
of Update succeeding .
“”
“”
16 25
OK
OK
Output Format menu picture as below:
Picture 3.17 Output Format
Press on the remote control to select, then press
to select a VGAoutput format and to confirm.
Picture 3.18 Audio Setup
Audio Setup menu picture as below:
EQ setup:Sound effect setting. Press on the remote control
to select, then press to select an item and to confirm.
Surround: Sound field setting. Press on the remote control
to select, then press to select an item and to confirm.
OK
Channel Grouping (Picture3.35)
Picture 3.35 Channel Grouping
Edit Channel(Picture3.36)
Picture 3.36 Edit Channel
Channnel adding, deleting, renaming operation.
Operation instruction Operation instruction