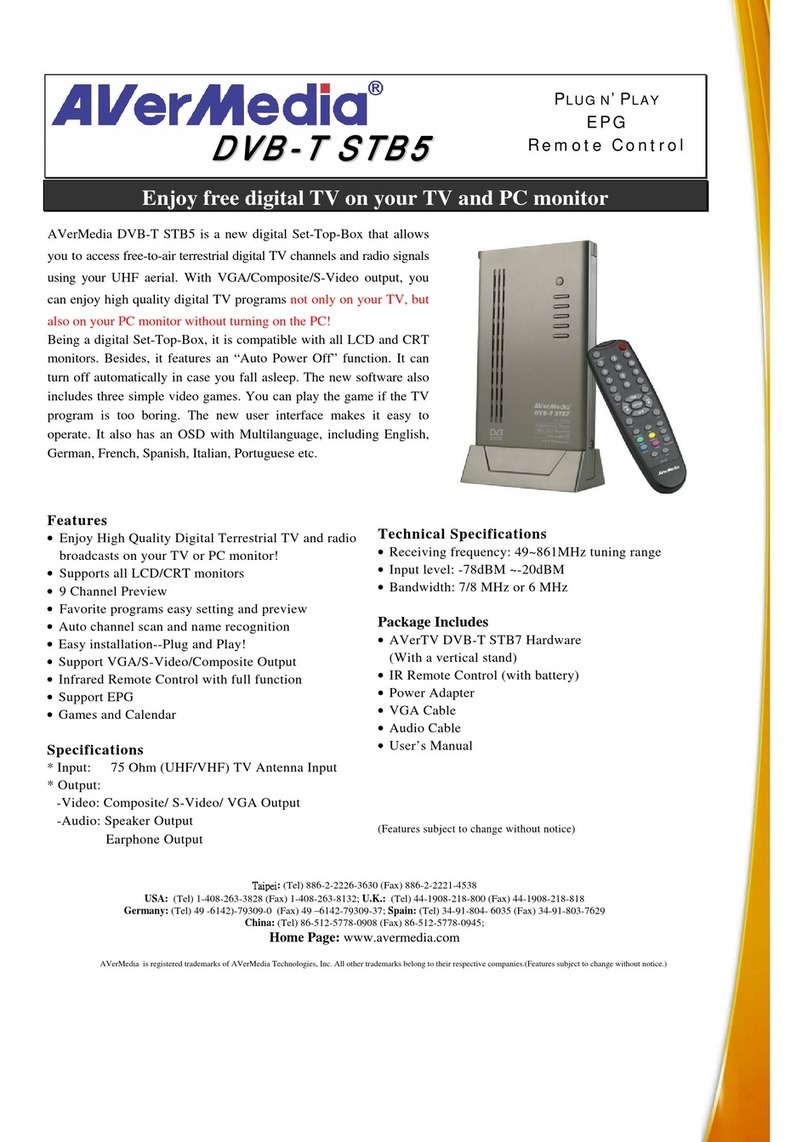
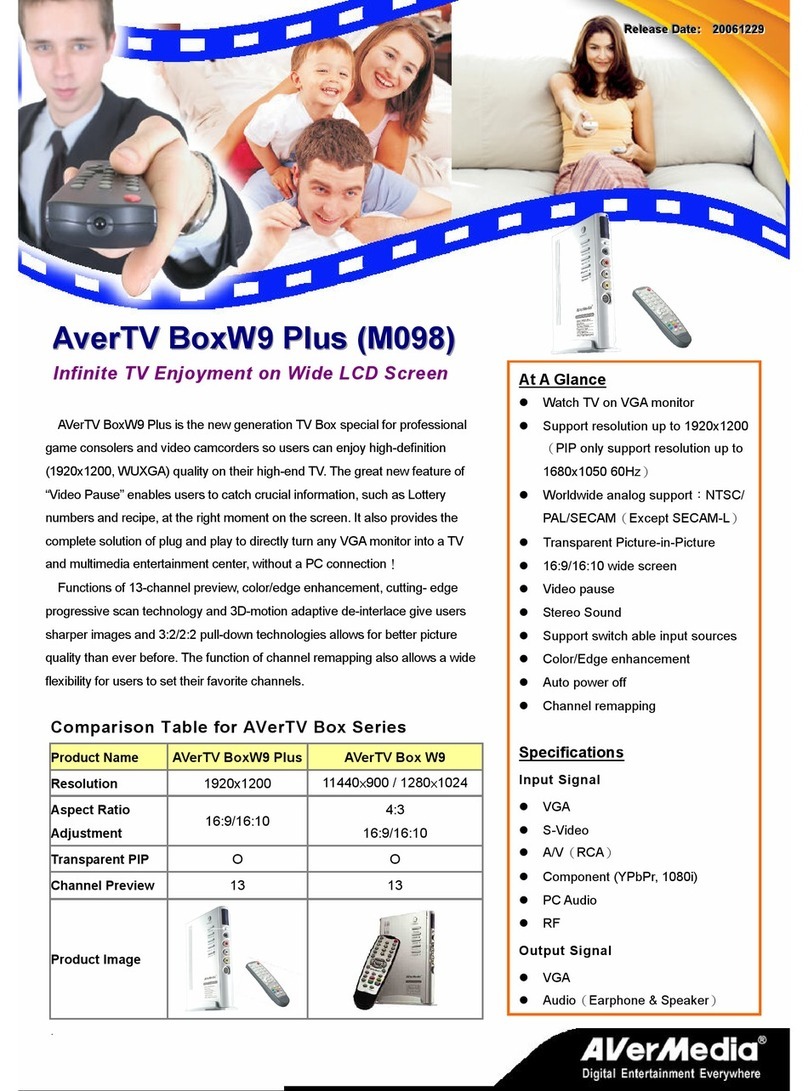
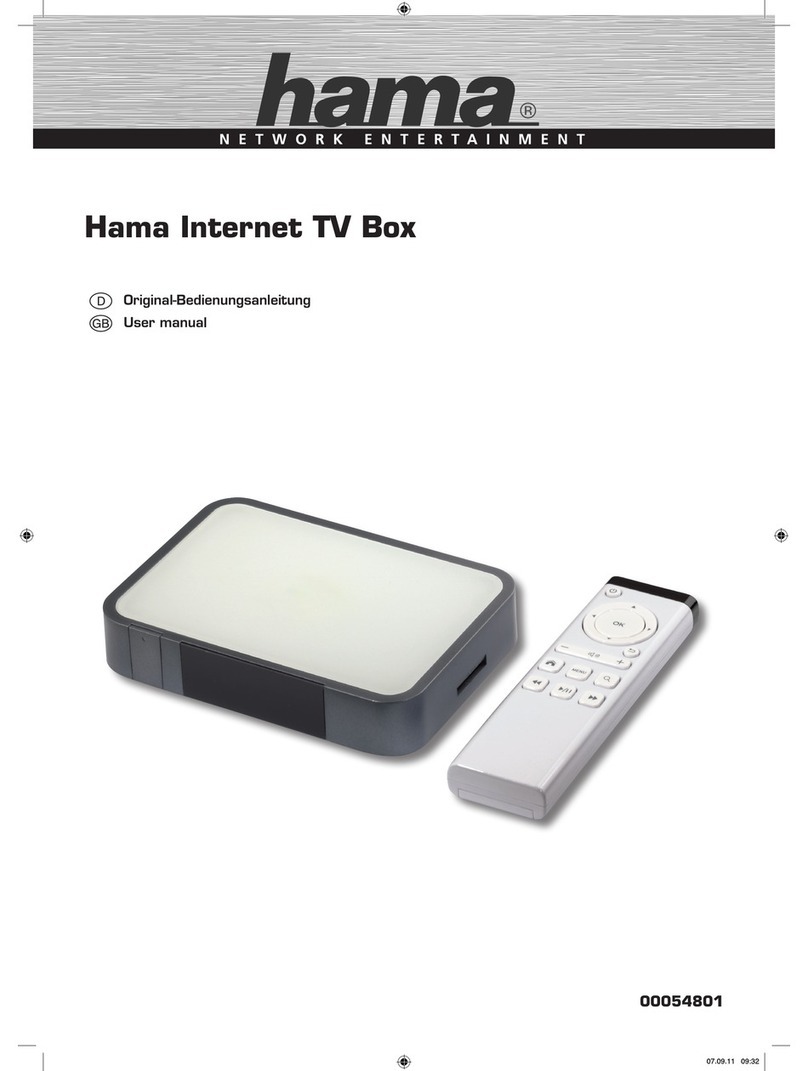
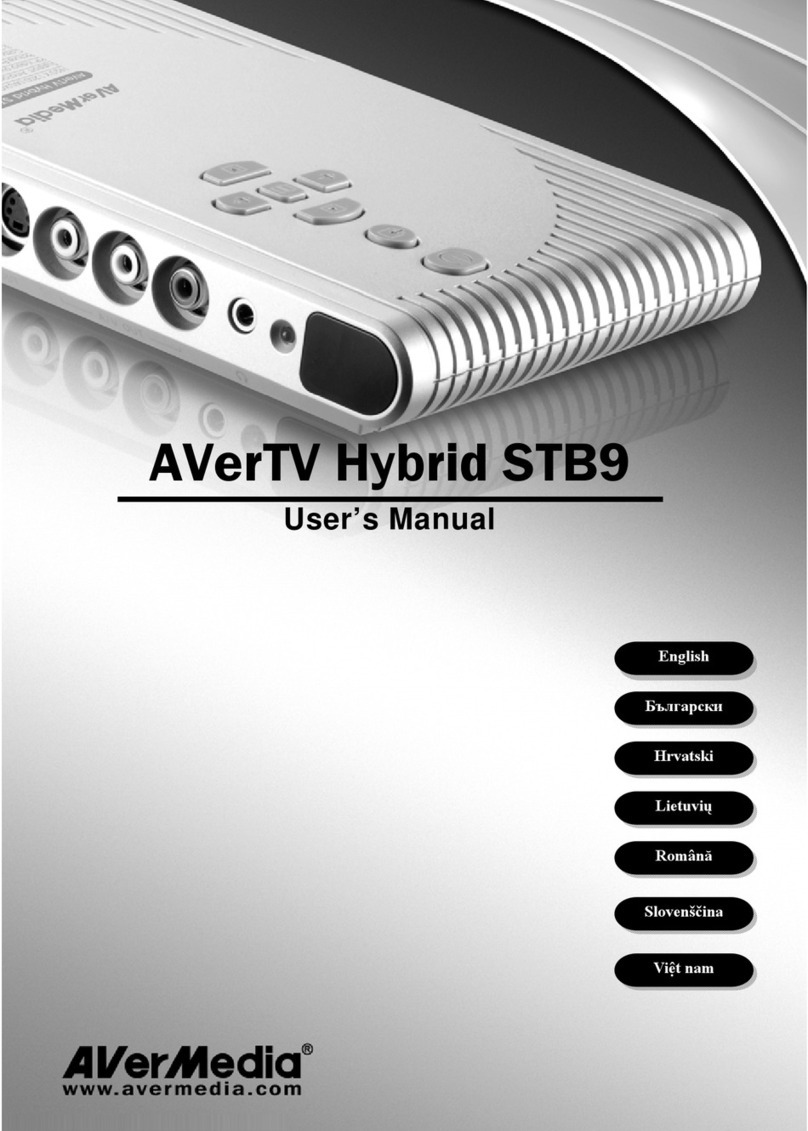
Avermedia AVerTV DVI Box 1080i User manual

Việt nam
English
ภาษาไทย
Lietuvių
Türkçe
Română
한국어
AVerTV DVI Box7
AVerTV DVI Box 1080i
User’s Manual

European Community Compliance Statement
Class B
This product is herewith confirmed to comply with the requirements set out in
the Council Directives on the Approximation of the laws of the Member States
relating to Electromagnetic Compatibility Directive 2004/108/EC.
Safety- Low Voltage Directive 2006/95/EC
MIC Regulatory Marking
DZY-AVerDVIBOX7(B)
DISCLAIMER
No warranty or representation, either expressed or implied, is made with respect to the contents of this
documentation, its quality, performance, merchantability, or fitness for a particular purpose. Information
presented in this documentation has been carefully checked for reliability; however, no responsibility is
assumed for inaccuracies. The information contained in this documentation is subject to change without
notice.
In no event will AVerMedia be liable for direct, indirect, special, incidental, or consequential damages
arising out of the use or inability to use this product or documentation, even if advised of the possibility of
such damages.
TRADEMARKS
AVerMedia is registered trademarks of AVerMedia TECHNOLOGIES, Inc. All other products or corporate
names mentioned in this documentation are for identification and explanation purposes only, and may be
trademarks or registered trademarks of their respective owners.
COPYRIGHT
©2008 by AVerMedia TECHNOLOGIES, Inc. All rights reserved. No part of this publication may be
reproduced, transmitted, transcribed, stored in a retrieval system, or translated into any language in any form
by any means without the written permission of AVerMedia TECHNOLOGIES, Inc.

3
THE MARK OF CROSSED-OUT WHEELED BIN INDICATES THAT THIS
PRODUCT MUST NOT BE DISPOSED OF WITH YOUR OTHER HOUSEHOLD
WASTE. INSTEAD, YOU NEED TO DISPOSE OF THE WASTE EQUIPMENT BY
HANDING IT OVER TO A DESIGNATED COLLECTION POINT FOR THE
RECYCLING OF WASTE ELECTRICAL AND ELECTRONIC EQUIPMENT. FOR MORE
INFORMATION ABOUT WHERE TO DROP OFF YOUR WASTE EQUIPMENT FOR
RECYCLING, PLEASE CONTACT YOUR HOUSEHOLD WASTE DISPOSAL SERVICE OR
THE SHOP WHERE YOU PURCHASED THE PRODUCT.
IMPORTANT SAFETY INSTRUCTIONS
•Read Instructions - Read all the safety and operating instructions before
connecting and operating your TV tuner to help ensure your own personal
safety and to protect your product from potential damage.
•Retain Instructions - Retain all the safety and operating instructions for future
reference.
•Heed Warnings - Adhere to all warnings on the product and the operating
instructions.
•Grounding - For continued protection against risk of electric shock and fire,
this accessory should be installed/connected only to the products, such as a
computer, equipped with a three-wire grounding plug, a plug having a third
(grounding) pin. This plug will only fit into a grounding-type power outlet.
This is a safety feature. If you are unable to insert the plug into the outlet,
contact your electrician to replace the obsolete outlet. Do not defeat the
safety purpose of the grounding-type plug.
•Lightning - For added protection and to prevent damage due to lightning and
power-line surges, unplug the host system, such as a computer, from the
wall power outlet and disconnect the antenna or cable system. Unplug the
host system from the wall power outlet when left unattended or unused for
long periods of time.
•Never insert anything metallic into the TV tuner openings. Doing so may
create the danger of electric shock.
•Openings in the TV tuner cabinet are provided for ventilation. To prevent
overheating, these openings should not be blocked or covered. Avoid using
the TV tuner on a bed, sofa, rug, or other soft surface, as doing so may block
the ventilation openings in the cabinet. If you place the TV tuner in a
bookcase or an enclosed space, be sure to provide adequate ventilation and
air flow.
•Power Lines - An outside antenna system should not be located in the
vicinity of overhead power lines or other light or power circuits, or where it
can fall into such power lines or circuits.
•Antenna Installation - When installing an outside antenna system, extreme
care should be taken to prevent it from touching such power lines or circuits,
as contact with them may be fatal.
•Outdoor Antenna Grounding - If an outside antenna is connected to the
product, ensure that the antenna system is grounded so as to provide some
protection against voltage surges and built up static charges. Article 810.21
of the National Electric Code, ANSI/NFPA No.70, provides information with
regard to proper grounding of the mast and supporting structure, grounding
of the lead-in wire to the antenna discharge unit, size of grounding
conductors, location of antenna-discharge unit, connection of grounding
electrodes, and requirements for the grounding electrode.
•Caution for users/installers in Norway - In Norway, there exists a possibility
of a hazardous situation due to voltage difference between the screen of the
coaxial cable of the cable distribution system and the local equipment earth
(typically, earthed chassis of the computer). To avoid any hazards,
antenna/cable input connection from the TV tuner card to a Cable
Distribution System must be provided through a galvanic isolator (not
included).
Note: (for CATV system installer) This reminder is provided to call the CATV systems installer's
attention to Section 820.93 of the National Electric Code, ANSI/NFPA 70:2005 (for US/Canada)
and/or EN60728-11:2005 standard (for Europe), which provide guidelines for proper grounding
and, in particular, specify that the coaxial cable shield shall be connected to the grounding
system of the building, as close to the point of cable entry as practical.

User’s Manual
ENG-1
EnglishRomânăViệt namLietuviųTürkçeภาษาไทย한국어
Table of Content
Chapter 1 What’s in the Package ................................................... 2
Chapter 2 The Unit Parts................................................................. 3
2.1 Touch Button Control Panel..................................................................3
2.2 Infrared Sensor.....................................................................................3
2.3 Connection Ports..................................................................................3
Chapter 3 Installation and Setup.................................................... 4
3.1 Using the AVerTV DVI Box7/AVerTV DVI Box 1080i ............................5
3.2 The Remote Control .............................................................................5
3.3 Teletext Control Buttons (Optional).......................................................6
3.4 Customizing the Picture Setting............................................................7
3.5 Supported Display Setting ....................................................................7
3.6 Supported Display Setting in PIP Mode................................................7
Chapter 4 OSD Menu Settings........................................................ 8
4.1 Calling Up a Menu Display ...................................................................8
4.2 Menu ....................................................................................................8

AVerMedia AVerTV DVI Box7/AVerTV DVI Box 1080i
ENG-2
Chapter 1 What’s in the Package
AVerMedia AVerTV DVI Box7/AVerTV DVI Box 1080i package contains the following items:
AVerMedia AVerTV DVI Box7/AVerTV DVI Box 1080i
DVI Cable (DVI-D) Vertical Stand
AVerTVDVIBox1080i
User’sManual
English
P
User’s Manual Remote Control
(with batteries)
Power Adapter Audio Cable
Use the DVI-D cable to input or output the DVI signal.
NOTE

User’s Manual
ENG-3
EnglishRomânăViệt namLietuviųTürkçeภาษาไทย한국어
Chapter 2 The Unit Parts
2.1 Touch Button Control Panel
The Touch Button Panel found on the top side of the unit provides quick access to commonly used functions.
1Turn the unit on /off
2
Press this button to toggle between
TV/Video and PC display
3/ Press Channel to go up and Channel
to go down to the next active TV
channel. Use these buttons to make the
selection in the menu or picture setting
4
To call up the menu display
5/Press Volume to increase and
Volume to decrease the volume
level. Use these buttons to adjust the
menu or picture setting
2.2 Infrared Sensor
When using the remote control, aim it at the Infrared Sensor which is located at the front panel of the unit. (*Only
AVerTV DVI Box 1080i is equipped with component video input)
2.3 Connection Ports
The port connectors allow connection of your TV antenna, PC, VGA/DVI monitor or LCD projector, speakers, video,
or s-video source etc. (*OnlyAVerTV DVI Box 1080i is equipped with component video input)
1COMPOSITE VIDEO INPUT
2Left & Right AUDIO INPUT
3EARPHONE JACK
4S-VIDEO INPUT
Front Panel
5COMPONENT VIDEO INPUT
6Speaker Connection
7DVI OUTPUT to MONITOR (D-Sub
supported by DVI-I to D-Sub Adapter)
8TV Antenna (75Ω)
9DVI INPUT from PC (D-Sub
supported by DVI-I to D-Sub Adapter)
10 AUDIO INPUT from PC’s SOUND
CARD
Back Panel 11 POWER ADAPTER
The Installation and Setup section provides more information on cable connections.

AVerMedia AVerTV DVI Box7/AVerTV DVI Box 1080i
ENG-4
Chapter 3 Installation and Setup
The figure below shows the proper cable connections for installing AVerTV DVI Box7/AVerTV DVI Box 1080i and
connecting it to your audio/video equipment. Please be noted if your signal input and output are not the same type,
there will not be able to detect the signal normally. Please make sure that your input and output are in the same
type (both DVI or both D-Sub).
Example:
Video Cable (not supplied)
Earphone or headphone
(not supplied)
Audio Cable (not supplied)
S-Video Cable (not supplied)
Out
RCA Cable (not supplied)
Pb
Pb
Pr
Pr
YY
YPbPrINS-INA/VIN
Video Game
VCR/ VCD/ DVD Player
Camcorder
(1080i)
Only AVerTV DVI Box 1080i
is equipped with component
video input.

User’s Manual
ENG-5
EnglishRomânăViệt namLietuviųTürkçeภาษาไทย한국어
3.1 Using the AVerTV DVI Box7/AVerTV DVI Box 1080i
Different countries have different TV systems, for example, PAL-BG, PAL-DK, NTSC-J, NTSC-M…etc. AVerTV Box
functions only with the TV system of the country it is manufactured for and originally distributed in.
Each column in the table below corresponds to a different type of TV system. Only one of these TV systems (only
one column) will appear as your SET AREA. Make sure that you select the correct country signal from the menu.
To change the area setting, refer to SET AREA (page 10).
SECAM-DK SECAM-L PAL-I PAL-BG PAL-DK
BULGARIA FRANCE UK AUSTRALIA TURKEY CHINA
PAL-N
PAL-M
NTSC-M UKRAINE HK AUSTRIA ITALY CZECH
ARGENTINA BANGLADESH MALTA MACEDONIA
BRAZIL BELGIUM NETHERLANDS POLAND-1
KOREA CYPRUS NETHERLANDS_1 POLAND-2
PHILIPPINES DENMARK NETHERLANDS_2 POLAND-3
TAIWAN EGYPT NORWAY SLOVAKIA
USA-HRC FINLAND PORTUGAL VIETNAM
USA-IRC GERMANY ROMANIA
USA-STD GREECE SINGAPORE
HUNGARY SLOVENIA
INDIA SPAIN
INDONESIA SWEDEN
IRAN SWITZERLAND
ISRAEL_ZAHAV SYRIA
ISRAEL_MATAV THAILAND
ISRAEL_IDAN UAE
ISRAEL_GVANIM YUGOSLAVIA
To ensure that you can select and watch all active channels, refer to section CH SCAN (page 9) on how to
automatically scan and memorize all active TV channels in your area.
To access various TV controls, open up the menu displays or press on the remote control buttons.
3.2 The Remote Control
The diagram below shows the remote control unit layout.
1. POWER Turn the unit on/off
2. NUMBER BUTTONS To select a TV channel
3. CHANNEL RETURN Go to the previously selected channel
4. MENU To call up the menu display
5. VOL ◄/►-To increase and decrease volume
level
-Use these button to adjust the menu
or picture setting
-In adjusting the PIP window position,
use these buttons to move the menu
display to the left and right of the
screen
6. OK In the menu, press this button to
confirm the selection.
7. To temporarily freeze the image on
the screen. Press the button again to
unfreeze the image.
1
2
3
4
5
6
7
8
9
11
12
13
14
15
16
17
18
19
20
10
8. PIP Pos. To move the small TV/Video screen
using the CH▲, CH ▼, Vol◄, and
Vol►buttons in PIP mode. Press this
button again to exit the adjusting
mode.

AVerMedia AVerTV DVI Box7/AVerTV DVI Box 1080i
ENG-6
9. PIP Switch between PIP*, PIP See-thru** and Full Screen mode
* To watch TV/Video in a small screen on an always on top of the PC
display.
** Make the small video screen semi-transparent allowing the image
behind the small screen show through.
10. MTS/ STEREO If the channel offers the multi-language feature, press this button to toggle
between languages.
(*Only AVerTV DVI Box1080i supports this function.)
11. PICTURE To adjust brightness, contrast, color, tint or sharpness
Note: The Tint control will not work with a PAL/SECAM source.
12. PC BGM/ Res. - Switch the audio source when in PC display mode
- Switch display resolution setting to 1024x768 when in TV/Video mode
13. SOURCE Switch between TV or external video sources
14. MUTE To turn off /on the sound
15. PREVIEW Display 13 consecutive TV channels on-screen
(*for AVerTV DVI Box7 can only continuously display the next consecutive
TV channels)
16. CH▲/▼-Go to the next or previous TV channel line up
-Use these buttons to make the selection in the menu or picture setting
-In adjusting the PIP window position, use these buttons to move the menu
display up and down of the screen
17. SLEEP To automatically turn off the unit after 30, 60, 90, 120 or 150 minutes.
18. TELETEXT (option) Press to view teletext and disable teletext
19. FASTTEXT LINK buttons
(option)
Jumps to the teletext page which the color corresponds to
20. AV/PC To toggle between TV/ Video or PC display
3.3 Teletext Control Buttons (Optional)
The figure and descriptions in this section show how to use the teletext function using the remote control.
1. Only AVerTV DVI Box 1080i supports this function.
2. This function is not supported in China and Hong Kong.
1
NUMBER BUTTONS
To select a teletext page
2
CH▲/▼
Use the CH▲and CH▼buttons to go
to the next upper or lower teletext
page.
3
FASTEXT LINK / VOL►
Jump to the teletext page which the
green color corresponds to.
4
FASTEXT LINK
Jump to the teletext page which the
blue color corresponds to.
5
FASTEXT LINK/ VOL◄
Jump to the teletext page which the red
color corresponds to.
6
TELETEXT
Press to view teletext, overlay text over
video and disable teletext
6
3
4
1
2
7
5
3
5
7
FASTEXT LINK
Jump to the teletext page which the
yellow color corresponds to.
NOTE

User’s Manual
ENG-7
EnglishRomânăViệt namLietuviųTürkçeภาษาไทย한국어
3.4 Customizing the Picture Setting
If you want to adjust the picture quality, press the PICTURE button on the remote. Then, you can use the CH▲or
CH▼buttons to select the items in the PICTURE menu; and the Vol◄or Vol ►buttons to make the adjustment.
To restore the picture default setting, select RESET and then press Vol ►.
3.5 Supported Display Setting
The reference table below lists the monitor display resolution and refresh rate settings that AVerTV DVI Box7/AVerTV
DVI Box 1080i supports.
Resolution 4:3 and PANORAMA support Refresh Rate (Hz)
1024x768 60
1280x768 O 60
1280x1024 60
1360x768 O 60
1440x900 O 60
1600x1200 60
1680x1050 O 60
1920x1200 O 60
3.6 Supported Display Setting in PIP Mode
The reference table below lists the monitor display resolution and refresh rate settings that AVerTV DVI
Box7/AVerTV DVI Box 1080i supports when viewing in PIP mode:
1. If the monitor does not support or is not set to the following mode listed below, it will switch back
to TV/Video mode.
2. If the computer switches to sleep mode, it will change back to TV/Video mode.
Resolution Refresh Rate (Hz)
1024 x 768 60, 70, 75
1280 x 768 60, 75
1280 x 1024 60, 75
1440 x 900 60, 75
1360 x 768 60
1680 x 1050 60
1600 x1200 60
YPbPr Input (Only AVerTV DVI Box 1080i supports this function):
SDTV: 480i, 576i
HDTV: 480p@60Hz, 576p@50Hz, 720p@60Hz, 1080i@60Hz.
NOTE
NOTE

AVerMedia AVerTV DVI Box7/AVerTV DVI Box 1080i
ENG-8
Chapter 4 OSD Menu Settings
4.1 Calling Up a Menu Display
Press the MENU button on the remote control to call up and exit the main menu or submenu display. Then, you can use
the CH▲or CH▼buttons to select the items in the menu list; and the Vol◄or Vol►/OK buttons to adjust or to
make a selection. The table below lists the different functions you will find in the menu.
4.2 Menu
On Screen Display Usage
TV SOURCE
Use the CH▲or CH▼buttons to select between antenna TV or cable
TV source, then press Vol►/OK button to make the selection.
CH SCAN
Use CH▲or CH▼buttons to select between CH SCAN or All FREQ
SCAN.Press Vol►/OK button to make the selection. If you want to
interrupt or cancel the scanning process, press any button, but this will
only memorize the scanned channel.
These two types of channel-preset functions enable you to memorize all
active channels in your area.
Use the CH SCAN function first. If there are channels missing after
you perform CH SCAN, use ALL FREQ SCAN function and repeat the
searching process.
ALL FREQ SCAN is a very time consuming process. If
the default frequency table already includes all active TV
channels in your area, then avoid using the ALL FREQ
SCAN.
NOTE

User’s Manual
ENG-9
EnglishRomânăViệt namLietuviųTürkçeภาษาไทย한국어
On Screen Display Usage
CH FINE TUNE
If the TV reception is not clear, choose CH FINE TUNE then press
Vol◄and Vol►buttons until the TV picture becomes clear.
33
33
FAVORITE CH
This function enables you to add, remove, reprogram or reassign the TV
channels with channel numbers that are easier to remember.
In the selected USER CH, enter the new channel number you want to assign
or the channel number you want to remove/add to the channel line up. Then, in
the CATV CH or TV CH, enter the channel number you want to remap or the
channel number you want to remove/add.
Use the CH▲or CH▼buttons to select ADD to include or DEL to remove
the channel number in the channel line up and then press Vol►.
Note: To browse through channels while setting the User CH and CATV
number, press the CH▲or CH▼buttons.
RESOLUTION
Use the CH▲or CH▼buttons to choose from display resolution
settings then press Vol►/OK.
Under wide screen (16:9/16:10) mode, you can choose to view in 4:3 or
PANORAMA mode. Press Vol►to enter the sub menu.
(*Only AVerTV DVI Box 1080i supports 4:3 and PANORAMA mode.)
DEFAULT
Use the CH▲or CH▼buttons to select “YES” to clear all the preset
channels and to restore the original factory default picture setting or “NO”
to exit. Then press Vol►/OK.
OSD POSITION
Use the CH▲, CH▼, Vol◄, and Vol►buttons to move the frame
where you want to set the position of the MENU, then press MENU.
OSD TRANSPARENCY
Use the CH▲or CH▼buttons to choose from OSD transparency
settings then press Vol►/OK.
SET AREA
Press the MENU button, select MORE, select SET AREA in the
MORE, list items, use the CH▲or CH▼buttons to choose the
appropriate country signal, then press Vol►/OK button to make the
selection.
If your country is not listed, choose another country with the same TV
system as yours.
LANGUAGE
Use the CH▲or CH▼buttons to select from different languages then
press Vol►/OK.

AVerMedia AVerTV DVI Box7/AVerTV DVI Box 1080i
ENG-10
On Screen Display Usage
PIP SIZE
Use the CH▲or CH▼buttons to select from different PIP size then
press Vol►/OK.
(*for AVerTV DVI Box 1080i only)
12
NOTE:
For Bulgaria, Romania, Czech Republic, Poland, Hungary and Slovakia
area setting, the unit can set each channel to watch in BG or DK TV
system. To do it, follow the instructions below:
1. Select the desired channel to change the TV system setting.
2. Use the remote control and press the RED button.
3. Press the YELLOW button of the remote control, to change it to BG
and BLUE button to DK. The selected TV system appears in RED.
4. To continue changing the TV system of other channel, use the CH ▲
and CH ▼then follow step 3. Press the RED button again to exit.

Manual de Utilizare
ROM-1
EnglishRomânăViệt namLietuviųTürkçeภาษาไทย한국어
Conţinut
Capitolul 1 Continutul pachetului .................................................... 2
Capitolul 2 Componentele aparatului.............................................. 3
2.1 Panou de Control cu butoane...............................................................3
2.2 Senzor Infrarosu...................................................................................3
2.3 Porturi pentru conectare .......................................................................3
Capitolul 3 Instalare si configurare ................................................. 4
3.1 Folosirea AVerTV DVI Box7/AVerTV DVI Box 1080i.............................5
3.2 Telecomanda ........................................................................................5
3.3 Butoane de control teletext (Optional) ..................................................6
3.4 Personalizati setarile imaginii ...............................................................7
3.5 Moduri de afişare acceptate .................................................................7
3.6 Setari pentru afisaj suportate de modul PIP .........................................7
Capitolul 4 Setări meniu OSD........................................................... 8
4.1 Afisarea meniului pe ecran ...................................................................8
4.2 Meniu....................................................................................................8

AVerMedia AVerTV DVI Box7/AVerTV DVI Box 1080i
ROM-2
Capitolul 1 Continutul pachetului
Pachetul AVerMedia AVerTV DVI Box7/AVerTV DVI Box 1080i conţine următoarele elemente:
AVerMedia AVerTV DVI Box7/AVerTV DVI Box 1080i
Cablu DVI (DVI-D) Stand Vertical
AVerTVDVIBox1080i
User’sManual
English
P
Manual de Utilizare Telecomanda
(cu baterii)
Adaptor Alimentare Cablu Audio
A se folosi cablul DVI-D pentru intrare sau iesire semnal DVI
Notă

Manual de Utilizare
ROM-3
EnglishRomânăViệt namLietuviųTürkçeภาษาไทย한국어
Capitolul 2 Componentele aparatului
2.1 Panou de Control cu butoane
Panoul amplasat pe partea de sus a dispozitivului ofera acces rapid la functiile cele mai utilizate.
1Porneste / Opreste
2
Apasati acest buton pentru a comuta
intre TV/Video si PC
3/ Apasati Channel si Channel
pentru a comuta intre canalele TV
active. Folositi aceste butoane pentru
a selecta o setare din meniu sau
meniu imagine.
4
Pentru afisarea meniului
5/Apasati Volume pentru a mari si
Volume pentru a micsora volumul
A se folosi aceste butoane pentru a
configura meniul sau imaginea
2.2 Senzor Infrarosu
Cand se foloseste telecomanda, a se indreapta spre Senzorul Infrarosu care se gaseste pe panoul frontal. (*doar AVerTV
DVI Box 1080i are intrare video)
2.3 Porturi pentru conectare
Intrarile permit conectarea antenei TV; PC-ului; monitorului VGA/DVI sau a proiectorul LCD; boxelor; sursei video
sau S-Video; etc. (*doar AVerTV DVI Box 1080i are intrare video)
1Intrare video Composite
2Intrare audio Stanga & Dreapta
3Mufa casti
4Intrare S-Video
Panoul din fata
5Componenta intrare video
6Conectare Boxe
7Iesire DVI pentru monitor (suporta
D-Sub de DVI-I pentru adaptor
D-Sub)
8Antena TV (75Ω)
9Intrare DVI de la PC (suporta D-Sub
de DVI-I pentru adaptor D-Sub)
10 Intrare AUDIO de la PLACA de
SUNET a PC-ului
Panoul din spate 11 Adaptor Alimentare
Sectiunea de instalare si configurare ofera mai multe informatii cu privire la modul de conectare a cablurilor.

AVerMedia AVerTV DVI Box7/AVerTV DVI Box 1080i
ROM-4
Capitolul 3 Instalare si configurare
Figura de mai jos arata modalitatea corecta de instalare a cablurilor pentru AVerTV DVI Box7/AVerTV DVI Box 1080i
si conectarea la echipamentul audio/video. Dacăsemnalul de intrare şi de ieşire nu sunt de acelaşi tip, semnalul nu
va putea fi detectat normal. Asiguraţi-văcăsemnalul de intrare şi ieşire sunt de acelaşi tip (ambele DVI sau
ambele D-Sub).
P
b
P
b
P
r
P
r
YY
Y
PbPrINS-INA/VIN
(1080i)
doar AVerTV DVI Box
are intrare video
1080i
Joc Video
VCR/ VCD/ DVD Player
Camera video
Exemplu:
Cablu video (nu sunt incluse)
Casti (nu sunt incluse)
Cablu audio (nu sunt incluse)
Cablu S-Video (nu sunt incluse)
Iesire
Cablu RCA (nu sunt incluse)
ANTI
N
DVIIN
DVI OUT
DC
OUTIN
AUDIO
Cablu DVI
Cablu DVI-D
Cablu DVI (nu este inclus)
Cablu VGA
(nu este inclus)
DVI-I pentru adaptor VGA
Cablu monitor VGA
Cablu VGA
(nu este inclus)
DVI-I pentru adaptor VGA
(nu este inclus)
DVI-I pentru adaptor VGA
+
+
+
Priza de perete
Boxa externa cu amplificator
Adaptor Alimentare
Placa audio a PC-ului
Iesire
Cablu Audio
Antena TV (75 )
Ω
PC compatibil IBM
Monitor
Proiector LCD

Manual de Utilizare
ROM-5
EnglishRomânăViệt namLietuviųTürkçeภาษาไทย한국어
3.1 Folosirea AVerTV DVI Box7/AVerTV DVI Box 1080i
In functie de tara, exista diferite sisteme TV, ca de exemplu, PAL-BG, PAL-DK, NTSC-J, NTSC-M…etc. AVerTV Box
functioneaza doar cu sistemul TV al tarii pentru care a fost produs si distribuit.
Fiecare coloana a tabelului de mai jos corespunde unui tip de sistem TV diferit. Doar un singur tip de system TV (doar
o coloana) va aparea ca SET AREA (ARIE DE INSTALARE). Asigurati-va ca selectati semnalul corect
corespunzand tarii dumneavoastra din meniu. Pentru a schimba aria de setare, mergeti la sectiunea SET AREA (ARIA
DE INSTALARE) (pagina 10).
SECAM-DK SECAM-L PAL-I PAL-BG PAL-DK
BULGARIA FRANCE UK AUSTRALIA TURKEY CHINA
PAL-N
PAL-M
NTSC-M UKRAINE HK AUSTRIA ITALY CZECH
ARGENTINA BANGLADESH MALTA MACEDONIA
BRAZIL BELGIUM NETHERLANDS POLAND-1
KOREA CYPRUS NETHERLANDS_1 POLAND-2
PHILIPPINES DENMARK NETHERLANDS_2 POLAND-3
TAIWAN EGYPT NORWAY SLOVAKIA
USA-HRC FINLAND PORTUGAL VIETNAM
USA-IRC GERMANY ROMANIA
USA-STD GREECE SINGAPORE
HUNGARY SLOVENIA
INDIA SPAIN
INDONESIA SWEDEN
IRAN SWITZERLAND
ISRAEL_ZAHAV SYRIA
ISRAEL_MATAV THAILAND
ISRAEL_IDAN UAE
ISRAEL_GVANIM YUGOSLAVIA
Pentru a va asigura ca puteti selecta si privi toate canalele active, mergeti la sectiunea Cautare Canale (pagina 9) ce se
refera la modul de cautare si memorare a canalelor active din aria dumneavoastra de acoperire.
Pentru a accesa diferite comenzi TV, deschideti meniul sau apasati butoanele telecomenzii
3.2 Telecomanda
Diagrama de mai jos prezinta telecomanda.
1. POWER Porneste/Opreste unitatea
2. Butoane numerice Pentru a selecta un Canal TV
3. CHANNEL RETURN Mergi la canalul selectat anterior
4. MENU Pentru afisarea meniului
5. VOL ◄/►- Pentru a mari si micsora nivelul
volumului
- Folositi aceste butoane pentru a
ajusta setarile meniul sau imaginii
- Pentru modificare pozitie fereastra
PIP, a se folosi aceste butoane
pentru mutarea meniului pe ecran
6. OK In meniu, se va apasa butonul pentru a
confirma selectia
7. Pentru a ingheta temporar imaginea pe
ecran. A se apasa din nou pentru a
reveni
1
2
3
4
5
6
7
8
9
11
12
13
14
15
16
17
18
19
20
10
8. PIP Pos. Pentru a muta ecranul TV/Video mic
folosind butoanele CH▲, CH▼, Vol◄
si Vol►in modul PIP. A se apasa
butonul din nou pentru iesire din
modul configurare.

AVerMedia AVerTV DVI Box7/AVerTV DVI Box 1080i
ROM-6
9. PIP Schimbare intre modurile: PIP*, PIP See-thru** si Full Screen
* Pentru a viziona TV/Video intr-un ecran mic care ramane mereu in
fata celorlalte ferestre ale PC-ului.
**Transforma imaginea video in semi-transparenta permitand
imaginii din spatele sau sa poata fi vazuta.
10. MTS/ STEREO Daca, canalul ofera setari in mai multe limbi, apasati butonul pentru a
schimba limba (*Doar AVerTV DVI Box1080i suporta functia)
11. PICTURE Pentru a modifica stralucirea, contrastul, culoarea, nuanta sau
profunzimea.
Nota: Controlul culorii nu functioneaza cu o sursa PAL/SECAM.
12. PC BGM/ Res. -A schimba sursa audio cand este in modul PC display
-A schimba rezolutia imaginii la 1024x768 cand este modul TV/Video
13. SOURCE Comuta intre sursa TV si video externa
14. MUTE Pentru a Porni/Opri sunetul
15. PREVIEW Afisare a 13 canale tv consecutiv pe ecran
(*pentru AVerTV DVI Box7 se realizeaza doar afisarea continua a
canalelor consecutive)
16. CH▲/▼- Comuta intre urmatoarea sau grila TV anterioara
- Folositi aceste butoane pentru a selecta o setare din meniu sau meniu
imagine
- Pentru modificarea pozitiei ferestrei PIP, a se folosi butoanele pentru a
misca in sus si jos meniul pe display
17. SLEEP Pentru inchiderea automata a unitatii dupa 30,60, 90, 120 sau 150 de
minute.
18. TELETEXT (Opţiune) A se apasa pentru vedere teletext si dezactivare teletext.
19. FASTTEXT LINK buttons
(Opţiune) Transfer la pagina de teletext a culorii corespunzatoare
20. AV/PC Pentru a trece de la TV/Video la dosplay PC si invers
3.3 Butoane de control teletext (Optional)
Imaginile şi descrierile din aceastăsecţiune aratăcum se foloseşte funcţia teletext cu ajutorul telecomenzii.
1. Doar AVerTV DVI Box 1080i suporta functia.
2.Aceasta functie nu este disponibila in China si Hong Kong.
1
Butoane numerice
Selectare pagina teletext
2
CH▲/▼
Folosire butoane CH▲si CH▼
pentru a merge la paginile teletext
de mai sus sau mai jos.
3
FASTEXT LINK / VOL►
Transfer la pagina de teletext a culorii
verzi
4
FASTEXT LINK
Transfer la pagina de teletext a culorii
albastre
5
FASTEXT LINK/ VOL◄
Transfer la pagina de teletext a culorii
rosii
6
TELETEXT
A se apasa pentru vedere teletext, text
suprapus peste video si dezactivare
teletext.
6
3
4
1
2
7
5
3
5
7
FASTEXT LINK
Transfer la pagina de teletext a culorii
galbene
Notă
Other manuals for AVerTV DVI Box 1080i
1
Table of contents
Languages:
Other Avermedia Set-top Box manuals

Avermedia
Avermedia TVBoxTM 5 User manual

Avermedia
Avermedia AVerTV Hybrid STB9 User manual

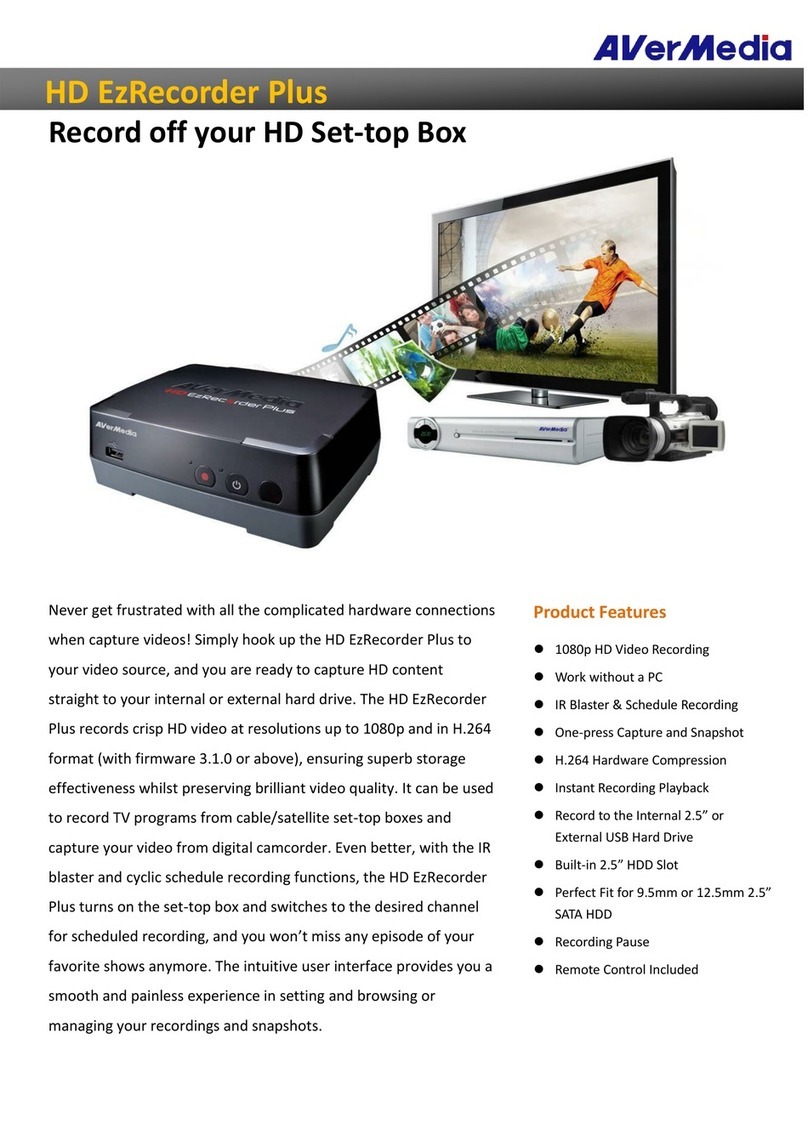
Avermedia
Avermedia HD EzRecorder Plus User manual

Avermedia
Avermedia AVerTV BoxW7 Super M079 User manual

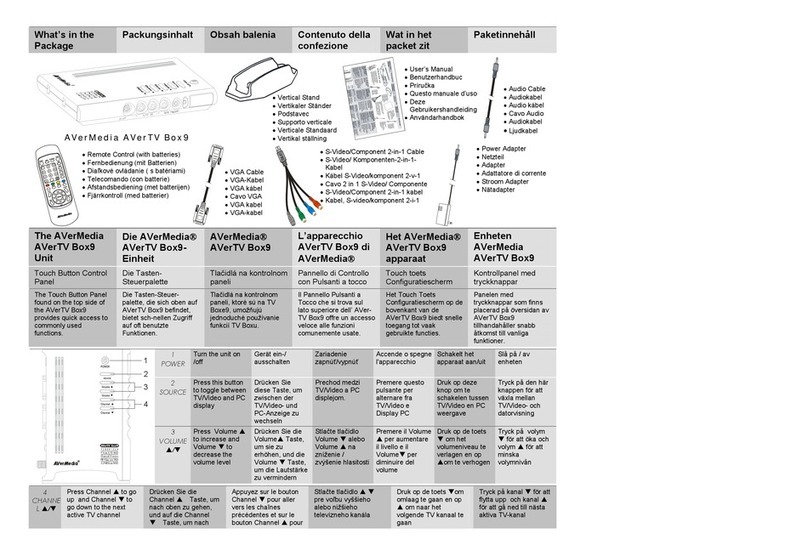
Avermedia
Avermedia AVerTV Box9 User manual

Avermedia
Avermedia 300AABWG User manual

Avermedia
Avermedia tv box User manual

Avermedia
Avermedia AVerTV Hybrid STB9 User manual

Avermedia
Avermedia AVerTV BoxW7 Plus User manual

Avermedia
Avermedia HD EzRecorder Plus User manual