2
ISTRUZIONI PER L'INSTALLAZIONE E L'USO
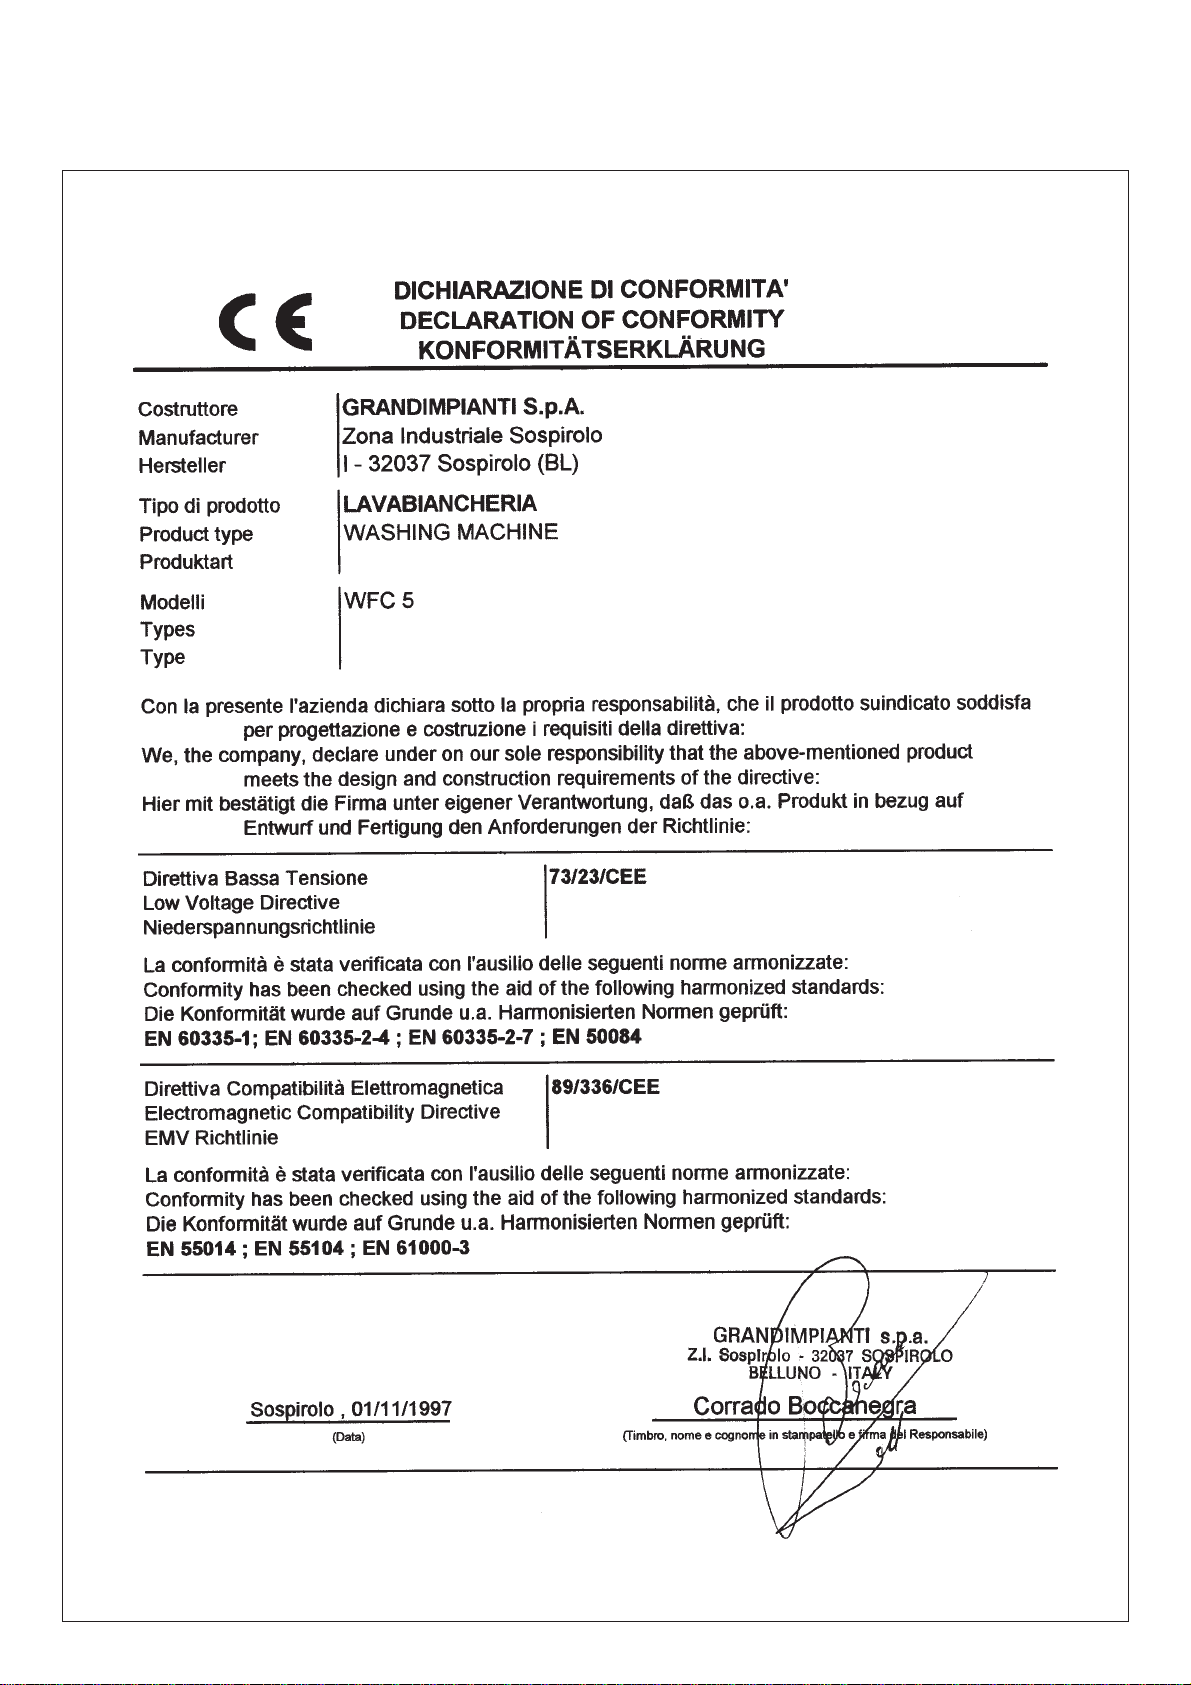
I
PREMESSA
Desideriamo ringraziarvi della preferenza
accordataci con l’acquisto della nostra
macchina. Siamo certi che otterrete le
migliorisoddisfazioniegaranzieseseguirete
attentamente le indicazioni contenute nel
presente manuale.
Vi informiamo inoltre che in qualsiasi caso
il testo di riferimento per eventuali
contestazioni o osservazioni rimane quello
inlinguaoriginaledelcostruttore,ovverosia
l’Italiano
1. GARANZIA
-Lagaranziahaladuratadimesidodici(12)
a partire dalla data di acquisto dell’apparec-
chiatura o parte integrante della stessa.
-Lagaranziaconsistenellasostituzionedel-
lepartieventualmentedifettoseperaccertate
cause di fabbricazione e viene applicata
direttamente dal vostro fornitore.
-Lamanod’operaèsempreacaricodell’ac-
quirente, come pure le spese di trasporto,
imballo e rischi di trasporto.
- La garanzia è subordinata alla restituzione
dei pezzi avariati in PORTO FRANCO ed
alla contemporanea comunicazione dei dati
riguardanti il modello, il numero di matri-
cola ed il difetto della macchina sulla quale
il particolare era montato.
- La garanzia non si applica alle apparec-
chiature che siano state danneggiate per
negligenza,erratocollegamento,installoin-
adatto, mancata osservanza delle istruzioni
dimontaggiooimpiegoecomunquealterate
dapersonalenonautorizzato.Nonsi applica
inoltre qualora il numero di matricola sia
stato alterato, cancellato o asportato.
-Nonsiapplicalagaranziasulseguentema-
teriale:
parti soggette a normale usura quali cin-
ghie, membrane delle elettrovalvole e parti
in gomma in generale. Componenti elettrici
quali motore, bobine, contattori, resistenze
ecc.
2. INTRODUZIONE
Ilpresente manualeè statorealizzato inmo-
dosemplicee razionale affinchéleggendolo
conosciate a fondo la vostra macchina. Si
raccomandadileggerneattentamenteilcon-
tenutoediconservarlounitamenteallamac-
china. Le avvertenze e le raccomandazioni
contenute in questo manuale, non possono
coprire tutte le eventualità; è importante
tener presente che buon senso, attenzione e
prudenzasonofattorichenonpossonoessere
aggiunti all’apparecchiatura da parte del
costruttore, ma devono essere previsti dalle
persone che effettuano l’installazione, la
manutenzione e/o l'uso della macchina.
Qualsiasi persona utilizzi questa
apparecchiatura dovrà leggere il presente
manuale d’uso.
Incasodiinterventisullamacchinalapresente
dittaraccomandavivamentedi usare pezzidi
ricambio originali, per la cui ordinazione si
consiglia di consultare il paragrafo 8.
Le descrizioni ed illustrazioni contenute nel
presente manuale non si intendono impeg-
native; la ditta pertanto si riserva il diritto in
qualunquemomentoesenzaimpegno,diag-
giornare tempestivamente la pubblicazione
e/o di apportare eventuali modifiche ad or-
gani,componentieaccessori,nelcasoincui
questo venga ritenuto conveniente per un
miglioramento o per qualsiasi esigenza di
carattere costruttivo o commerciale.
3. PRESCRIZIONI, DIVIETI ED USI
DIVERSI DELLA MACCHINA
L’apparecchiaturadeveessereutilizzatasolo
da persone addestrate all’uso della stessa.
Disattivare la lavatrice in caso di guasto e/o
di cattivo funzionamento.
Durantel’uso lapuliziaelamanutenzionesi
deve fare attenzione a non accedere con ar-
nesi e tanto meno con le mani a parti in
movimento (motore, cinghie). In caso di
incidenti la ditta costruttrice non si assume
alcunaresponsabilitàperdanniall’operatore
o ad altri persone che possano avvenire
durante l’uso, la pulizia e la manutenzione
della macchina.
Non aprire il dispenser durante il funziona-
mento per i detersivi in esso contenuto e per
la temperatura dell’acqua calda.
Questa apparecchiatura è stata progettata
per il lavaggio di tessuti secondo le indica-
zioniriportatesulleetichettedegliindumenti
o tessuti. Lavare solo indumenti, biancheria
perlacasaetessutinormalidiusoquotidiano.
Non inserite capi che siano stati a contatto
conprodottichimicioinfiammabilimaprov-
vedete prima ad un lavaggio a mano e ad
asciugarli all’aria per far evaporare
completamente queste sostanze.
L’usodi qualunque apparecchioelettrico ed
elettronico comporta l’osservanza di alcune
regolefondamentali.Inparticolare:nontoc-
care l’apparecchio con mani e piedi bagnati
oumidi.Nonusarloapiedinudi,nonlasciarlo
espostol’apparecchioagliagentiatmosferici
(pioggia, sale, salsedine, etc.). Non
permettere che venga usato da bambini o da
incapaci senza una adeguata sorveglianza.
Non fumare in prossimità della lavatrice o
durante l’uso. Non rimuovere o scavalcare i
dispositivi di sicurezza. Non utilizzare mai
getti d’acqua diretti od indiretti sulla
macchina, fare attenzione pertanto a non
installarla in prossimità di zone soggette a
questa evenienza.
OGNI ALTRO USO NON ESPLICITA-
MENTE INDICATO E’ DA CONSIDE-
RARSI PERICOLOSO. IL COSTRUT-
TORE NON PUÒ ESSERE RITENUTO
RESPONSABILE PER EVENTUALI
DANNI DERIVANTI DA UN USO
IMPROPRIO, ERRONEO O IRRAGIO-
NEVOLE.
ISTRUZIONI PER
L’INSTALLATORE
4. INDICAZIONI RELATIVE AL
TRASPORTO, DISIMBALLAGGIO ED
IMMAGAZZINAMENTO DELLA
MACCHINA
4.1. TRASPORTO MACCHINA
Se è necessario un eventuale trasporto e/o
spedizione della macchina è utile seguire
attentamente le seguenti raccomandazioni:
Qualora si debba trasportare l’apparecchia-
turaall’internodiunedificioutilizzareesclu-
sivamente l’apposito bancale o uno equi-
valente; utilizzare un carrello elevatore a
mano oppure elettrico idoneo al trasporto di
queste macchine e con capacità di solleva-
mento sufficiente (vedi dati tecnici).
Controllare che la lavatrice possa superare
tutti gli ostacoli es. scale, porte etc. Non
trascinatemailamacchinaperifianchioper
qualsiasi altra parte.
Nel caso in cui la macchina debba essere
spedita utilizzare esclusivamente l’imballo
originale, in grado di garantire sufficiente
stabilità alla macchina durante il trasporto.
Èinoltreimportantissimorimontarelestaffe
di trasporto nei tre fori posizionati sul
pannello posteriore della macchina (vedi
fig. 2)
4.2 IMMAGAZZINAMENTO
Qualora la macchina dovesse rimanere in
deposito per lungo tempo prima di essere
utilizzatalasciarlaall’internodelsuoimballo
originale,ilqualegarantisceunaottima pro-
tezione.Assicurarsiinoltrechelecondizioni
ambientali siano corrispondenti a quelle di
cui al paragrafo 5. Nel caso in cui invece
debba rimanere ferma per lunghi periodi
dopo che è già stata usata, verificare che sia
materialmente scollegata dalla rete di
alimentazioneelettricaecoprirlaconilsacco
protettivo originale.
4.3 DISIMBALLAGGIO
1)Primadiprendereinconsegnalamacchina
dal trasportatore, controllare le condizioni
dell’imballo.Seilmedesimopresentadanni
evidenti all’esterno, può darsi che anche la
macchina abbia subito delle conseguenze.