GRAUPNER GmbH & Co. KG D-73230 KIRCHHEIM/TECK GERMANY
Modifications reserved. No liability for printing errors 12.2010
2
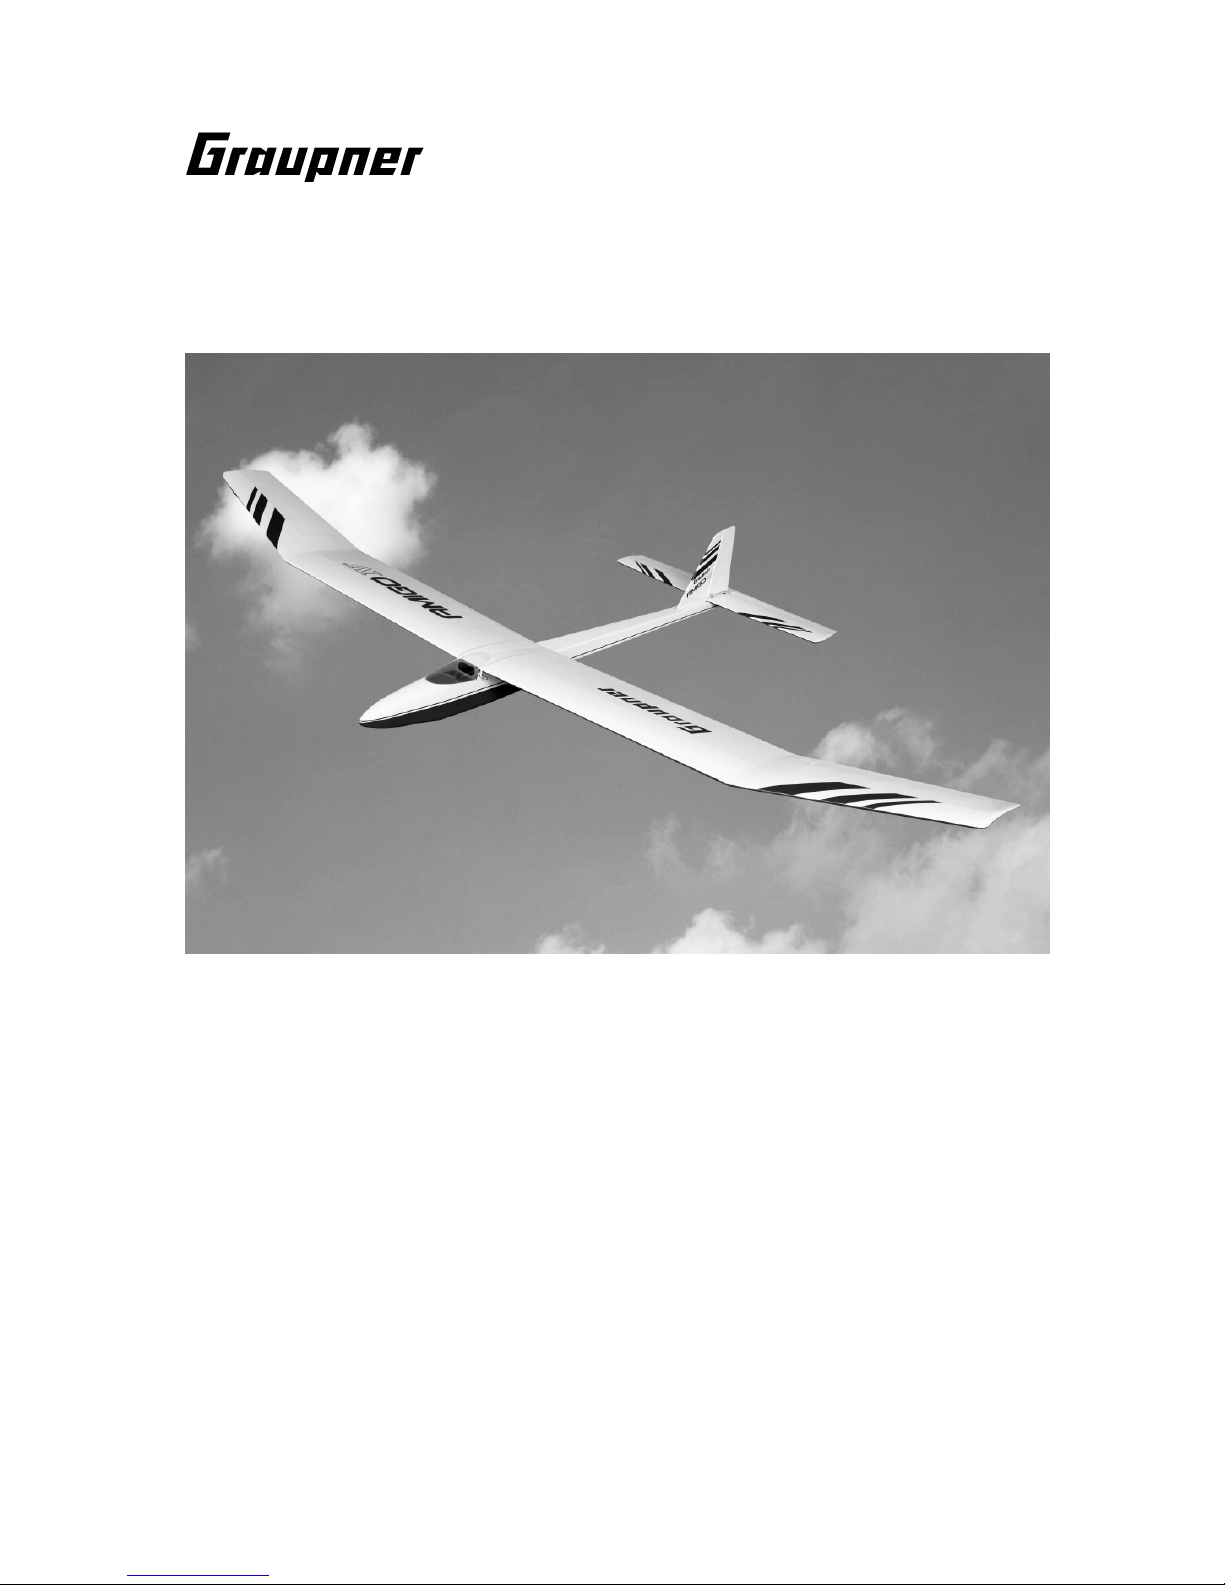
Specification
Wingspan approx. 2000 mm
Overall length approx. 1115 mm
Wing section NACA 4409
Tailplane section l Clark Y
Wing area approx. 62.47
Tailplane area approx. 7.5
Total surface area approx. 69.97
All-up weight according to
fittings, min. approx. 1110 g
Longitudinal dihedral approx. 1.5°- 2°
Centre of Gravity approx. 110 mm aft of the root leading edge,
measured on both sides of the fuselage
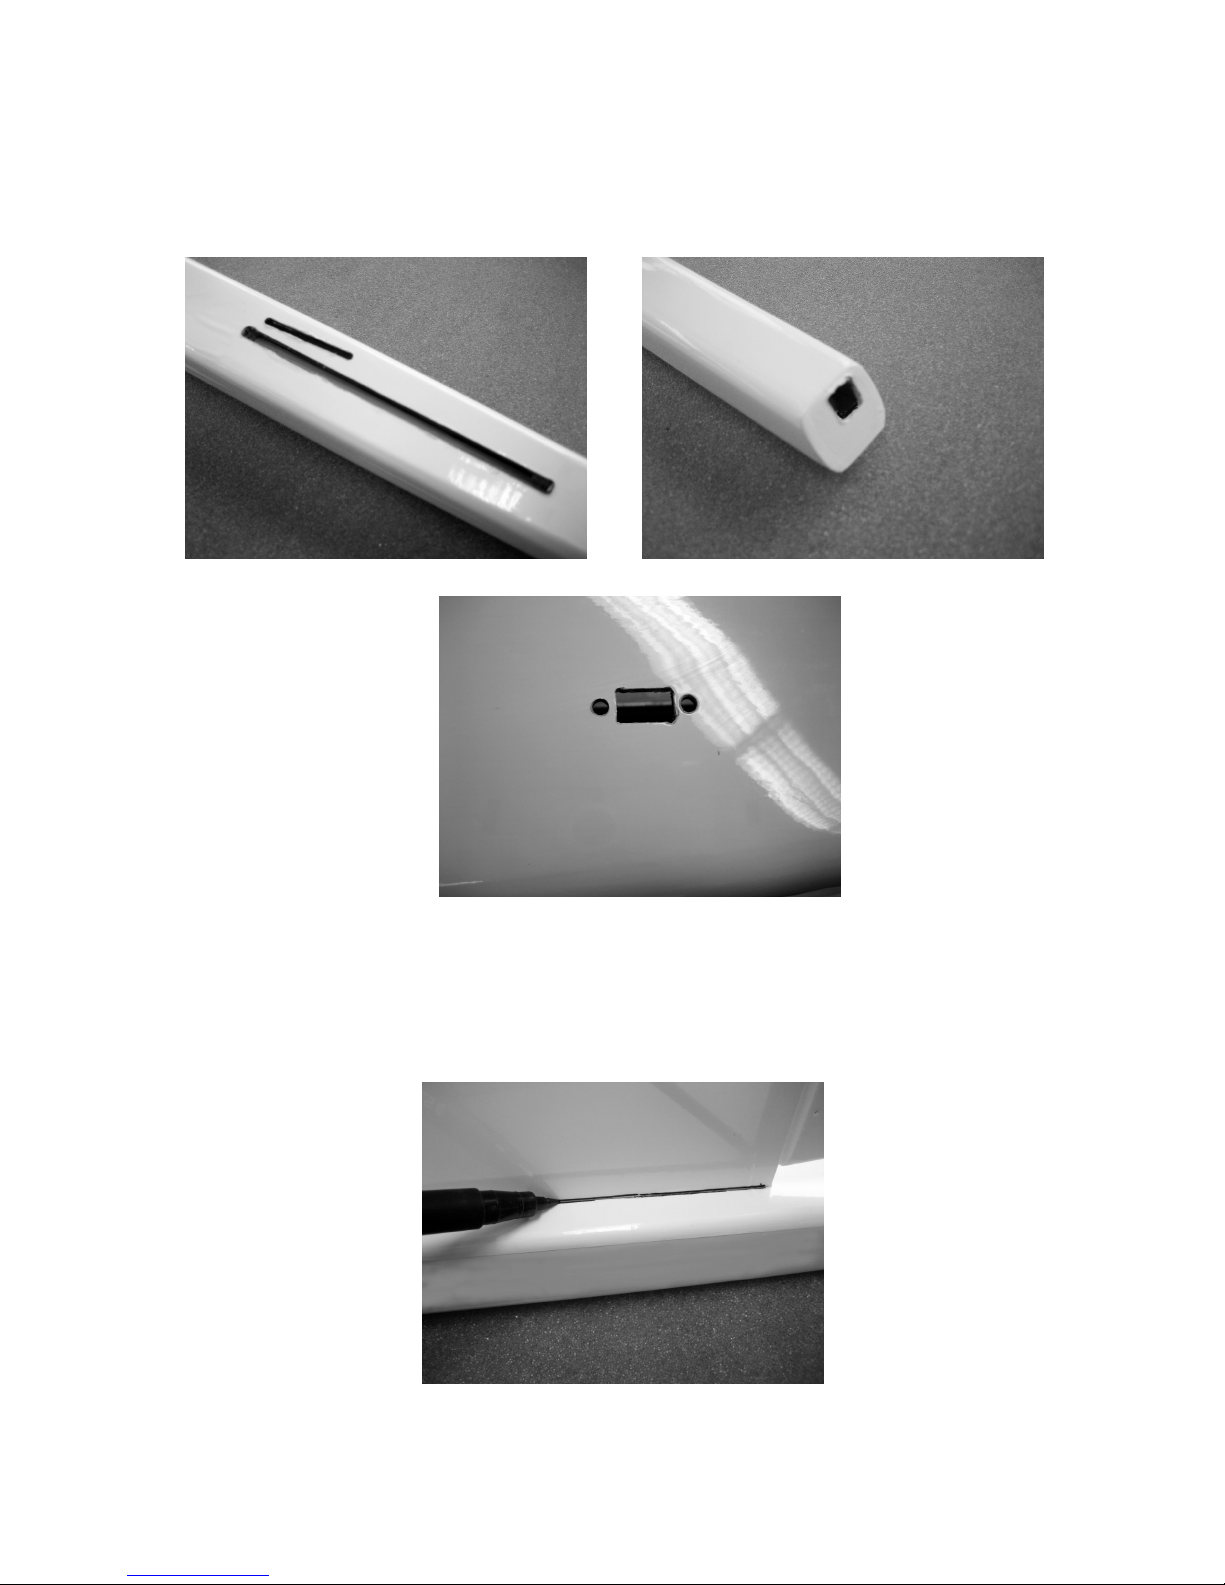
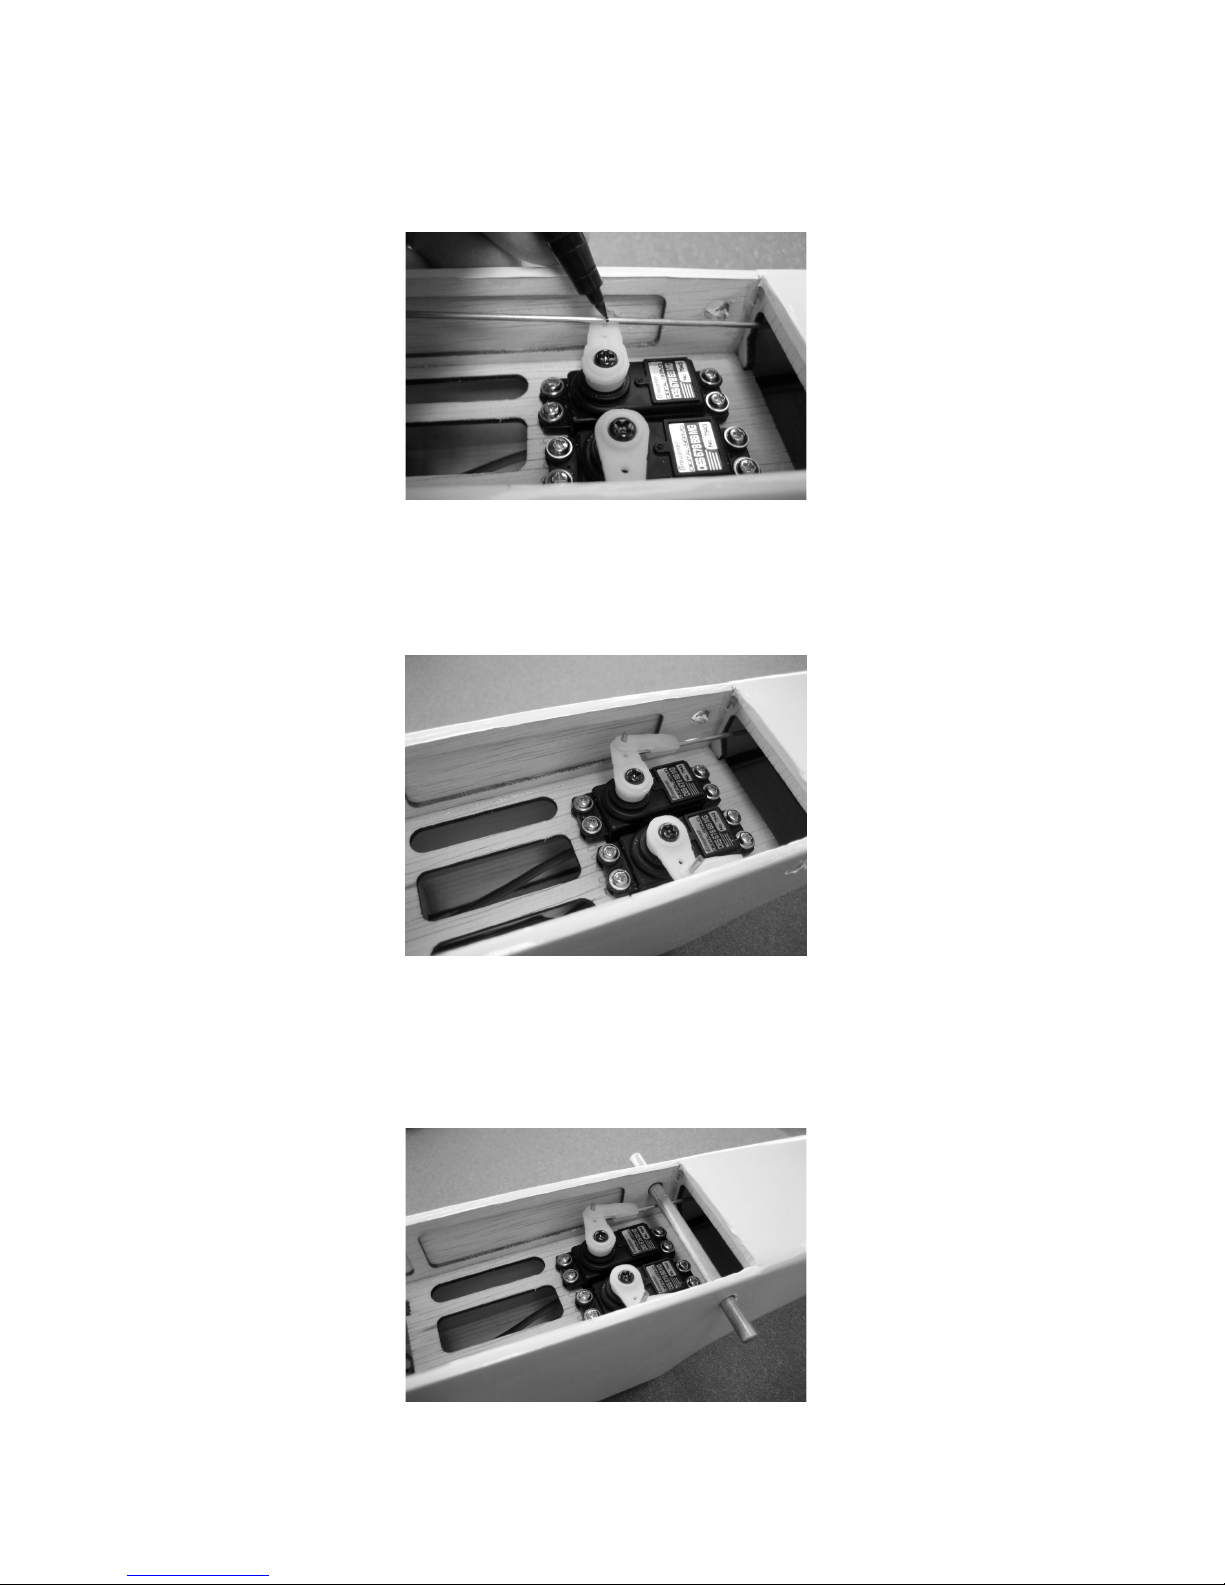
Notes on building the model
It is essential to read right through these instructions before starting to build the
model. Please be aware of the hazards involved in the use of tools.
Remove all traces of grease from the joint surfaces of components which are to be
glued. A good method is to sand lightly before wiping with a non-greasy liquid deter-
gent solution. Before gluing any GRP parts, and GRP fuselages in particular, the joint
surfaces must be sanded thoroughly with fine-grit abrasive paper before de-greasing
with a solvent such as acetone. This is the only method of obtaining durable glued
joints involving GRP parts.
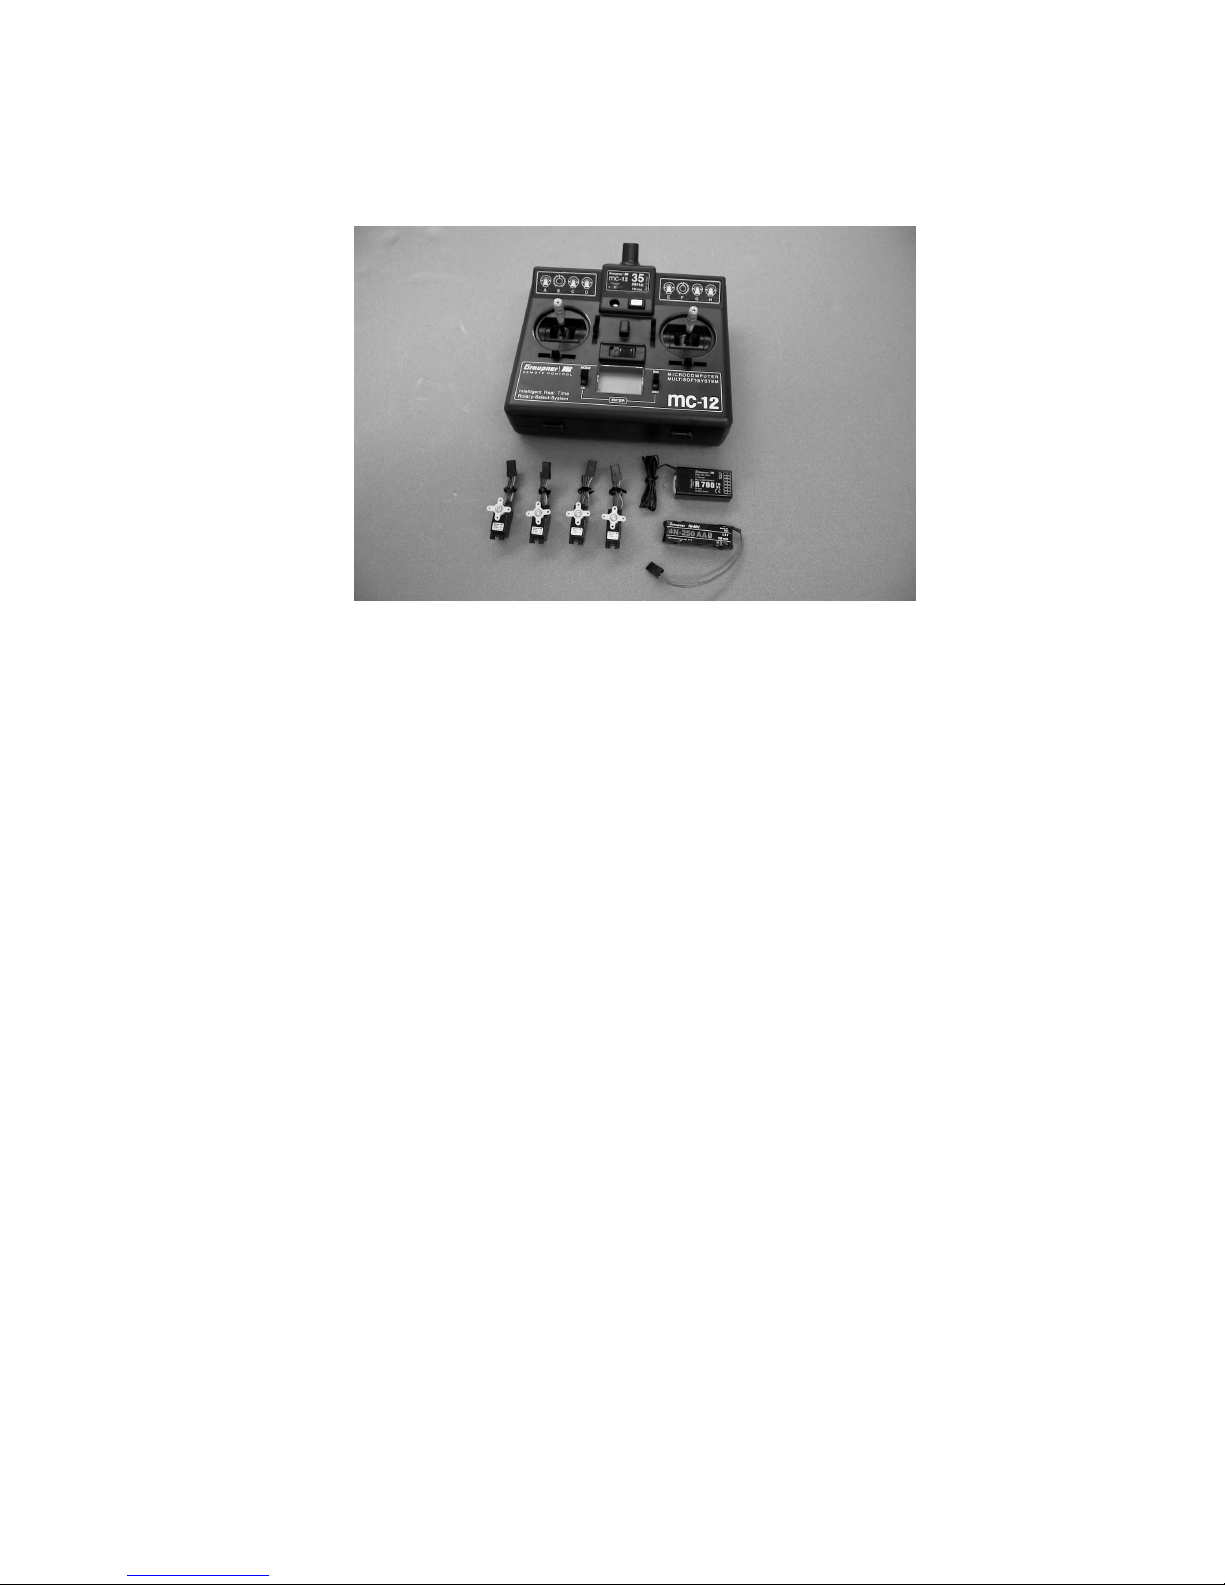
Tools required to build the AMIGO IV
Pencil (HB lead), felt-tip pen, setsquare, tape measure or metre rule, Lexan shears,
Order No. 26, sharp, narrow-bladed knife, e.g. balsa knife, Order No. 980, small
electric drill, set of twist drills.
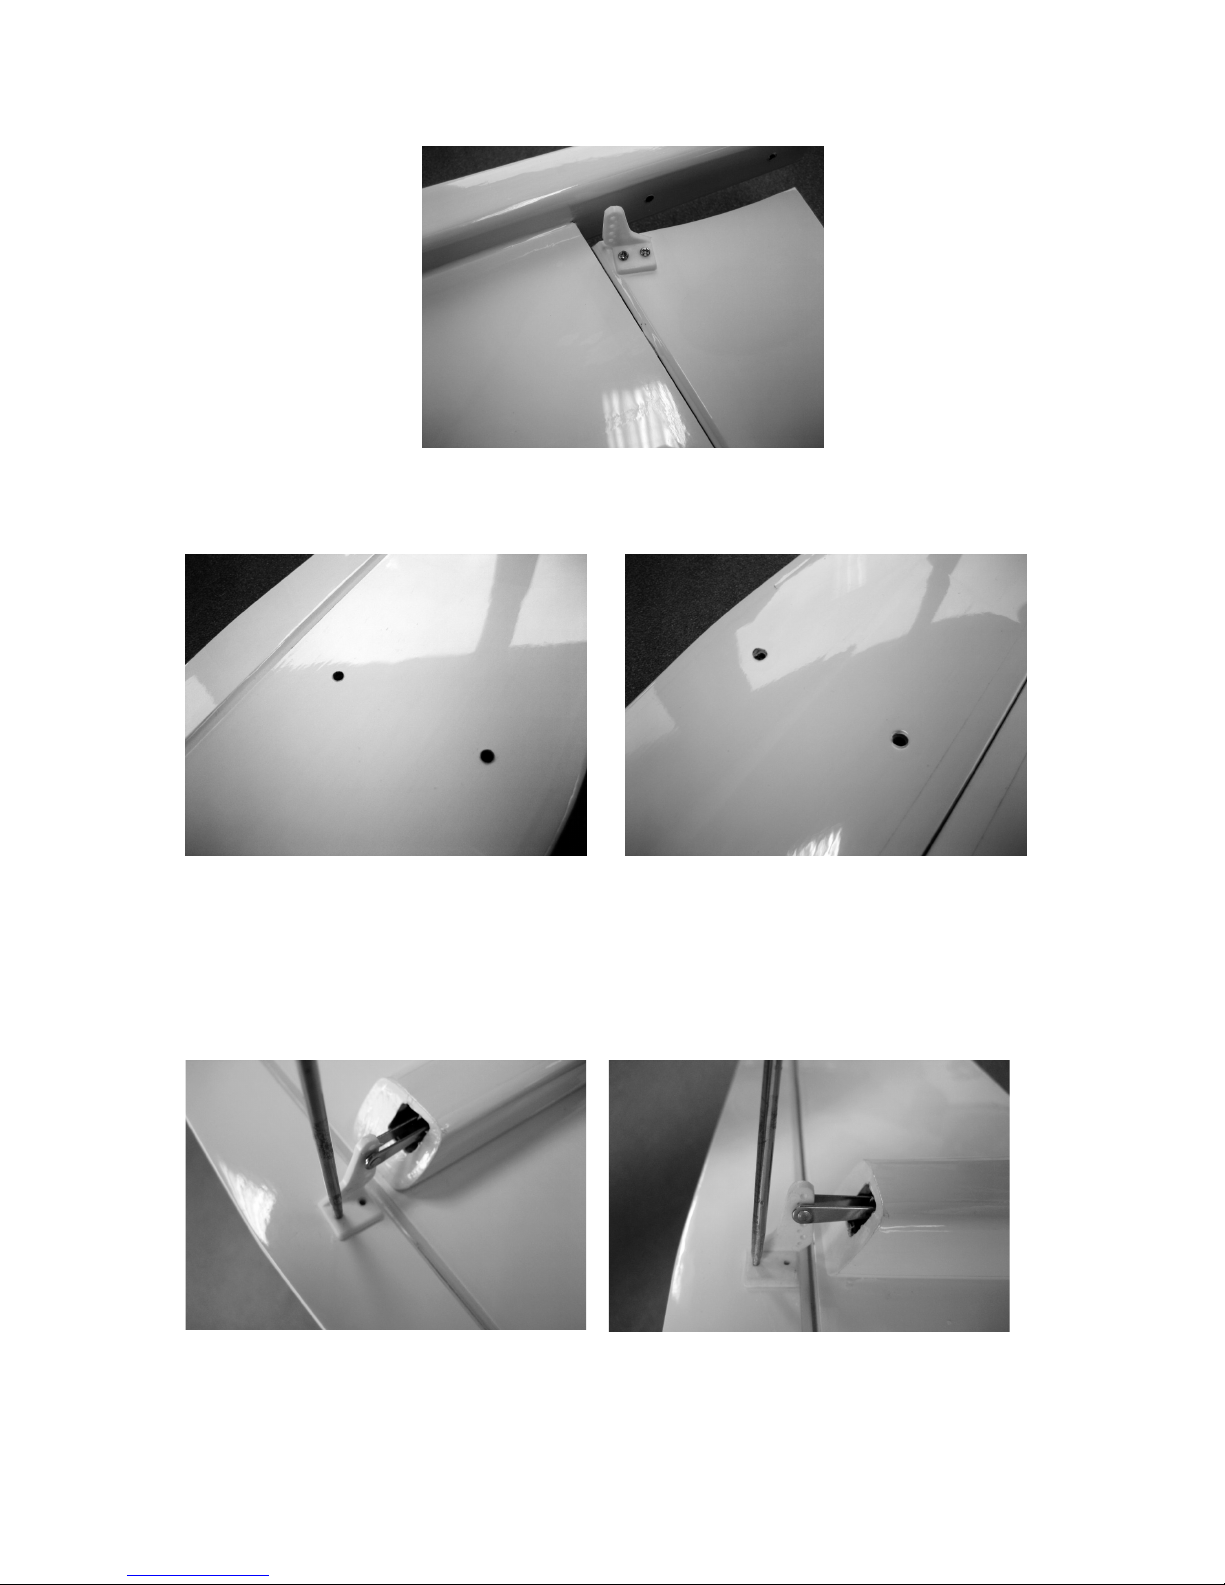
Gluing different materials
The following table provides a few examples of typical glued joints.
It is just a guide, and is not intended to be comprehensive.
Material Typical glued joint Adhesive
Order No.
Wood to Fin to UHU wood glue express
wood fuselage 958.60
or
UHU hart
534.35
Note:
Please observe the instructions provided by the adhesive manufacturers when using
their products. For more information on adhesives refer to the main FS catalogue.
Solvent-based adhesives should always be used in a well ventilated room.
Observe the manufacturer’s instructions and warnings.