Great Plains | 204-811M | 08/12/2021 5
UMRC Table of Contents Safety Information
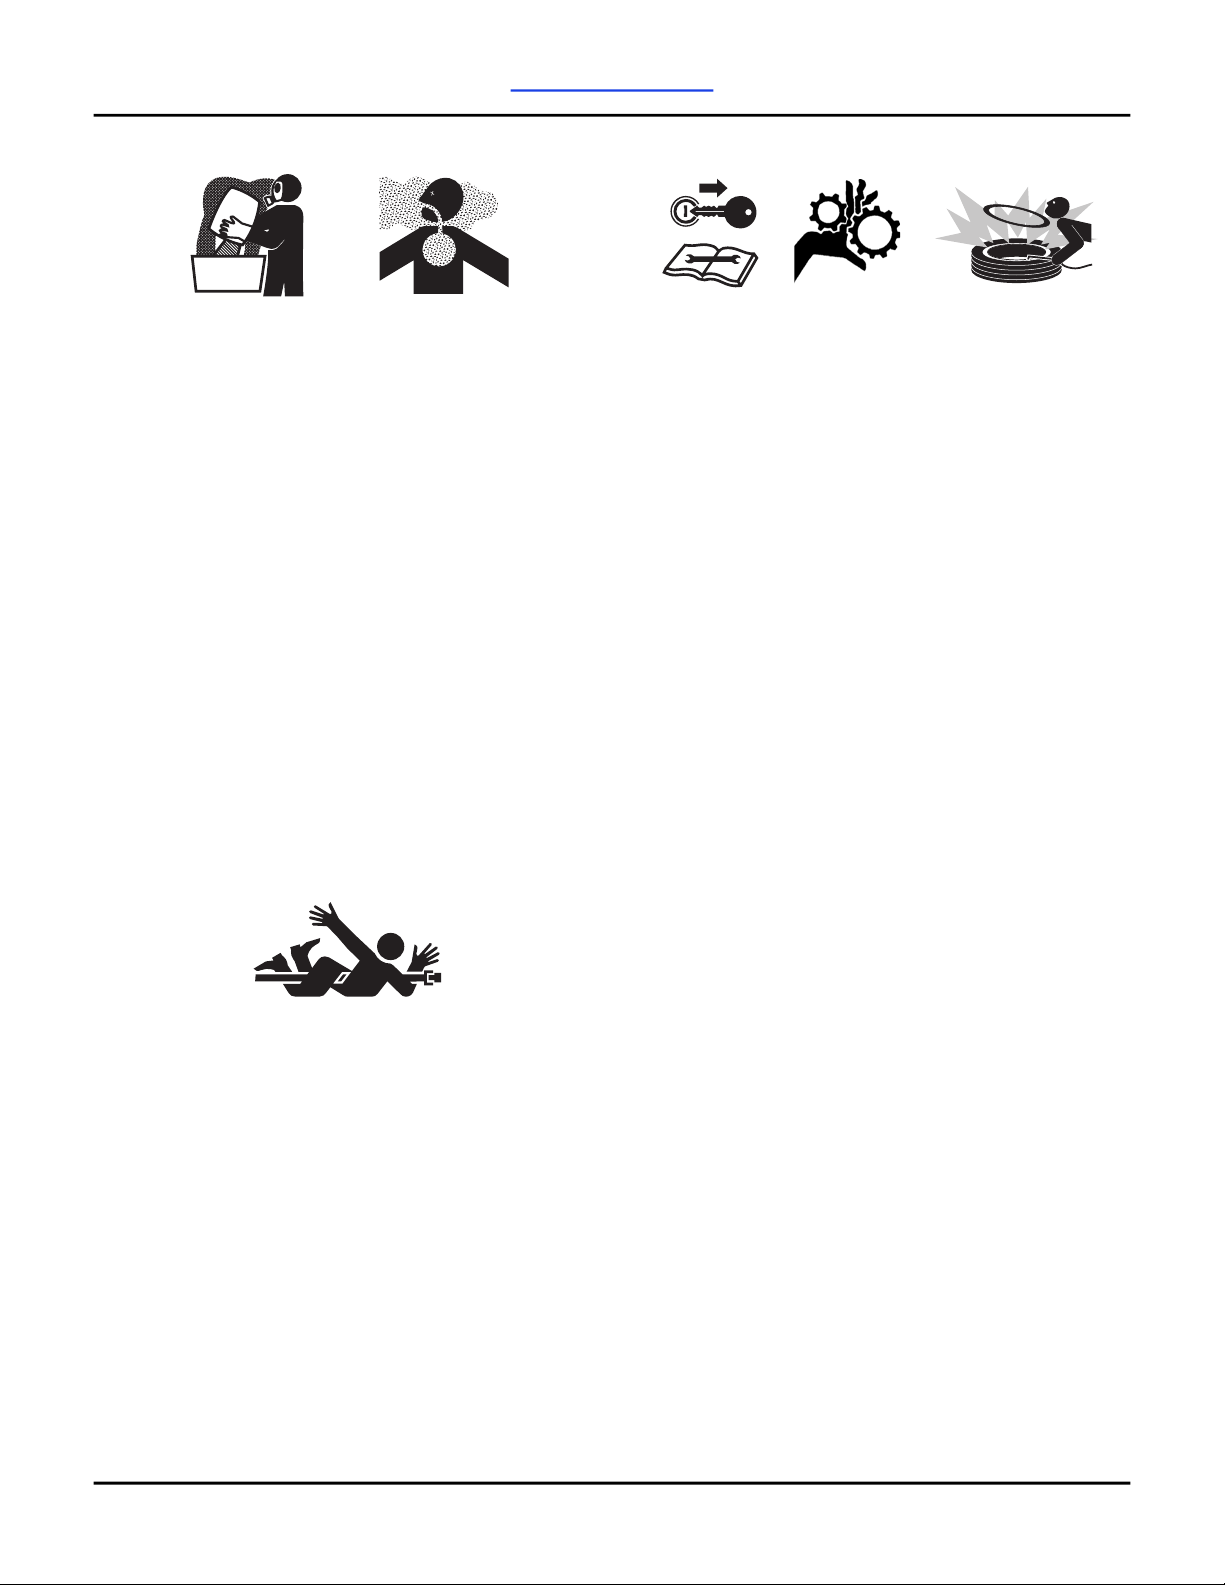
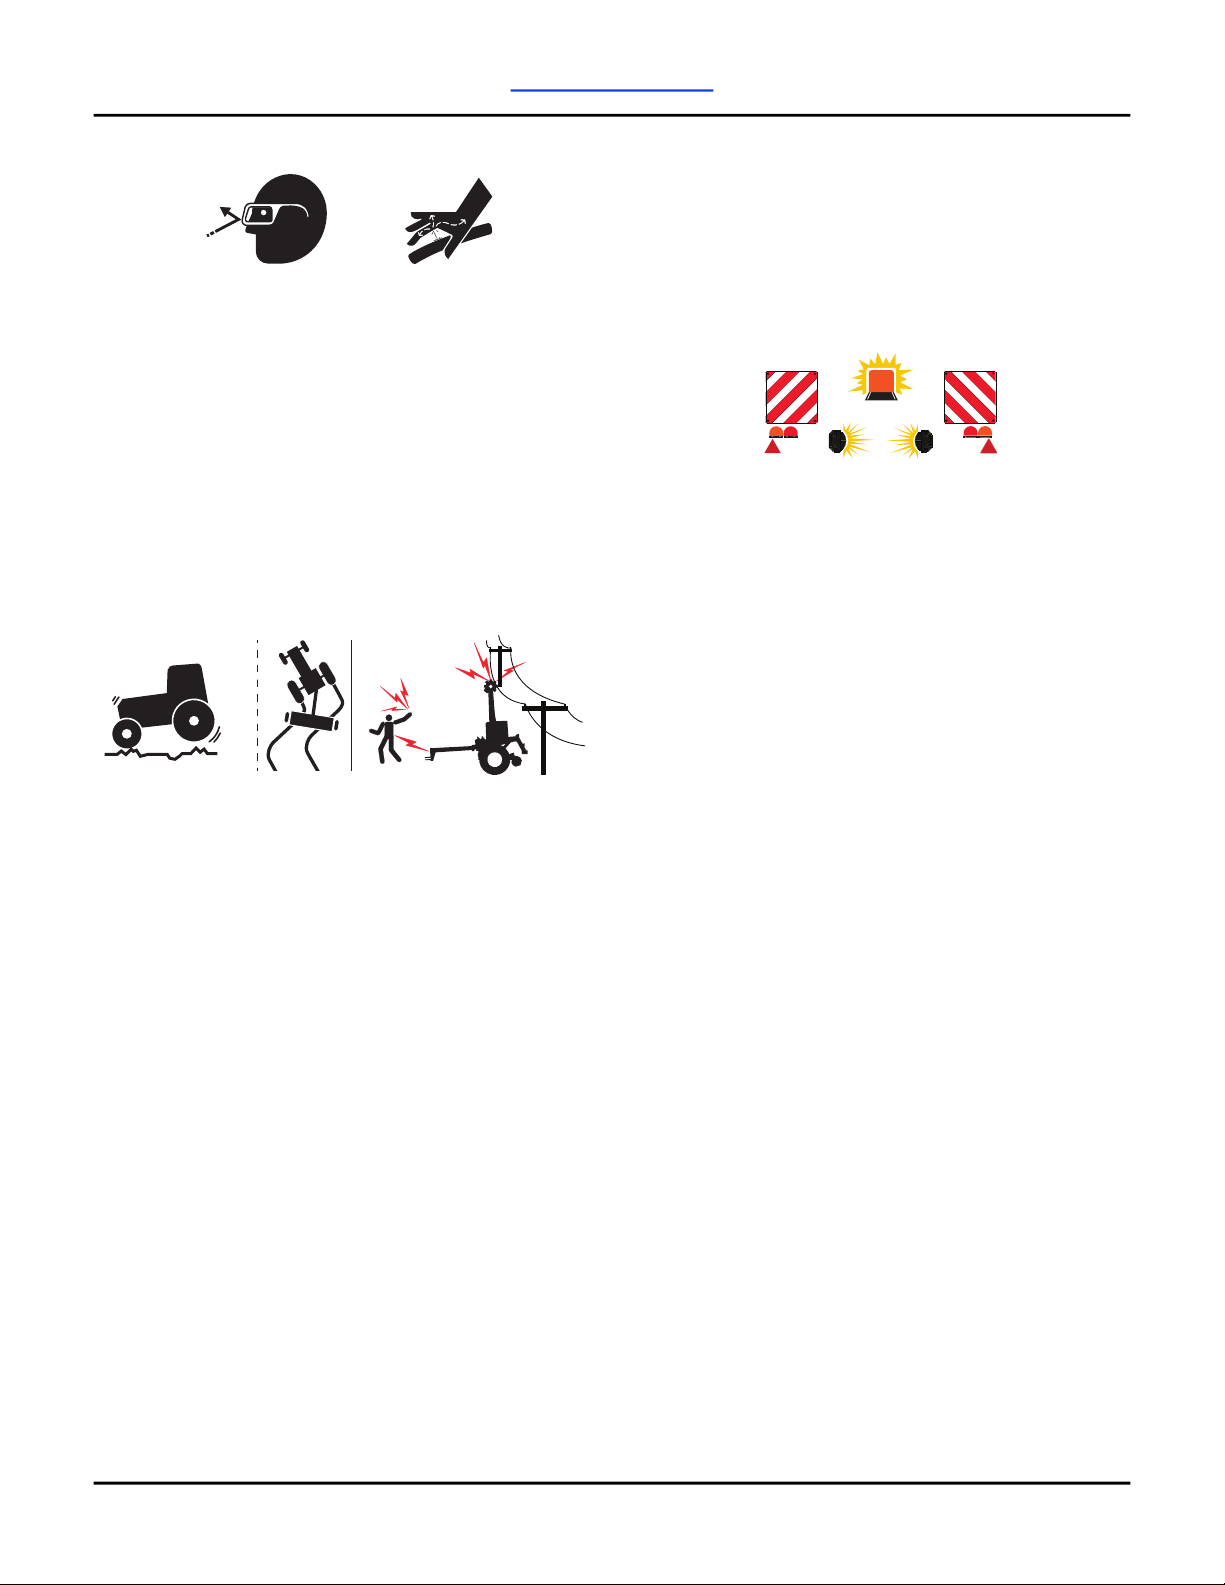
High Pressure Fluids
1. Escaping fluid from holes in hydraulic lines is
difficult to spot. Do not use your hands or bare
skin to search for suspected leaks; instead, use a
piece of cardboard or wood. If injured by
escaping hydraulic fluid, see a medical
professional immediately. Exposure can result in
gangrene or severe allergic reaction.
2. Check that hydraulic fittings are tight and all
hydraulic hoses and lines are in good condition
before applying pressure to the system.
3. Wear protective gloves and safety glasses or
goggles when working with hydraulic systems.
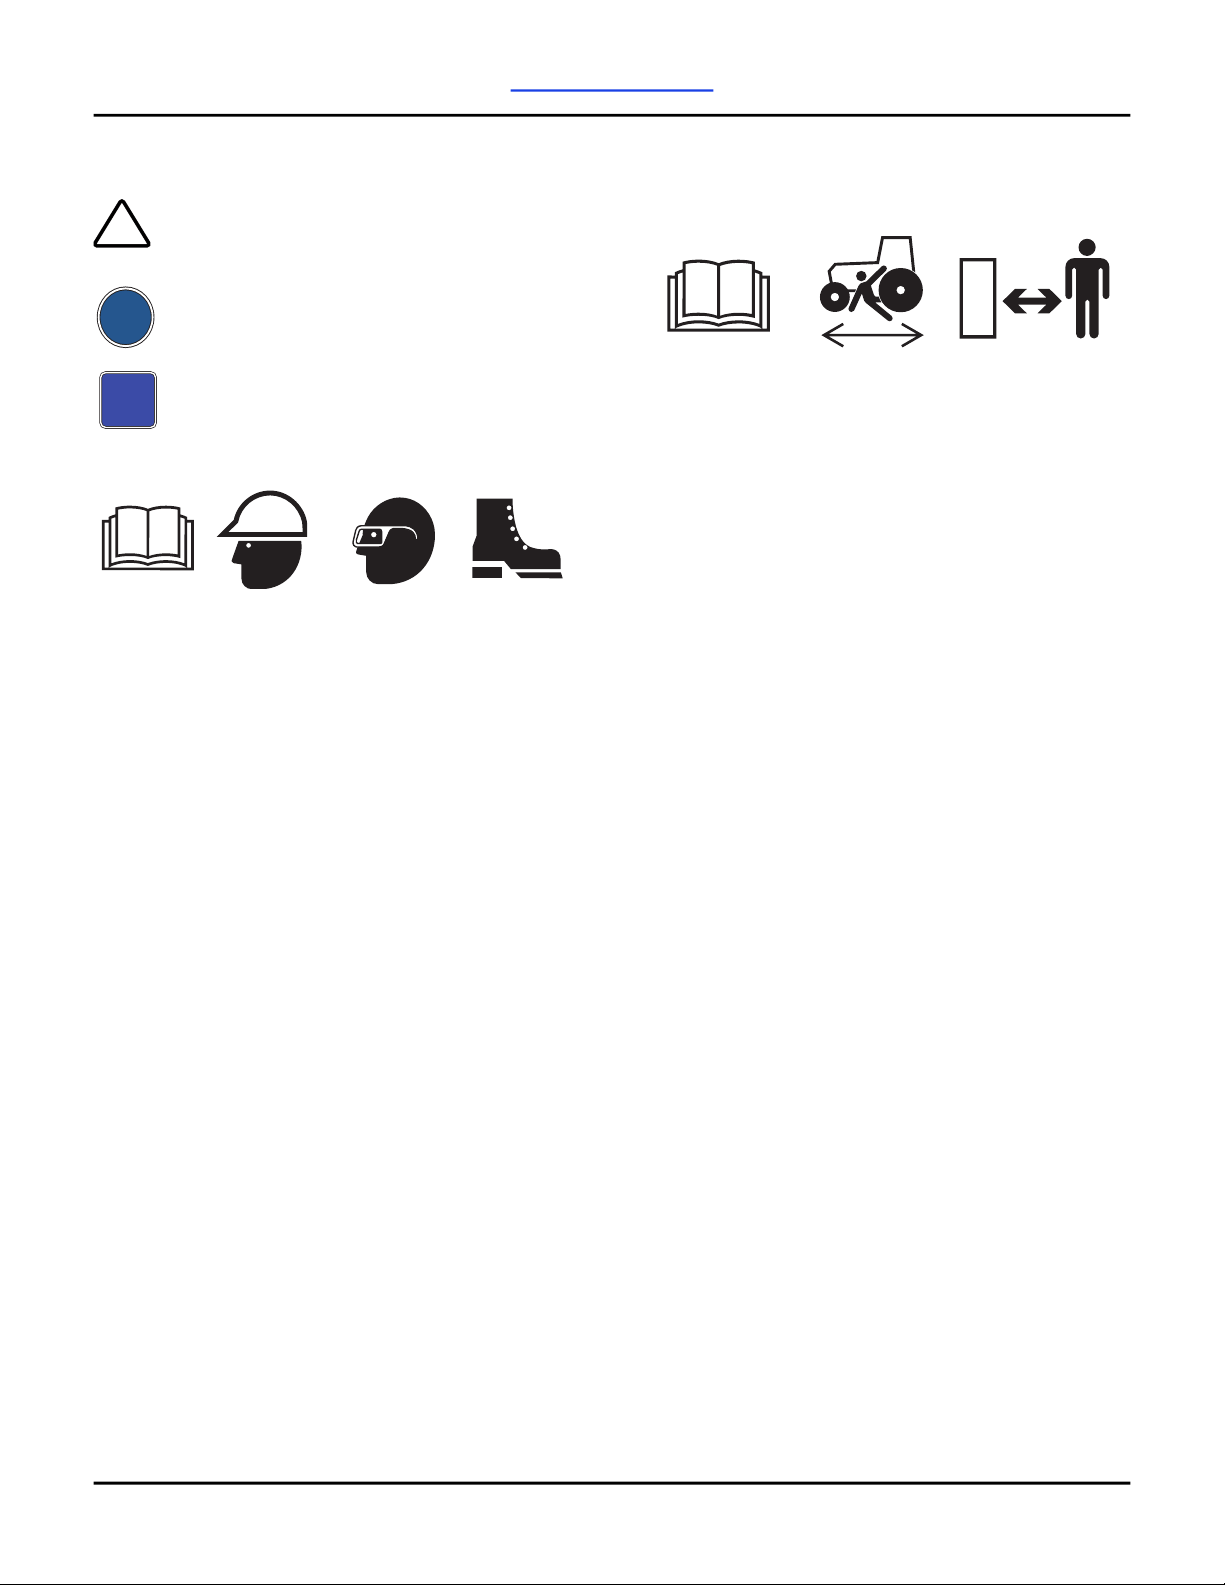
Transporting
1. As with transporting any piece of heavy
machinery, comply with all local laws and
regulations before and during transport process.
2. Transport only at recommended transport speed
for implement. Some rough terrains require a
slower speed. Sudden braking can cause a
towed load to swerve and upset.
3. Before towing implement on roads, make sure to
empty out all material from the hoppers or boxes.
4. Know transport height and width of implement.
5. Do not tow an implement that, when fully loaded,
weighs more than 1.5 times the weight of towing
vehicle.
6. Keep clear of overhead power lines and other
obstructions when transporting.
7. Do not fold or unfold the implement while the
tractor is moving.
8. Reduce speed when turning, and make as wide a
turn as possible. Turning tractor too tight can
cause implement to tip over.
9. When towing on a trailer, secure implement with
tie downs and chains.
10. When towing on a trailer, sudden braking can
cause a trailer to swerve and upset. Reduce
speed if trailer is not equipped with brakes.
Safety Chain
1. Use a chain with a strength rating equal to or
greater than the gross weight of towed machinery.
2. Replace chain if any links or end fittings are
broken, stretched or damaged.
3. Do not use safety chain for towing.
Safety Lights and Devices
1. Always use safety lighting. Slow-moving tractors
and towed machinery can create a hazard when
driven on public roads. They are difficult to see,
especially at night.
2. If equipped, use flashing warning lights and turn
signals whenever driving on public roads.
3. Use safety devices provided with implement.
4. Keep safety lights and signs clean and visible from
front and rear of machine.
5. Keep lights in operating condition.
Shutdown and Storage
1. Park the tractor and implement on a solid, level
surface where children normally do not play.
2. Fold and tilt wings.
3. Put tractor in park or set the parking brake. Turn
off engine and remove switch key to prevent
unauthorized starting.
4. Wait for all components to come to a complete
stop before leaving the operator’s seat.
5. Turn lockout valve and wing lock levers to locked
position to prevent the wings from lowering.
6. Detach the tractor. Secure the implement using
blocks.
Proper Waste Disposal
1. Dispose of waste properly to avoid threatening
the environment and ecology. Potential harmful
waste includes oil, fuel, filters, and batteries.
2. Use a leak-proof container for draining fluids. Do
not use a food or beverage container that may be
mistaken for a consumable product.
3. Do not drain or pour waste onto the ground,
down a drain, or into any water source.
4. Contact your local environmental or recycling center
for the proper way to recycle or dispose of waste.