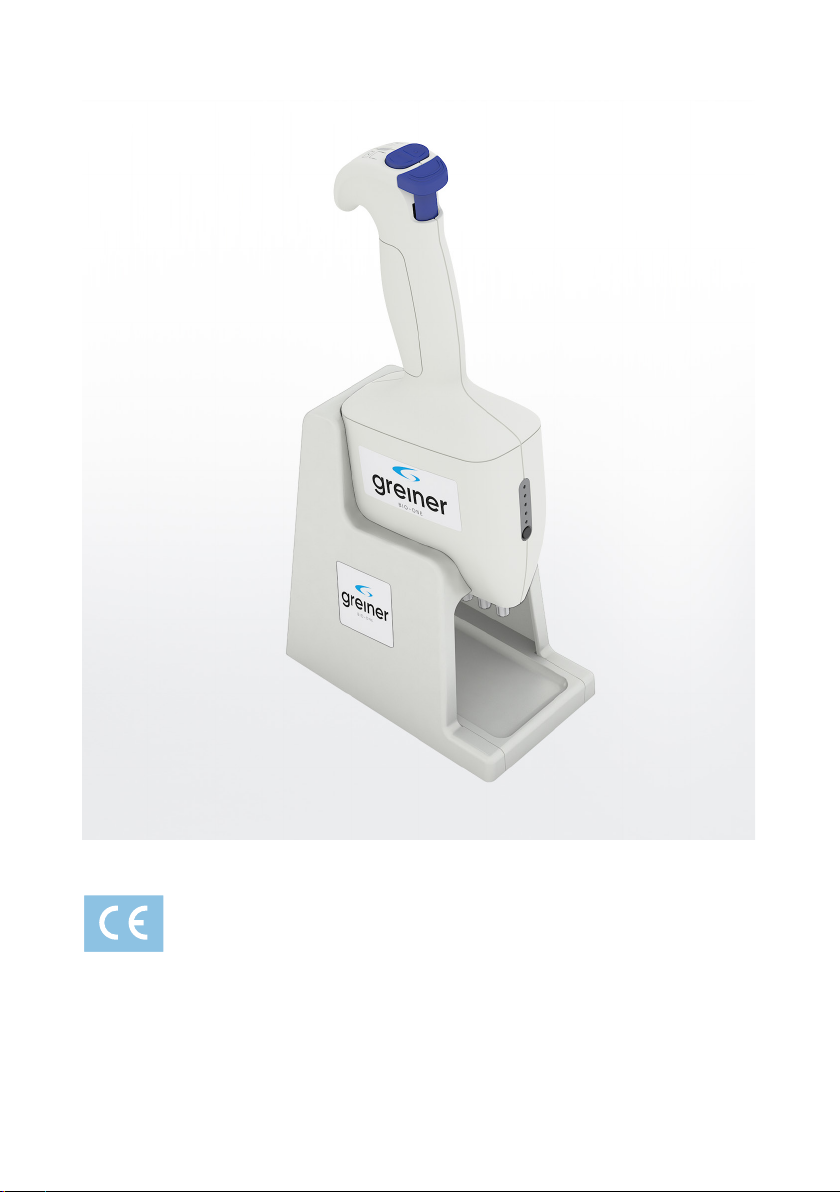
7 / 26CRYO.S 6-CHANNEL HANDHELD DECAPPER
Item No. Description
123263 Cryo.s non-coded tubes, 1 ml, starfoot base, internal tube thread
122263 Cryo.s non-coded tubes, 2 ml, starfoot base, internal tube thread
126263 Cryo.s non-coded tubes, 2 ml, starfoot base, external tube thread
127263 Cryo.s non-coded tubes, 4 ml, starfoot base, external tube thread
123263-2DG Cryo.s non-coded tubes, 1 ml, starfoot base, internal tube thread,
linearbarcode,humanreadableidentieranddatamatrixcode
122263-2DG Cryo.s non-coded tubes, 2 ml, starfoot base, internal tube thread,
linearbarcode,humanreadableidentieranddatamatrixcode
126263-2DG Cryo.s non-coded tubes, 2 ml, starfoot base, external tube thread,
linearbarcode,humanreadableidentieranddatamatrixcode
127263-2DG Cryo.s non-coded tubes, 4 ml, starfoot base, external tube thread,
linearbarcode,humanreadableidentieranddatamatrixcode
803202 48-formatRackforCryo.s,lowprolefor1and2mlCryo.s
803270 48-formatRackforCryo.s,highprolefor4mlCryo.s
803202-2DG 48-formatRackforCryo.s,lowprolefor1and2mlCryo.s,
linearbarcode,humanreadableidentieranddatamatrixcode
803270-2DG 48-formatRackforCryo.s,highprolefor4mlCryo.s,
linearbarcode,humanreadableidentieranddatamatrixcode
803507 48-format Cap Carrier
In addition, the Decapper may be used with Cryo.s non-coded Tubes and Cryo.s with
Barcode and Datamatrix Code with coloured screw cap versions as well as customized
barcodes (REF 12x2xx, 12x2xx-2dx).
1.3/ LEGAL REGULATIONS
All local, state and federal laws which prescribe the use, application, and/or the
handling of dangerous materials in connection with the Decapper must be strictly
followed.