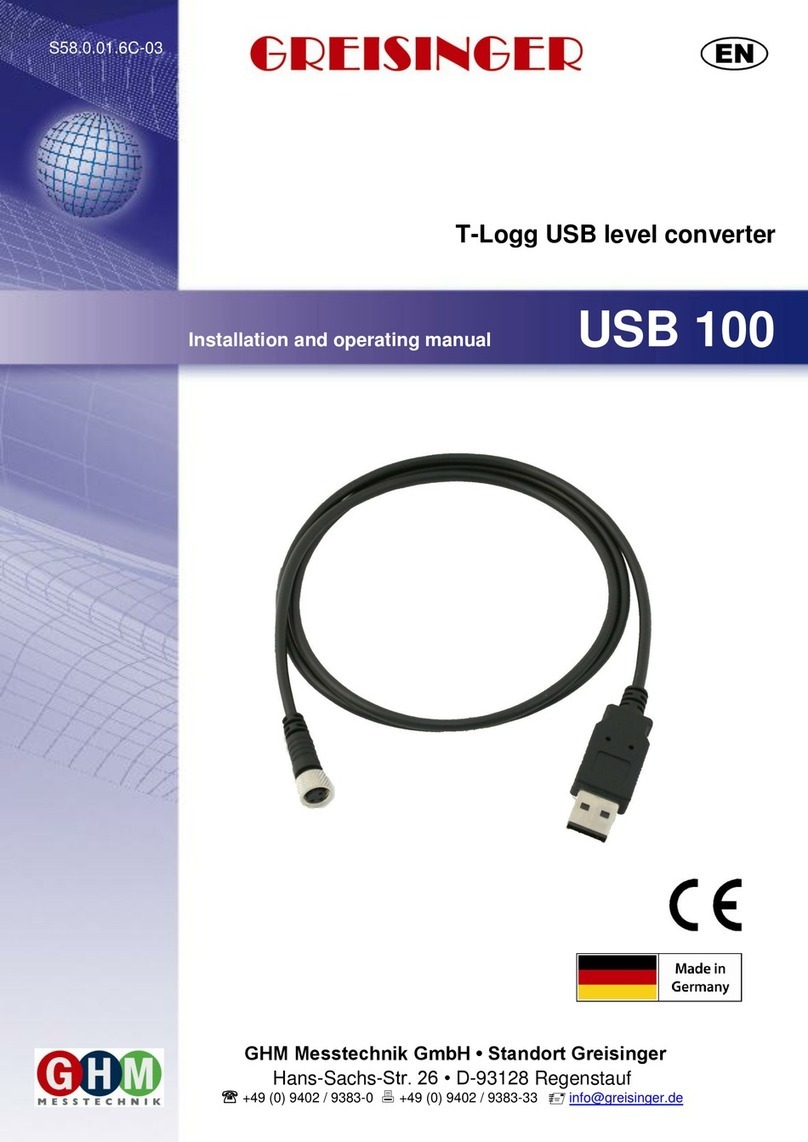
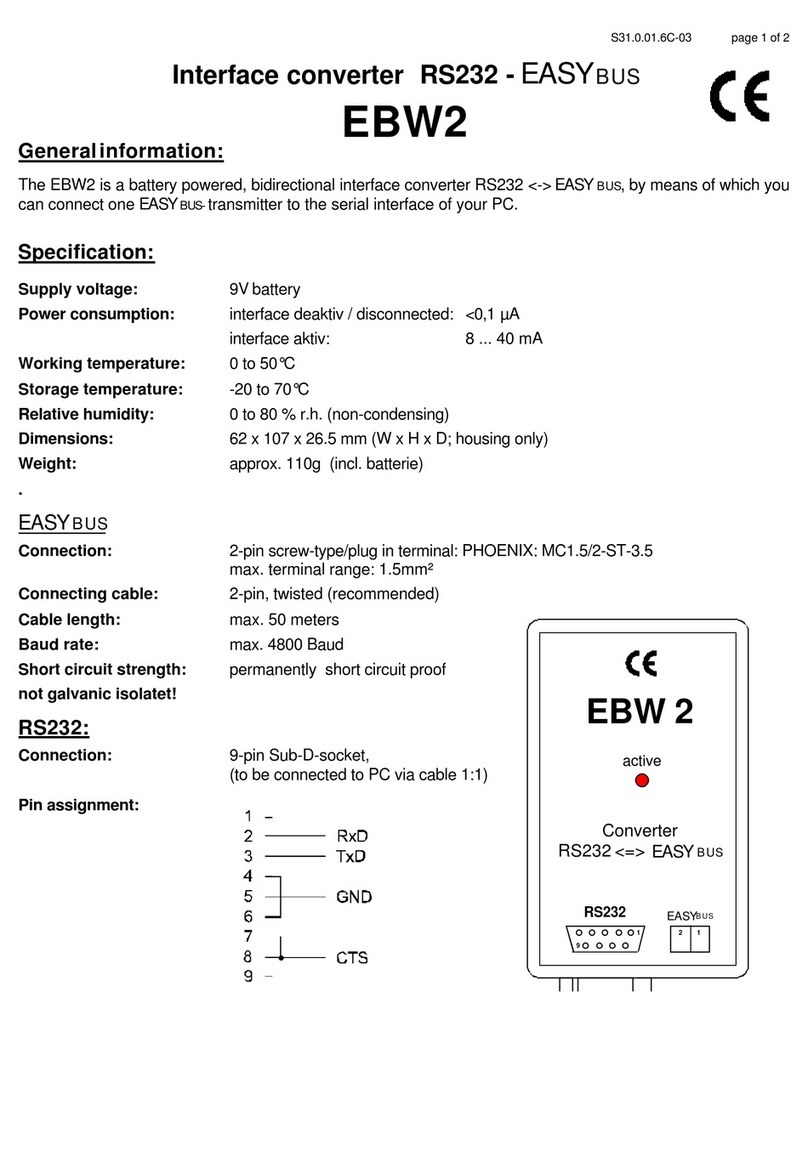
GREISINGER EBW 3 User manual

B07.0.01.6C-04
GREISINGER electronic GmbH
D - 93128 Regenstauf, Hans-Sachs-Straße 26
+49 (0) 9402 / 9383-0 +49 (0) 9402 / 9383-33 [email protected]
EASYBus - interface converter
Installation and operating manual EBW 3

B07.0.01.6C-04 Page 2 of 6
Content
1. Intended use..............................................................................................................................3
2. General advice ..........................................................................................................................3
3. Safety instructions .....................................................................................................................3
4. Disposal notes...........................................................................................................................3
5. Installation .................................................................................................................................4
6. Specification..............................................................................................................................5
7. Frequently asked questions (FAQ)............................................................................................6
7.1 How to check whether the adaptor has been installed correctly and via which COM-port
can I approach the installed adaptor? .................................................................................6
7.2 How to change the COM-port of the adaptor?.....................................................................6
7.3 Is there an automatic update function that updates the installed driver to the latest
version?...............................................................................................................................6
7.4 How to find out the used version of the driver? ...................................................................6

B07.0.01.6C-04 Page 3 of 6
1. Intended use
The electrically isolated interface converter enables the connection of EASYBus sensor module to the
USB-interface of your PC.
Applications:
Exchange data capture.
Configuration of Logger-function.
Readout measuring data storage of EASYBus-modules.
etc.
2. General advice
Read through this document attentively and make yourself familiar to the operation of the device before you
use it. Keep this document in a ready-to-hand way in order to be able to look up in the case of doubt.
3. Safety instructions
This device was designed and tested considering the safety regulations for electronic measuring devices.
Faultless operation and reliability in operation of the measuring device can only be assured if the General
Safety Measures and the devices specific safety regulation mentioned in this user’s manual are considered.
1. Faultless operation and reliability in operation of the measuring device can only be assured if the device
is used within the climatic conditions specified in the chapter “Specifications“.
2. By faulty handling of the interface converter a damage of the device cannot be excluded. Likewise a
damage of your attached device is possible.
In such case we cannot assume any warranty.
The manufacturer will not assume any warranty for damages to other devices resulting by use of the
interface converter.
3. Standard regulations for operation and safety for electrical, light and heavy current equipment have to be
observed, with particular attention paid to the national safety regulations.
4. When connecting the device to other devices (e.g. the PC) the interconnection has to be designed most
thoroughly, as internal connections in third-party devices (e.g. connection of ground with protective
earth) may lead to undesired voltage potentials.
5. The device must be switched off and must be marked against using again, in case of obvious
malfunctions of the device which are e.g.:
visible damage
no pre-scripted working of the device
storing the device under inappropriate conditions for longer time
When not sure, the device should be sent to the manufacturer for repairing or servicing.
6. Attention: Do not use this product as safety or emergency stopping device or in any other application
where failure of the product could result in personal injury or material damage. Failure to comply with
these instructions could result in serious injury and material damage.
4. Disposal notes
The device must not be disposed in the regular domestic waste.
Send the device directly to us (sufficiently stamped), if it should be disposed.
We will dispose the device appropriate and environmentally sound.

B07.0.01.6C-04 Page 4 of 6
5. Installation
For installation of the device drivers a user account with an administrator-authorisation is required.
If you haven’t an appropriate authorisation please consult your system administrator.
If you already have a device installed with the same USB-Chipset the EBW 3 will be installed
automatically.
Insert driver disk into the drive of your PC.
Plug in the USB-plug connector of the EBW 3 into the USB-connection of your PC.
The “Add New Hardware Wizard”for installation of
“CP2102 USB to UART Bridge Controller”appears. Click button “Next”.
Confirm the selection window for an appropriate driver with button “Next”.
In the following selection window choose “Specify a location”. In window
“Browse directory”select the path of your driver:
Chose your CD-Rom drive (e.g. “E:\”) and select the path “Treiber”. Now choose the eirectory
to your corresponding Operatng system (e.g. select “Windows Vista x64” if you have Windows
Vista Business 64Bit installed). Select the following path like V X.X.X (V X.X.X stands for the
driver version e.g. “V 5.4.29”). After that push button “OK”.
Accept the suggested driver by pushing button “Next”.
Now the installation will be finished. You must acknowledge with button “Finish”again.
Restart your PC.
Now the EBW 3 is installed on your system and available for all users.
For application with our software a new additional COM-Port is available (quod vide chapter 7).

B07.0.01.6C-04 Page 5 of 6
6. Specification
Connection:
PC: Standard USB-plug connector (type A)
EASYBus: 2-pol screw / plug terminal, RM 3.5
(max. clamping range: 1.5 mm²)
EASYBus-connection data:
Max. Bus load: 2 EASYBus-standard loads
Pipeline length: max. 2 meters
Transfer rate: 4800 baud
Short-circuit stability: momentary short-circuit-proof
Isolation voltage: 500 V DC
Power Supply: via USB-interface
Operating temperature: -25 ... +50 °C
Storage temperature: -25 ... +70 °C
Housing:
Dimensions: 56 x 31 x 24 mm (L x W x D)
Cable length: 30 cm
Weight: 40 g
EMV:
The device corresponds to the essential protection ratings established in the Regulations of the
Council for the Approximation of Legislation for the member countries regarding electromagnetic
compatibility (2004/108/EG).
In accordance with EN 61326-1.
System requirements:
Intel Pentium III Processor or higher
Operating system: Windows 98SE / Windows 2000 / Windows XP / Windows Vista / Windows 7.
Free USB Port.

B07.0.01.6C-04 Page 6 of 6
7. Frequently asked questions (FAQ)
7.1 How to check whether the adaptor has been installed correctly and via which COM-
port can I approach the installed adaptor?
Start the Device-Manager: start \ settings \ control panel \ performance and maintenance \ system \ hardware
and open the submenu “Ports (COM & LPT)”
If the installation was successful, there will be the entry“CP210X USB to UART Bridge Controller (COM x)”,
in which the x after the Com indicates the available COM-port (i.e. COM 4).
Note: The adaptor will not be shown in the device manager, if it is not connected to the PC.
If the entry is occupied by an exclamation mark or the entry is not there, then the driver has not been
installed correctly.
7.2 How to change the COM-port of the adaptor?
Make sure that the adaptor is connected, start the Device-Manager start \ settings \ control panel \
performance and maintenance \ system \ hardware) and open the submenu “Ports (COM & LPT)”
If the installation was successful, there will be the entry “CP210X USB to UART Bridge Controller (COM x)”,
in which the x after the Com indicates the available COM-port (i.e. COM 4).
Open the features of this connection by a double-click, go to “Port Settings” and then click there the
button “Advanced...”.
There you can choose the preferred COM-Port at the point “COM Port Number”. If this port is already
reserved for another (even not connected) device, a error message will appear:
“In principle it is possible that 2 devices are set on the same COM-port, but then you have to take
care, that not both devices are connected at the same time, because this would lead to a conflict!“
7.3 Is there an automatic update function that updates the installed driver to the latest
version?
The driver is not updated automatically.
If there is already a suitable (for the operating system) driver during the installation, this driver will
be used automatically.
If the usages of the adapter cause problems please make sure that the latest version of the driver
for the adapter is used and installs the latest version manually if necessary.
7.4 How to find out the used version of the driver?
Make sure that the adaptor is connected and start the Device-Manager start \ settings \ control panel \
performance and maintenance \ system \ hardware).
For the COM-driver open the submenu “Ports (COM & LPT)”, open the features for this connection
“CP210X USB to UART Bridge Controller (COM x)” by double-click and change then to “Driver”.
There you can see the currently used driver version.
Table of contents
Other GREISINGER Media Converter manuals
Popular Media Converter manuals by other brands

Axis
Axis P7224 installation guide

Ltech
Ltech LT-932 instruction manual

Linksys
Linksys WMLS11B - Wireless-B Music System Network Audio... Quick installation

Delta Electronics
Delta Electronics Delphi Series E24SR datasheet

Niveo Professional
Niveo Professional NMC220 Series Quick installation guide

Generac Power Systems
Generac Power Systems S2502 installation manual