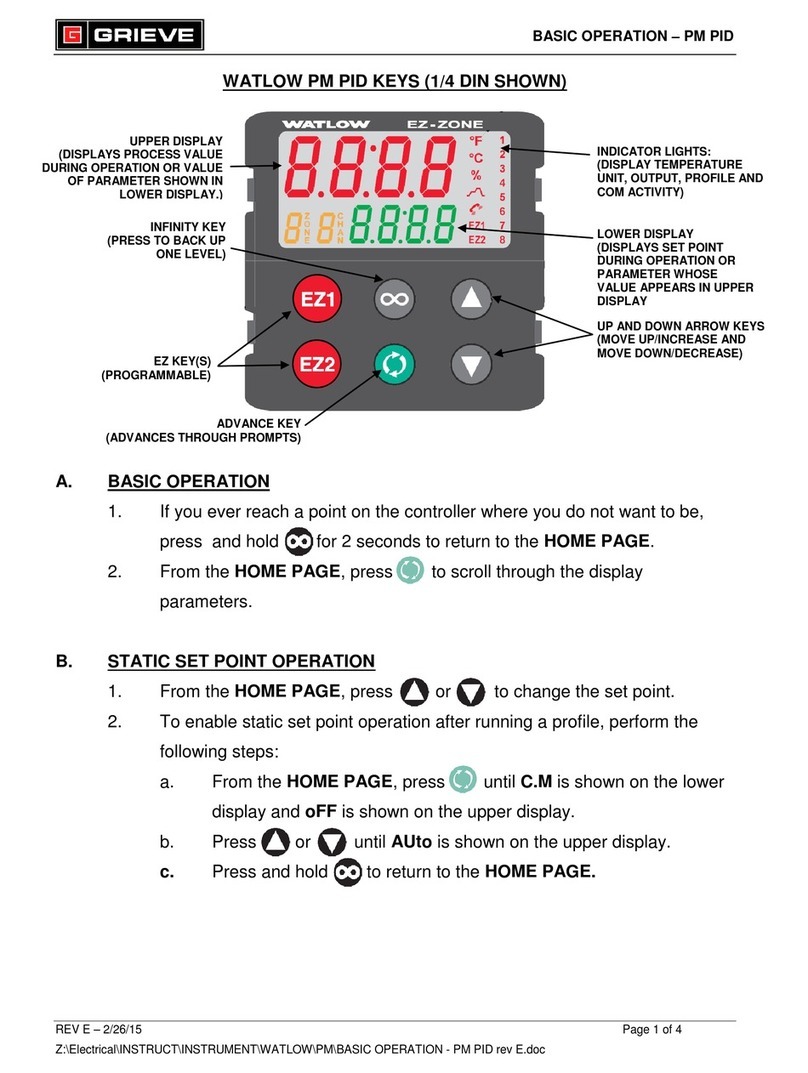
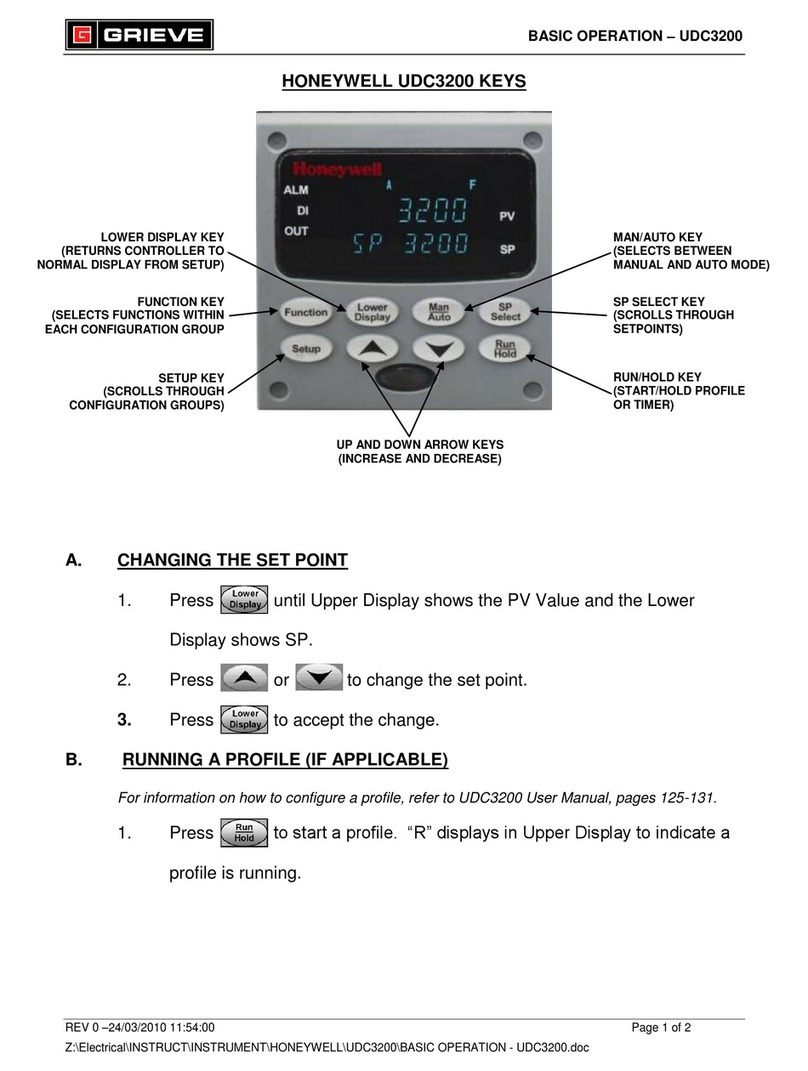
Grieve WATLOW F4 Assembly instructions

BASIC OPERATION - F4
REV E –03/01/2017 13:38:00 Page 1 of 6
W:\Electrical\INSTRUCT\INSTRUMENT\WATLOW\F4\OBS\BASIC OPERATION - F4 REV E.doc
WATLOW F4 KEYS
A. BASIC OPERATION
1. If you ever reach a point on the controller where you do not want to be, press
repeatedly to return to the Main Page.
2. If prompted to “Save changes or restore values?”, press to save any
changes made or press to discard the changes.
3. If the Profile Indicator Light is on, a profile is running. If it is off, no profile is
running.
B. STATIC SET POINT OPERATION
1. Press or until cursor is next to SP1 on lower display.
2. Press to enter SP1.
3. Press or to change set point.
4. Press to accept change.
PROFILE KEY
(PROFILE RUN/HOLD)
LEFT AND RIGHT
ARROW KEYS
(BACK OUT AND NEXT)
PROFILE INDICATOR LIGHT
(RUN/HOLD STATUS)
UP AND DOWN ARROW KEYS
(MOVE UP/INCREASE AND
MOVE DOWN/DECREASE)
ACTIVE OUTPUT
INDICATOR LIGHTS
ALARM OUTPUT
INDICATOR LIGHTS

BASIC OPERATION - F4
REV E –03/01/2017 13:38:00 Page 2 of 6
W:\Electrical\INSTRUCT\INSTRUMENT\WATLOW\F4\OBS\BASIC OPERATION - F4 REV E.doc
C. RUNNING A PROFILE
1. Press .
2. Press to start a profile.
3. Press until cursor is next to desired profile on lower display.
4. Press to select profile.
5. Press until cursor is next to desired Start Step (usually Step 1) on lower
display.
6. Press to begin profile. Profile Indicator Light will be on.
D. TO HOLD A PROFILE
1. While a profile is running, press .
2. Press until cursor is next to Hold on lower display.
3. Press to hold profile. Profile Indicator Light will be off.
4. To resume profile, press .
5. Press until cursor is next to Resume on lower display.
6. Press to resume profile. Profile Indicator Light will be on.
E. TO TERMINATE A PROFILE
1. While a profile is running or on hold, press .
2. Press until cursor is next to Terminate on lower display.
3. Press to terminate profile. Profile Indicator Light will be off.

BASIC OPERATION - F4
REV E –03/01/2017 13:38:00 Page 3 of 6
W:\Electrical\INSTRUCT\INSTRUMENT\WATLOW\F4\OBS\BASIC OPERATION - F4 REV E.doc
F. ADVANCING PROFILE
***NOT REQUIRED FOR NORMAL OPERATION
1. While a profile is running, press .
2. Press until cursor is next to Terminate on lower display.
3. Press to terminate profile. Profile Indicator Light will be off.
4. Press .
5. Press to start a profile.
6. Press until cursor is next to desired profile on lower display.
7. Press to select profile.
8. Press until cursor is next to desired step on lower display.
9. Press to begin profile. Profile Indicator Light will be on.
G. HOW TO PASSWORD PROTECT
***NOT REQUIRED FOR NORMAL OPERATION
1. Once controller is powered on, press until Go to Factory is displayed.
Press to select Go to Factory.
2. Press or until cursor is next to Set Lockout. Press to select
Set Lockout.
3. Press or until cursor is next to desired menu to lockout (ex.
Profile). Press to select menu.
4. Press or until cursor is next to Password. Press to confirm.
5. If no password is set, you will be asked to enter one. Press or to
modify each digit of the password. Press to confirm each digit. Once
entered, press to accept.
6. Once completed, press twice to return to Main Page.

BASIC OPERATION - F4
REV E –03/01/2017 13:38:00 Page 4 of 6
W:\Electrical\INSTRUCT\INSTRUMENT\WATLOW\F4\OBS\BASIC OPERATION - F4 REV E.doc
H. HOW TO CHANGE PASSWORD
***NOT REQUIRED FOR NORMAL OPERATION
1. Once controller is powered on, press until Go to Factory is displayed.
Press to select Go to Factory.
2. Press or until cursor is next to Set Lockout. Press to select
Set Lockout.
3. Press or until cursor is next to Change Password. Press
to select Change Password.
4. Press or to enter each digit of the current password. Press to
confirm each digit. Once entered, press to accept.
5. Press or to enter each digit of the new password. Press to
confirm each digit. Once entered, press to accept.
6. Press or to confirm each digit of the new password. Press to
confirm each digit. Once entered, press to accept.
7. Once completed, press twice to return to Main Page.

BASIC OPERATION - F4
REV E –03/01/2017 13:38:00 Page 5 of 6
W:\Electrical\INSTRUCT\INSTRUMENT\WATLOW\F4\OBS\BASIC OPERATION - F4 REV E.doc
I. HOW TO AUTOTUNE
***NOT REQUIRED FOR NORMAL OPERATION
1. Once oven is powered on, load parts into oven.
2. Press or until cursor is next to SP1 on lower display. Press to
select SP1.
3. Press or to change current set point to desired set point. Press
to accept change
4. Press or until cursor is next to Go to Operations. Press to
select Go to Operations.
5. Press or until cursor is next to Autotune PID. Press to select
Autotune PID.
6. Press to select Channel 1 Autotune.
7. Press or until cursor is next to PID Set 1. Press to select PID
Set 1.
8. Press twice to return to Main Page. Controller will now perform
Autotune. Once complete, the controller will fill in the values in the PID Set 1.
J. HOW TO FORCE ON EVENT OUTPUTS
***NOT REQUIRED FOR NORMAL OPERATION
1. Press or until cursor is next to DigitalOut on lower display.
2. Press to enter DigitalOut.
3. Press or until the cursor is next to the desired Event Output.
Press enter desired Event Output.
4. Press or until the cursor is next to On. Press to accept.
5. Once completed, press once to return to Main Page.

BASIC OPERATION - F4
REV E –03/01/2017 13:38:00 Page 6 of 6
W:\Electrical\INSTRUCT\INSTRUMENT\WATLOW\F4\OBS\BASIC OPERATION - F4 REV E.doc
K. HOW TO CHANGE SET POINT LIMITS
***NOT REQUIRED FOR NORMAL OPERATION
1. Press or until cursor is next to Go to Setup on lower display.
2. Press to select Go to Setup.
3. Press or until the cursor is next to the Analog Input1. Press
to enter Analog Input1.
4. Press until Enter SP Low Limit is shown on the lower display. Press
or to increase or decrease the set point lower limit.
5. Press until Enter SP High Limit is shown on the lower display. Press
or to increase or decrease the set point High limit.
6. Press until Choose to Setup is shown on the lower display. Press
to exit.
7. When prompted, press to save changes.
L. HOW TO CHANGE OUTPUT CYCLE TIME
***NOT REQUIRED FOR NORMAL OPERATION
1. Press or until cursor is next to Go to Setup on lower display.
2. Press to select Go to Setup.
3. Press or until the cursor is next to the Control Output 1A. Press
to enter Control Output 1A.
4. Press until Enter Cycle Time is shown on the lower display. Press
or to increase or decrease the cycle time.
5. Press until Choose to Setup is shown on the lower display. Press
to exit.
6. When prompted, press to save changes.
Table of contents
Other Grieve Controllers manuals
Popular Controllers manuals by other brands

Hayward
Hayward E-Command® 4 installation manual

Beck
Beck 75-106 instruction manual

Profi-pumpe
Profi-pumpe PSM01134U operating instructions

Omron
Omron SYSMAC C200HX Operation manual

Tempco
Tempco TEC-2400 User Manual and Meeting Notes

Franke
Franke AQUA3000OPEN ZA3OP0023 Installation and operating instructions