manuals.online logo
Brands
  1. Home
  2. •
  3. Brands
  4. •
  5. Grizzly
  6. •
  7. Accessories
  8. •
  9. Grizzly G5938 User manual

Grizzly G5938 User manual

RAZOR SHARP EDGEMAKING SYSTEM
RECOMMENDED SPEED 3000 - 3600 RPM
Page Four
CAUTION!:
ALWAYS USE
ANSI COMPLIANT EYE
PROTECTION an NEVER! - TURN
THE CUTTING EDGE INTO EITHER
WHEEL
.
YES NO!
IF YOU HAVE ANY PROBLEMS OR QUESTIONS ABOUT THIS
PRODUCT, PLEASE CONTACT THE MANUFACTURER,
TOLL FREE: 1-866-41 -487 , FAX: 1-707-45 -1541
E-MAIL: support@sharpeningwheels.com
MANUFACTURED IN THE USA AND FULLY WARRANTED BY:
Razor Sharp E gemaking System
26195 Otter DR
Willits, CA 95490-8046, USA
Web: www.sharpeningwheels.com
THE WARRANTY ON THIS PRODUCT IS COMPLETELY
UNCONDITIONAL AND FREE OF “RED TAPE”!
Shoul you fin a manufacturing efect with one of our wheels
we will replace it free of charge or refun your purchase price,
inclu ing shipping.
CALL TOLL FREE: 1-866-419-4879
or 1-877-725-2197
This wheel is a replacement wheel (either gritte or slotte ) for the eight
inch Razor Sharp E gemaking System. It will put a polishe razor sharp
e ge on your knives an tools in just secon s.
Gritted Wheel is Grizzly Part #G5 38
Slotted Wheel is Grizzly Part #G5 3
THE WHEEL IN THIS PACKAGE IS EIGHT INCHES BY THREE-
QUARTERS OF AN INCH WITH A FIVE EIGHTHS-INCH ARBOR HOLE.
The installed bushing converts it to a one-half inch arbor hole. Simply
remove the bushing for use on a five-eighths inch arbor.
This eight inch wheel is inten e for use on a six inch buffer or bench
grin er, turning at least 3,000 RPMs. You will sharpen many knives be-
fore nee ing to re-surface the grit wheel. The slotte wheel nee s to be
“ resse ” occasionally with 60 grit san paper.
Brought to you by:
RECOMMENDED SPEED 3000 - 3600 RPM
Page One
Phone: (800) 523-4777
Fax: (800) 438-5901
www.grizzly.com
8x75x625GWWB or 8x75x625SWWB
07/12/2010
PLEASE READ THE INSTRUCTIONS!
Inclu ing the safety instructions on page four.
RAZOR SHARP EDGEMAKING SYSTEM
INSTRUCTIONS
TO INSTALL WHEELS: You will nee to remove the guar s from your
bench grin er, as they are not nee e with this paper wheel. Then in-
stall the gritte wheel on the right si e of the motor an the slotte
wheel on the left si e of the motor.
Before you turn on the motor, take the con itioning wax (yellow stuff)
out of the cup an rub it sparingly on the black grit wheel until you can
see some wax on the grit. Then each time you start to sharpen, just
touch the wax to the grit wheel for a secon with the motor running. The
wax has two functions; a) helps control heat & b) helps the grit stay on
the wheel longer. Be careful not to use too much wax, oing so will e-
stroy the effectiveness of the grit. There shoul be streaks of wax
(shiny) on the grit, but if the wax is completely covering the grit it will
re uce the grit’s ability to cut into the steel.
The slotte wheel nee s no pre-con itioning just put it on an whenever
you start to use it, simply touch the running wheel with the rouge. This
is for heat control as well as for honing & polishing the cutting e ge.
Do not over-tighten the nuts. Snug is enough.
Spin the wheels by han . If a wheel wobbles from si e to si e try tap-
ping the wheel lightly with your fingers. If you still have a wobble,
loosen the nut an turn the washer, or washers, just a little. Turn one
washer one way an the other washer the other way. Snug the nut an
spin the wheel. You might have to repeat this a time or two to minimize
the wobble.
A little si e to si e eviation won’t hurt anything! Sometimes, if a wheel
is expose to heat or ampness, it will warp a little. Place the wheel be-
tween two boar s, clamp them tightly an keep in a cool ry place for a
few hours!
Grit Packs containing replacement grit, wax for the gritte wheel an
rouge for the slotte wheel can be purchase from www.grizzly.com
(Item #G5941).
RECOMMENDED SPEED 3000 - 3600
Page Two
RECOMMENDED SPEED 3000 - 3600 RPM
RAZOR SHARP EDGEMAKING SYSTEM
TRUING OF WHEELS: When you have the wheels running “true” on’t
remove them unnecessarily, because when you put them back they will
be in a ifferent position an you will have to a just them again. Some-
times the wheels may be a little “out of roun ”. The grit wheel can be
fixe at time of re-surfacing. If the “slotte ” wheel seems out of roun ,
it can be true at any time. Correcting “out of roun ness” is easy. Take
a piece of 60 grit san paper an wrap it aroun a flat piece of metal (a
flat file works fine) & hol it lightly against the face of the wheel. You
will feel the “high” spot. Keep hol ing it lightly against the wheel until it
feels smooth. Now the “high” spot is gone & the wheel is clean & flat
across the face! Also you may “roun ” the corners of the slotte wheel
if you sharpen a lot of serrate knives. Simply use a fol e piece of 60
grit san paper to “sharpen” up the corners.
OKAY, YOU ARE READY TO START SHARPENING: Time to think about
the angle you want on your knife or tool. Proper angle epen s on what
you are going to use the e ge for! Generally, if you are going to chop,
ig or scrape with a bla e, a 35-40 egree angle works best. For razors
or a little rotary cutting wheel, a “flat” angle is best, 10-15 egrees.
Most knives are 20-25 egrees. You will learn with practice just what
angle works best for you.
RECONDITIONING the GRIT WHEEL:
Do not remove the wheel from the motor. If you o you will have to
eliminate the wobble again when you put it back on.
When the gritte wheel stops sharpening, use coarse san paper (like
36 grit) to clean off all the grit, glue & wax own to bare paper. Just
wrap it aroun something har & flat, like a crescent wrench han le or
flat file. After all the ol grit, wax & glue is remove , use 60 grit san pa-
per to smooth an true the wheel (as it might be a little out of roun ).
Next put some paper un er the wheel to catch excess grit, & put an
even coat of Elmer’s (“Ross” in Cana a) “Glue-All” multi-purpose white
glue on the face of the wheel. The layer of glue shoul not be too thin,
but not so thick as to be running off. You shoul be able to see the
laminate lines through the glue. Then slowly han turn the wheel while
you sprinkle the black silicon carbi e grit over the glue. Sprinkle the
grit on the wheel until it is sloughing off an no more will stick, then
turn the wheel a couple of times while tapping it on the si e to remove
excess grit. When you are happy with your coating job, pour the excess
grit back into the container an replace the li . Do not touch the wheel
until the glue ries completely, preferably for about 24 hours. Then it is
rea y to go again. If there is a small no ule on the wheel, wait until the
glue is ry, then turn on your motor & touch the running wheel slightly
with the 60 grit san paper. Some users have successfully use Tite-
Bon Original (re label) glue as well.
This manual suits for next models

1

Other Grizzly Accessories manuals

Grizzly T10667 User manual

Grizzly

Grizzly T10667 User manual

Grizzly H8370 User manual

Grizzly

Grizzly H8370 User manual

Grizzly T20682 User manual

Grizzly

Grizzly T20682 User manual

Grizzly G8987 User manual

Grizzly

Grizzly G8987 User manual

Grizzly T10113 User manual

Grizzly

Grizzly T10113 User manual

Grizzly G7873 Quick start guide

Grizzly

Grizzly G7873 Quick start guide

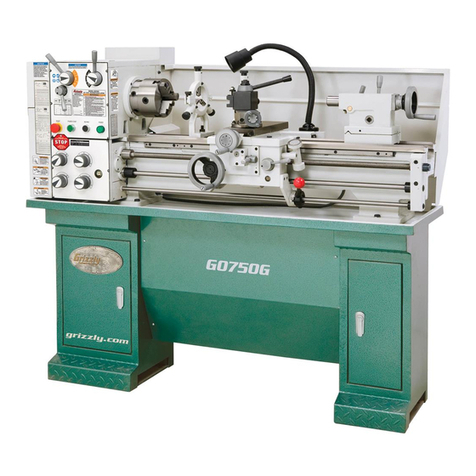
Grizzly G0750G User manual

Grizzly

Grizzly G0750G User manual

Grizzly H8174 User manual

Grizzly

Grizzly H8174 User manual

Grizzly G0577 User manual

Grizzly

Grizzly G0577 User manual

Grizzly H8369 User manual

Grizzly

Grizzly H8369 User manual

Grizzly H0775 User manual

Grizzly

Grizzly H0775 User manual

Grizzly G1023SLW User manual

Grizzly

Grizzly G1023SLW User manual

Grizzly H8371 User manual

Grizzly

Grizzly H8371 User manual

Grizzly G1026 User manual

Grizzly

Grizzly G1026 User manual

Grizzly G1763 User manual

Grizzly

Grizzly G1763 User manual

Grizzly D3080 User manual

Grizzly

Grizzly D3080 User manual

Grizzly POWER FEED H8370 User manual

Grizzly

Grizzly POWER FEED H8370 User manual

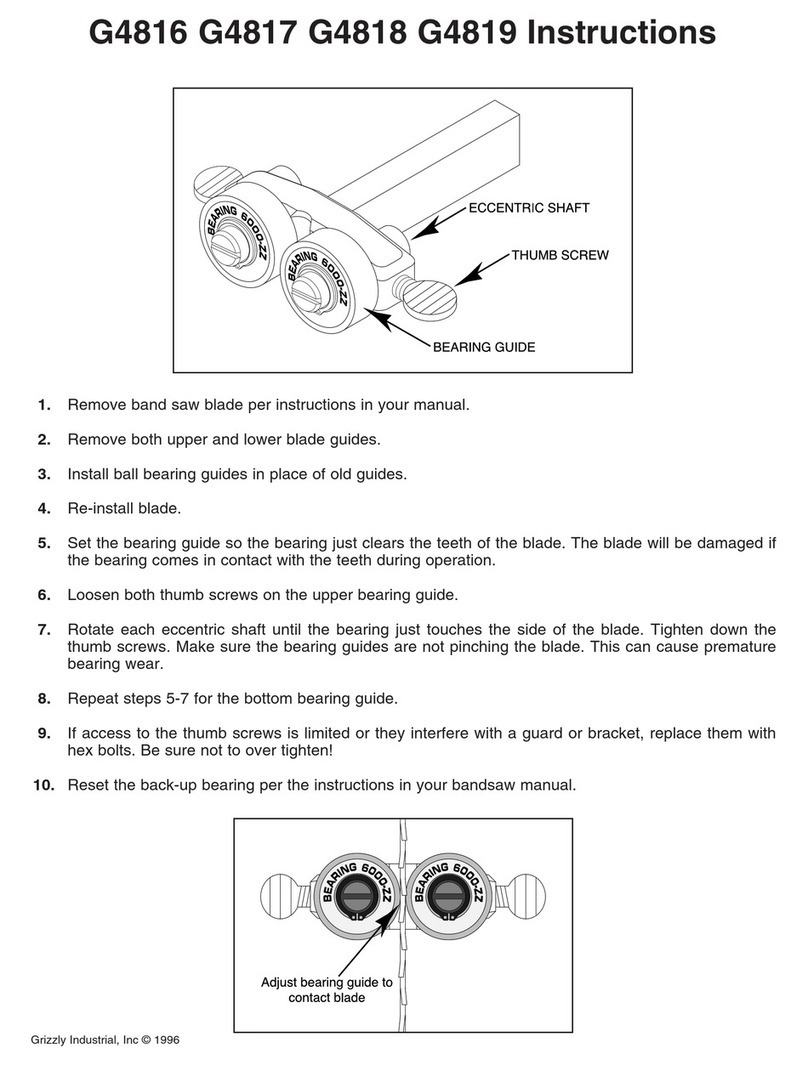
Grizzly G4816 User manual

Grizzly

Grizzly G4816 User manual

Grizzly G1705 User manual

Grizzly

Grizzly G1705 User manual

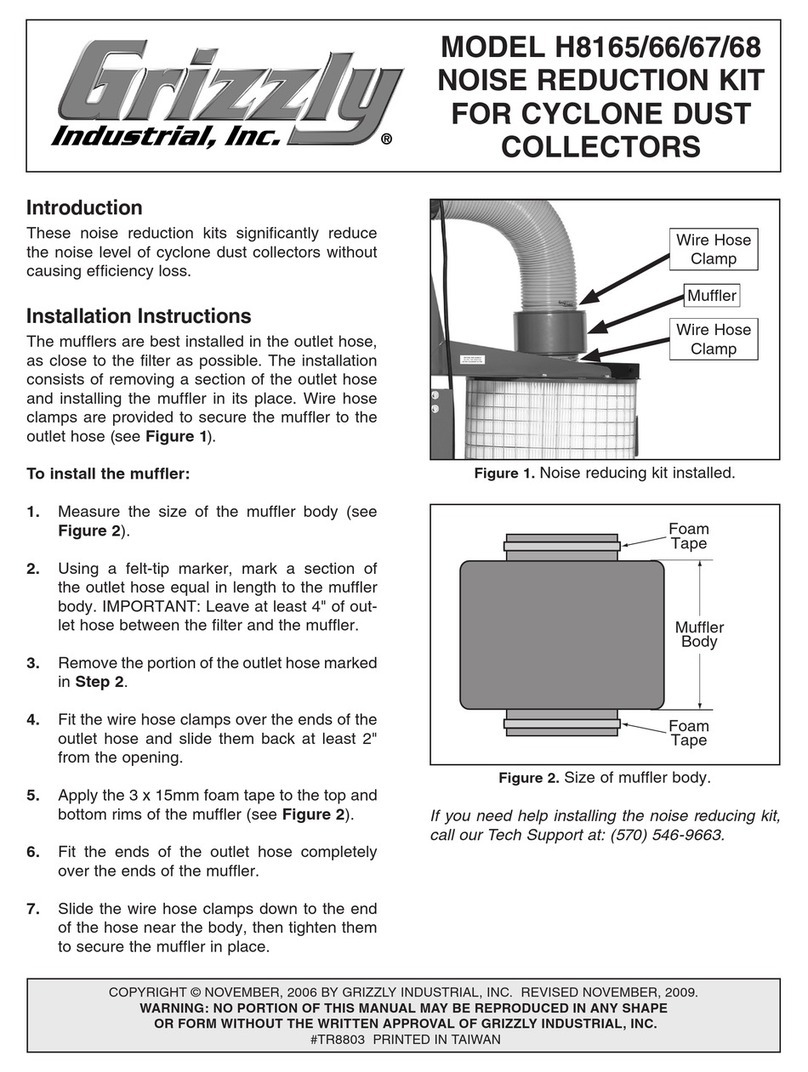
Grizzly H8165 User manual

Grizzly

Grizzly H8165 User manual

Grizzly G1822 User manual

Grizzly

Grizzly G1822 User manual

Grizzly H6329 User manual

Grizzly

Grizzly H6329 User manual

Grizzly g5749 User manual

Grizzly

Grizzly g5749 User manual

Grizzly G5960 User manual

Grizzly

Grizzly G5960 User manual

Popular Accessories manuals by other brands

RJ Power REV-PB2000 user guide

RJ Power

RJ Power REV-PB2000 user guide

Carlon RC3253 Instruction guide

Carlon

Carlon RC3253 Instruction guide

Fiem COSMO instructions

Fiem

Fiem COSMO instructions

Coopers 10779 Instructions for use

Coopers

Coopers 10779 Instructions for use

sescom SES-NORMAL-HDMI Operation manual

sescom

sescom SES-NORMAL-HDMI Operation manual

Baumer OM70-11220169 quick start guide

Baumer

Baumer OM70-11220169 quick start guide

Rain Bird PT3002 Installation and programming instructions

Rain Bird

Rain Bird PT3002 Installation and programming instructions

THOMSON 513130 quick start guide

THOMSON

THOMSON 513130 quick start guide

Caldwell Shootin' Gallery Assembly and usage instructions

Caldwell

Caldwell Shootin' Gallery Assembly and usage instructions

Hubbell LightHawk LHMT Installation and operating instructions

Hubbell

Hubbell LightHawk LHMT Installation and operating instructions

Grandview CNV Series instruction manual

Grandview

Grandview CNV Series instruction manual

Piaget 860P Instructions for use

Piaget

Piaget 860P Instructions for use

Rave Sports Attack Zone owner's manual

Rave Sports

Rave Sports Attack Zone owner's manual

Seeed Grove Moisture Sensor user manual

Seeed

Seeed Grove Moisture Sensor user manual

GE WR72X10313 Install instructions

GE

GE WR72X10313 Install instructions

EVEREST REFRIGERATION EBC37 owner's manual

EVEREST REFRIGERATION

EVEREST REFRIGERATION EBC37 owner's manual

Texas Instruments IWRL6432BOOST user guide

Texas Instruments

Texas Instruments IWRL6432BOOST user guide

Soluzione Solare ENVMETER-485 Pro installation manual

Soluzione Solare

Soluzione Solare ENVMETER-485 Pro installation manual

manuals.online logo
manuals.online logoBrands
  • About & Mission
  • Contact us
  • Privacy Policy
  • Terms and Conditions

Copyright 2025 Manuals.Online. All Rights Reserved.