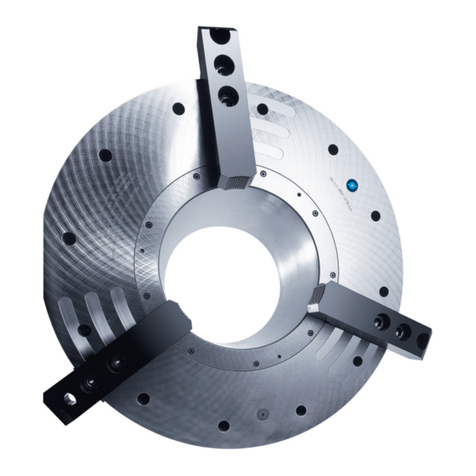
This chuck's compact size makes it ideal for use
on 12" (300 mm) capacity lathes and smaller.
The jaws are configured for both outside diameter
(O.D.) and inside diameter (I.D.) gripping. The
minimum gripping O.D. is 1.25", and the minimum
gripping I.D. is 1.8".
Opening/Closing Jaws
1. With the chuck mounted on the lathe, open/
close the chuck jaws so that the workpiece
can be placed between the jaws (Figure 3).
2. Insert the workpiece between the jaws. Be
sure that the workpiece is seated against the
jaw face.
3. Close/open the chuck jaws to securely clamp
the workpiece.
4. To remove the workpiece for the chuck,
open/close jaws until the workpiece is free.
Wood Screw Use
This chuck is supplied with a wood screw for use
with small, cross-grained pieces.
1. Drill a 7-8 mm diameter hole that is 25 mm
deep, in the center of the workpiece.
2. Make sure the workpiece is as round as pos-
sible.
3. Mount the wood screw in the chuck with
the shoulder of the wood screw clamped
between the backing jaws (Figure 4).
4. Screw the workpiece onto the wood screw
until it is firmly against the jaws.
5. Unscrew workpiece once machining is com-
pleted.
Chuck Maintenance
To maintain the chuck, spray oil into the scroll and
work the jaws through their full range of motion.
Do this on a daily basis.
OPERATION INSTRUCTIONS
Figure 2. Chuck Operation.
Figure 3. Wood Screw Placement.
Check the chuck for dust build-up in the scrolls
and jaws and clean as required.
To remove the jaws and backing jaws, the stop
pin will need to be removed from the slot of jaw
#4. By doing this, the jaws will be able to travel
beyond the scroll and then they can be pull out of
the slots.
To install jaws, first make sure you have jaw #1
going into slot #1 and so on, then turn scroll until
all jaws have engaged. Continue turning scroll
until the pin hole in slot #4 is visible and then rein-
sert the stop pin.
8mm hex wrench inserted into
this opening and then turn the
wrench to open/close the jaws.
Wood Screw
Standard Jaw
Backing Jaw
