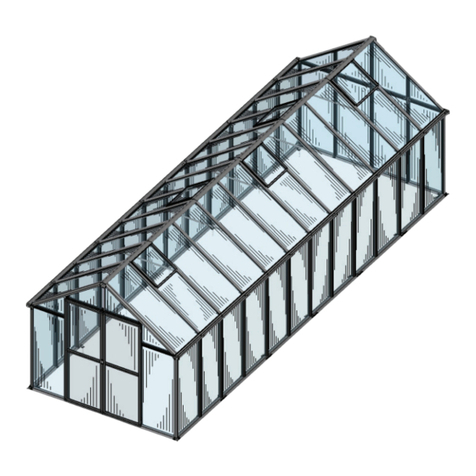
Growing Spaces Doorway User manual

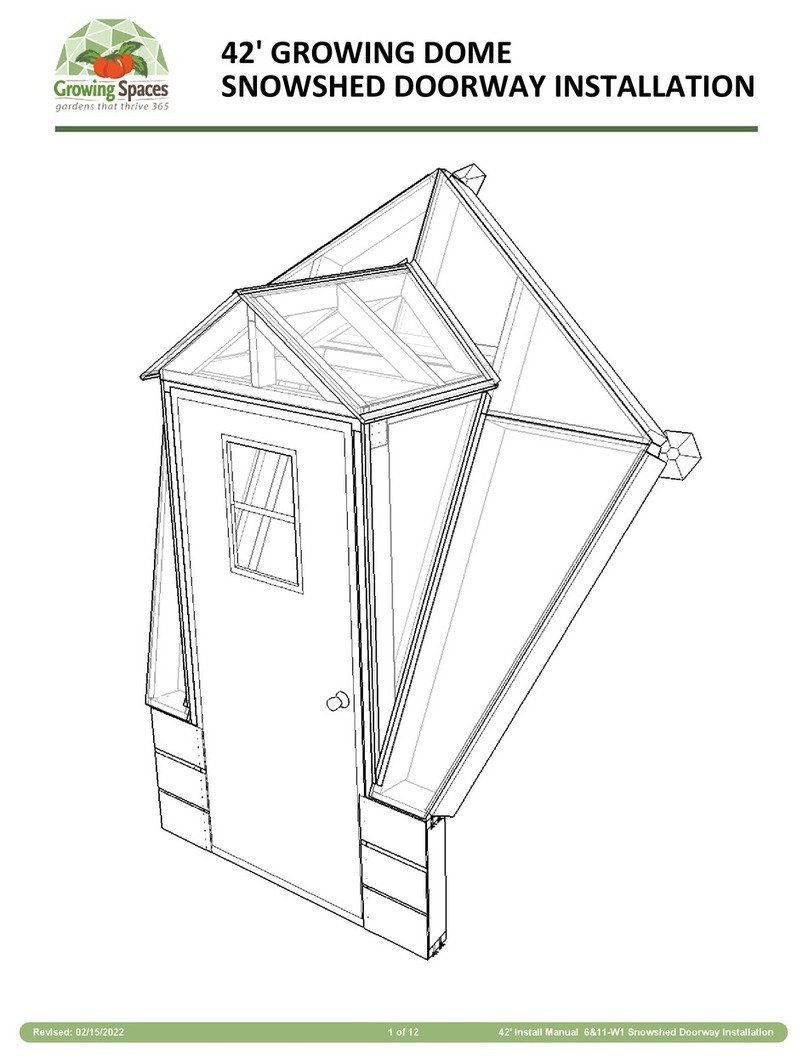
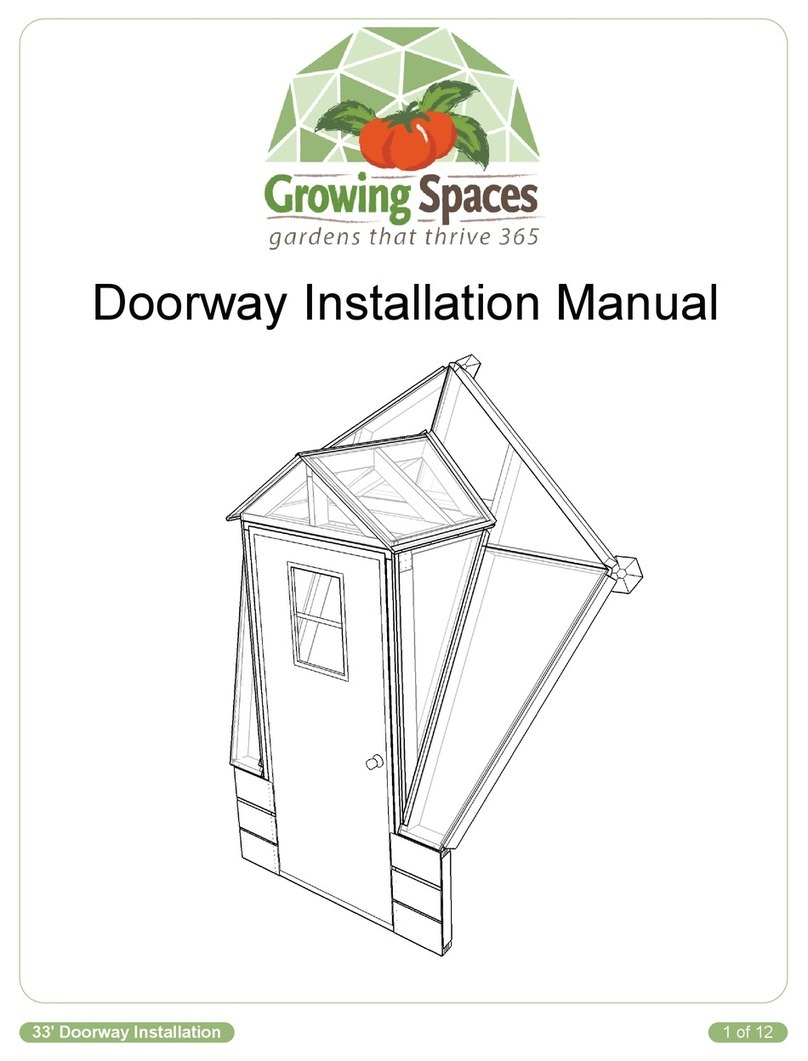
Doorway Installation Manual
1 of 11
Revised: 06/09/2021
22' Doorway Installation

Tools
Kit Components
Tips
Predrill all screw holes
Hardware:
3 Simpson "T" Tie Plates
6 Simpson "H1 Hurricane" Tie Plates
1-1/4" Joist Hanger Nails
2-1/2" Deck Screws
3" Deck Screws
1-1/2" T-20 Stainless Steel (ss) Screws
2" Stainless Steel (ss) Screws
2-1/2" joint sealing aircraft tape
Lumber:
(3) Support Rafter (22SR)
(2) Front Sloping Pieces (22FSP)
(2) Inner Door Frame (22IDF)
(2) Outer Door Frame (22ODF)
(2) Side Rafter Supports (22SRS)
(2) Sloped Glazing Support (22SGS)
(1) Ridge (22R)
(4) Header / Cross Rafter Support (22 H/CRS)
(1) Bottom Plate Extender (22BPE)
* = Cut out from Foundation Wall Framing
Never trim factory
edge of glazing.
Wear eye and ear
protection when
cutting glazing.
Glazing:
(1) Left Pentagon Glazing Panel
(1) Right Pentagon Glazing Panel
(1) Above Door Pentagon Glazing Panel
(1) Left Side Wall Glazing Panel
(1) Right Side Wall Glazing Panel
(1) Left Roof Glazing Panel
(1) Right Roof Glazing Panel
(1) Above Door GlaIng Panel
Bottom Cap:
(1) 38" no holes (Above Door Pentagon Panel)
(1) 38" w/ holes (Above Door Panel)
(2) 60" no holes (L & R Wall Panels)
(2) 32" w/ holes (L & R Roof Panels)
(2) 12" w/ holes (L & R Pentagon Panels)
Siding:
(2) Door Fronts (22DF)
(2) Vertical Trim Strips
Door:
(1) 32" x 80" Prehung Door w/ Window
2 of 12
OR
1/8"
T25
bit
T20
bit
2 of 11
Revised: 06/09/2021
22' Doorway Installation

(STAGE 1) Cutting the Opening
Mark Location of Front Sloping Pieces
Cutting the Front Sloping Pieces
Top of FSP:
Have an assistant hold the long side of the top
of the Front Sloping Piece on the outside the
marks you made on the upper pentagon struts.
The front of the wood needs to be flush with
front of upper pentagon strut.
3 of 12
1
2
3
Make sure all hubs are properly aligned and tightened before starting.
Temporarily attach Sloped Glazing Support across front of studs.
This will keep wall level once it has been cut. You will remove in
Step 7.
3 ways to mark the door opening prior to cutting:
1. Transfer the marks made on the "B" Top Wall Plate.
2. Make marks to the inside of the doorway studs.
3. Measure opening according to doorway width (40")
Make sure "B" Base Strut is attached to the "B" Top Wall Plate outside
the area to be cut out. Cut "B" Base Strut with circular saw or sawzall.
Then cut "B" Top Wall Plate with sawzall or handsaw. Save cutouts for later use.
Use the cut out of either the "B" Top Wall Plate or
"B" Base Strut. Once level, mark underside of
each of the two upper pentagon struts.
Mark
here
Bottom of FSP:
With the assistant holding the top, hold the wood
to the side of the sawn edge of the "B" Base Strut
and line it up with the front edge. Make a mark level
with the top of the "B" Base Strut.
Saw to this mark.
Hold to
this mark
Mark
Locations of
front sloping
pieces.
Mark
here
3 of 11
Revised: 06/09/2021
22' Doorway Installation

Attaching to Upper Pentagon Strut.
Use (2) 3" screws.
Attach FSP to Base Strut. Use (3) 3" screws.
Door Framing
Front Sloping Pieces
4 of 12
(6) 2-1/2"
screws
4
5
6
Prebuild the Door Frame units before fixing in place. Fasten the
Outer Door Frame to the Inner Door Frame with 2-1/2" screws
as shown. Screw heads should be visible on the shorter ODF,
not the IDF.
Fasten Door Frame units to the wall stud ensuring that it is
plumb. Use (6) 3" screws on each side and use shims if
necessary. Use (2) 3" screws on each side to fasten the Front
Sloping Pieces to the Door Frame as shown.
Mark
4 of 11
Side Rafter Supports
Set the 90° end of the Side Rafter Support flush with the front of the
door framing. Making sure the SRS is level, mark and cut the angled
end so that it is flush with the back edge of the Front Sloping Piece.
Screw the SRS into Inner Door Frame and Front Sloping Piece. Ensure
it is level. Use 2-1/2" screws as shown.
2-1/2" Screws
Revised: 06/09/2021
22' Doorway Installation

5 of 12
7
8
5 of 11
Sloped Glazing Supports
1-1/2" Reveal
Both angles are precut; leave 1-1/2" reveal to attach
glazing panels later. Use 2-1/2" screws, 1 toe-nailed
in at bottom, 1 toe-nailed at the top, and 5 more
spaced evenly as shown.
At this time, move on to Step 9 of the
dome installation manual (Foundation Wall
Trim Strips). Leave extra length on the
Horizontal Trim; 3" past the cut doorway
opening, and do not attach to the door
section until siding is on.
(STAGE 2) Left and Right Pentagon Glazing Panels
Trim outer edge to size. Use a circular saw or jigsaw with plywood
blade. Make sure to use eye and ear protection. Attach with 1-1/2"
ss screws and do not attach bottom yet. See "Screw Patterns" sheet.
Trim
this edge
Trim
this edge
9
Above Door Pentagon Glazing Panel
Trim bottom edge of Above Door Pentagon Glazing Panel as
needed to fit. Attach with 1-1/2" ss screws as shown.
Note: Do not attach bootom edge until Bottom Cap attached.
Revised: 06/09/2021
22' Doorway Installation

7 of 12
10
11
12
Attach Bottom Cap
Find the 38" bottom cap with no holes and slide it on the
exposed polycarbonate edge above doorway, with long side
towards the interior of the dome.
Bottom cap
Back Cross Rafter Support
Install one of the three Cross Rafter Support assemblies at the
point closest to the dome. Fasten the "H1 Hurricane" tie plates to
the Side Rafter Supports using 1-1/4" joist hanger nails as shown.
Be sure to keep the Cross Rafter Support assembly perpendicular
and plumb. Check that each side of the H/CRS is the same
distance from the Door Frame.
1-1/4" Joist
hanger nails
6 of 11
Header & Cross Rafter Support Assembly
Install tie plates on Header / Cross Rafter Supports.
Use 1-1/4" joist hanger nails to secure the "T" tie
plate to the Support Rafter and H/CRS. Install the
"H1 Hurricane" tie on both ends of the H/CRS so that
the plate sits 1-1/2" from the end of the board.
Repeat twice. The last H/CRS will be the Header.
Install the "H1 Hurricane" tie on both ends in reverse
so that the plate sits flush with the end of the board.
1-1/2"
1-1/2"
1-1/4" Joist
hanger nails
Revised: 06/09/2021
22' Doorway Installation

8 of 12
13
14
15
7 of 11
Middle Cross Rafter Support Assembly
Mark the center point between the back edge of the back CRS
assembly to the front of the Door Frame on both SRS pieces.
Install the middle CRS assembly at the center of the marks.
Fasten the "H1 Hurricane" tie plates to the SRS using 1-1/4"
joist hanger nails as shown. Be sure to keep the CRS assembly
perpendicular and plumb. Check that each side of the middle
CRS assembly is the same distance from the Door Frame.
Middle Ridge
Measure the distance between the top two
Support Rafters and cut this from the Ridge.
Fasten to the middle SR from the front and toe-
screw the Ridge into the back SR using 2-1/2"
screws as shown.
Back Ridge
Measure the distance from the top of the Support Rafter back
to the dome. Cut this from the Ridge and fasten to the SR from
the front using 2-1/2" screws. From the inside of the dome,
screw through the glazing into the RS using 2-1/2" screws.
2-1/2"
Screws
1-1/4" Joist
hanger nails
2-1/2"
Screws
Revised: 06/09/2021
22' Doorway Installation

9 of 12
16
17
18
Front Header Assembly
Install the last H/CRS and SR assebmly so that it is flush with
the front edge of the Door Frame. The "T" tie plate should face
the dome. Check that the assembly is plumb. Fasten the front
header assemlby to the Header with 2-1/2" screws as shown.
8 of 11
Header
Install the pre-assembled Header 1-1/2" from the front of the
Door Frame using 1-1/4" joist hanger nails as shown.
1-1/2"
Front Ridge
Measure the distance between the middle and
front Support Rafters and cut this from the Ridge.
Fasten to the front SR from the front and toe-
screw the Ridge into the middle SR using 2-1/2"
screws as shown.
2-1/2"
Screws
2-1/2"
Screws
1-1/4"
Joist
hanger
nails
Revised: 06/09/2021
22' Doorway Installation

19
20
21
9 of 11
Left and Right Roof Glazing Panels
Trim to fit. Install 32" (with holes) Bottom Cap on bottom
edge. Attach with 3-4" overhang on front and side. Use
1-1/2" ss screws.
Bottom
cap
Left and Right Side Wall Glazing Panels
Make sure the top edge of the Right Side Wall Glazing Panel
butts up to the underside of the Right Roof Glazing Panel.
Trim back edge of glazing panel to fit. Put 60" (no holes)
Bottom Cap on front vertical edge. Use 1-1/2" ss screws.
Repeat procedure for Left Side Wall Glazing Panel.
Optional: To cover front of door frames, cut a long piece of
scrap glazing to cover from the inside edge of inner door
frame to outside edge of side wall glazing. Place the Bottom
Cap on the glazing side edge of strip.
Note: Roof Glazing not shown attached here to show the
screw pattern for Left and Right Wall Glazing Panels.
Front "H1 Hurricane" Tie Plates
Bend front edge of the "H1 Hurricane" tie plates so that they
are flush with the front Header and end of the SRS as shown.
Revised: 06/09/2021
22' Doorway Installation

10 of 12
22
23
24
Pre-hung door is mounted to swing in.
Follow instructions that came with the door for
installation.
Check the reveal and use shims as needed to
correct the reveal. Remove the middle screw in
each hinge on the door frame and use a 1-1/2" ss
screw to attach the door to the 2x6 frame. Finish
securing the door to the 2x6 frame by moving the
weather strip to the side and placing 1-1/2" ss
screws behind it, so that they are not visible.
Secure the bottom 24" of the door using 3" screws.
Door
3" Screws
1-1/2" ss Screws
(from here up)
10 of 11
Above Door Glazing Panel
Bottom
cap
Trim to fit so the bottom edge covers the Door
Frame. Attempt to center the decal when
trimming the panel. Cut both edges if necessary
to keep decal centered.
Attach 38" (with holes) Bottom Cap to bottom
edge.
Using 1-1/2" ss screws, screw through
glazing, into the Header. See "Screw Patterns"
sheet.
Bottom Plate Extender
Attach Bottom Plate Extender. Use five 3" screws.
Revised: 06/09/2021
22' Doorway Installation

11 of 12
25
26
Taping Ridge and Joints
Tape the ridge and joints where the door glazing
meets the dome. Clean surfaces to be taped with
isopropyl alcohol and allow to dry. Use 2-1/2" joint
sealing aircraft tape and make sure to use a roller on
the tape once it's on the dome. It needs to be above
60°F and dry. During the winter months, it is advisable
to use a hairdryer to warm the seams and tape.
(Taping tips available elsewhere in the installation
instructions).
11 of 11
Tape
Tape
Tape
Trim Strips and Lower Pentagon Bottom Caps
Last
bottom
cap
Attach the last Vertical Trim Strips between wall
sections. Finish attaching the Horizontal Trim Strip.
Trim so it ends at edge of siding Door Front. Attach last
12" (with holes) Bottom Caps (sent long, trim to fit using
tin snips). Then attach the bottom of the panel through
the horizontal metal trim strip to the top of the wall
section using 1-1/2" ss screws (standard glazing) or 2"
ss screws (premium glazing).
Last
vertical
trim
strip
27
Siding Door Fronts
The Door Front panels are sent wide and will need
to be trimmed in field with a plywood blade. Attach
siding Door Fronts. Use 1-1/2" ss screws.
Trim
this
edge
Revised: 06/09/2021
22' Doorway Installation
Other manuals for Doorway
1
Table of contents
Other Growing Spaces Greenhouse Kit manuals
Popular Greenhouse Kit manuals by other brands

Elite Greenhouses
Elite Greenhouses STRATA Instructions & Illustrations

OPCOM Farm
OPCOM Farm Grow Tank Quick guide manual

Halls Greenhouses
Halls Greenhouses Altan 2 manual

Greenhouse People
Greenhouse People HE-BLE Assembly instructions

Eden Halls Greenhouses
Eden Halls Greenhouses Silverline 86 Lean-To manual

GrowSpan
GrowSpan 2000 Series manual