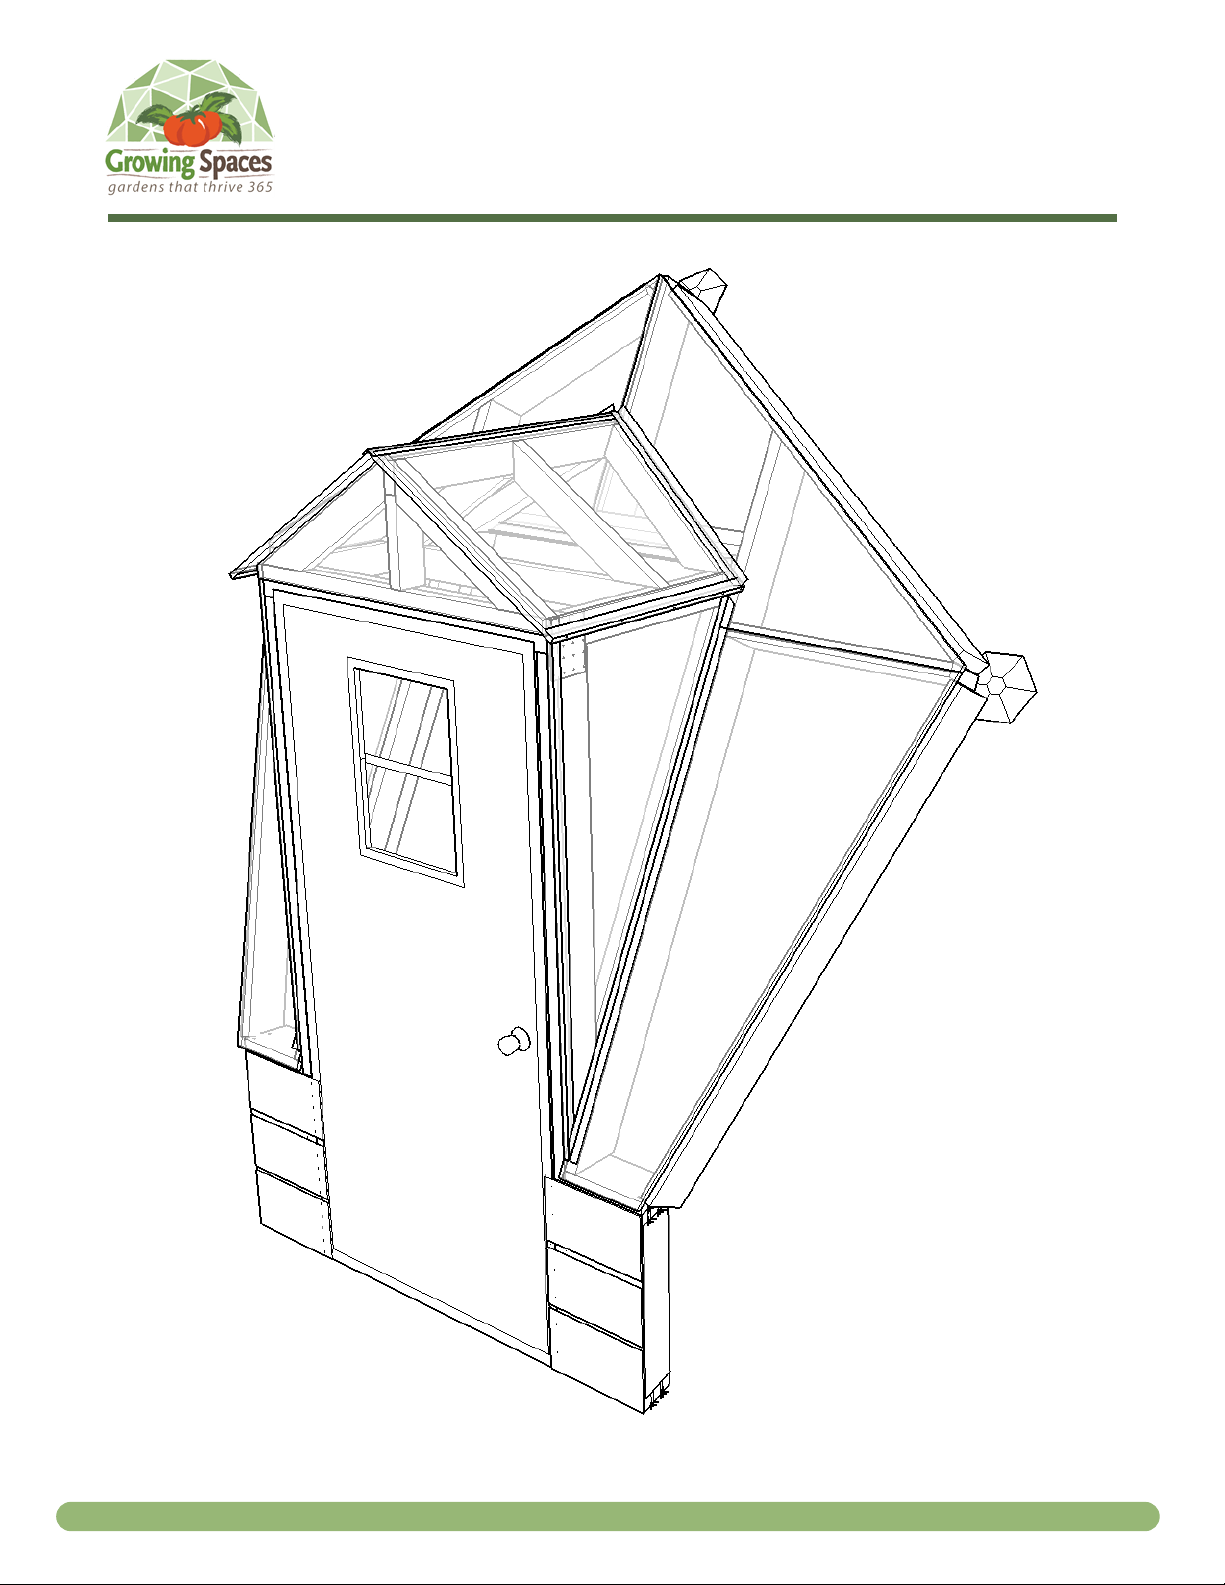
42' Install Manual 6&11-W1 Snowshed Doorway Installation
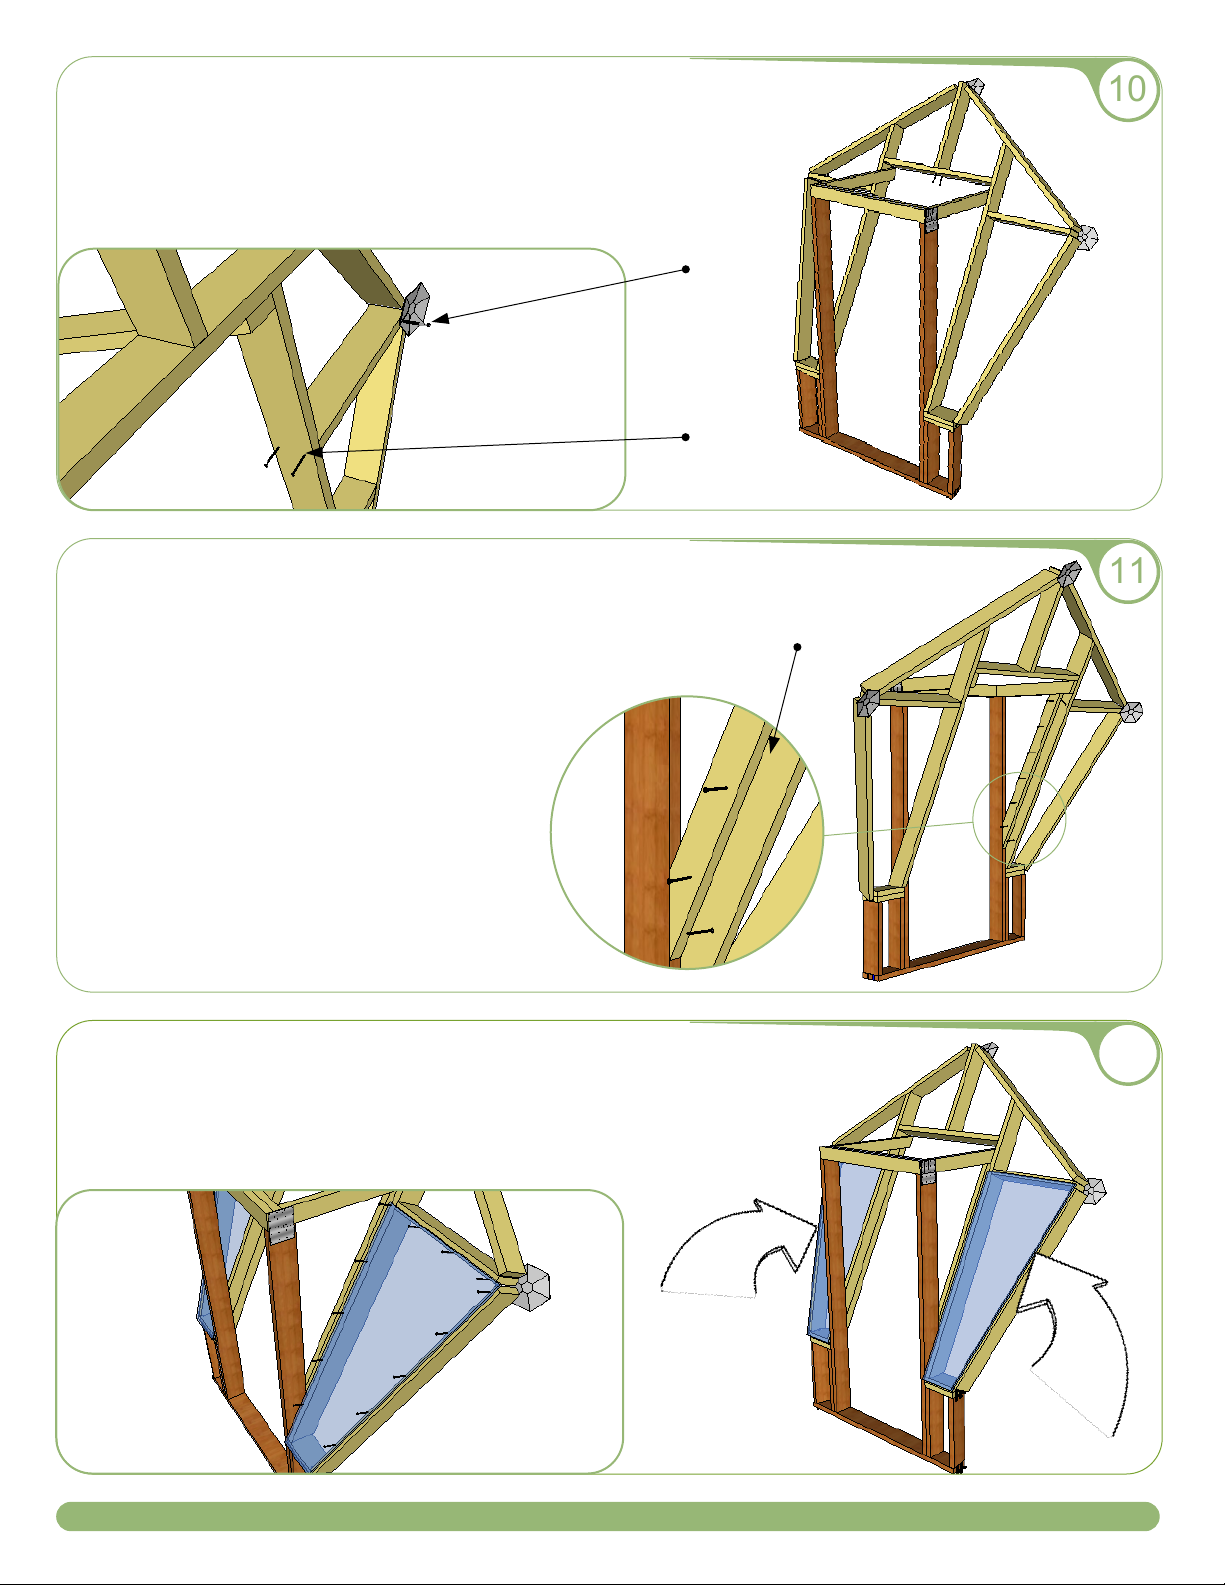
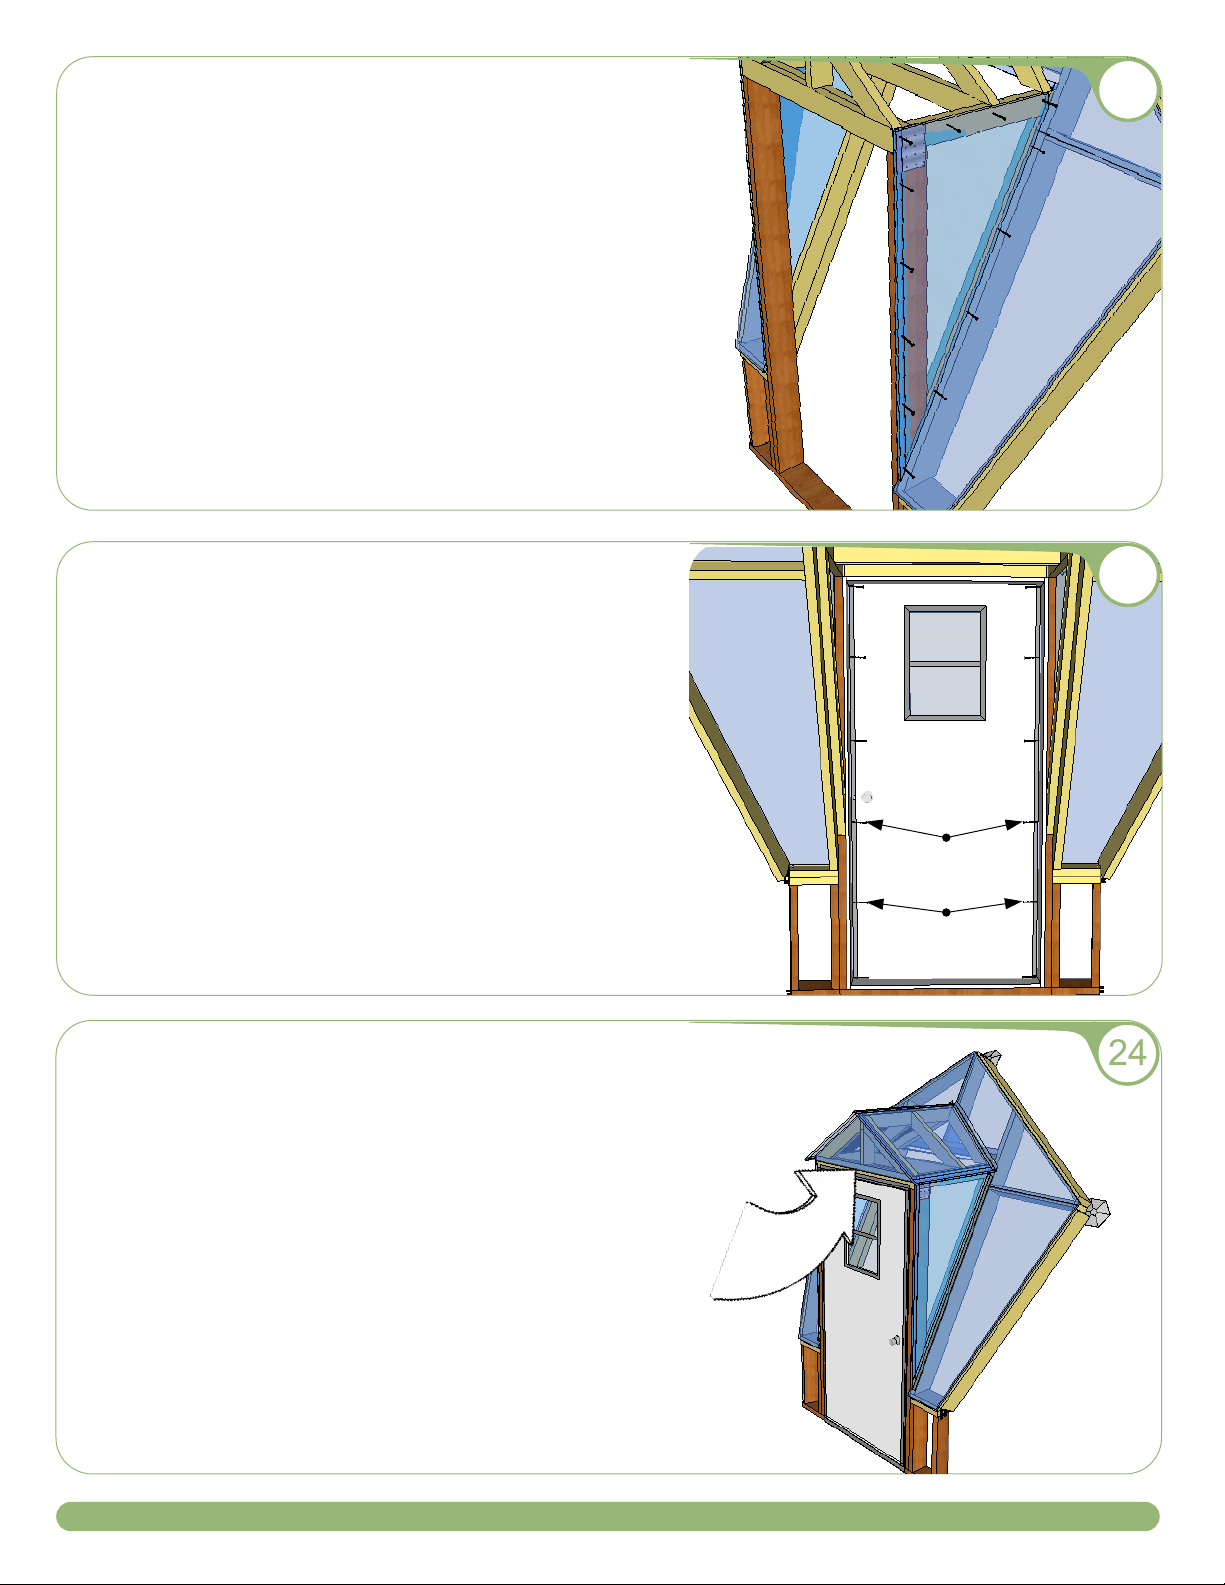
Left and Right Side Wall Glazing Panels
Make sure the top edge of the Right Side Wall Glazing Panel
butts up to the underside of the Right Roof Glazing Panel.
Trim back edge of glazing panel to fit. Put 58" (no holes)
Bottom Cap on front vertical edge. Use 1-1/2" ss screws.
Repeat procedure for Left Side Wall Glazing Panel.
Optional: To cover front of door frame, cut a long piece of
scrap glazing to cover from the inside edge of door frame to
outside edge of side wall glazing. Place the Bottom Cap on
the glazing side edge of strip.
Note: Roof Glazing not shown attached here to show the
screw pattern for Left and Right Side Wall Glazing Panels.
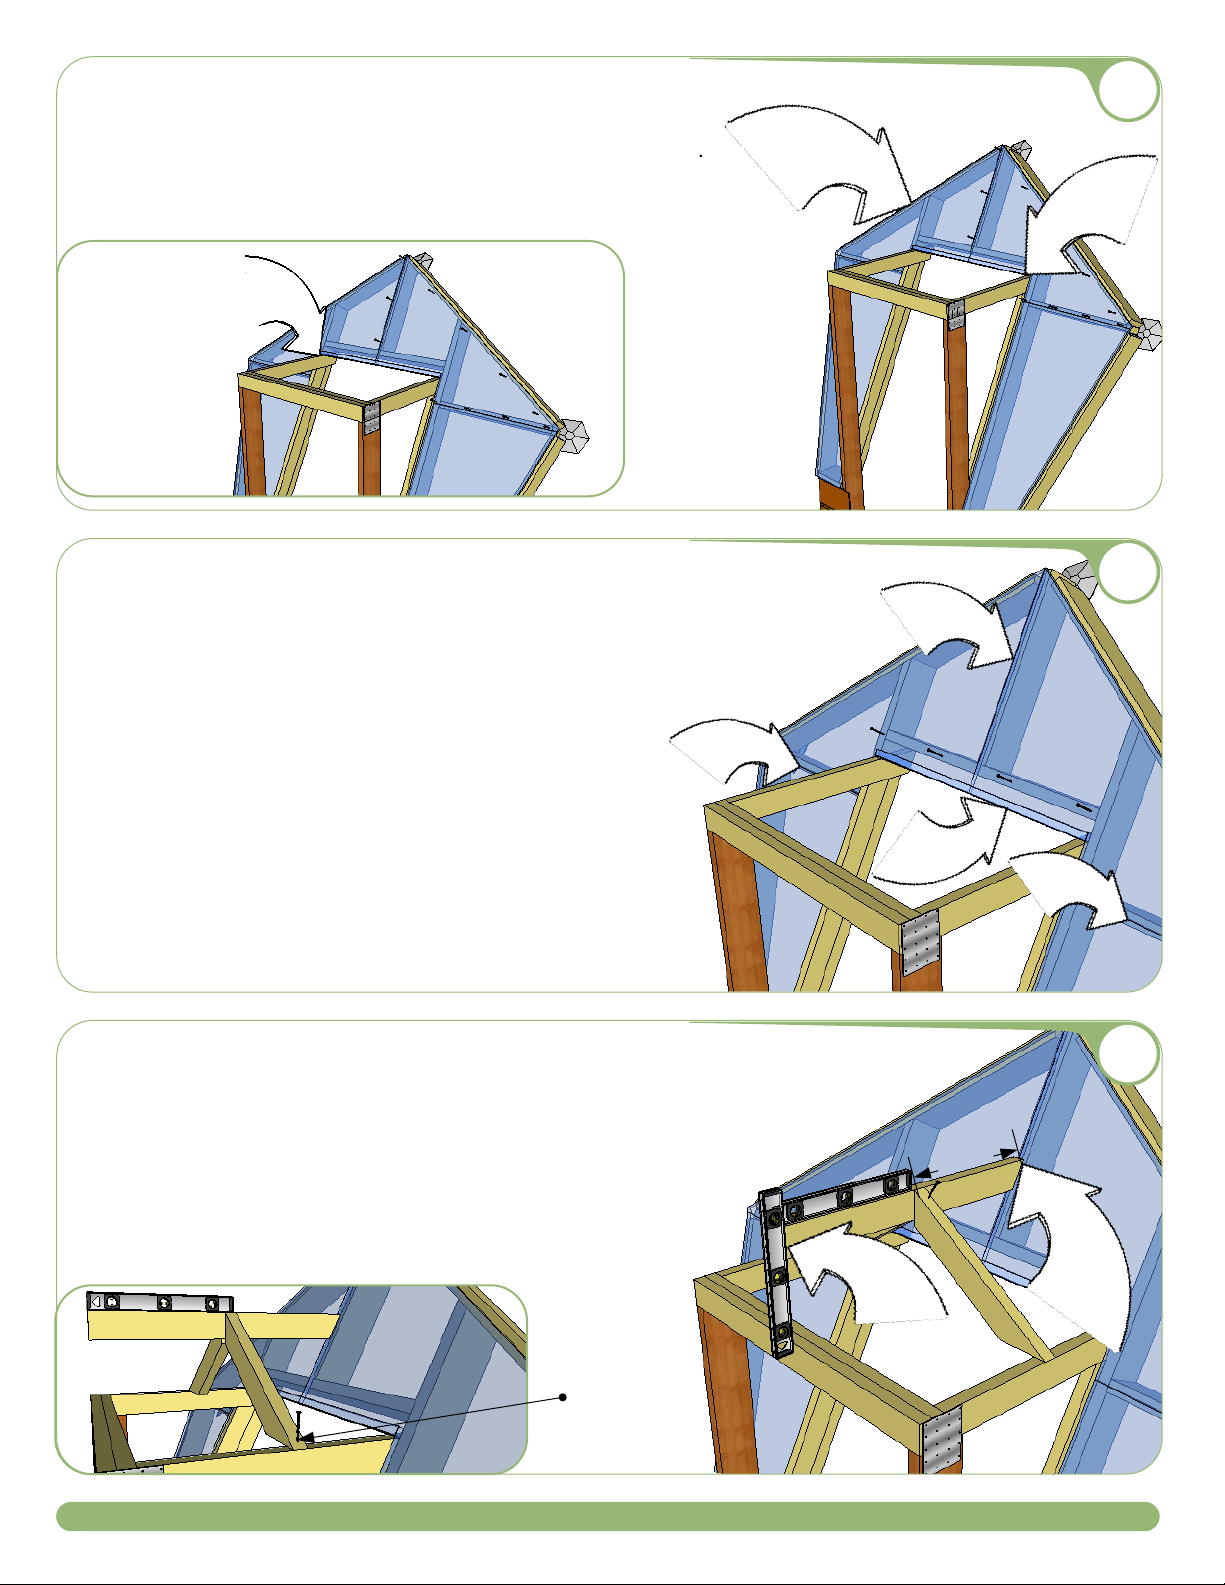
Pre-hung door is mounted to swing in.
Check the reveal and use shims as needed to
correct the reveal. Remove the middle screw in
each hinge on the door frame and use a 1-1/2" ss
screw to attach the door to the 2x6 frame. Finish
securing the door to the 2x6 frame by moving the
weather strip to the side and placing 1-1/2" ss
screws behind it, so that they are not visible.
Secure the bottom 24" of the door using 3" screws.
1-1/2" ss Screws
(from here up)
Trim to fit so the bottom edge covers the Door
Frame. Attempt to center the decal when
trimming the panel. Cut both edges if necessary
to keep decal centered.
Attach 42" (with holes) Bottom Cap to bottom
edge.
Using 1-1/2" ss screws, screw through
glazing, into the Header. See "Screw Patterns"
sheet.