14 ENGLISH
Important
7Do not install the charging station anywhere where
it is exposed to direct sunlight or near a heater/
radiator.
Do not install the charger outdoors.
3Choose a suitable drill bit for the screws and wall
plugs supplied.
4Drill two holes approx 30 cm above the floor, push
in a wall plug and screw in the screws, then hang
up the charging station.
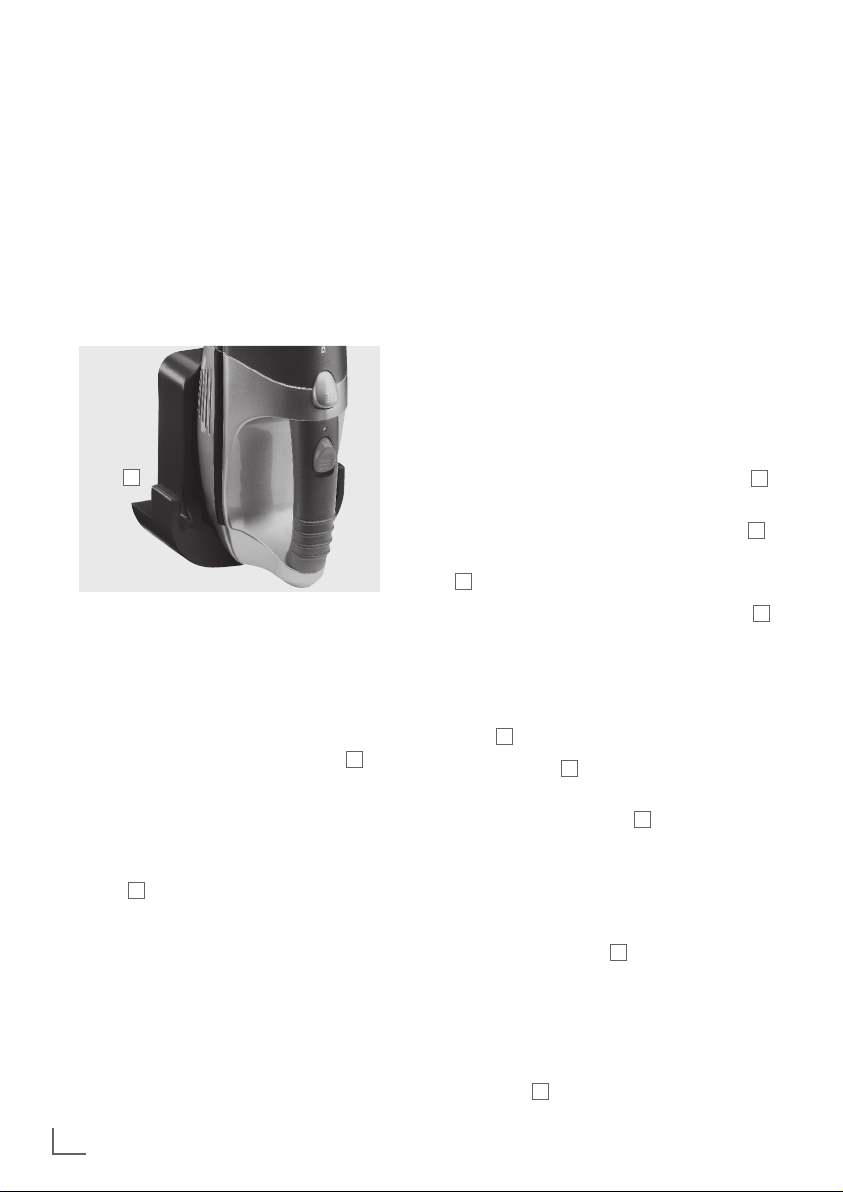
J
Charging
If run with the installed rechargeable nickel metal hyd-
ride batteries, use the charging station with the mains
adapter as a charger.
1Remove the accessory used.
2Insert the appliance in the charging station Jso
that it precisely fits.
– The charging contacts of the appliance and the
charging station touch each other.
3Plug the mains adapter into the wall socket.
– The charging process begins, the charging indi-
cator Flights up red.
– The charging indicator remains lit until the appli-
ance is removed from the charging station or the
mains adapter plug is disconnected.
Note
7Fully charge the batteries before using for the first
time or if the batteries have not been used for a
long time (20 hours).
7Charge the appliance at room temperature. Lower
or higher temperatures have a negative effect on
the life of the batteries.
7The ambient temperature should be between 5˚C
and 40˚C.
7When fully charged, the appliance works for
around 12 minutes. It is not advisable to charge
the batteries after every use, especially if you do
not use the appliance for the full 12 minutes. Only
charge the batteries when they are completely
discharged. This increases their life. Do not charge
it every day.
7The device does not end the charging process
automatically. Therefore, remove the device from
the charging unit after 16 hours or disconnect the
power supply unit from the socket. In this way, you
save electricity.
Switching on and off
1Remove the appliance from the charging station J.
2Depending on the requirements, insert one of the
accessories into the appliance‘s vacuum intake I.
3Switch on the appliance by pushing forward switch
D.
4Switch off the appliance by pushing back switch D.
5Remove the accessory used.
Empty dust container and clean
1Hold the appliance vertically with the vacuum
intake Ifacing downward.
2Press pushbutton Cand remove the dust container
from underneath.
3Remove the holder and filter Bfrom the dust con-
tainer.
Note
7You can wash the filter from time to time with hot
soapy water.
After washing, allow the filter to completely dry.
4Empty the dust container A, wash out and dry.
Note
7Allow the dust container to completely dry before
you replace it in the appliance.
5Hold the appliance vertically facing upwards.
6Press button C.
OPERATION __________________________________________________________