AQUASCOPE 2
Version 1.2 6/7
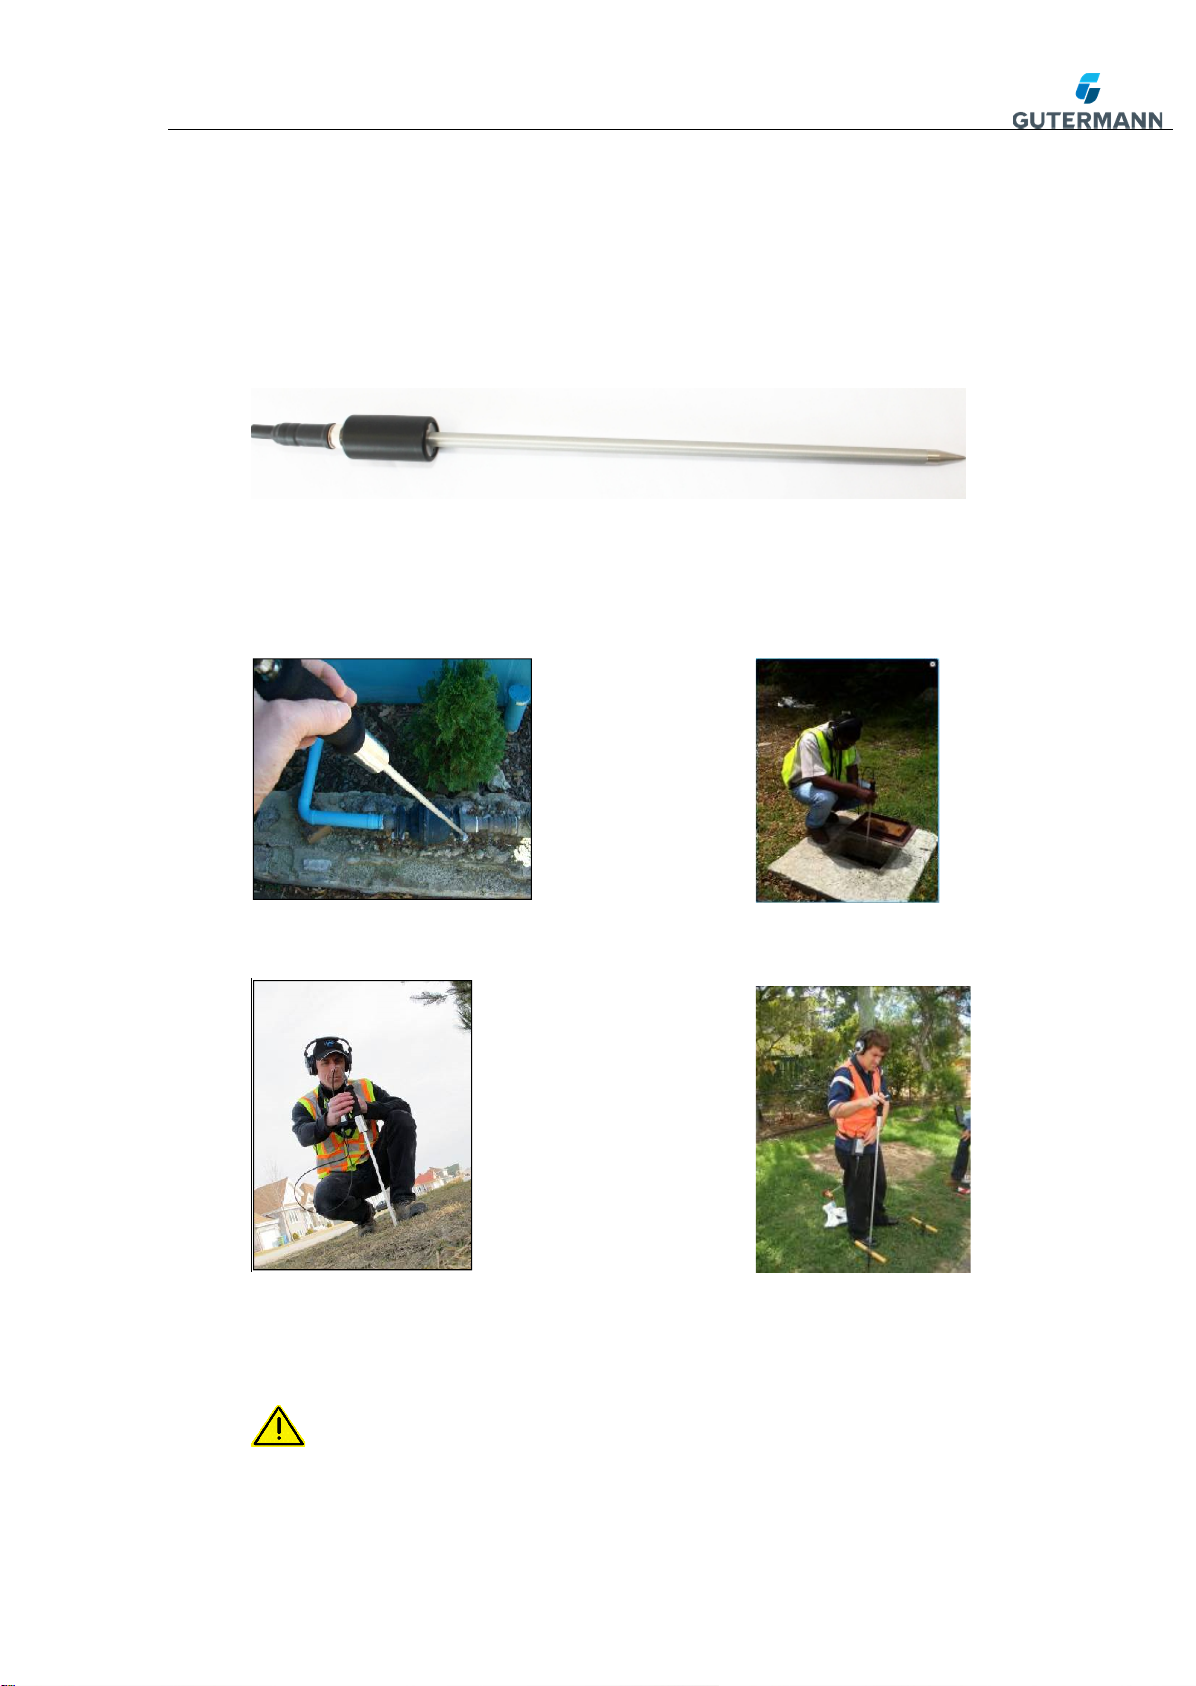
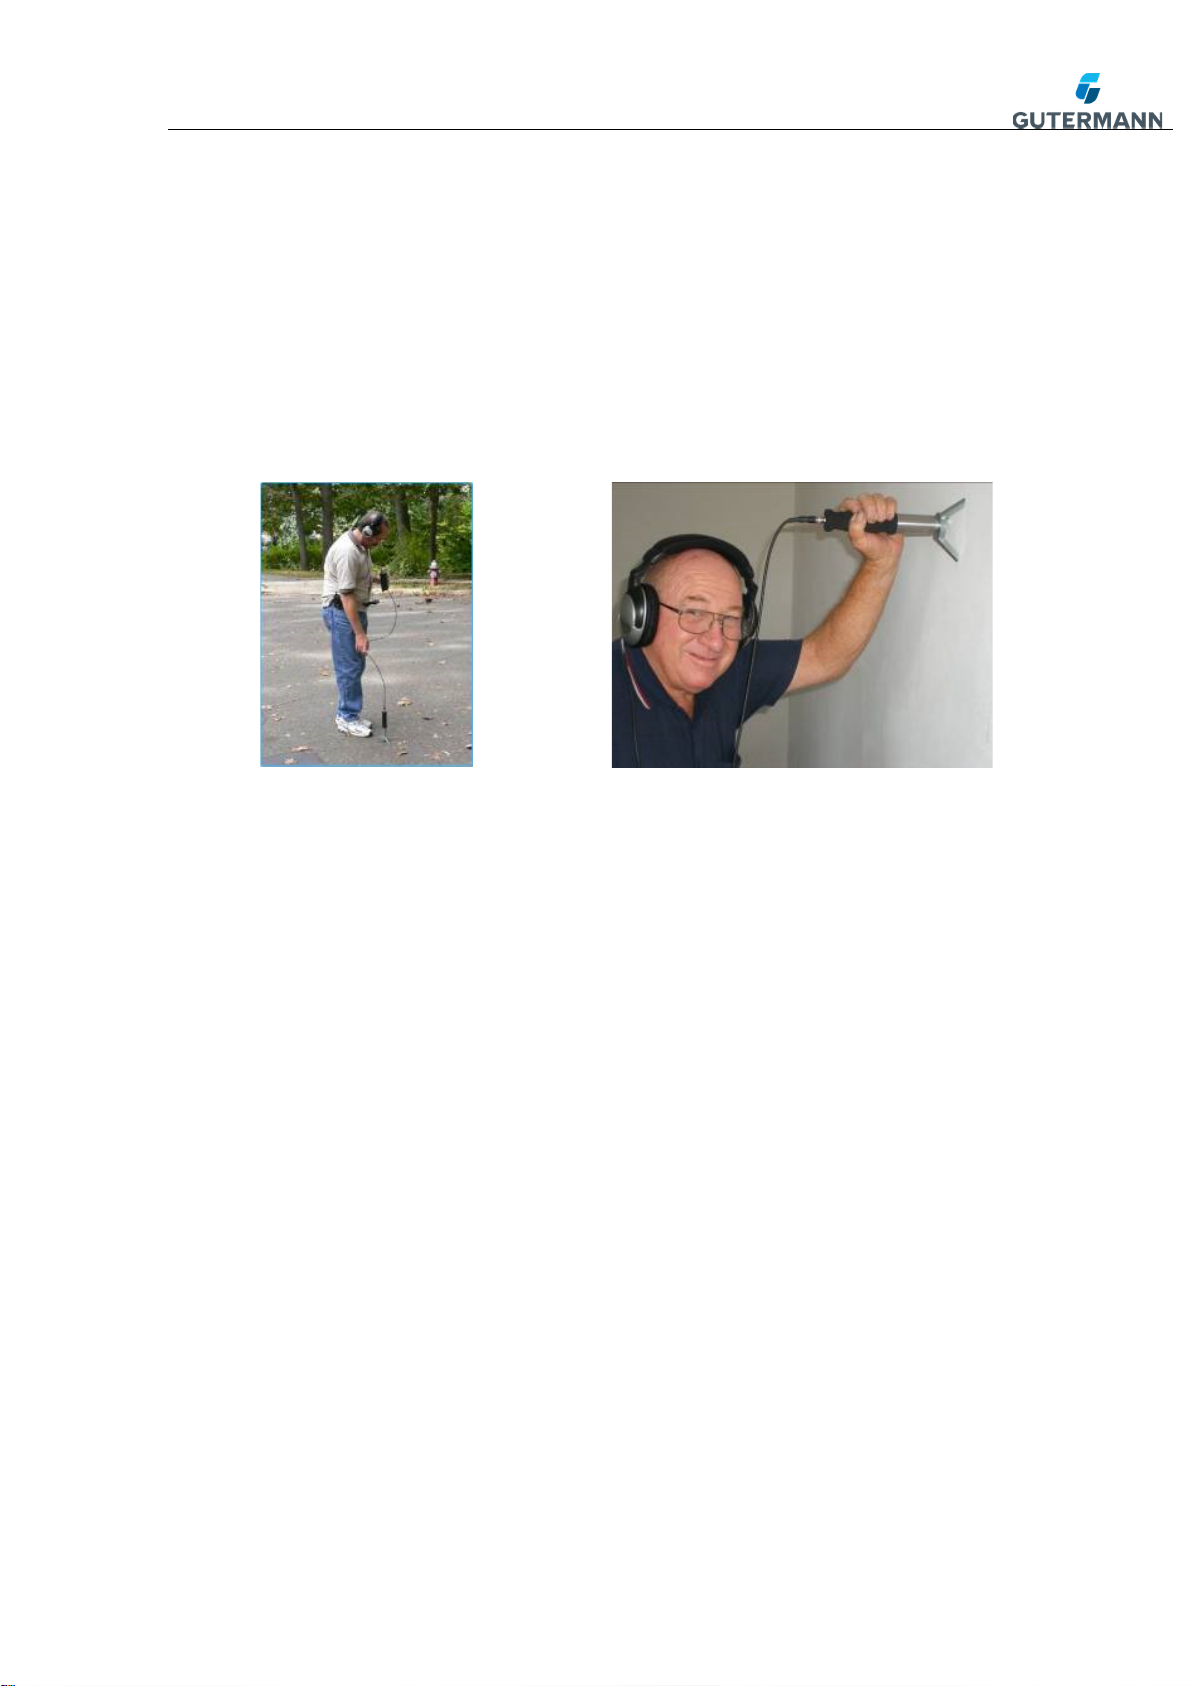
6.2How to find leaks with the AQUASCOPE 2 listening stick
An electronic listening stick is usually used to perform a leakage survey
by walking the street listening on every valve, hydrant and accessible
service connection. Each sounding is usually for 10 to 15 seconds. It
takes longer to assess the noise when there is more background
noise. It is not unusual to perform this work at night in busy cities when
the pressure is highest and the background noise is lowest. It is
important to hold the stick still and firmly pressed against the pipe,
valve or hydrant. Ensure there is no long grass or cables making
contact with the stick.
The electronic listening stick is considered to be a localization tool used
to localize the leak position; however when the leak is suspected to be
in a pipe under soft ground, the electronic listening stick can be used to
pinpoint the leak. It is preferable to make the hole with an electrically
insulated punch bar or another probe and then insert the stick into the
hole made. Extreme care should be taken to ensure there is no
contact with other underground services. Check with your company
Health and Safety Officer before proceeding with this method.
1. Listen on all fittings in an area making note of the noise frequency and
characteristics. It is usual to listen at each location for a period of 10
seconds, waiting for background noise to stop. If there is noise
generated from consumption, pumps, road works or heavy traffic you
will need to return when the noise stops.
2. Use a pipe locator to trace and mark the pipe location in the area of
interest and check to see if there are any other services in the same
trench as your pipe.
3. If it is safe to do so, make a series of holes at 3 meter intervals in the
ground with an insulated punch bar and insert the probe from the
electronic listening stick into the ground as deep as it is safe.
4. Continue this process along the section of pipe work until the leak is
found. Holes will need to be made at 1 meter intervals when the leak
has been located to a 6 meter span.
5. Determine which point has the loudest minimum noise.
6. Perform a “star check” moving about 30 cm from this point to all 8
points of a star. Each point should have a lower noise than the pin-
pointed leak position. If a point has a louder noise than the centre, this
could be the correct position, repeat the star check to verify.