manuals.online logo
Brands
  1. Home
  2. •
  3. Brands
  4. •
  5. H3C
  6. •
  7. Network Router
  8. •
  9. H3C CR16000-F Operating and maintenance manual

H3C CR16000-F Operating and maintenance manual

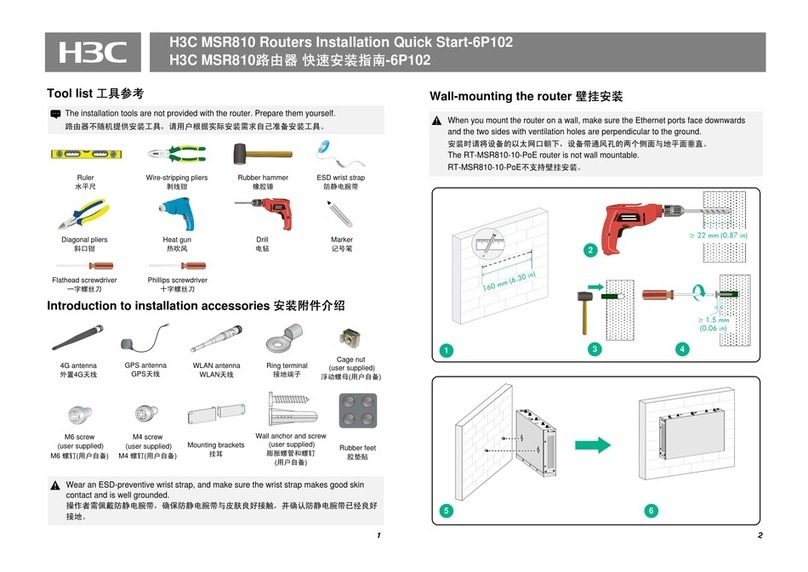
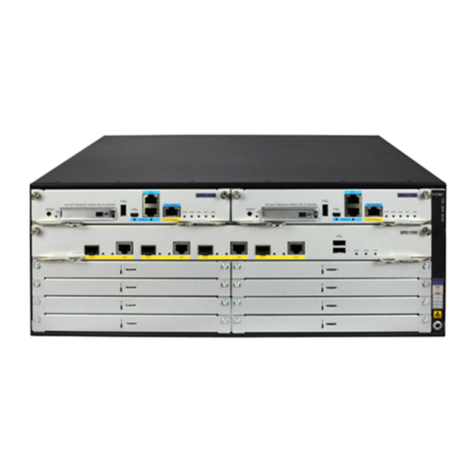
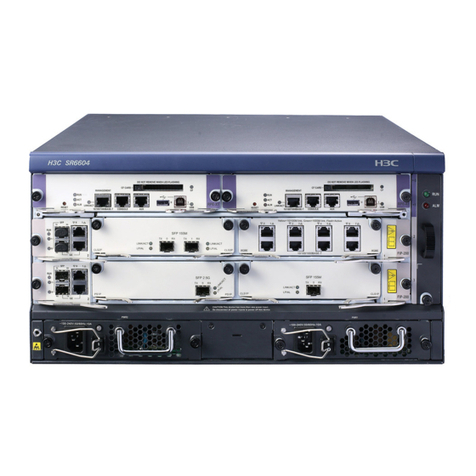
H3C CR16000-F Routers Installation Quick Start-6PW106
BOM: 3104A0FV
Tool list
Claw hammer
Safety recommendations
To avoid equipment damage or bodily injury, read the following safety recommendations before installation.
Note that the recommendations do not cover every possible hazardous condition.
This document provides a brief guide for installing H3C CR16000-F routers. For more installation
information, see H3C CR16000-F Routers Installation Guide.
The figures in this document are for illustration only.
The installation procedure is similar for the CR16000-F routers. The following procedures use a
CR16010-F router unless otherwise specified.
Paper manuals cannot be updated in real time with product changes.For most recent product
information,see the E-manuals at the official website.
Prepare the following installation tools yourself as required.
This section only lists the most commonly used installation accessories.
To prevent ESD damage, always wear an ESD wrist strap when working with the router, cards, or PCBs.
Make sure the trap is reliably grounded.
Do not install the router, FRUs, or cables with the power on.
To avoid equipment damage or bodily injury, make sure the router is reliably grounded before powering on
the router.
To ensure good ventilation, install a filler panel in an unused slot.
Grounding cable ESD wrist strap M6 screw Removable cable tie Cage nut
Needle-nose
pliers
Diagonal
pliers
Marker Wire-stripping
pliers
Claw hammer
Installing the router
Use a pattern tool to record the installation holes of the mounting brackets and mark the cage nut holes
in the rack posts accordingly.
Install cage nuts on the marked square holes.
Attaching cage nuts to the rack
Flat-blade
screwdriver
Phillips
screwdriver
Installing the router in a rack Grounding the router
Connect the grounding cable to the grounding system in the equipment room. Do not connect it
to a fire main or lightning rod.
Installing FRUs
Before installing a card in the chassis, make sure the connectors on the card are not broken or blocked.
Installing cards
Do not hold the handle of the fan tray, power module, or the back panel of the chassis, or the air
vents of chassis to carry the chassis. Any attempt to carry the router with these parts might
cause equipment damage or even bodily injury.
After placing the router on the slide rails, Do not leave go of your hands immediately because this
might tip the router, damaging the router or even causing bodily injury.
To guarantee the grounding effect,
use the shipped yellow-green
grounding cable to ground the router.
1
2
1
2
4
3
5
6
2
1
3
4
Use a minimum of two people to move the
router. For heavy models, use a mechanical
lift as a best practice.
Connect the AC power cord to a vertical slot
Before installing an interface module, make sure the connectors on the module are not broken or blocked.
Connecting a power cord
Make sure the circuit breaker at the power input end is off when you connect the AC power cord
to the terminals on the power source.
Connecting an AC power cord
Installing interface modules
Installing power modules
Provide a circuit breaker for each power module and make sure the circuit breaker is off before
installation.
Do not install power modules of different models on the same router.
To avoid power module damage or bodily injury, move a power module by supporting its bottom
instead of holding its handle.
Connect the AC power cord to a horizontal slot
1
2
3
4
5
6
5
1
2
4
3
1
2
1
2
3
4
5
Press the power module handle inward until it is
secured in place before fastening screws.
Connecting the DC power cord for an LSUM1DC2400 or PSR2400-12D power module
Connecting the console cable
Powering on the router and verifying its operation
To access the router for the first time, use a console cable to connect the console port or USB console
port on the router. This example uses the console port.
Make sure the power cords are connected correctly and the power source is operating correctly. Then
power on the router. Verify that the router is operating correctly by observing the LEDs on the router. For
more information about the LEDs, see CR16000-F Router Installation Guide.
Accessing the router
Connecting a DC power cord
Make sure each power cord has a separate circuit breaker.
Make sure the circuit breaker at the power input end is off before you connect the DC power cord.
Copyright © 2017-2023, New H3C Technologies Co., Ltd.
The information in this document is subject to change without notice.
Connecting the DC power cord for a PSR2400-D power module
1
2
1
2
3
4
5

Other manuals for CR16000-F

8

Other H3C Network Router manuals

H3C CR16000-M User manual

H3C

H3C CR16000-M User manual

H3C S5120-EI Series User manual

H3C

H3C S5120-EI Series User manual

H3C SR6600 SPE-FWM Installation manual

H3C

H3C SR6600 SPE-FWM Installation manual

H3C CR16000-F User manual

H3C

H3C CR16000-F User manual

H3C S5510 Series User manual

H3C

H3C S5510 Series User manual

H3C SR6600 SPE-FWM User manual

H3C

H3C SR6600 SPE-FWM User manual

H3C S12500R Series Operating and maintenance manual

H3C

H3C S12500R Series Operating and maintenance manual

H3C CR1606-F User manual

H3C

H3C CR1606-F User manual

H3C SR6600 SPE-FWM User manual

H3C

H3C SR6600 SPE-FWM User manual

H3C S3600V2 SERIES User manual

H3C

H3C S3600V2 SERIES User manual

H3C SR8800-F User manual

H3C

H3C SR8800-F User manual

H3C SR6616 User manual

H3C

H3C SR6616 User manual

H3C MSR 5600 User manual

H3C

H3C MSR 5600 User manual

H3C SR6600 SPE-FWM User manual

H3C

H3C SR6600 SPE-FWM User manual

H3C H3C S3600 Series User manual

H3C

H3C H3C S3600 Series User manual

H3C MSR Series User manual

H3C

H3C MSR Series User manual

H3C MSR 5600 Installation manual

H3C

H3C MSR 5600 Installation manual

H3C S5560-HI Series User manual

H3C

H3C S5560-HI Series User manual

H3C MSR Series Installation manual

H3C

H3C MSR Series Installation manual

H3C MSR2600-6-X1-GL User manual

H3C

H3C MSR2600-6-X1-GL User manual

H3C H3C S5600 Series User manual

H3C

H3C H3C S5600 Series User manual

H3C MSR 20 Series User manual

H3C

H3C MSR 20 Series User manual

H3C SR8800 Series User manual

H3C

H3C SR8800 Series User manual

H3C SR6602 User manual

H3C

H3C SR6602 User manual

Popular Network Router manuals by other brands

Cisco 1401 quick start guide

Cisco

Cisco 1401 quick start guide

Raytec RESULH4-L1-W Series user manual

Raytec

Raytec RESULH4-L1-W Series user manual

u::Lux NetCon manual

u::Lux

u::Lux NetCon manual

Huawei B320-323 quick start

Huawei

Huawei B320-323 quick start

AMC XO Instructions for installation and operation

AMC

AMC XO Instructions for installation and operation

Cisco RV120W quick start guide

Cisco

Cisco RV120W quick start guide

Cabletron Systems MMAC-Plus 9T101-04 user guide

Cabletron Systems

Cabletron Systems MMAC-Plus 9T101-04 user guide

D-Link AirPlus XtremeG Ethernet-to-Wireless Bridge... Quick installation guide

D-Link

D-Link AirPlus XtremeG Ethernet-to-Wireless Bridge... Quick installation guide

TRENDnet TW100-BRF114 Frequently asked questions

TRENDnet

TRENDnet TW100-BRF114 Frequently asked questions

D-Link AirPremier DWL-1800 installation guide

D-Link

D-Link AirPremier DWL-1800 installation guide

Pentagram Cerberus P6342 Quick installation guide

Pentagram

Pentagram Cerberus P6342 Quick installation guide

TP-Link Deco BE16000 user manual

TP-Link

TP-Link Deco BE16000 user manual

Minitar MVA11A Quick installation guide

Minitar

Minitar MVA11A Quick installation guide

Asus BLUE CAVE quick start guide

Asus

Asus BLUE CAVE quick start guide

Compaq Reliable Transaction Router Getting started

Compaq

Compaq Reliable Transaction Router Getting started

TRENDnet TEW-731BR Quick installation guide

TRENDnet

TRENDnet TEW-731BR Quick installation guide

EINHELL BT-RO 1200 E Original operating instructions

EINHELL

EINHELL BT-RO 1200 E Original operating instructions

D-Link DI-LB604 - Load Balancing Router Quick installation guide

D-Link

D-Link DI-LB604 - Load Balancing Router Quick installation guide

manuals.online logo
manuals.online logoBrands
  • About & Mission
  • Contact us
  • Privacy Policy
  • Terms and Conditions

Copyright 2025 Manuals.Online. All Rights Reserved.