C M Y CM MY CY CMY K
6. Window Insta Kit
This kit enables you to install the air conditioner
in a double hung window Extra brackets or
support may be needed, depending on your
window
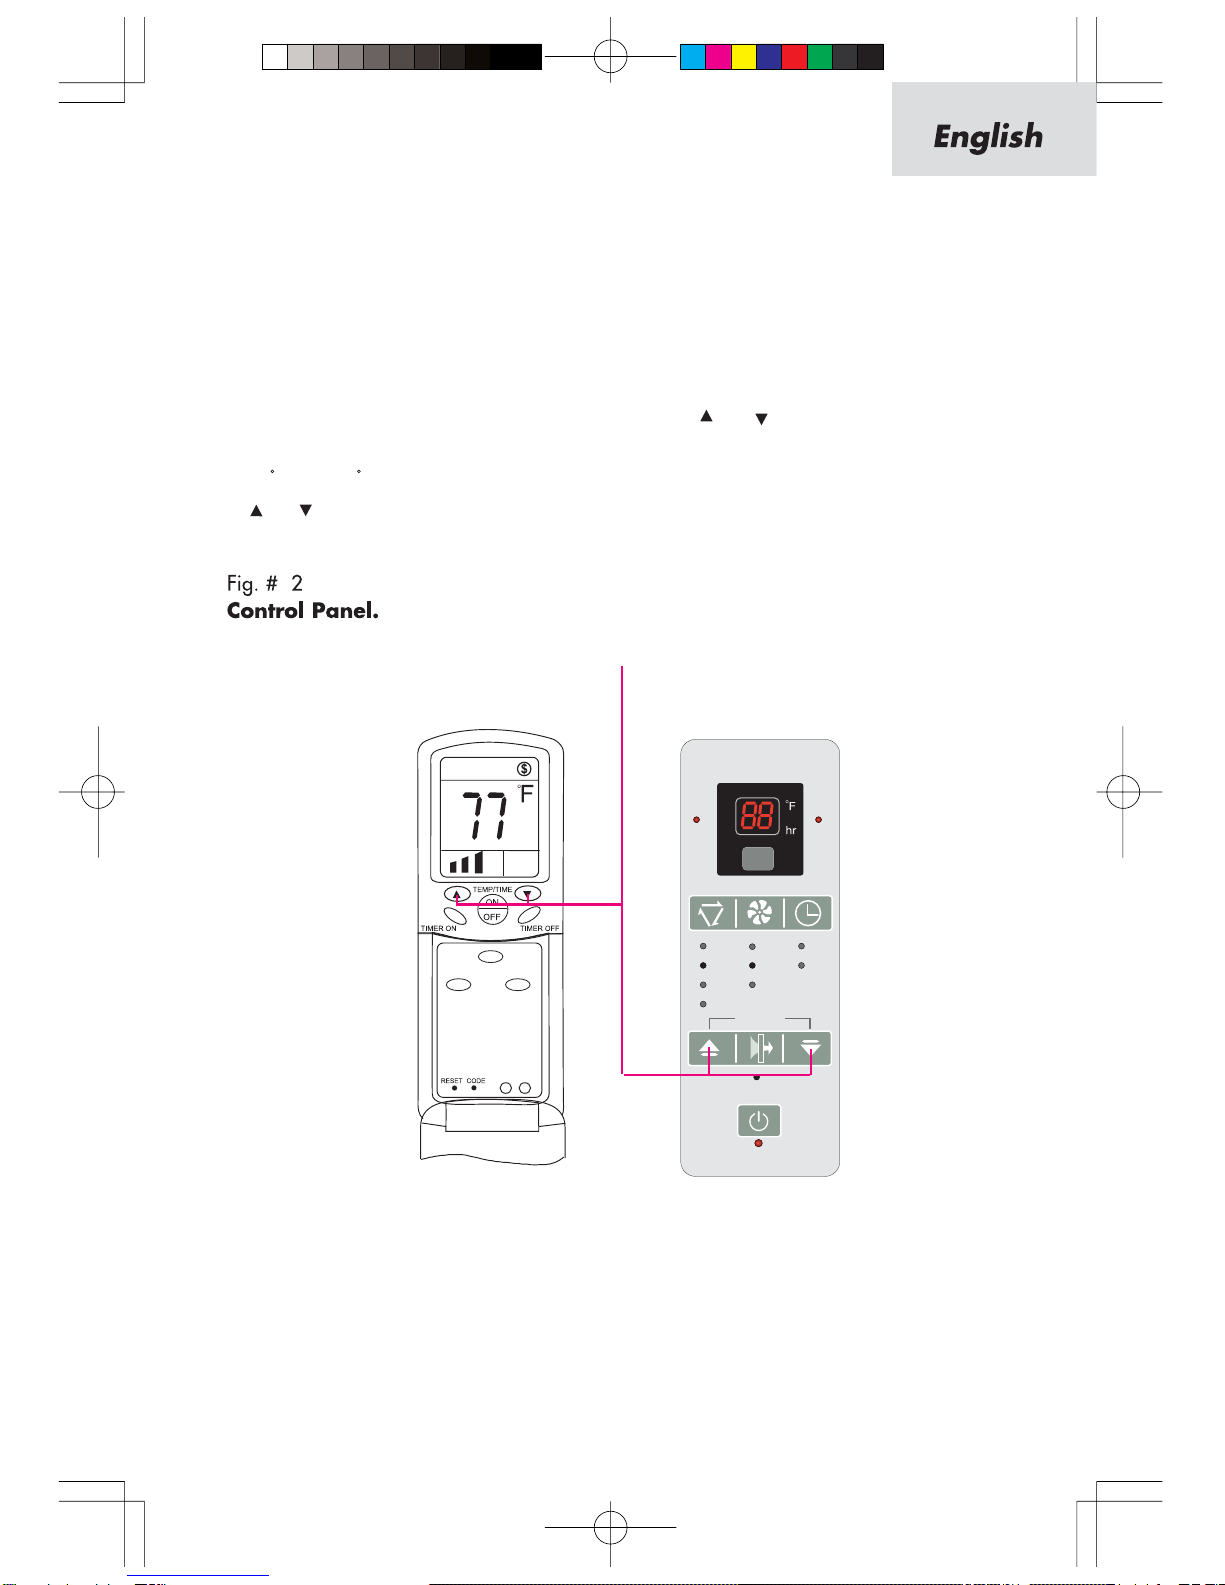
7.Remote Contro
This fully functional wireless remote allows you
to operate your air conditioner from a distance
You need not get up to change the settings or
the functions, or to turn the unit on or off
8.LCD Disp ay E ectronic Contro Pane
The 4-function LCD displays Room Temperature,
Temperature Setting, Timer Setting and Time
Remaining to Stop/Start the unit Electronic
Control Panel lets you set the temperature to
the exact temperature you desire
9.Air C eaning
This function can help you to reduce the dust, pollen
, mold , bacteria and any airborne particles inside
and outside your home effectively ,and keep your
family healthier
10.E ectrostatic Fi ter (not all models)
Being constructed of high efficiency purifying
substance, active carbon fabric, electrostatic
fabric, electrostatic active carbon net and other
materials, this air conditioner pruifies the air
effectively Its wavy structure increases the
capability to filter dust and smoke effectively
Due to the retention of active carbon, it has
a high purifying speed capable of strong airflow
11. How The Unit Drains
On humid days with the air conditioner in use,
moisture may collect on the pan or the bottom
of the air conditioner If the unit is positioned
properly, the moisture will gather towards the
back of the unit This will not affect the operation
of the unit and the moisture will evaporate in
time Occasionaly the moisture will flow over
the back of the pan, but this will not affect the
operation of the unit Never drill holes in the
pan under any circumstance


 null")