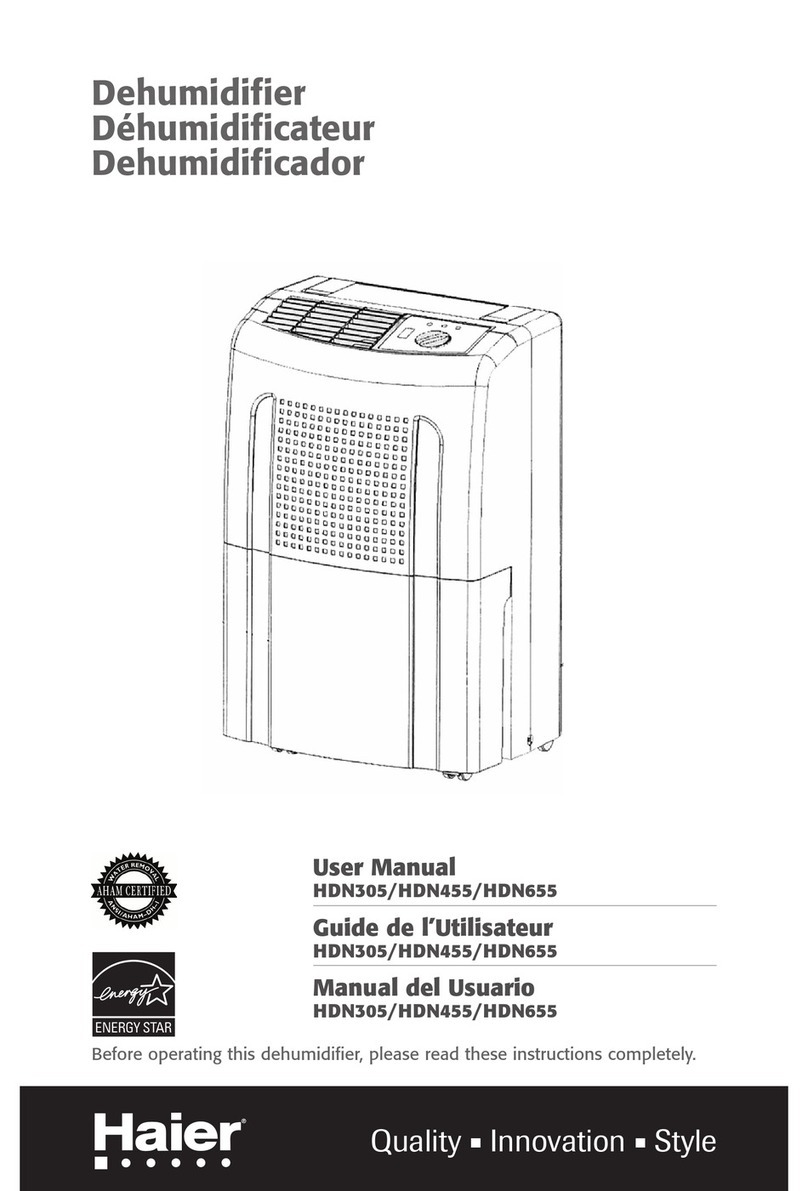
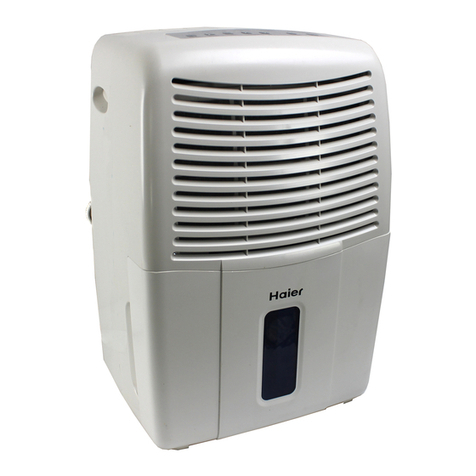
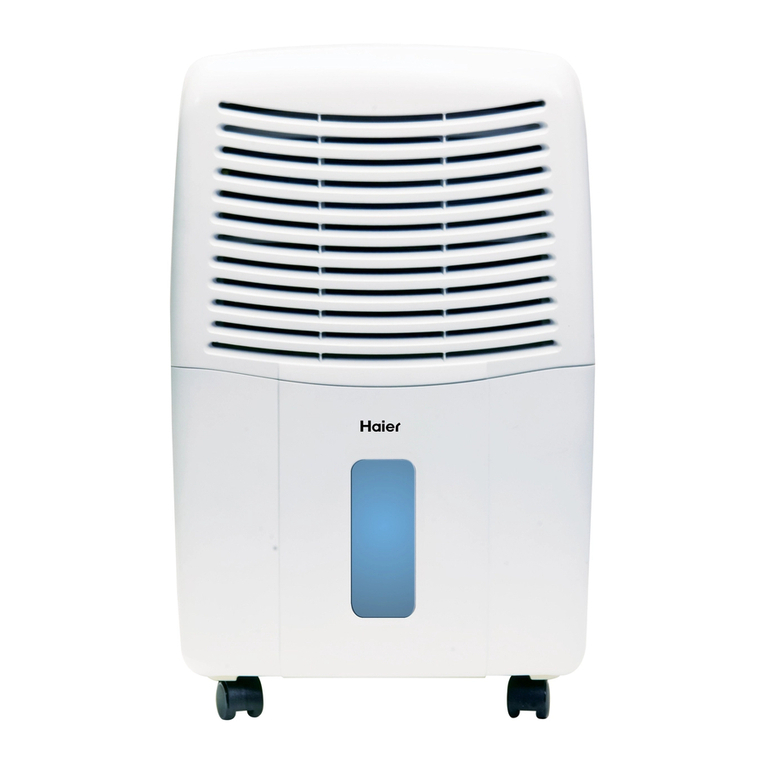
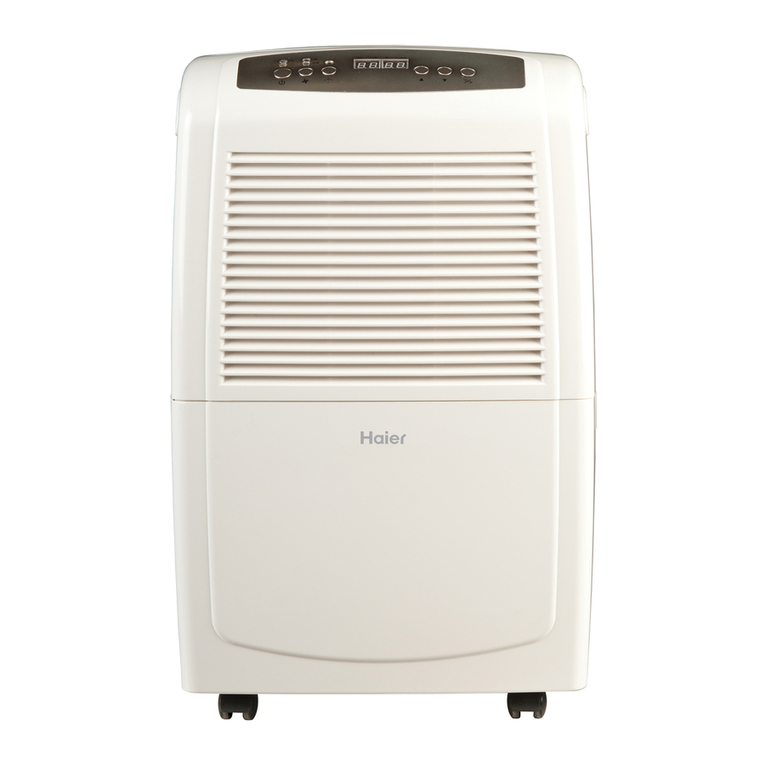
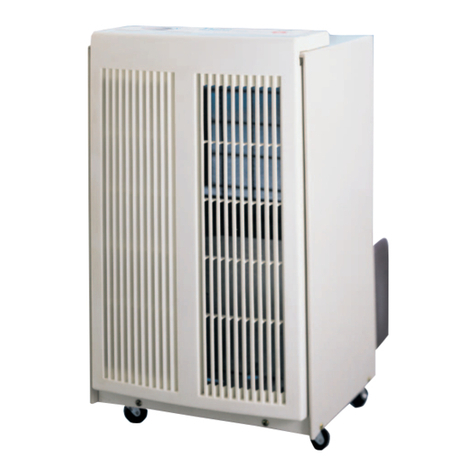
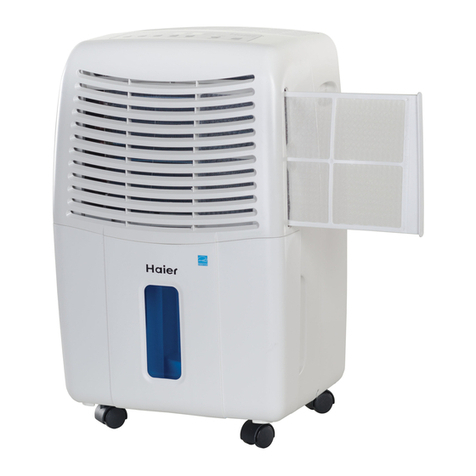
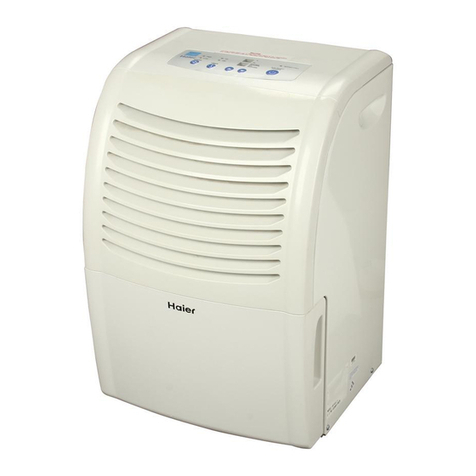
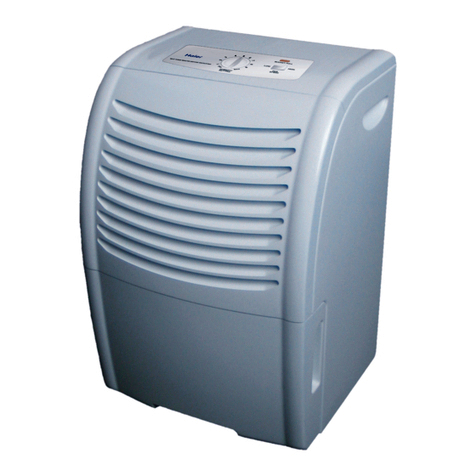
Haier D530M - 30 Pint 1 Spd LOWTEMP User manual

Mafrr_a_ d®_ Us_a_®
DS$¢I_ID888_}_/DSGS_
Befoleopeatils£fl_is el_.mdfe_, _ease eadtl_ese nstrldnlssco__pe:ely

f ty °
Do not fold or knot the power cord.
Make sure the plug is inserted firmly and properly into the outlet.
Do insert multiple plugs into the electrical socket.
Make sure the plug is dean.
Before turning off the dehumidifier, unplug the power cord.
Do not plug in the power cord if hands are wet.
CAUTION
Do not @ace anything on top of the control panet.
Do not cover the machine's air vents.
Do not ailow children to climb on or play with the machine.
Do not wet the machine or control panel.
Keep flammable materials away from the machine.
Contact a professional for service and repair.

Table Of CoHte ts
page
Safety Precautions ............................................................................................ 1
Important Safety Information .......................................................................... 3
Features Diagram ............................................................................................ 4
Part Names .................................................................................................... 4
Control Panel .................................................................................................. 5
Operation ........................................................................................................ 5
Specifications .................................................................................................. 6
Operation Instructions ...................................................................................... 6
Start Operation .............................................................................................. 6
When Tank is Full .......................................................................................... 6
Continuous Drainage ...................................................................................... 7
Installing Drainage PVC Hose .......................................................................... 7
Caution .......................................................................................................... 8
Maintenance/Emergency .................................................................................. 8
Troubleshooting ................................................................................................ 9
Warranty Information ...................................................................................... 10

ImRe taHt Safety I e mates
READ ALL SAFETY INFORIVIATION BEFORE US|NG
When using this dehumidifier, always follow basic precaution including the
following:
, This dehumidifier must be properly installed and grounded as described in this
manual.
, Never operate this dehumidifier in an area that is likely to accumulate standing
water. If this condition develops, disconnect the power supply before stepping
into the water.
®Do not operate dehumidifier in presence of explosive fumes.
Repair or replace immedialy alI electric service cords that have become frayed
or otherwise damaged. Do not use a power cord that shows signs of damage
along its length, on the plug, or where it is connected to the appliance.
SRVE THESE IHSTRUETIOHS
Thank you for using ourAmana
product. This easy-to-use manual will
guide you in getting the best use of
your dehumidifier. Remember to record the
model and serial number. They are
on a label in back of the dehumidifier.
Staple your receipt to your manual. You
will need it to obtain warranty service.
Model number
SerM number
Date of purchase

fore UsIHI yo t Oeh midifiet
Read this manual carefully. It contains instructions to help you use, maintain and
e_oy you dehumidifier.
UNPACK YOUR DEHUMIDIFIER
•Remove all packing material. This includes foam, inserts & adhesive tape.
oInspect any remains of packing, tape or printed material, or accessories before
dicarding it.
ELECTRICAL REQUIREMENT
•Make sure there is a suitable power outlet (115Volts 15 Amps) with proper
grounding.
GROUNDING
°This dehumidifier must be grounded.
oGrounding reduces the risk of electric shock by providing an escape wire for the
electric current.
oThe power cord has a grounding plug. Plug it in to an outlet that is properly
installed and grounded.
Warning- Improper use of the grounding plug can result in a risk of electric shock.
Call a qualified electrician if you don't understand the grounding
instructions or if you are not sure if the humidifier is properly grounded.
If the wall outlet is not grounded, please contact an electrician to have it
replaced with a properly grounded outlet.
Do not, under any cimumstances, cut or remove the third
(ground) prong from the power cord.
USE OF EXTENSION CORD
•Avoid the use of extension cord because of potential safety hazards under certain
condition.
•If it is necessary to use an extension cord, use:
A) Only 3-wire extension cord that has 3-blade grounding plug and grounded
wail outlet that wilI accept the plug.
B) The mark rating of the extension cord must be equal or greater thatn the
electrical rating of the dehumidifier.

iiiiiiiiiiiiiiiiiiiiiiiiiiiiiiiiiiiiiiiiiiiiiiiiiiiiii! i ! ! !! :! : i i i i i i i i i i i i i i i i i i i i i i i!
Features Diagram
PART NAMES
\
Front
Rear
1. Dehumidified Dry Air Vent
2. Control Panel
3. Handle
4 Power Supply Cord
5 Continuous Drainage Outlet
(Capped for bucket drainage)
6. Moist Air Intake
7. Air Filter
8. Rotating Wheels
9. Drainage Bucket

CONTROL PANEL
0 0
Running Tank-full
7_ Extra Dry db, --_. Off
11 /"\
Li__J I', /
©
DEFROST
fJ_
1. Running Lamp
The lamp _ights up which means dehumidifier is operating.
2. FallTank Light
When water tank is fu}}, the Full Tank Light wi}} }ight up and the dehumidifier will stop
operating automatically,
3. Defrost Light
When operating under low temperature conditions, automatic defrost may activate. Light
indicates that the unit is currently in defrost mode.
4. Off
Dehumdifier stop removing moisture,
5. Normal
Humidity contro_ between 50%-60%.
(_. Fan Speed Control
7. Extra Dry
Dehumidifier continuously removing moisture,

iiiiiiiiiiiiiiiiiiiiiiiiiiiiiiiiiiiiiiiiiiiiiiiiiiiiii i
OPERATION
1. Turn the knob clockwise to begin unit operation. Turn it to "Off" again to stop
the operation,
2. Turn the knob clockwise to increase the humidity setting and counter-clockwise to
decrease the humidity setting.
3. Press "Speed" button to select high (II) or low (I) speeds.
Model D53OM D545M D565M
Power AC 115V/60 Hz
Moisture Remova_ 30 Pint/D 45 Pin{/D 65 Pint/D
(80_F/27 C 60%RH) (80_F/27 C 60%RH) (80°F/27_C 60%RH)
Power Input 500 W 600 W 780 W
Size of Shell 23-1/32" x 14-31/32" x 12-19/32"
(H x W x D) (585 x 380 x 320 ram)
Weight 35.3 Ibs./16 kgs, 35.3 Ibs,/16 kgs, 38,6 _bs,/17.5 kgs.
Operating
Temperature 41_F-95 F (5C -- 35C)

Ope atiHg Hst die s
START OPERATION
1. Make sure the plug is inserted firmly into the socket
2. Make sure the water tank is placed in the proper
position. If the full tank light is on when turning on
the machine For the First time, pull out the water tank
and push it back into proper position.
WHEN FULL TANK LIGHT IS ON
When the water tank is full, the indicator light wilI light
up and the dehumidifier will stop operating. Empty the
water tank and place it back in its proper position. The
machine wilI reactivate after 3 minutes.
i¸ ;
Note: Empty the water from the water tank
using two hands.
CoHti ' o s B aiHage
The continuous drainage function can be activated using the
flowing steps.
1. Prepare PVC hose to drain out water. Remove the cap
From drainage outlet.
2. Remove Flat rubber insert from cap.
3. Pull the drainage hose through the ring of
the cap.
4. Align the hose with the water outlet on the unit first
and then fasten the cap back on to the outlet.
5. Place the bucket in its original location. O
INSTAL|.ING DRAINAGE PVC HOSE
When using the continuous drainage function, the PVC hose must be placed
horizontally below the drainage hole. Avoid folding the hose or placing it on an
uneven surface.

iiiiiiiiiiiiiiiiiiiiiiiiiiiiiiiiiiiiiiiiiiiiiiiiiiiiii! i ! ! !! :! i i i i i i i i i i i i i i i i i i i i i i i!
, Do not pull the power cord to remove the plug from the socket. Always pull
on the plug.
• Do not use bug spray, oil, spray paint or other flammable materials near the
machine. This can cause damage to the piastic parts or start a fire.
• To avoid shaking, noise and water leakage, do not place the unit on an
uneven surface.
, Always keep the unit 8" (20 cm) away from the wall to allow heat to dissipate
properly. Hang clothing at least 20" (50 cm) above the machine.
o It is dangerous to insert anything into the machine.
, Close all windows to reach maximum possible efficiency.
• Keep the machine away from all
sources of heat.
• When moving or storing the
dehumidifier, do not place it
sideways or upside down. Avoid
violent shaking.
MAINTENANCE
For safety reasons, make sure the dehumidifier is unplugged before servicing or
cleaning.
1. Cleaning the shell:
A. Wipe the shell with a dean, soft cloth.
B. If the dehumidifier is very dirty use mild detergent and wipe with a
damp cloth.
C. Do not wash the machine with a hose or immerse it in water. This may
cause an electrical shortage.
2. Cleaning the air filter:
The purpose of the air filter is to filter dust and other materiais from the air. If
the filter is blocked by dust the electricity usage will be greater than normal.
For optimal moisture removal efficiency, dean the filter every two weeks.
Cleaning steps:
A. Pull the air filter out slowly.
B. Ciean the filter with a vacuum cleaner or wash it with clean
water and dry with a dry cloth.
C. Put the dean air filter back in place and continue to operate
the dehumidifier.
EMERGENCY
ff ,_ problem occurs, unplug the machine and cont_-_cta qualified service center
immediately. Do not disassemble the dehumidifier yourself.

Beforecalling,readthefollowingsection.ItwillheIpyousolvesomecommon
problemsthatmightoccurandcanbeeasilycorrected,ifatIattemptsfaiIandyou
needservice,pleasecallthetollfreenumbertocontactcustomerservice.
iTEMS TO CHECK BEFORE CAi.i.IN6 FOR SERVICE:
Unit not operating:
o Make sure the plug is pushed completely into the outlet.
o The Fuse may be blown or the circuit may have been tripped. Check the house
fuse/circuit breaker. Replace fuse or reset circuit breaker if necessary.
o The bucket may be Full. The dehumidifier automatically turns off when this occurs.
Empty the drain bucket.
Dehumidifier is icing up during initial stage of operation:
• This is normal. Frost will usually disappear within 60 minutes.
Airflow is restricted:
• Make sure there are no curtains, blinds or furniture blocking the front or back of
the dehumidifier.
• Clean the filter.
Unsatisfactory dehumidification:
When first installed, allow at least 3 or 4 days for the moisture from the room to be
removed and desired dryness to be maintained.
• Area to be humidified may be too large. Check with dealer to be sure model is
suitable for room size and moisture Ievel.
o The controls may not be set correctly. Acljust controls according to instructions.
• Doors and windows may not be closed. Check that all doors, windows and other
openings are closed tightly.
• Clothes dryer may be in operation in the same room. Install the dehumidifier
away from the moisture-laden air generated by the dryer. Dryer should be vented
to the outside.
•Room temperature may be too low. The unit wilI not operate if the room
temperature is below 41 'E
1o

Limited Wa aHty
This warranty covers all defects in
workmanship or material for:
The mechanical and electrical parts
(including labor costs) contained in this
Haier product, For a period of 12 months
From the date of purchase. (For
commercial or rental application the
warranty is 90 days.)
The sealed system and compressor
contained in this Haler product is For a
period of 5 years, From the date of
purchase (excluding Babor costs after the
initial 12 month period). In commercial or
rental use, the additional Bimited
compressor warranty is for 1 year and 9
months, (excluding labor costs after the
initiaB 90 days period),
You must keep and be able to provide your
original saBes receipt as proof of the date of
purchase.
Who is covered?
The origJna! retail purchaser of this Haier
product,
What will be done?
Haler wi[[ repair or re@ace, in your home,
an:>, mechanical, electrical part or the
compressor, which proves defective in norma_
household, use for a period of 12 months.
Haier wi_ repair or re@ace (excluding labor
costs) the sealed system and compressor
(parts only) for an add[tiona_ 4 year
period.
How can you get service?
1. Contact your nearest Haler authorized
Service Depot. For the name o[ the
Service Depot nearest you, contact Haier
at (877) 337-3639,
2. AI_ service must be performed by an
authorized Haler Service Depot,
3. This is carrydn service only,
THIS WARRANTY COVERS UNITS WITHIN
THE COMTINENFAL UNITED STATES,
CANADA AND PUERTO RICO.
THIS WARRANTY DOES NOT COVER:
Damages from improper installation.
Damages in shipping,
Damages from misuse, abuse, accident,
aJteration, lack of proper care and
maintenance,
Damages from service by other than an
authorized dealer or service center.
Labor, service, transportation and shipping
charges For the removal of defective parts
and installation of replacement parts beyond
the initial 12-month period,
THIS LIMITEDWARRANTY ISGIVEN IN LIEU
OF ALL OTHER WARRANTIES, EXPRESSOR
IMPLIED, INCLUDING THE WARRANTIES OF
MERCHANTIBILITY AND FITNESS FOR A
PARTICULARPURPOSE.
The remedy provided in this warranty is
exclusive and is granted in lieu o[ aH other
remedies, This warranty does not cover
[ncidenta[ or consequential damages. Some
states do not a!low the exclusion of [ncidentaJ
or consequent[aJ damages, so this [imitation
may not apply to you. Some states do not
aJJow [imitations on how k)ng an imp!red
warranty Jasts, so this [imitation may not
apply to you. This warranty gives you
specific [ega! rights and you may also have
other rights, which vary from state to state.
11

P eca tio s de $ ete
o Ne pliez pas et ne niez pas le cordon d'alimentation
Assurez vous que la prise est inseree refinement et convenablement dans la
sortie murale
[nserez plusieurs prises dans la douille electrique
Assurez vous que la prise est propre
Avant de fermer I'dehumidificateur, debranchez la corde d'alimentation
Ne branchez pas la corde d'alimentation si vos mains sont mouillees.
PRUDENCE
Ne placez rien sur le tableau de commande
Ne couvrez pas les conduits d'air de la machine
Ne permettez pas aux enfants de grimper ou de jouer dans la machine
Ne mouillez pas Ia machine ou Ie tableau de commande
Gardez Ies materiels inflammables loin de la machine
Contactez un professionel pour reparation.
12

TabledeMatie es
page
Precautions de Surete .................................................................................. 12
Informations de Securite importantes ...................................................... 14-15
Diagramme de Caracteristiques ................................................................ 16-17
Noms des pieces ........................................................................................ 16
Tableau de Commande ................................................................................ 17
Operation .................................................................................................... 18
Specifications .............................................................................................. 18
Instructions d'operation .................................................................................. 19
Debut d'operation ...................................................................................... 19
Reservoir plein ............................................................................................ 19
Drainage continuet ........................................................................................ 19
Installtion du tuyau d'egout PVC .................................................................. 19
Avertissement ................................................................................................ 20
Entretiens/ Urgence ...................................................................................... 20
Depannage .................................................................................................. 21
Informations de la garantie ............................................................................ 22
13

}fo matio s m?o taHtes de
HSEZ TOUTES LE$ iNFORMATiON SAVANT D'UT|LISER CETTE
MACH|NE
Quand vous utilisez ce dehumidificateur, suivez les precautions fondamentales y
compris Ies suivantes:
o Ce dehumidificateur doit etre installe et misa terre proprement comme decrit
dans ce manuel.
o N'operez jamais cet appareil dans un endroit cappable d'accumuler de J'eauSi
c'est Ie cas, debranchez la machine avant de mettre pied dans J'eau.
o N'operez pas I'dehumidificateur en presence des fumees explosives
o Reparez ou remplacez immediatement Ies cordons d'alimentation eraitlees ou
endommagees. N'utilisez pas une corde d'alimentation qui montre des signes de
dommages au long de sa Iongueur, sur la prise ou la ou I'appareil est connecte.
GARD CES HSTRUCT ONS
Nous vous remercions d'avoir utilise un produit kJaier. Ce manuel facile a utiliser
vous aidera pour recevoir le meilieur usage de votre humidificateur.
N'oubliez pas d'enregistrer le numero de serie et du model .lis sont affiches au dos
du de J'humidificateur
Aggravez votre recu d'achat au manuel. Vous en aurez besoin pour obtenir le
service de la garantie.
14

Avast d=@i/ise Vot e
Lisez ce manuel II contient des instructions pour vous aider a entretenir, utiiiser et
apprecier votre dehumidificateur.
DEBALLEZ VOTRE DEHUMIDIFICATEUR
• Enlevez tout @mballage. Ceci inchs la mousse, les insertions et la bande
adhesive
o Inspectez tout le reste d'emballage, bande imprimee, accessoires avant de le jeter.
CONDiTiON ELECTRIQUE
o EAssurez vous qu'il y a une sortie electrique de (115\!olts 15 Amps ) avec une
mise a terre appropriee.
IaISE A TERRE
• Ce dehumidificateur doit etre mis a terre
oLa mise a terre reduit Ie risque dun shoc electrique en fournissant un fil d'evasion
pour Ie courant electrique
• Le cordon d'alimentation a un bouchon pour la mise a terre. Branchez le dans
une sortie convenable installee et mise a terre.
Avertissement: L'usage inexacte de Ia prise fondante peut avoir comme
consequence un risque dun shoc electrique. Appelez un eiectricien quali[ie si vous
ne comprenez pas les instructions de mise a terre ou si vous n'etes pas sure si
I'dehumidificateur est proprement installe. Si la prise murale n'est pas mise a terre,
veuillez contacter un electricien pour Ia repiacer avec un une sortie convenable.
Sous aucune circonstance ne coupez ou ne dephcez pas la
troisieme broche de la corde d'alimentation.
USAGE DU RALLONGE
• Evitez @sage d'une rallonge a cause des dangers potentiels sous certaine
condition.
• Si vous devez utiliser une rallonge, utilisez :
A) Une rallonge a 3 broches qui a une prise a 3 lames et une sortie muraie
convenable
B) [_'estimation de marque du rallonge doit etre egale ou phs grande que
I'estimation electrique du humidificateur.
15

Ca a¢te istiq es DiagFame
@OMS DES PIECES
Devant
Derriere
1. Conduit d'air sec dehumidifie
2. Tableau de commande
3. Poignee
4. Corde d'alimentation
5. Sortie continueile de drainage
(couverte pour Je drainage du seau)
6. Prise d'air humide
7. Le fiRre d'air
8. Roues tournantes
9. Seau de drainage
16

TABLEAU DE COMMANDE
O O
Running Tank-full
7_ Extra Dry db, --_. Off
11 / "\
Li__J I', /
I.orm z
©
DEFROST
fJ_
1. [ampe au courant
Quand I'dehumidificateur est en marche, la lampe s'allume
2. [amiere du reservoir plein
Quand le reservoir d'eau est rempIi, la Iumiere du reservoir s'allume et
I'dehumidificateur arrette a fonctionner automatiquement
3. [umiere de decongelation
Quand I'unite [onctionne sons une temperature basse, la decongetation
commence automatiquement. La lumiere indiquera que I'unite est sons mode de
decongetation
4. Fermer
L'dehumidificateur cesse d'enlever I'humidite
5. Normal
Le control d'dehumidke est entre 50 degres-60 degres
6. Control de la vitesse du ventilateur
7. Plus sec
L'dehumidificateur enleve I'dehumidite continuellement
17

1. Tournez Ia poignee dans le sens des aiguilles d'une montre pour mettre en
marche I'unite. Tournez la vers "Fermer" "OFF" de nouveau pour arreter
I'operation
2. Tournez Ia poignee dans le sens des aiguilles d'une montre pour hausser le
reglage d'humidite et darts Je sens inverse pour pour diminuer Je reglage
d'humidite
3. Appuyez le bouton "Vitesse"pour choisir une vitesse haute ( Jl ) ou une vitesse
basse (I)
Model D530M D545M D565M
Puissance AC 115V/60 Hz
:nlevementd'humidite 30 Pint/D 45 Pin{/D 65 Pint/D
(800F/27 C 60%RH) (80_F/27 C 60%RH) (80°F/27_C 60%RH)
PuissanceFournie 500 W 600 W 780 W
Taille de la caisse 23-1/32" x 14-3!/32" x !2-19/32"
(H x W x D) (580 x 380 x 3!0 ram)
Poids 35.3 Ibs./16 kgs, 35.3 Ibs,/16 kgs, 38,6 _bs,/17.5 kgs.
Operation
Temperature 41_F-95 F (5C -- 35C)
18

iiiiiiiiiiiiiiiiiiiiiiiiiiiiiiiiiiiiiiiiiiiiii! ! ! ! !
IHSI CIiOHS l'OIe atioH
DEBUT DE L'OPERATiON
1. Assurez vous que la prise est inserree proprement darts
Ia douilJe.
2. Assurez vous que le reservoir est place proprement. Si
la Iumiere indiquant le reservoir ptein est allumee quand
vous mettez en marche la machine pour Ia premiere lois,
retirez Ie reservoir d'eau et remettez le darts Ja position
propre.
Quand Ia Iumiere du reservoir ptein est allumee
Quand Ie reservoir d'eau est plein, un signal lumineux s'atlumera et
J'dehumidificateur cessera de fonctionner. La machine reactivera apres 3 minutes
Note: Videz le reservoir d'eau a I'aide des 2 mains.
DRAINAGE CON}'INUI{L
La fonction du drainage continuel peut etre active en suivant les etapes suivantes.
1. Preparez Ie tuyau PVC pour egouter I'eau. Entevez la casquette de la sortie de
drainage.
2. Retirez I'insertion en caoutchouc plate de Ia casquette
3. Retirez le tuyau de drainage par I'anneau de Ia casquette
4. Alignez Ie tuyau avec la sortie d'eau sur I'unite
premierement, puis attachez la casquette sur la sortie.
5. Placez Ie seau darts son emplacement original.
ktalIation du tuyau de drainage PVC
En utilisant Ia fonction du drainage continuel, le tuyau PVC
doit etre place horizontalement au dessous du trou de drainage. Evitez le pliage du
tuyau ou le placement sur une surface inegale.
19
This manual suits for next models
3
Table of contents
Languages:
Other Haier Dehumidifier manuals

Haier
Haier DE45EK User manual

Haier
Haier Dehumidifier User manual

Haier
Haier DM30J User manual

Haier
Haier HD458 User manual

Haier
Haier HD Series User manual

Haier
Haier DM30EK User manual

Haier
Haier HD301 User manual

Haier
Haier DM32EK User manual

Haier
Haier QDHR35 Safety guide

Haier
Haier HDN305 - 30 Pint Capacity Dehumidifier User manual

Haier
Haier HM50E User manual

Haier
Haier HD306 - annexe 1 User manual

Haier
Haier HD451E User manual

Haier
Haier DM32EK User manual

Haier
Haier DM30EJ User manual

Haier
Haier DE45EK User manual

Haier
Haier HD601E User manual

Haier
Haier DE45EM User manual

Haier
Haier HD-1003 User manual
Haier
Haier DE45EM User manual