manuals.online logo
Brands
  1. Home
  2. •
  3. Brands
  4. •
  5. Halfords
  6. •
  7. Bicycle Accessories
  8. •
  9. Halfords Deluxe Roof Mount Carrier User manual

Halfords Deluxe Roof Mount Carrier User manual

Secure the carrier to the other roof bar by unlocking the
quick release handle. Rotate the quick release handle
anti-clockwise so that the swing arm can be freely
rotated out of the way.
4
1
The following operation must be completed before the carrier
is mounted to the vehicle roof bars. The carrier must be
adjusted to suit the particular cycle to be carried.
Position the carrier on the floor and place the cycle onto
the carrier. Raise the clamping arm up to the cycle frame.
ABC
Slide the bracket to the point at which the carrier crosses the
roof bar and rotate the arm around underside of the roof bar.
Fit the head of the coach bolt into the notch of the swing
arm. Push the coach bolt as far as possible into the notch
and close the handle to clamp the carrier to the roof bar.
The tension may be set by turning the handle clockwise,
checking that the quick release handle will close on each
full rotation.
5
BC
A8
Lift your cycle onto the carrier ensuring both tyres are
positioned centrally on the tyre locators.
6
To make fitting of the cycle easier, secure the front wheel
using the 52cm strap. Warning: Ensure the strap is inserted
through the cambuckle in the correct direction.
7
Release the jaws of the clamping assembly by unlocking,
lifting the handle and rotating it anti-clockwise.
The clamp may be unscrewed and reversed to provide
either left or right access.
2
To adjust the position of the base plate, loosen the four M6
nuts that are situated either side of the longitudinal bar.
Offer the clamping arm to the frame of your cycle by sliding
the base unit along the longitudinal bar.
Once in the correct position, tighten the nuts to 7Nm
and fit the carrier to the vehicle.
Secure the Front of the carrier by releasing the quick release
handles. Rotate the handles anti-clockwise so the L-Shaped
Clamps can be freely attached around the roofbar. Take care
to ensure the clamps are located in the slots. Close the quick
release handles to clamp the carrier to the roofbar.
The tension can be set by turning the handles clockwise,
checking that the quick release handles will close on
each full rotation.
7Nm
3
Halfords Ltd. Washford Redditch B98 ODE
Made in the UK
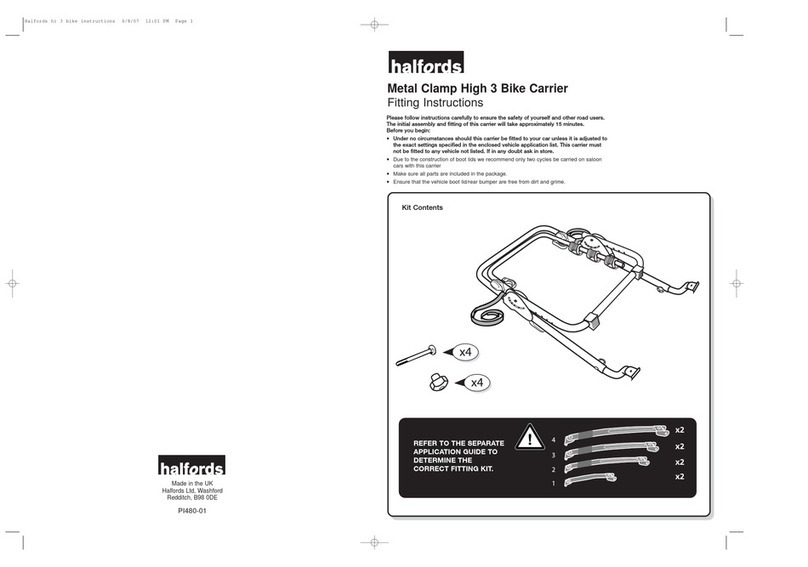
Deluxe Roof Mount Carrier
Fitting Instructions
Please follow instructions carefully to ensure the safety of yourself and other road users.
The initial assembly and fitting of this carrier will take approximately 15 minutes.
Before you begin:
●Make sure all parts are included in the package.
x1
Kit Contents
Main frame
Key
Spanner 52cm
x1 x1
10
Release the tyre locator handles and feed the straps through
each wheel. Locate the metal loop onto the furthest
achievable clip. Push the handle down to lock the wheel to
the tyre locator. If the strap is not holding the wheel firmly
in position, repeat the above operation making sure to move
the metal loop to the next available clip.
Raise the clamping assembly and secure the frame. Close
the handle to secure the clamp to the frame. Check that
it is secure. If not release by lifting the handle and rotate
it clockwise to tighten. Once secure lock handle.
9
1
2311
When driving without a cycle fitted, the clamping arm
should be secured to the longitudinal bar using the 52cm
straps and the tyre locators fixed in position. Carry out the
same operation to secure the tyre locators as when
clamping the cycle.
If more than one cycle
is fitted, alternate the
direction of the cycles.
●Retain these instructions for future
reference, ensure that any other users
of the cycle carrier are familiar with
their contents.
●Please read the fitting instructions carefully.
●Make sure that all parts are included
in the package.
●Prior to fitting ensure that the vehicle roof
bars are free from dirt and grime.
●IMPORTANT! Carrier clamping mechanisms
must always be re-tightened after cycle has
been mounted to the carrier.
●After driving for a few miles STOP and check
that all clamping mechanisms are secured
and tight. This must be repeated at suitable
intervals depending on the nature of the road.
●The maximum permissible roof loads must
not be exceeded (see vehicle handbook for
details of the maximum roof loads). The roof
load will comprises of the weight of the load
bars, the carrier plus additional racks and the
cycle load. Do not exceed a maximum load of
15kg per cycle carrier (1 adult cycle).
●When using the carrier the driving handling
characteristics of your vehicle will change.
Driving techniques should be altered to allow
for this. Reduce speeds (max 70mph) and
allow longer braking distances.
●When fitted, the roof bars will affect your
fuel economy, therefore please remove when
not in use.
●Take care not to drive in low places such as
garages or multistorey car parks.
●When positioning cycles on the carrier
ensure that they do not project beyond the
profile of the vehicle and that no part of the
cycle can touch the paintwork.
●The use of cycle carriers may be restricted in
certain countries outside the UK. Always check
with the relevant national authorities prior to
commencing your journey.
●Do not put the car through an automatic car
wash with the load carrier mounted.
●Ensure this carrier is maintained and kept in
good working order.
Important Instructions
Other Halfords Bicycle Accessories manuals

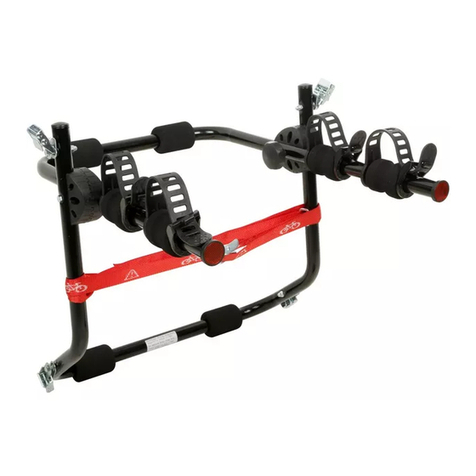
Halfords Low 2 Bike Carrier User manual

Halfords

Halfords Low 2 Bike Carrier User manual

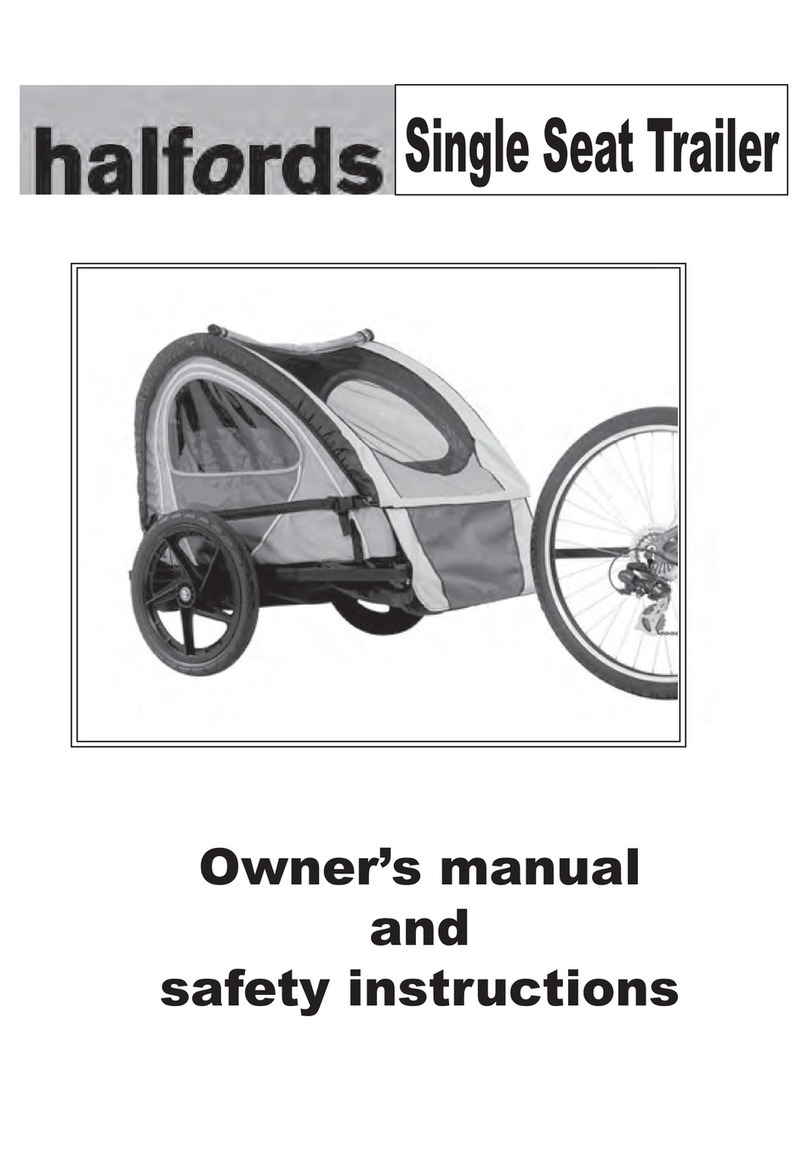
Halfords Bike Trailer User manual

Halfords

Halfords Bike Trailer User manual

Halfords Bicycle Accessories User manual

Halfords

Halfords Bicycle Accessories User manual

Halfords Low 2 User manual

Halfords

Halfords Low 2 User manual

Halfords 151640 User manual

Halfords

Halfords 151640 User manual

Halfords 151624 User manual

Halfords

Halfords 151624 User manual

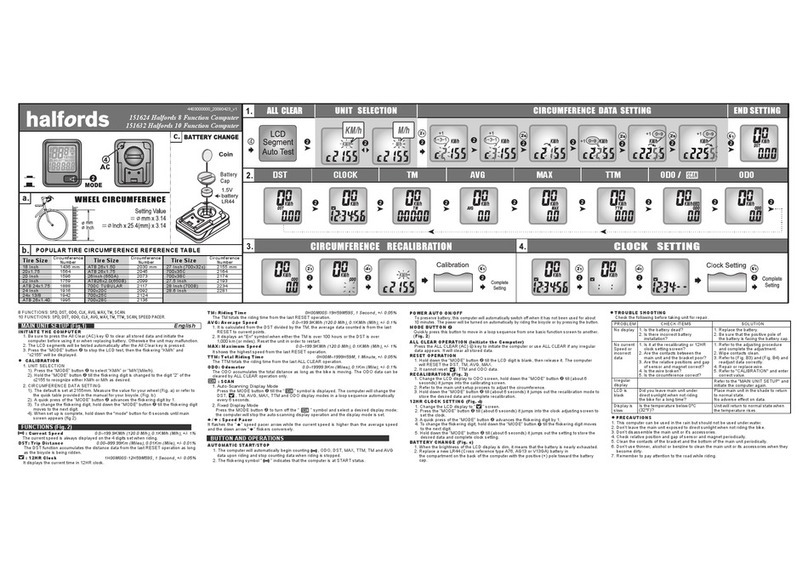
Halfords Bicycle Computer User manual

Halfords

Halfords Bicycle Computer User manual

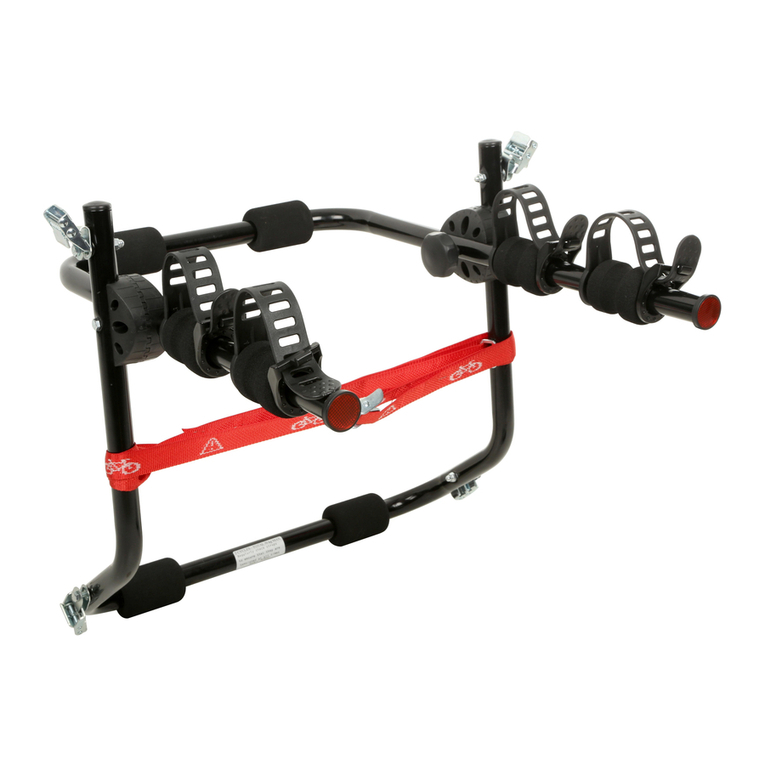
Halfords Bike Rack User manual

Halfords

Halfords Bike Rack User manual

Popular Bicycle Accessories manuals by other brands

MD 011 manual

MD

MD 011 manual

Cane Creek EC Installation guides

Cane Creek

Cane Creek EC Installation guides

SPEEDPLAY DRILLIUM PEDALS HAND OVER INSTRUCTIONS TO CUSTOMER

SPEEDPLAY

SPEEDPLAY DRILLIUM PEDALS HAND OVER INSTRUCTIONS TO CUSTOMER

Hiplok SWITCH user guide

Hiplok

Hiplok SWITCH user guide

MSW Ride & Repair Kit With Pump instructions

MSW

MSW Ride & Repair Kit With Pump instructions

MSW MSW-SBR-01 user manual

MSW

MSW MSW-SBR-01 user manual

Steren BIKE-025 instruction manual

Steren

Steren BIKE-025 instruction manual

Shimano FD-M665 Technical Service Instructions

Shimano

Shimano FD-M665 Technical Service Instructions

Hyena BC-A320 product manual

Hyena

Hyena BC-A320 product manual

Pro SCIO manual

Pro

Pro SCIO manual

Cannondale 2012 IQ200 Setup and owners manual

Cannondale

Cannondale 2012 IQ200 Setup and owners manual

Merida TEAM TR Assembly and operating instructions

Merida

Merida TEAM TR Assembly and operating instructions

ERGOTEC SP-10.0 Assembly and safety instructions

ERGOTEC

ERGOTEC SP-10.0 Assembly and safety instructions

NORAUTO SLIM 100-5 Safety information

NORAUTO

NORAUTO SLIM 100-5 Safety information

Xtracycle MagicCarpet manual

Xtracycle

Xtracycle MagicCarpet manual

Bosch Kiox 300 Original operating instructions

Bosch

Bosch Kiox 300 Original operating instructions

Stages cycling Power Meter quick start guide

Stages cycling

Stages cycling Power Meter quick start guide

Bosch Nyon owner's manual

Bosch

Bosch Nyon owner's manual

manuals.online logo
manuals.online logoBrands
  • About & Mission
  • Contact us
  • Privacy Policy
  • Terms and Conditions

Copyright 2025 Manuals.Online. All Rights Reserved.