manuals.online logo
Brands
  1. Home
  2. •
  3. Brands
  4. •
  5. Hamplus
  6. •
  7. Switch
  8. •
  9. Hamplus AS-603A User manual

Hamplus AS-603A User manual

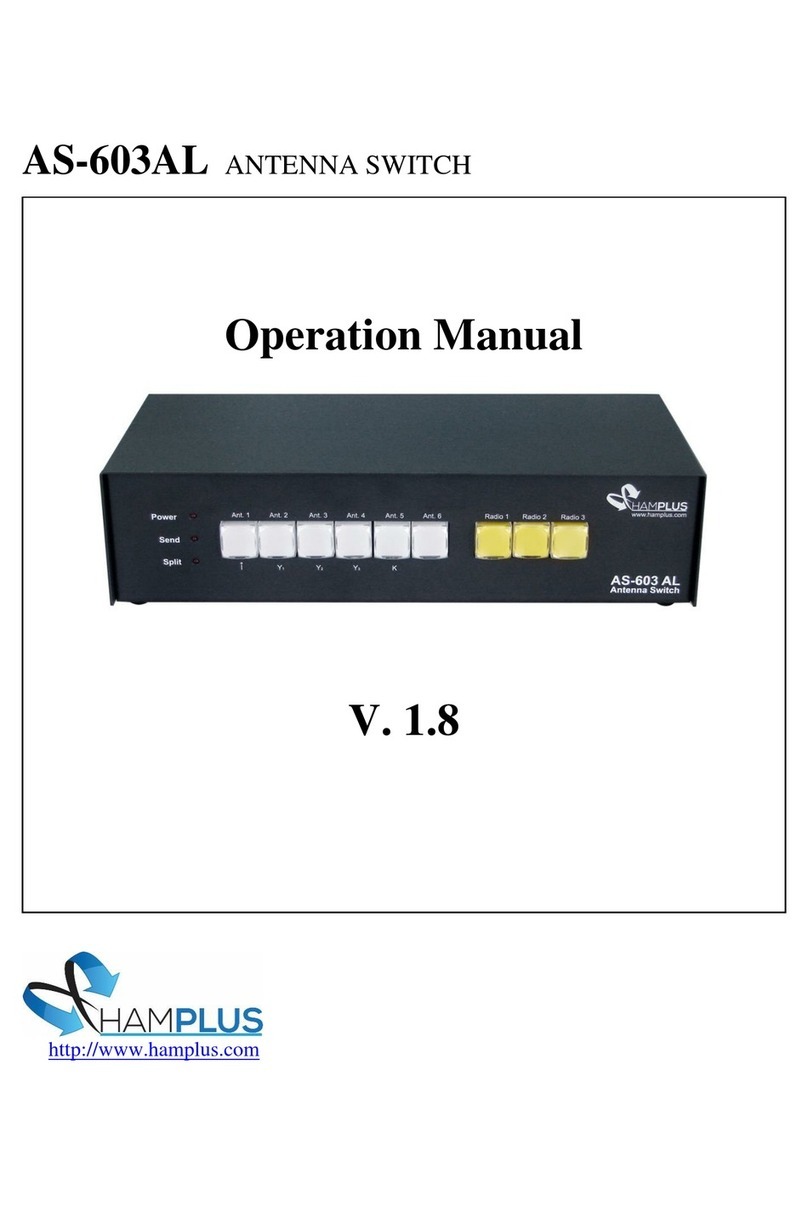
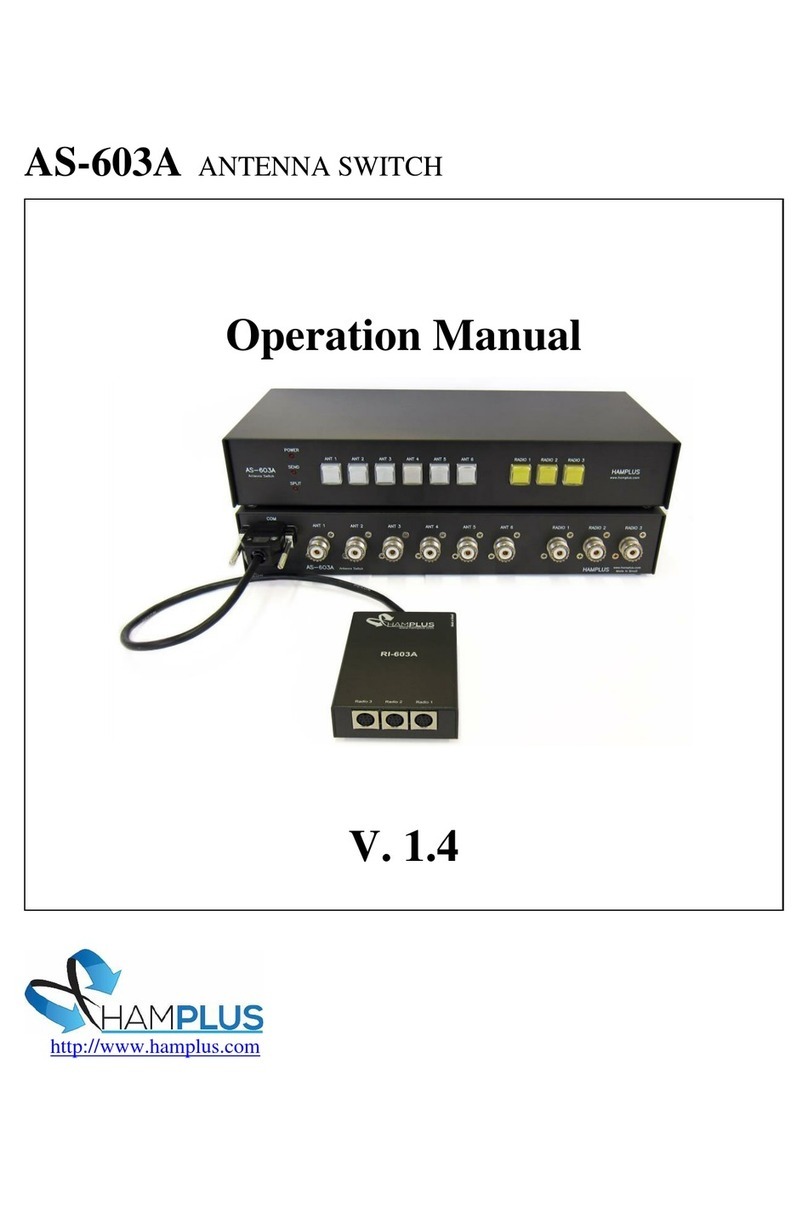
AS-603A ANTENNA SWITCH
http://www.hamplus.com
Operation Manual
V. 1.8
AS-603A
Operation Manual
Automatic Antenna Switch 6x3
The AS-603A is an automatic antenna switch for three radios and six antennas. It has
internally two independent switches. One to select the radios and another to select the
antennas. The operation is individual, which means that only the selected radio will have
access to the antennas. Unused antennas are automatically grounded.
To facilitate the operation, the AS-603A also has a third internal switch that switches the
Send commands and the Com port to the selected Radio.
The AS-603A supports communication with the following radios:
Icom (CI-V), Kenwood (RS-232), Elecraft K3 (RS-232), Yaesu (RS-232), Flex or any other Radio
that uses one of these communication protocols.
Procedure for connecting the AS-603A to the radio:
1- On the AS-603A press and hold the yellow radio select Push button and turn on the
AS-603A.
2- Then press the Antenna Push Button corresponds to the model of the radio that you
will connect, according to the list below;
a- Ant 1 Push Button for Icom (CI-V) radios Baud rate 19200
b- Ant 2 Push Button for Yaesu type FT-817, FT-857 and others. Baud rate 4800
c- Ant 3 Push Button for Yaesu type FT-1000 MP radios and others. Baud rate 4800
d- Ant 4 Push Button for Yaesu type FT-5000 radios and others. Baud rate 4800
e- Ant 5 Push Button for Kenwood, Elecraft, Flex Radio, and others. Baud rate 4800
After the choice, the Split LED stops blinking, this indicates the end of this procedure.
Procedure to activate Split mode:
To activate Split mode, the AS-603A must be connected to the radio with the appropriate
cable.
1- Press the PTT on the radio and watch the AS-603A's Send LED light up.
2- Then, with the PTT still pressed, press and release the button of the antenna that you
want to receive. At this moment Split LED indicator lights up.
3- When PTT is released, the AS-603A will switch to the chosen receiving antenna.
Each time you press the PTT, it returns to the transmitting antenna.
Any change of antenna or band on the radio deactivates Split mode.
Testing and using the automatic antenna selection feature of the AS-603A with a connected
and selected radio:
NOTE: No computer programming, PC connection or internal changes are required. A
connected radio means that it is interfaced to the AS-603A with a cable, such as Hamplus ERC-
6, IRC-6, KRC-6, YRC-6, FRC-6, or YRC-61, and the radio set to the correct baud rate (19,200
baud CI-V or 4800 baud CAT and COM) and set up as described in the previous section.
If the AS-603A is not interfaced as described, then it may be operated as a Manual Antenna
Switch.
When connected, the AS-603A is an Automatic Band Memory Antenna Switch that may be
operated manually. “Programming” automatic antenna selections are made as each different
band is selected on the connected and selected radio. The initial manual selection of a specific
antenna for that band is made by depressing the desired Ant button, which is then
automatically memorized. There is no “SAVE” button nor is there a multi-button programming
sequence. Just set the antenna by the band on the radio.
Restated, simply assign or reassign any AS-603A Ant button number to any band by initial or
subsequent manual selection. For every and any band chosen and displayed on the connected
and selected radio, every time a different antenna button is manually depressed, that selection
is memorized.
Here is an example of antenna memorization by band setting on the transceiver
connected to and selected as Radio 1 on the AS-603A:
1. Select 40 meters on Radio 1 and press Ant 2 on the AS-603A (as if your 40 meter
antenna is connected to the Ant 2 port on the AS-603A)
2. Select 80 meters on Radio 1 and press Ant 1 on the AS-603A (as if your 80 meter
antenna is connected to the Ant 1 port on the AS-603A)
3. Select 20 meters on Radio 1 and press Ant 3 on the AS-603A (as if your 20 meter
antenna is connected to the Ant 3 port on the AS-603A)… and so on.
Now, test the automation by changing back to the 40 meter band on your radio. The
AS-603A should now automatically switch to Ant 2.
Then, select 80 meters on your radio and the AS-603A automatically switches to Ant 1,
and so on.
If automatic antenna selection by band or frequency does not occur, then reattempt the
Procedure for connecting the AS-603A to the radio in the section above.
Supporting the use of a multi-band antenna, the AS-603A provides the ability to assign any
single antenna port to any number of bands on the connected radio, also by initial manual
selection.
For example: A 20/15/10 meter tri-band beam coaxial cable is connected to Ant 3 port on the
AS-603A.
4. Select 20 meters on the connected radio and press Ant 3 on the AS-603A (because
your tri-band antenna is connected to Ant 3 port on the AS-603A)
5. Select 15 meters on the connected radio and press Ant 3 on the AS-603A (because
your tri-band antenna is connected to Ant 3 port on the AS-603A)
6. Select 10 meters on the connected radio and press Ant 3 on the AS-603A (because
your tri-band antenna is connected to Ant 3 port on the AS-603A)
Now, test the tri-bander automation by selecting any of those bands, 20, 15 and 10
meters, on your radio. The AS-603A will now automatically stay on Ant 3, or go back to
Ant 3 after selecting a band with a different band memorized.
7. Select 80 meters on your radio and the AS-603A automatically switches to Ant 1,
8. Then, select 20 meters on your radio and the AS-603A automatically switches back
to Ant 3… and so on.
IMPORTANT FEATURE: PC interface to this antenna switch controller is not necessary.
Interfaced transceivers that are also controlled locally or remotely by USB or LAN will continue
to benefit from this Automatic Band Memory Antenna Switch. This smart controller method of
automatic antenna selection is simply made by band or frequency selection with the radio
control program.
REMINDER: Reassignment of any band or frequency to a different antenna port is simply made
by manual reselection of the new antenna port number whenever the connected radio is set
on that specific band or frequency. The manual change is automatically updated by the AS-
603A for only the selected radio. Simply stated, reassign any Ant # to any band by manual
reselection of the new Ant # whenever the radio is set to that band.
For example, let’s say that you now want to move your 40 meter antenna to the Ant 5 port on
the AS-603A. Simply select 40 meters on the connected radio and press Ant 5 on the AS-603A,
and it memorizes this change. Each time you change this radio to a 40 meter frequency, Ant 5
will now be automatically selected.
NOTE: On any given radio band, any manual antenna selection that is made, even if it
happens to be incorrect, will be memorized. So, check and recheck each of your band
memorized antenna selections by changing to each of the bands on your connected
and selected radio and watching the AS-603A automatically change to the correct
antenna. Correct any wrong Ant # on any band by manual selection.
-----------------------x----------------------

Other manuals for AS-603A

1

Other Hamplus Switch manuals

Hamplus AS-61WL User manual

Hamplus

Hamplus AS-61WL User manual

Hamplus AS-603UR User manual

Hamplus

Hamplus AS-603UR User manual

Hamplus AS-603AL User manual

Hamplus

Hamplus AS-603AL User manual

Hamplus AS-603HR User manual

Hamplus

Hamplus AS-603HR User manual

Hamplus AS-603WL User manual

Hamplus

Hamplus AS-603WL User manual

Hamplus AS-603A User manual

Hamplus

Hamplus AS-603A User manual

Popular Switch manuals by other brands

Garmin GTB 10 owner's manual

Garmin

Garmin GTB 10 owner's manual

Rextron SNCP12 manual

Rextron

Rextron SNCP12 manual

Austin Hughes CyberView MU-1603 user manual

Austin Hughes

Austin Hughes CyberView MU-1603 user manual

hager 04011 User instructions

hager

hager 04011 User instructions

Cabletron Systems 9E423-36 owner's manual

Cabletron Systems

Cabletron Systems 9E423-36 owner's manual

Moxa Technologies EtherDevice EDS-30 Hardware installation guide

Moxa Technologies

Moxa Technologies EtherDevice EDS-30 Hardware installation guide

D-Link DES-105 Quick installation guide

D-Link

D-Link DES-105 Quick installation guide

NETGEAR GS728TS Smart Switch Hardware installation guide

NETGEAR

NETGEAR GS728TS Smart Switch Hardware installation guide

API 8512 Series Operation & installation manual

API

API 8512 Series Operation & installation manual

Ruijie RG-ES05 Series Quick installation guide

Ruijie

Ruijie RG-ES05 Series Quick installation guide

Buffalo BS-GS20 Series user manual

Buffalo

Buffalo BS-GS20 Series user manual

Hubbell Euclid PBP Pendant Assembly & parts list

Hubbell

Hubbell Euclid PBP Pendant Assembly & parts list

Aastra CVX 1800 Product brief

Aastra

Aastra CVX 1800 Product brief

StarTech.com SV231DD2DUA instruction manual

StarTech.com

StarTech.com SV231DD2DUA instruction manual

LEGRAND 0 672 33 quick start guide

LEGRAND

LEGRAND 0 672 33 quick start guide

Endress+Hauser Soliphant T FTM260 technical information

Endress+Hauser

Endress+Hauser Soliphant T FTM260 technical information

Rose electronics Vista DVI Plus Installation and operation manual

Rose electronics

Rose electronics Vista DVI Plus Installation and operation manual

Matrix Switch Corporation MSC-1HD0816S product manual

Matrix Switch Corporation

Matrix Switch Corporation MSC-1HD0816S product manual

manuals.online logo
manuals.online logoBrands
  • About & Mission
  • Contact us
  • Privacy Policy
  • Terms and Conditions

Copyright 2025 Manuals.Online. All Rights Reserved.