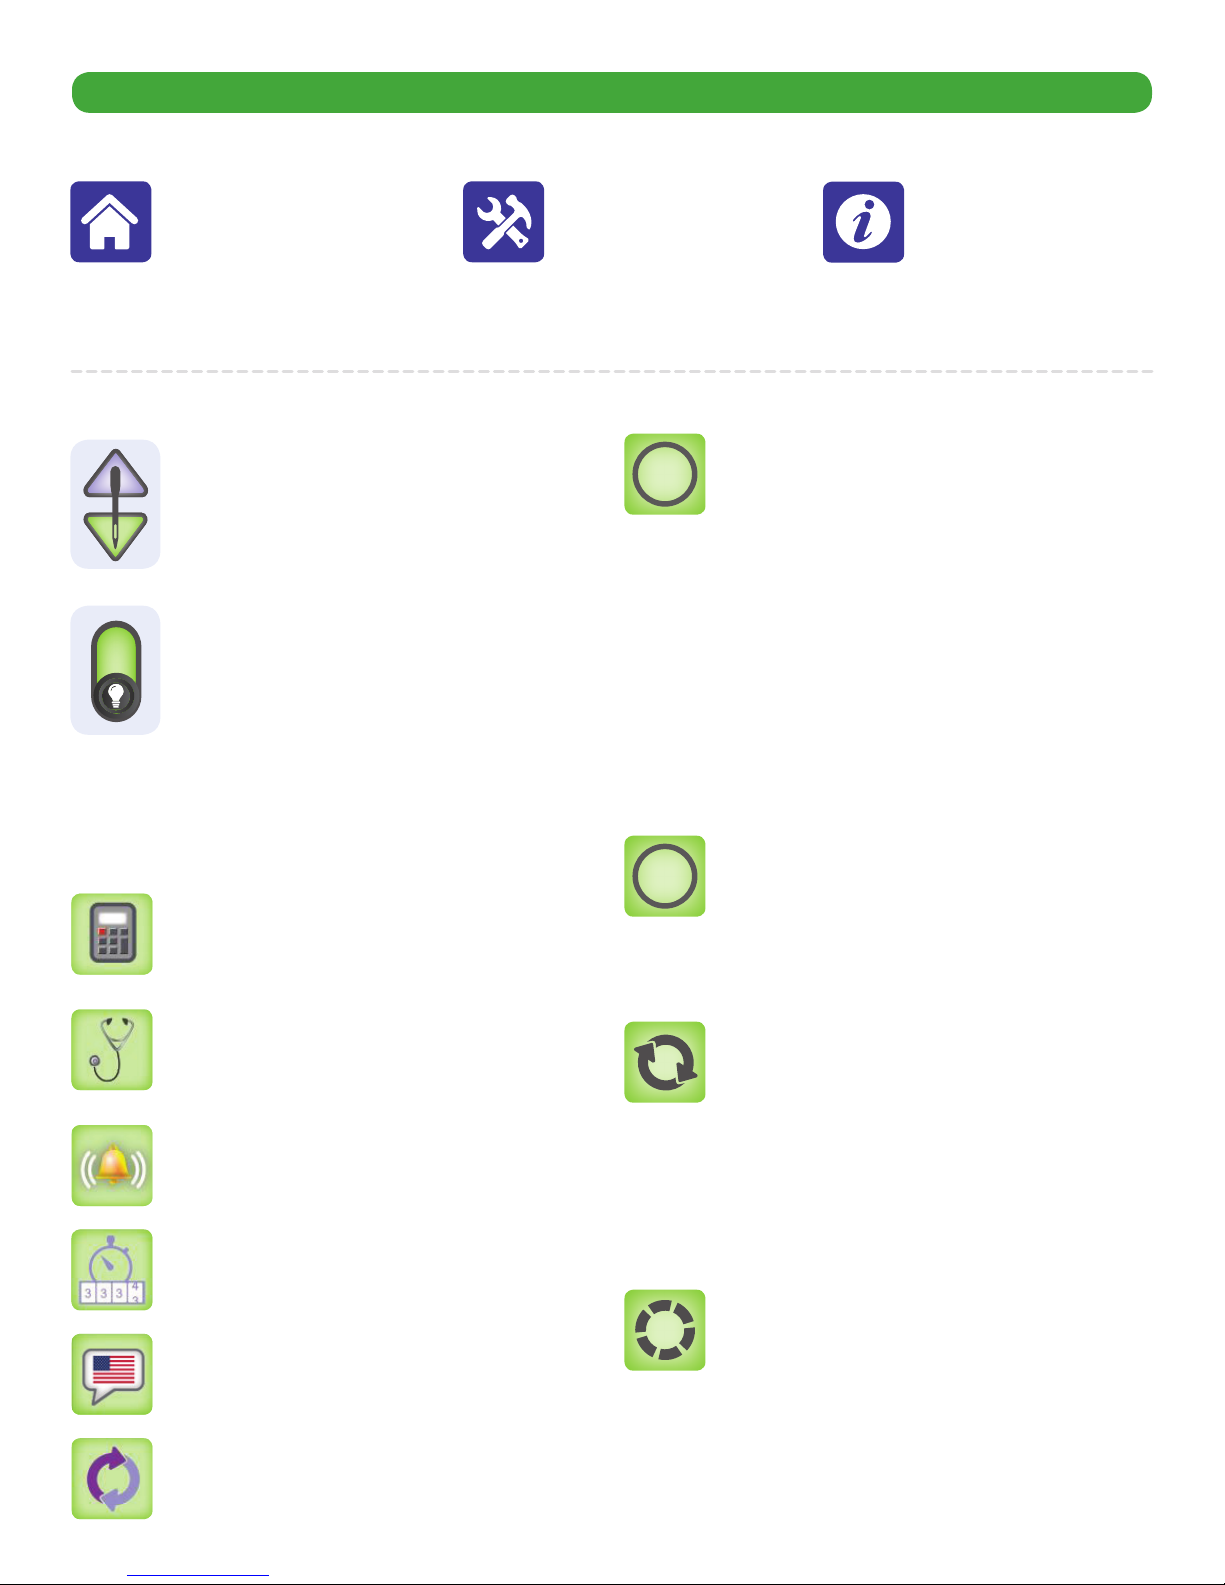
HQ SIMPLY SIXTEEN SCREEN BUTTONS
TOOLBAR BUTTONS
The toolbar buttons are available on every HQ Simply Sixteen screen. For more information about tools and
settings, see the
Machine Tools
and
Information Screen
sections of the HQ Simply Sixteen manual.
OTHER BUTTONS ON THE MAIN SCREEN
Needle-stop button
: Touch the button to
alternate between having the needle stop
in the up or down position when you stop
stitching. Your choice displays in green (as
shown at the left). This button does not
move the needle, but rather indicates your
preference for the final needle position when
quilting is stopped.
LED lights button
: Touch the LED lights
button to turn lights on or off.
MACHINE TOOLS BUTTONS
After you select the
Tools
button, the following options
are available:
STITCHING MODES
Manual Stitching Mode
: Touch the Manual
button and then specify the stitches per
minute by pressing the plus (+) or minus
(–) buttons on the screen or selecting one of the two
stitches-per-minute presets.
When using the manual stitching mode, the length of
the stitch is determined by how quickly or slowly you
move the machine around the quilt, in combination with
the number of stitches per minute (up to 1800) you
have selected. For a consistent stitch length, move the
machine at a consistent speed. Experiment with different
combinations of quilting speed and stitches per minute to
find what optimally works for you.
Regulated Stitching Mode
: Touch the
Regulated button and then select either
Cruise or Precision stitch regulation. Stitch
regulation maintains a consistent stitch length (stitches
per inch) regardless of how quickly or slowly you move
the machine.
Cruise Stitch Regulation
: Touch the Cruise
button and then specify the stitches-per-inch
and stitches-per-minute settings. After you
press the Start/Pause button on the handlebars, the
machine immediately begins quilting according to the
stitches-per-minute and stitches-per-inch settings. The
needle continues stitching at the cruise speed (stitches
per minute) until you press the Start/Pause button on the
handlebars.
Precision Stitch Regulation
: Touch the
Precision button and then specify the stitches-
per-inch setting. After you press the Start/
Pause button on the handlebars, move the machine for
it to begin quilting according to the stitches-per-inch
setting. When you stop moving the machine, stitching
stops but just until you move it again. Press the Start/
Pause button on the handlebars to fully stop quilting.
Opens the on-screen
Calculator
.
Opens the
Diagnostics
screen for accessing
the diagnostics tests that you may be
asked to perform by Handi Quilter technical
support or authorized Handi Quilter
representative.
Opens the
Alarms
screen for setting the
overspeed and quilting alarms.
Tracks elapsed
quilting time
and the
number
of stitches
in a quilt.
Opens the
Language
screen for selecting
the language used on the Simply Sixteen
information screens. The choices are English,
French, German, and Spanish.
Updates
machine and display software
downloaded to a USB drive when a new
version is released.
M
R
QM30269 • OCTOBER 2015
Touch this icon to
open the
Tools
.
Touch this icon to see
System Information
.
Touch this icon to
open the
Main Screen
.


