manuals.online logo
Brands
  1. Home
  2. •
  3. Brands
  4. •
  5. ELNA
  6. •
  7. Sewing Machine Accessories
  8. •
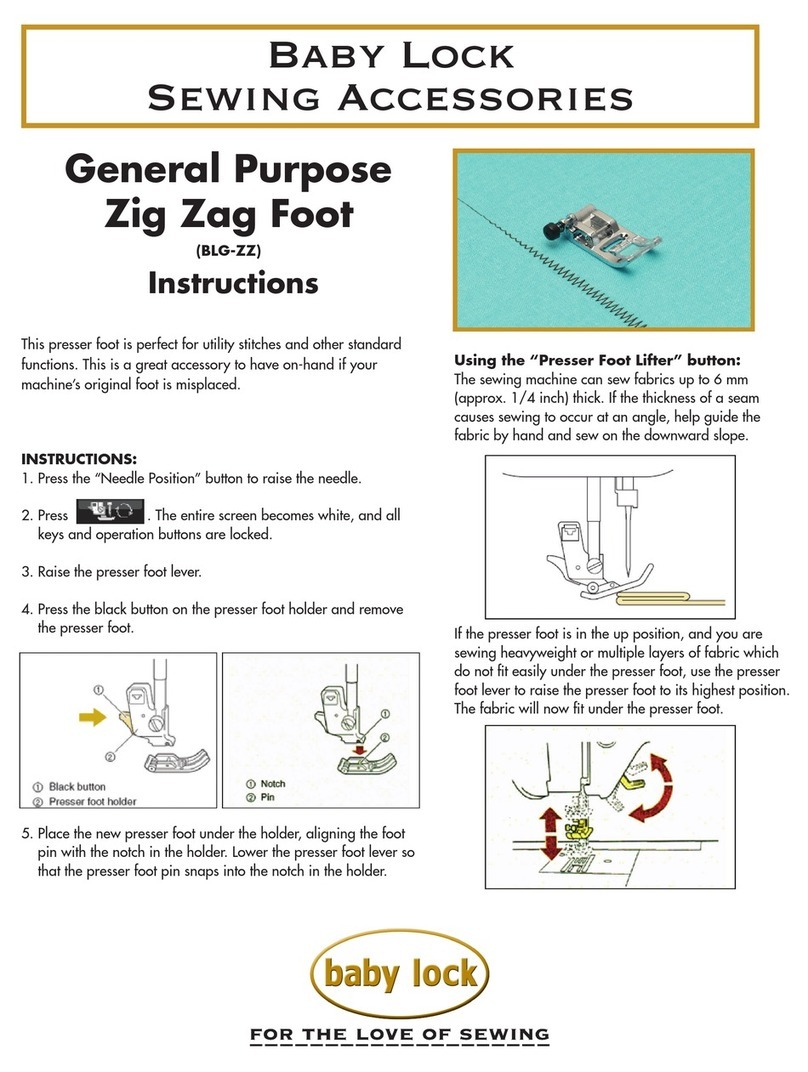
  9. ELNA 202-255-004 User manual

ELNA 202-255-004 User manual

Elna International Corp. SA / 07.06.2022
Right needle
Aiguille droite
Fold
Pli de l’ourlet
Wrong side of fabric
Envers du tissu
Adjusting screw
Vis d’ajustement
Cloth guide
Guide-tissu
Caution
Make sure to press the Lockout key when
replacing the foot or attaching a binder.
For models without the Lockout key, turn the
power switch o when attaching and detaching
the foot and binder.
Please refer to your machine’s instruction
manual for accessory attachment and removal
information.
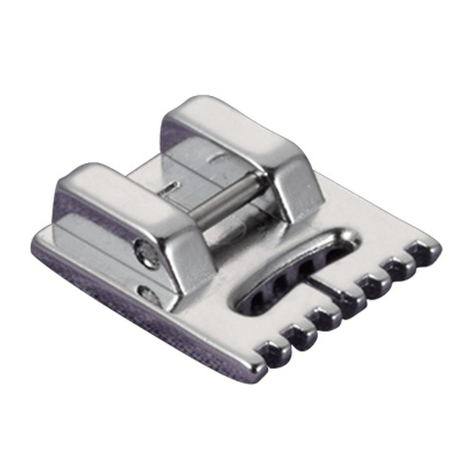
BLIND STITCH FOOT FOR OVERLOCK
MACHINES
Ref: 202-255-004
Sewing:
1.
2.
Replace the foot with the blind stitch foot.
Fold up the hem allowance and press. Fold
down the hem to the right side of the fabric.
The task of making a blind hem for pants, skirts
or other items is made much easier with this foot.
It secures raw edges and creates a hem in one
operation ensuring a speedy nish to the job.
Machine setting:
Set the machine for ordinary 1-needle 3-thread
serging (using the right needle). (Refer to the
machine instruction book.)
Thread tensions:
Left
Needle
Right
Needle
Upper
looper
Lower
looper
- 0-2 3 3
Stitch length: 3 – 5
Dierential feed dial: 1.0
Upper Knife: Activated
Needle plate setting knob: S
PIED POUR OURLET INVISIBLE POUR
SURJETEUSES
Réf: 202-255-004
Attention
Appuyez sur le bouton de verrouillage lorsque vous
remplacez le pied ou xez un dispositif.
Pour les modèles de machines sans bouton de
verrouillage, coupez le contact lorsque vous retirez
ou xez un accessoire.
Référez-vous au manuel d’instruction de votre
machine à coudre pour toutes les informations
concernant la xation et le changement d’un
accessoire.
Pour coudre:
1.
2
Remplacez le pied par le pied pour ourlet
invisible.
Repliez le surplus de l’ourlet puis repassez le
tissu. Pliez le bas de l’ourlet sur le côté droit
du tissu.
Faire des ourlets invisibles à des pantalons, des
jupes ou tout autres pièces devient une tâche
facile.Il nit les bords bruts et crée un ourlet
en une seule opération en assurant une nition
rapide du travail.
Préparation de la machine:
Réglez la machine sur le point sergé standard
1-aiguille 3-ls. Utilisez l’aiguille droite. (Référez-
vous au manuel d’instructions).
Tensions des ls:
Aiguille
gauche
Aiguille
droite
Boucleur
supérieur
Boucleur
inférieur
- 0-2 3 3
Longueur du point: 3 – 5
Entraînement diérentiel: 1.0
Couteau supérieur: Activé
Bouton de réglage de la plaque d’aiguille: S
Elna International Corp. SA / 07.06.2022
Wrong side of fabric
Envers du tissu Right side of fabric
Endroit
(Finished)
Adjusting screw
Vis d’ajustement
Cloth guide
Guide-tissu
5. Sew the hem making sure the needle catches
the edge of the hem.
3.
4.
Position the fabric (wrong side up) so the folded
edge is to the left side of the cloth guide.
Turn the adjusting screw until the needle catches
only the very edge of the fold.
5. Open the hem and press.
5. Eectuez vos points d’ourlet invisible en
vous assurant toujours que l’aiguille travaille
uniquement l’extrême bord du tissu.
3.
4.
Positionnez le tissu (envers visible) an que le
bord soit sur le côté gauche du guide-tissu.
Tournez la vis d’ajustement jusqu’à ce que
l’aiguille ne pique que l’extrême bord du tissu.
En général, l’aiguille se trouve à 1 millimètre à
gauche du guide-tissu.
5. Ouvrez l’ourlet et mettez à plat.
Elna International Corp. SA / 07.06.2022
Rechte Nadel
Aguja derecha
Falten
Pliegue
Linke Stoseite
Revés de la tela
Einstellschraube
Tornillo de ajuste
Kordelnut
Guía para la tela
BLINDSAUMFUSS
Art.-Nr.: 202-255-004
Vorsicht
Achten Sie darauf, die Sperrtaste zu drücken,
wenn Sie den Fuß austauschen.
Schalten Sie bei Modellen ohne Sperrtaste den
Netzschalter aus, wenn Sie den Fuß anbringen
und abnehmen.
Informationen zum Anbringen und
Abnehmen des Zubehörteils nden Sie in der
Bedienungsanleitung Ihrer Maschine.
Zum Nähen:
1.
2.
Ersetzen Sie den Fuß durch den Blindsaumfuß.
Legen und bügeln Sie den Saum um. Die linke
Stoseite liegt oben.
Vorbereitung der Maschine:
Stellen Sie die Maschine auf 3-Faden-Naht mit
einer Nadel ein. Benutzen Sie die rechte Nadel.
(Informieren Sie sich in der Gebrauchsanleitung)
Fadenspannung:
Linke Nadel Rechte Nadel Obergreifer Untergreifer
- 0-2 3 3
Stichlänge: 3 – 5
Dierenzialtransport: 1.0
Obermesser: aktiviert
Einstellung des Stichplattre: S
Dieser Fuss erleichtert das Nähen eines
Blindsaums für Hosen, Röcke oder andere
Kleidungsstücke.
Er versäubert die Schnittkanten und näht den
Saum in einem Arbeitsgang, sodass die Arbeit
schnell erledigt ist.
Precaución
Asegúrese de pulsar la tecla Bloqueo cuando
reemplace el prensatelas.
Para los modelos sin tecla Bloqueo, apague el
interruptor de alimentación al montar y desmontar el
prensatelas.
Consulte el manual de instrucciones de su máquina
para obtener información sobre el montaje y
desmontaje de accesorios.
PRENSATELAS PARA DOBADILLO
INVISIBLE
Ref: 202-255-004
Costura:
1.
2.
Remplace el prensatelas por el de dobladillo
invisible.
Doble el margen del dobladillo y presione.
Ajuste el dobladillo al lado derecho de la tela.
Ajustes de la máquina:
Ajuste la máquina para 1-aguja normal 3-hilos
sobrehilados (utilizando la aguja correcta).
(Consulte el manual de instrucciones de la
máquina.)
Fadenspannung:
Aguja
izquierda
Aguja
derecha
Ancora
Superior
Ancora
Inferior
- 0-2 3 3
Longitud de puntada: 3 – 5
Cuadrante diferencial del alimentador: 1.0
Cuchilla superior: Activada
Ajuste de la una del placa agujas: S
La tarea de hacer un dobladillo invisible para
pantalones, faldas u otros artículos se ha hecho
mucho más fácil con este prensatelas. Consigue
hacer la operación de bajos de dobladillo en una
sola operación asegurando un acabado rápido y
perfecto del trabajo.
Elna International Corp. SA / 07.06.2022
Linke Stoseite
Revés de la tela Rechte Seite des Stoes
Lado derecho de la tela
Fertig
Terminado
Einstellschraube
Tornillo de ajuste
Kordelnut
Guía para la tela
5. Nähen Sie den Blindsaum, achten Sie darauf
dass die Nadel nicht zu weit nach links in den
Sto sticht.
3.
4.
Legen Sie die Saumkante (fertige
Umbruchkante) zur rechten Stoseite und
platzieren Sie Ihren Sto so unter die Maschine,
dass die Saumzugabe rechts ist und die
Falte sich linksseitig an der Führung des
Blindstichfußes bendet.
Drehen Sie die Einstellschraube an der Führung
des Blindsaumfusses soweit, dass die Nadel nur
leicht in die gefaltete Stokante einsticht.
6. Klappen Sie den Saum wieder zurück und
bügeln Sie ihn.
5. Cosa el dobladillo asegurándose de que la
aguja alcanza el borde del dobladillo.
3.
4.
Coloque la tela (lado incorrecto hacia
arriba) así el borde doblado está al lado
izquierdo de la guía de la ropa.
Gire el tornillo ajustándolo hasta que la
aguja alcance solo el extremo del borde
del pliegue. En general, la aguja es de 1
milímetro a lado izquierdo de la guía de la
tela.
6. Abra el dobladillo y presione.

Other ELNA Sewing Machine Accessories manuals

ELNA 202-235-008 User manual

ELNA

ELNA 202-235-008 User manual

ELNA 202-082-204 User manual

ELNA

ELNA 202-082-204 User manual

ELNA 202-237-000 User manual

ELNA

ELNA 202-237-000 User manual

ELNA 202-080-202 User manual

ELNA

ELNA 202-080-202 User manual

ELNA 200-050-104 User manual

ELNA

ELNA 200-050-104 User manual

ELNA 202-238-001 User manual

ELNA

ELNA 202-238-001 User manual

ELNA 202-142-007 User manual

ELNA

ELNA 202-142-007 User manual

ELNA 611-511-001 User manual

ELNA

ELNA 611-511-001 User manual

ELNA 202-084-206 User manual

ELNA

ELNA 202-084-206 User manual

ELNA 202-490-003 User manual

ELNA

ELNA 202-490-003 User manual

ELNA 202-420-002 User manual

ELNA

ELNA 202-420-002 User manual

ELNA W1 User manual

ELNA

ELNA W1 User manual

ELNA 202-099-204 User manual

ELNA

ELNA 202-099-204 User manual

ELNA 202-239-002 User manual

ELNA

ELNA 202-239-002 User manual

ELNA 200-314-028 User manual

ELNA

ELNA 200-314-028 User manual

ELNA 202-096-201 User manual

ELNA

ELNA 202-096-201 User manual

ELNA 202-091-206 User manual

ELNA

ELNA 202-091-206 User manual

ELNA 202-156-004 User manual

ELNA

ELNA 202-156-004 User manual

ELNA 580+ User manual

ELNA

ELNA 580+ User manual

ELNA 795-816-116 User manual

ELNA

ELNA 795-816-116 User manual

ELNA 495-526-20 User manual

ELNA

ELNA 495-526-20 User manual

ELNA 202-488-008 User manual

ELNA

ELNA 202-488-008 User manual

ELNA 434 User manual

ELNA

ELNA 434 User manual

ELNA 202-103-202 User manual

ELNA

ELNA 202-103-202 User manual

Popular Sewing Machine Accessories manuals by other brands

Brother ScanNCut DX Stamp Starter Kit Operation manual

Brother

Brother ScanNCut DX Stamp Starter Kit Operation manual

Adjustoform Sew Simple Assembly and Adjustment Instructions

Adjustoform

Adjustoform Sew Simple Assembly and Adjustment Instructions

DURKOPP ADLER 867 instructions

DURKOPP ADLER

DURKOPP ADLER 867 instructions

Schacht LOOM BENCH Assembly instructions

Schacht

Schacht LOOM BENCH Assembly instructions

DURKOPP ADLER 767 - instructions

DURKOPP ADLER

DURKOPP ADLER 767 - instructions

addi addiQuick Hobby Instruction & tips

addi

addi addiQuick Hobby Instruction & tips

Beisler 1265-5 Operation instructions

Beisler

Beisler 1265-5 Operation instructions

Hinterberg Design Machine quilting frame instructions

Hinterberg Design

Hinterberg Design Machine quilting frame instructions

handi quilter Sixteen P-Pod manual

handi quilter

handi quilter Sixteen P-Pod manual

Baby Lock Solaris BLSAU installation guide

Baby Lock

Baby Lock Solaris BLSAU installation guide

Bernina Foldable Sit Down Table Assembly instructions

Bernina

Bernina Foldable Sit Down Table Assembly instructions

Janome 202297008 instructions

Janome

Janome 202297008 instructions

manuals.online logo
manuals.online logoBrands
  • About & Mission
  • Contact us
  • Privacy Policy
  • Terms and Conditions

Copyright 2025 Manuals.Online. All Rights Reserved.