Handy Dryers 1205 User manual
Automatic Sinitiser Dispenser
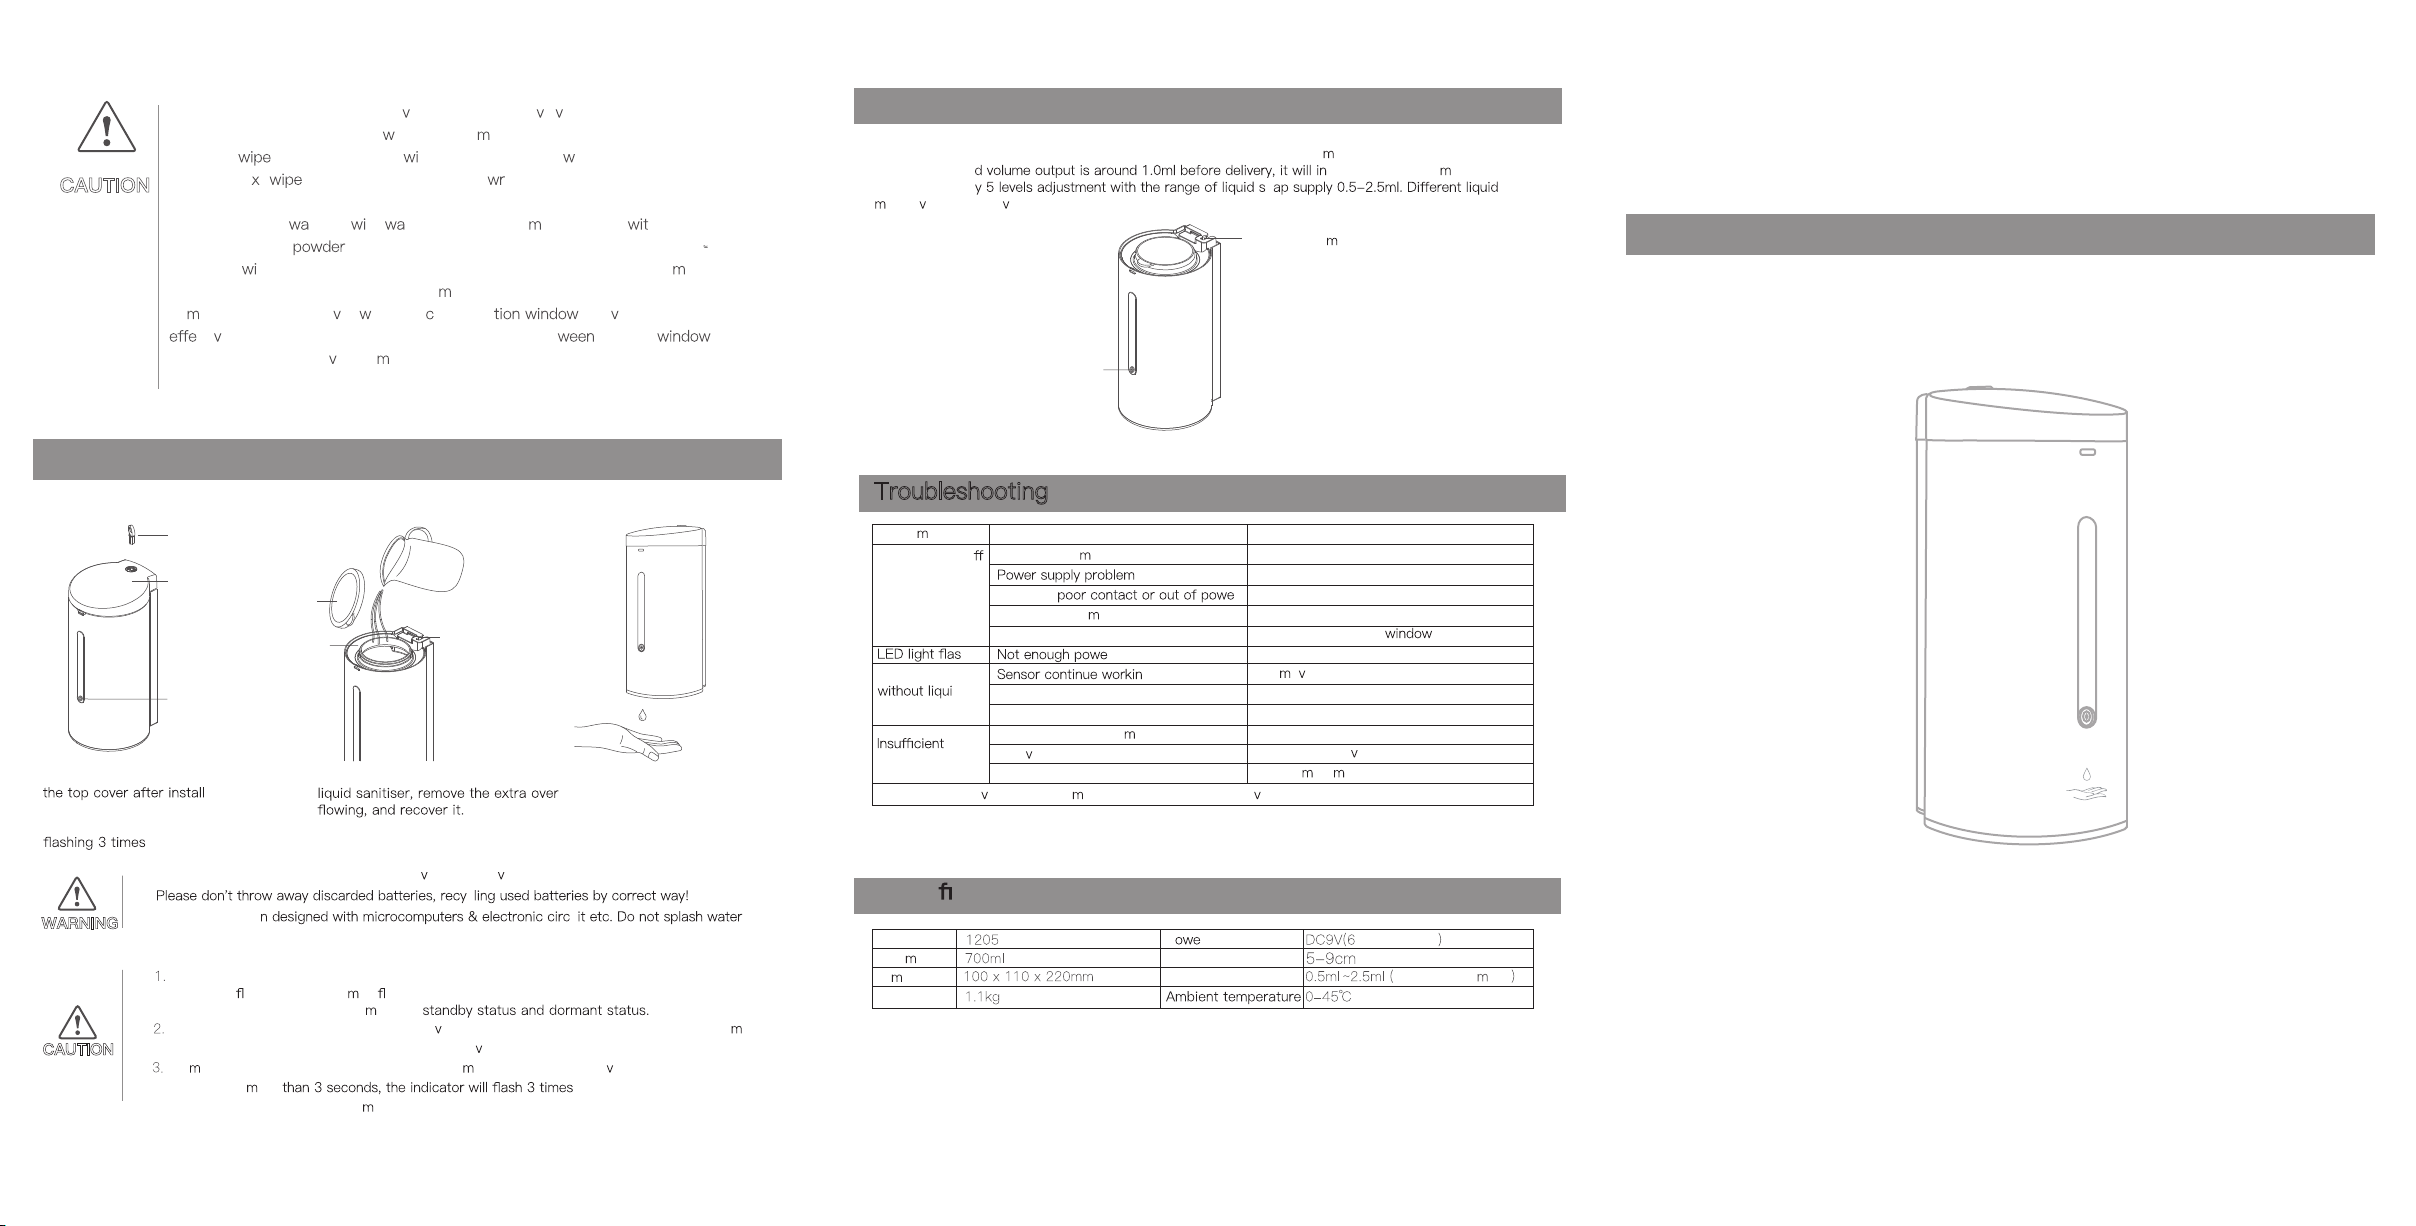
Liquid Adjustment
Key
Cap
Indicator
Sealing Cap
Fixed Bracket Liquid Button
1. Insert the key into the lock to
the battery
Long press the setting button for about
3 seconds, then the LED light on with
2. Open the sealing cap and pour the 3. Put your hand under the sensor
until the liquid sprayed out
WARNING
Children should be used under adult super ision to pre ent accidentally eating!
c
The unit has bee u .
CAUTION
At the standby status, you can adjust liquid by pressing the liquid adjust ent button.
The default liqui crease around 0.5 l output for
per press. Totall o
ay ha e a slight de iation.
Indicator
Liquid adjust ent button
Proble Potential Solution
Reason
LED indicator o Control syste trouble
Batteries r
Circuits proble or poor contact
Block sight of indicator
r
g
Out of sensing distance
Unit fault
Short liquid supply ti e
Too iscous liquid
Liquid coagulation or obstruction
h
Indicator on
d
supply
liquid
supply
Tips: Please pre ent debris fro entering the container to a oid blocking.
Replace the controller
Check the Circuits and batteries
Re-install or replace the batteries
Check the Circuits
Clean the indicator
Replace the batteries
Re o e the sensing object
Contact the the dealer
Contact the the dealer
Adjust the liquid output
Reduce liquid iscosity
Try so e ti es or contact the dealer
Model
Volu e
Di ension
Net Weight
Pr
Sensing Distance
Liquid Supply 5 step adjust ent
After installing the batteries, long press the setting button for about 3 seconds, then the LED light
on with a ashing, after 3 ti es ashing will the unit stay in standby, long press the setting button
to switch between turning the achine
The unit is suggested to install batteries e en if you don't use it, so that the unit can auto atically
run once per 72 hours in the standby status to a oid the catheter pressure adhesion.
So e of unit had installed batteries and in dor ant status before deli ery. Keep press setting
buttons for ore turning into standby status.
Whereas if the unit turn to dor ant status after keeping press the setting button.
USER MANUAL
Using Your 1205
1. The unit includes electronic de ices and solenoid al e, please do not knock.
2. Caution for connecting line hen disasse bling the unit.
3. Please it using soft cloth th neutral detergent hen cleaning the
product. Ne t detergent and dirt by the ung-out soft cloth, then using
dried soft cloth to dry.
4. Please do not shing th tering or using so e detergent h particle
such as scouring and laundry detergent, also do not using diluent,
detergent th high acid or Nylon brush to clean this product, lest to da age
surface or erode internal electronic co ponents, especially be careful not to
da age transparent co er hich pla ed induc to a oid decrease the
cti eness of reaction. Tips: Ensure the distance bet sensing
and counter top is abo e 35c When installing on stainless steel counter top.
Installation
CAUTION
Troubleshooting
Speci cation
AA Batteries
open

use pencil to mark the position of
installation three holes.
Tips: Ensure the distance
counter top is above 35cm
When installing on stainless
steel counter top.
Floor
Installation Panel
Liquid outlet
Bottom
Key
Cap
Sealing Cap
Fixed Bracket
Battery Container
Batteries container
Drain outlet
Indicator
Shell
Battery Container
Pencil
ll
2.Use a drill to bore three holes
corresponding holes. plate.
the mounting plate.
and the mounting plate hook up tightly.
Dimension
Installation
notice that:
1.Please read user manual and instructions very carefully before installing the unit.
lifetime.
3.
objects.
er the unit.
UnitX1 Installation Panel X1
1.Please make sure if any items are missing or problems before installing, contact your dealer or
manufacturer.
ime, please contact your dealer or
bags.
Key X1
Installation Manual X1
Packing list
Important Safety Instruction Installation
Introduction
Battery Installing and Replacement
Indicator
Battery Container
1. Keep the body straight up 2.
out the battery container
3. Put in or replace all standard batteries
k
.


