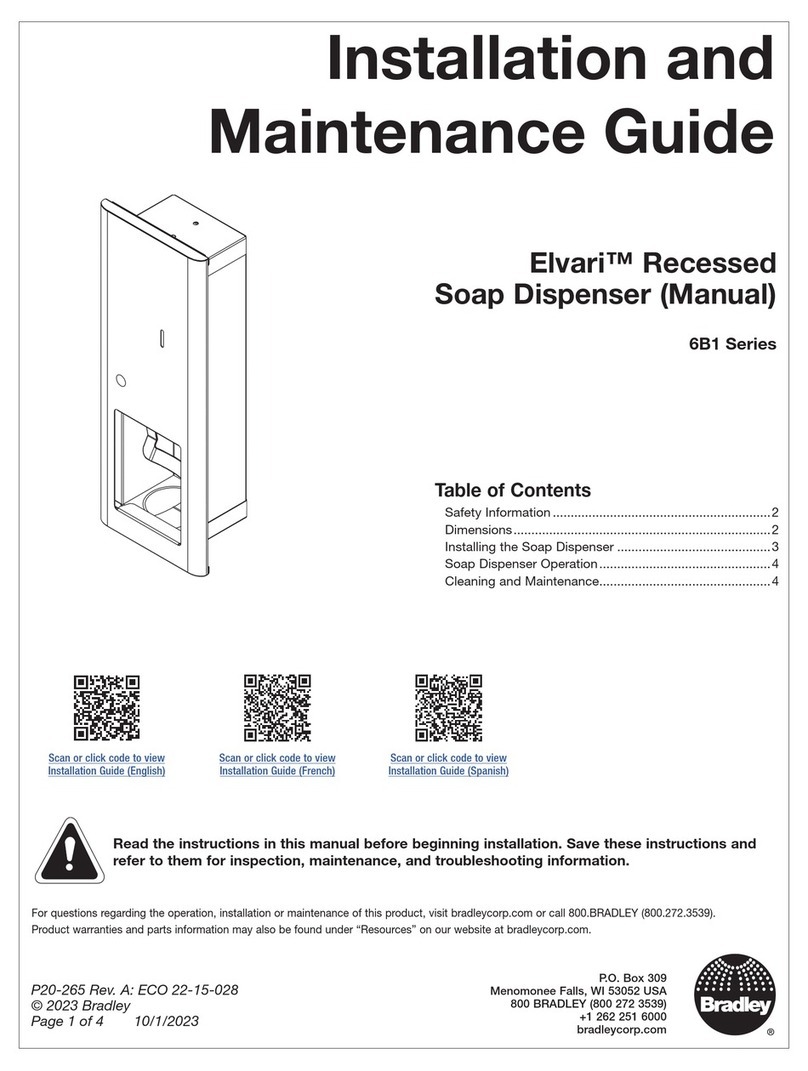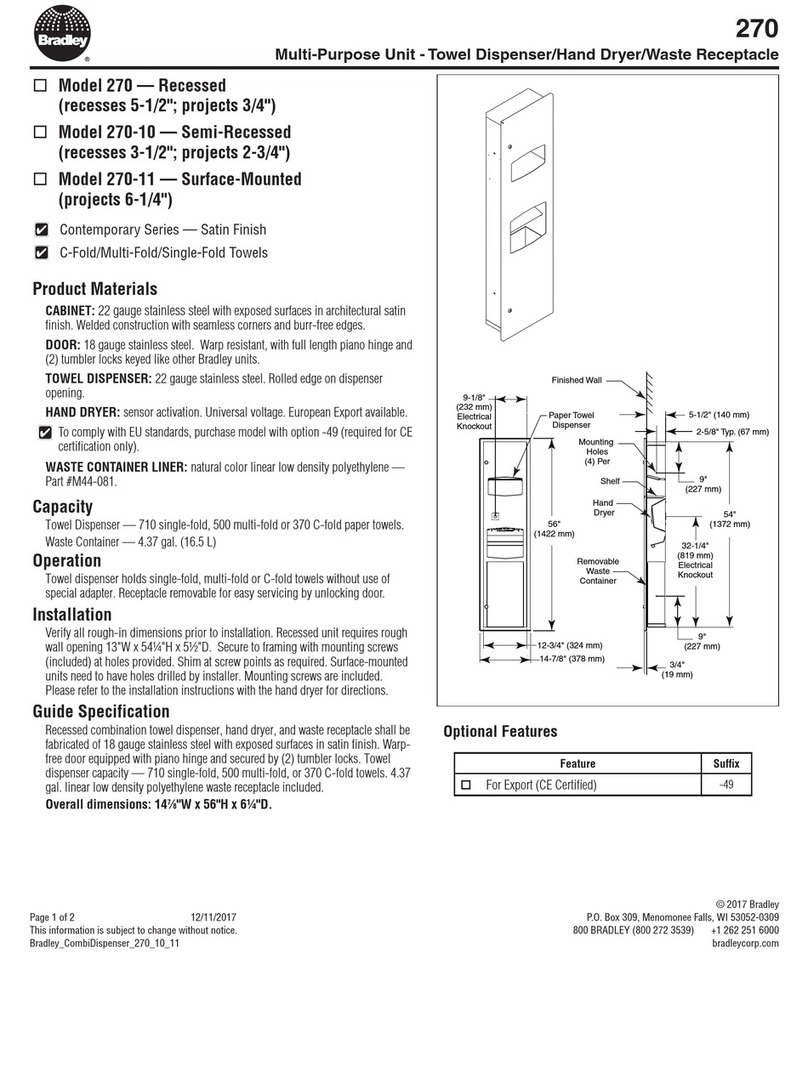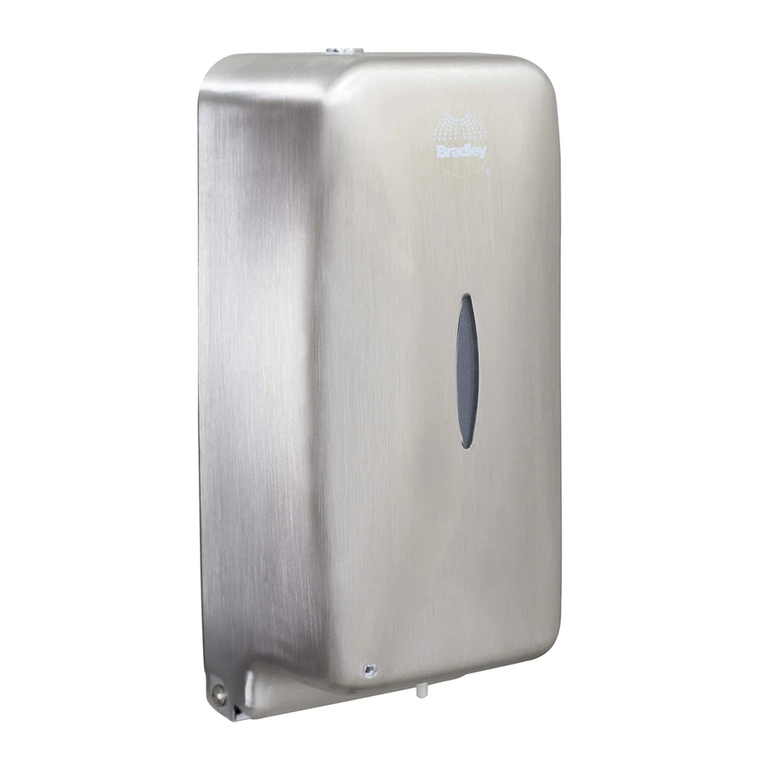
Installation & Maintenance Elvari™ Surface‑Mounted Soap Dispenser (Sensored) – 6B1 Series
Bradley • P20-270 Rev. A: ECO 22-15-028 10/1/2023 3
Installing the Soap Dispenser
Drip Tray
Fasteners
Soap Dispenser
Minimum
Distance
Countertop
Wall
Dispenser
Coordinate installation with architect and contractor to avoid protrusion from opposite wall
or pipes, vents, conduits, electrical wiring, etc., in wall.
Follow all applicable local building codes. If installing where unit projects above top of
wainscot, provide aluminum channel or other filler to prevent gap from finished wall and
flange of unit. For block walls, use metal expansion shields (not included).
Open the dispenser cover.
1. Place the magnetic key (included) on the Bradley logo
and slightly push to disengage the lock.
2. With the magnetic key still on the logo, pull the cover
slightly to open the dispenser.
3. Leave the magnetic key on the Bradley logo.
D
Mark the four mounting holes as shown in the illustration
on page 2.
A
Drill the holes and set the anchors (not included).
B
Insert two screws into the top mounting holes. Be sure
to leave a small gap between the fastener heads and the
mounting surface.
C
Remove the soap tank and soap pump from the dispenser
and then fully tighten the top fasteners to the dispenser
back plate.
E
Insert screws into the bottom mounting holes and then
fully tighten.
F
Install soap tank and soap pump back into the dispenser.
G
Verify the type of soap being used (foam, liquid, etc.) is
compatible with the dispenser. Compatible soap types
can be found on the soap pump.
For units without a drip tray and mounted over a counter or
sink, verify the minimum distance between the bottom of the
dispenser and countertop (minimum distance listed below).
Non-reflective countertop: 7-7/8" (200mm)
Metal/Reflective countertop: 11-13/16" (300mm)
With the magnetic key still on the logo, lift the cover and
close. Remove the magnetic key.
H

