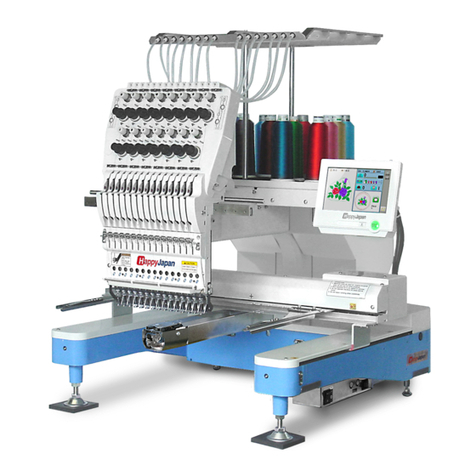
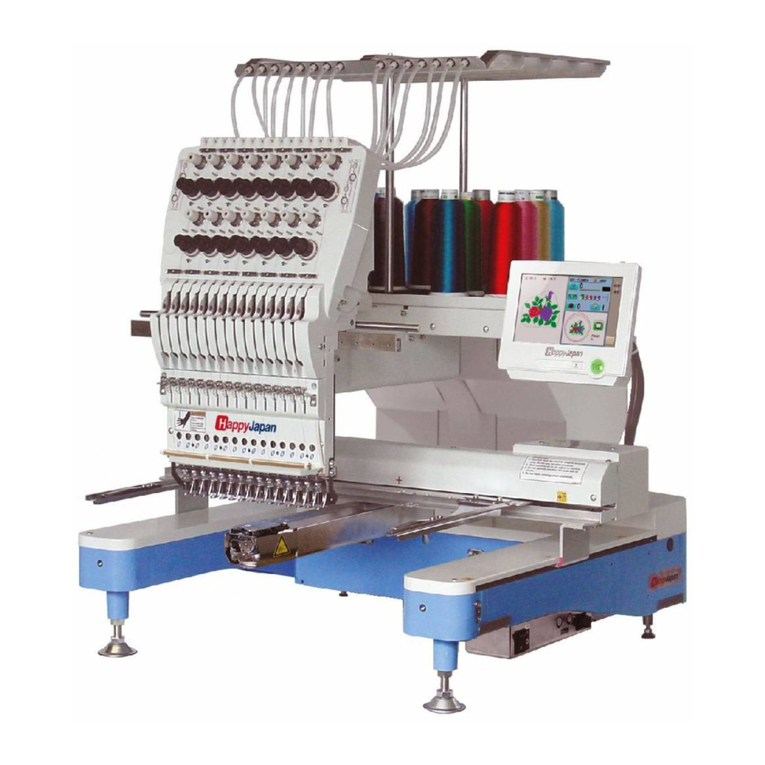
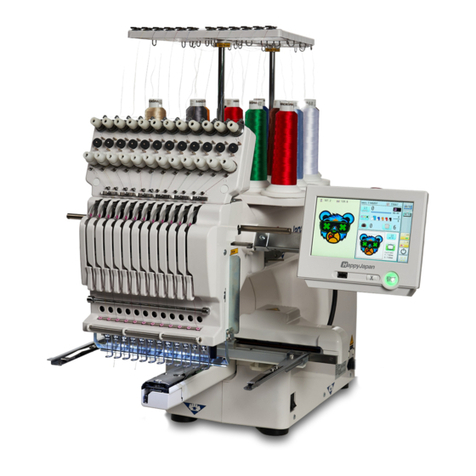
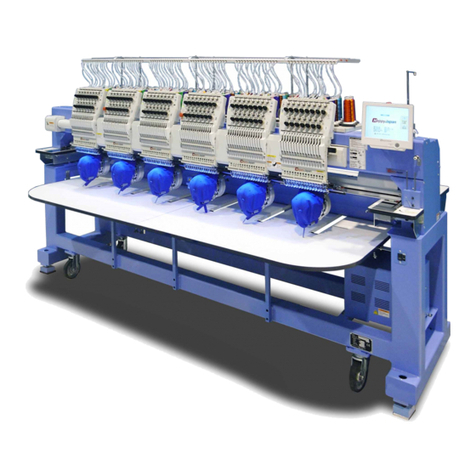
HappyJapan HCR2 User manual

SEQUIN DEVICE
INSTALLATION MANUAL
HCR2, HCR3
HappyJapan Inc.
Ver. 2.1
For qualified personal only

2
Contents
1.
List of required parts
2.
Machine program version
3.
Machine setting
3-1.Machine setting
3-2.Sequin setting
3-3.Format of pattern to read
4.
Installation
4-1.Exchange of Pressure foot, Needle clamp and needle
4-2.Pressure foot height adjustment
4-3.Installation of Sequin unit
4-4. Wiring and installation of control box
5.
How to set sequin reel
5-1.How to set sequin reel
5-2.How to set sequin to sequin unit
5-3.How to set sequin to feeder unit
6. Adjustment of sequin device
6-1.Unit UP/DOWN
6-2.Pitch block
6-3.Sequin trim position
6-4Moving knife
6-5.Needle position
6-6.Reel holder
7. Modification to other sequin size
8. How to make sequin punching

3
1. List of required parts
C
C
o
o
n
n
t
t
r
r
o
o
l
l
b
b
o
o
a
a
r
r
d
d
s
s
e
e
t
t
B
B
r
r
a
a
c
c
k
k
e
e
t
t
f
f
o
o
r
r
c
c
o
o
n
n
t
t
r
r
o
o
l
l
bbooaarrdd sseett
N
N
u
u
t
t
(
(
M
M
5
5
)
)
R
R
S
S
2
2
3
3
2
2
C
C
c
c
a
a
b
b
l
l
e
e
P
P
o
o
w
w
e
e
r
r
(
(
2
2
4
4
V
V
)
)
c
c
a
a
b
b
l
l
e
e
P
P
a
a
n
n
h
h
e
e
a
a
d
d
s
s
c
c
r
r
e
e
w
w
(
(
M
M
3
3
x
x
5
5
)
)
W
W
r
r
e
e
n
n
c
c
h
h
H
H
e
e
x
x
k
k
e
e
y
y
M
M
i
i
r
r
r
r
o
o
r
r
(for adjustment)
D
D
e
e
t
t
e
e
c
c
t
t
i
i
n
n
g
g
c
c
o
o
r
r
d
d
P
P
o
o
w
w
e
e
r
r
s
s
u
u
p
p
p
p
l
l
y
y
(
(
2
2
4
4
V
V
)
)
A
A
C
C
c
c
o
o
r
r
d
d
R
R
e
e
l
l
a
a
y
y
c
c
o
o
r
r
d
d
P
P
o
o
w
w
e
e
r
r
s
s
u
u
p
p
p
p
l
l
y
y
f
f
i
i
x
x
i
i
n
n
g
g
s
s
c
c
r
r
e
e
w
w
ssccrreeww 33xx88 44 ppccss
C
C
o
o
r
r
d
d
c
c
l
l
a
a
m
m
p
p
(
(
L
L
)
)
1
1
p
p
c
c
C
C
o
o
r
r
d
d
c
c
l
l
a
a
m
m
p
p
(
(
S
S
)
)
6
6
p
p
c
c
s
s
F
F
r
r
o
o
n
n
t
t
l
l
i
i
g
g
h
h
t
t
i
i
n
n
g
g
b
b
r
r
a
a
c
c
k
k
e
e
t
t
a
a
s
s
s
s
’
’
y
y
(
(
f
f
o
o
r
r
S
S
e
e
q
q
u
u
i
i
n
n
d
d
e
e
v
v
i
i
c
c
e
e
)
)

4
For left
H
H
e
e
x
x
s
s
o
o
c
c
k
k
e
e
t
t
h
h
e
e
a
a
d
d
c
c
a
a
p
p
s
s
c
c
r
r
e
e
w
w
((MM44xx1100)) xx33
S
S
p
p
a
a
c
c
e
e
r
r
(
(
P
P
l
l
a
a
s
s
t
t
i
i
c
c
w
w
a
a
s
s
h
h
e
e
r
r
)
)
:
:
F
F
o
o
r
r
c
c
l
l
i
i
p
p
t
t
y
y
p
p
e
e
t
t
h
h
r
r
e
e
a
a
d
d
h
h
o
o
l
l
d
d
e
e
r
r
:
:
1
1
.
.
0
0
m
m
m
m
t
t
h
h
i
i
c
c
k
k
n
n
e
e
s
s
s
s
H
H
e
e
i
i
g
g
h
h
t
t
g
g
a
a
u
u
g
g
e
e
(
(
4
4
m
m
m
m
)
)
N
N
e
e
e
e
d
d
l
l
e
e
s
s
(
(
f
f
o
o
r
r
s
s
e
e
q
q
u
u
i
i
n
n
)
)
D
D
B
B
X
X
K
K
5
5
K
K
K
K
N
N
m
m
7
7
5
5
/
/
1
1
1
1
S
S
e
e
q
q
u
u
i
i
n
n
U
U
n
n
i
i
t
t
(
(
l
l
e
e
f
f
t
t
)
)
F
F
e
e
e
e
d
d
e
e
r
r
u
u
n
n
i
i
t
t
(
(
l
l
e
e
f
f
t
t
)
)
S
S
l
l
i
i
d
d
e
e
r
r
l
l
o
o
c
c
k
k
s
s
c
c
r
r
e
e
w
w
W
W
a
a
s
s
h
h
e
e
r
r
(
(
M
M
6
6
)
)
W
W
a
a
v
v
e
e
w
w
a
a
s
s
h
h
e
e
r
r
N
N
e
e
e
e
d
d
l
l
e
e
b
b
a
a
r
r
p
p
u
u
s
s
h
h
d
d
o
o
w
w
n
n
P
P
r
r
e
e
s
s
s
s
u
u
r
r
e
e
f
f
o
o
o
o
t
t
(
(
l
l
e
e
f
f
t
t
)
)
N
N
e
e
e
e
d
d
l
l
e
e
c
c
l
l
a
a
m
m
p
p
R
R
e
e
e
e
l
l
c
c
a
a
p
p
F
F
e
e
l
l
t
t
G
G
u
u
i
i
d
d
e
e
c
c
o
o
l
l
l
l
a
a
r
r

5
For right
H
H
e
e
x
x
s
s
o
o
c
c
k
k
e
e
t
t
h
h
e
e
a
a
d
d
c
c
a
a
p
p
s
s
c
c
r
r
e
e
w
w
((MM44xx1100)) xx33
S
S
p
p
a
a
c
c
e
e
r
r
(
(
P
P
l
l
a
a
s
s
t
t
i
i
c
c
w
w
a
a
s
s
h
h
e
e
r
r
)
)
:
:
F
F
o
o
r
r
c
c
l
l
i
i
p
p
t
t
y
y
p
p
e
e
t
t
h
h
r
r
e
e
a
a
d
d
h
h
o
o
l
l
d
d
e
e
r
r
:
:
1
1
.
.
0
0
m
m
m
m
t
t
h
h
i
i
c
c
k
k
n
n
e
e
s
s
s
s
H
H
e
e
i
i
g
g
h
h
t
t
g
g
a
a
u
u
g
g
e
e
(
(
4
4
m
m
m
m
)
)
N
N
e
e
e
e
d
d
l
l
e
e
s
s
(
(
f
f
o
o
r
r
s
s
e
e
q
q
u
u
i
i
n
n
)
)
D
D
B
B
X
X
K
K
5
5
K
K
K
K
N
N
m
m
7
7
5
5
/
/
1
1
1
1
S
S
e
e
q
q
u
u
i
i
n
n
U
U
n
n
i
i
t
t
(
(
r
r
i
i
g
g
h
h
t
t
)
)
F
F
e
e
e
e
d
d
e
e
r
r
u
u
n
n
i
i
t
t
(
(
r
r
i
i
g
g
h
h
t
t
)
)
S
S
l
l
i
i
d
d
e
e
r
r
l
l
o
o
c
c
k
k
s
s
c
c
r
r
e
e
w
w
W
W
a
a
s
s
h
h
e
e
r
r
(
(
M
M
6
6
)
)
W
W
a
a
v
v
e
e
w
w
a
a
s
s
h
h
e
e
r
r
N
N
e
e
e
e
d
d
l
l
e
e
b
b
a
a
r
r
p
p
u
u
s
s
h
h
d
d
o
o
w
w
n
n
P
P
r
r
e
e
s
s
s
s
u
u
r
r
e
e
f
f
o
o
o
o
t
t
(
(
r
r
i
i
g
g
h
h
t
t
)
)
N
N
e
e
e
e
d
d
l
l
e
e
c
c
l
l
a
a
m
m
p
p
R
R
e
e
e
e
l
l
c
c
a
a
p
p
F
F
e
e
l
l
t
t
G
G
u
u
i
i
d
d
e
e
c
c
o
o
l
l
l
l
a
a
r
r

6
2.
Machine program version
For using sequin device, the following version of machine program or later version should be installed on
machine;
”Control Box : A 1.30”
“Machine Control : B1.2”
Machine and language version can be checked with the following steps;
S
S
MenuT
T
→
S
S
OTHERT
T
→S
S
VERSIONT
T
※In case program is not corresponding to above condition, please contact your service agent and ask
to update program.

7
3. Machine setting
h
h
Setting items of machine setting
Item Selection
Sequin
Dev.
Left
YES/NO
SequinDev.Right YES/NO
Sequin
Dev.
Type
Other/Happy
h
h
Setting item of sequin setting
Item
Selection
Default
Function
1.Empty Sequin detection(L) YES/NO YES Sequin detection(left)
Yes/No
2. SequinA size/color(L) Size:3v9
Color: 256 colors
Size:4
Color:Red
Sequin feed size (left)
Sequin clolor
3.Empty Sequin detectionR) YES/NO YES Sequin detection(right)
Yes/No
4. SequinA size/color(R Size:3v9
Color :256 colors
Size:4
Color:Yellow
Sequin feed size (right)
Sequin clolor

8
3-1. Machine setting
1. Enter to maintenance mode with the following steps;
Keep pressing [STRAT/STOP] button and Power ON until HAPPY logo screen appears.
Then touch [NEXT] icon
2. Touch [Machine Setting] icon
NEXT
)*(*)*&'

9
3. Select QSequinDev.LeftROQSequinDev.RightROQSequinDev.TypeRand set items
according to below chart:
Left side only Right side only Both side
Sequin
Dev.
Left
YES
NO
YES
SequinDev.Right NO YES YES
Sequin
Dev.
Type
Happy
Happy
Happy
Above sample is for sequin device both side
4. After finishing above setting, touch [ESC] icon and finish setting
※Before start installing sequin device, please finish above setting
※
Please reboot machine after finish above setting operation

10
3-2. Sequin setting
Default setting is sequin size 4mm. In case required sequin size is not 4mm, setting should be changed with
the following steps;
1. Select [OPTION] from Menu andselect (machine setting)
1. Select QSequinA Size/colorRand touch for changing size
Touch and return to Munu
3-3. Format of pattern to read
Use the format for “.tap” (Happy format) or “.dst” (Tajima format) only to read a sequin
pattern data for this device.

11
* Basically, this manual refers to the sequin device (left).
To install sequin device (right), you can use the same procedure as
symmetrical device of left side unless no special instruction for right side
installation.
4.
Installation
4-1.
Exchange of Pressure foot, Needle clamp and Needle
Please note that you cannot install the Sequin device
when original [Front lighting bracket ass’y] is mounted.
In this case, please use the [Front lighting bracket ass’y]
which is designed for Sequin device.
Exchange
1. Move moving head to need #8.
Unscrew and take cover out. (HCR3)
HCR3
2. Take lower front panel out.
(Loosen 2 screws and slide to left to take
panel out)
Bed
Loosen screw Loosen screw
Loosen screw

12
3. Unscrew for pressure foot fixing
(Unscrew on 15th needle)
4. Loosen screw of needle holder and take needle, needle
holder and cushion out.
5. Take pressure foot out
6. Set Pressure foot(for sequin), Cushion(original),
Needle holder(for sequin) and Needle(for
sequin).
Please confirm needle clamp does not touch to
pressure foot.
In case it touches, turn needle bar to keep
space.
Please control needle height after setting
parts.
EC89?>
%554<58?<45B
%554<5
'B5CCEB56??D
%554<53<1=@6?BC5AE9>
%554<56?BC5AE9>H"""
'B5CCEB56??D6?BC5AE9>
EC89?>
)3B5G6?B>554<58?<45B
+>C3B5G

13
4-2. Pressure foot height adjustment
1. Move moving head to needle # 15 and press needle bar down, then set main shaft angle to 0
degree
2. Loosen screw for pressure foot and set pressure foot on needle plate, then fix screw
(Space between pressure foot and needle plate is 0 mm)
3. After adjustment of pressure foot height, set main shaft angle to 270 degrees(C point),
then return lower front panel back.
'B5CCEB56??D
%554<5@<1D5
)3B5G6?B@B5CCEB56??D

14
4-3. Installation of Sequin unit
1. Unscrew upper screw for thread holder
2. Temporary fix sequin unit to moving head by hex
socket head cap screw(3pcs)
Please insert spacer (plastic washer) between
sequin unit and moving head (the lowest screw position only)
※please note there are 2 different spacers. (1mm thickness: for clip type thread holder/1.5mm thickness for
standard thread holder) Please select according to type of thread holder on machine
Hex socket head cap screw M4u103pcs
$?F9>78514
)5AE9>E>9D69H9>7C3B5GC
k!5HC?3;5D851431@C3B5G$ul
)
)
@
@
1
1
3
3
5
5
B
B
'
'
<
<
1
1
C
C
D
D
9
9
3
3
G
G
1
1
C
C
8
8
5
5
B
B
==D893;>5CC6?B3<9@DI@5D8B5148?<45B
==D893;>5CC6?BCD1>41B4D8B5148?<45B
Match the label
number with the
machine head number.

15
3. Set Feeder unit on Sequin unit by Slider lock screw
The same number shall be used.
5545B+>9D
)<945B<?3;C3B5G
-1C85B$
-1F5G1C85B
)<945B<?3;C3B5G
5545B+>9D
)
)
5
5
D
D
D
D
8
8
9
9
C
C
@
@
?
?
C
C
9
9
D
D
9
9
?
?
>
>
D
D
?
?
)
)
5
5
A
A
E
E
9
9
>
>
E
E
>
>
9
9
D
D

16
4. Set pressure foot height gaugek4ttl on needle plate
5. Press down sequin unit up to the lock position(the lowest position)
'B5CCEB56??D85978D71E75kttl
'<51C53853;5>7175=5>D

17
6. Loosen screw for fixing sequin unit and adjust the height of sequin unit
Standard height is the position that sole of sequin unit touches to the height gauge (4mm)
)?<5?6C5AE9>E>9D
!5978D71E75==
<??C5>12?F5C3B5GC
)5AE9>E>9D69H9>7C3B5GC
k!5HC?3;5D851431@C3B5G$ul

18
7. Press sequin unit to arrow direction as below drawing and fix screws, then take height gauge
out
8. Insert the height gauge again and confirm height of sequin unit
If the height gauge does not fit to the space, please repeat height adjustment.
'B5CCC5AE9>D?
213;G1B449B53D9?>

19
9. Pull sequin unit up

20
4-4.
Wiring and installation of control box
<Caution> please shut power off for this operation
1. Open cover of electric box
2. Connect AC cord and Power relay cord to Power Supply (24V)
?F5B
3?B4
'?G5BCE@@<I,
This manual suits for next models
1
Table of contents
Other HappyJapan Industrial Equipment manuals
Popular Industrial Equipment manuals by other brands

PCB Piezotronics
PCB Piezotronics TORKDISC 5309D-01A Installation and operating manual

ABB
ABB HT608046 Operation manual
DESSALATOR
DESSALATOR PRO COMPACT D300 Assembly and user's manual
Nilfisk cfm
Nilfisk cfm VHW310 instruction manual
Atlanta Attachment Company
Atlanta Attachment Company 4300 Installation, operating & service manual
Swagelok
Swagelok MS-PSR-110 manual
