Harbor Freight Tools 47755 User manual


SKU 47755 For technical questions, please call 1-888-866-5797. Page 2
CAUTION
Read Rules for Safe Operation and
Instructions Carefully.
WARNING
1. To reduce the risk of re or elec-
tric shock, do not use this Fan
with any solid-state speed control
device.
2. This appliance has a polarized
plug (one blade is wider than the
other). To reduce the risk of elec-
tric shock, this plug is intended to
t into a polarized outlet only one
way. If the plug does not t fully
in the outlet, reverse the plug. If
it still does not t, contact a quali-
ed electrician. Do not change the
plug in any way. Do not attempt to
defeat this safety feature.
3. Do not leave Fan running while
unattended.
RULES FOR SAFE
OPERATION
1. Do not leave Fan running while unat-
tended.
2. Never insert ngers, pencils, or any
other object through Front or Rear
Blade Guards.
3. Disconnect Fan when moving it from
one location to another.
4. Disconnect Fan before removing
grilles for cleaning.
5. Be sure fan is on a stable surface
when operating to avoid overturning.
6. DO NOT use fan in window. Rain
may create electrical hazard.
7. Complete the assembly of the fan
before switching on the fan.
SAVE THESE
INSTRUCTIONS.
Safety Symbols
In this manual, on the labeling,
and all other information provid-
ed with this product:
This is the safety alert
symbol. It is used to alert
you to potential personal
injury hazards. Obey all
safety messages that
follow this symbol to avoid
possible injury or death.
DANGER indicates
a hazardous
situation which, if not
avoided, will result in death or
serious injury.
WARNING
indicates a
hazardous situation which, if
not avoided, could result in
death or serious injury.
CAUTION, used
with the safety
alert symbol, indicates a
hazardous situation which, if
not avoided, could result in
minor or moderate injury.
NOTICE is used to
address practices
not related to personal injury.

SKU 47755 For technical questions, please call 1-888-866-5797. Page 3
CAUTION, without
the safety alert
symbol, is used to address
practices not related to
personal injury.
Additional Safety Instructions
1. Maintain labels and nameplates on
the tool. If unreadable or missing,
contact Harbor Freight Tools for a
replacement.
2. Do not run Power Cord under car-
peting. Do not cover cord with throw
rugs, runners or similar coverings. Ar-
range cord away from trafc area and
where it will not be tripped over.
3. Use only in dry environments. Do not
use in bathrooms, laundry area, near
sinks or other sources of water.
4. Do not alter the angle of the blades or
install a different blade on this fan.
5. This product is not a toy. Keep it out
of reach of children.
6. WARNING: Handling cord on this
product will expose you to lead,
a chemical known to the State of
California to cause cancer, and birth
defects or other reproductive harm.
Wash hands after handling. (Califor-
nia Health & Safety Code § 25249.5,
et seq.)
7. The warnings, precautions, and in-
structions discussed in this instruction
manual cannot cover all conditions
and situations that may occur. It must
be understood by operator that com-
mon sense and caution are factors
which cannot be built into this prod-
uct, but must be supplied by operator.
SPECIFICATIONS
Electrical Requirements 120 V~ / 60 Hz / 2.4 A
Speeds
Low: ~900 RPM
Medium: ~1,030 RPM
High: ~1,080 RPM
HOUSEHOLD USE ONLY
E197533
UNPACKING
When unpacking, make sure that the
item is intact and undamaged. If any parts
are missing or broken, please call Harbor
Freight Tools at the number shown on the
cover of this manual as soon as possible.
Save This Manual
Keep this manual for the safety warn-
ings and precautions, assembly, operat-
ing, inspection, maintenance and cleaning
procedures. Write the product’s serial
number in the back of the manual near the
assembly diagram (or month and year of
purchase if product has no number). Keep
this manual and the receipt in a safe and
dry place for future reference.

SKU 47755 For technical questions, please call 1-888-866-5797. Page 4
ASSEMBLY
Read the ENTIRE RULES FOR
SAFE OPERATION section at
the beginning of this manual
including all text under
subheadings therein before set
up or use of this product.
TO PREVENT
SERIOUS INJURY
FROM ACCIDENTAL
OPERATION OR ELECTRIC
SHOCK:
Before assembly, cleaning or
adjustment, make sure the
switch is turned off, the cord
is unplugged, and the unit has
cooled.
Note: For additional information regarding
parts listed, refer to Assembly Dia-
gram at back of manual.
1.
1
2
3a
3b
1
2
3a
3b
5
8
6
7
9
5
8
6
7
9
STEP 1
STEP 2
Attach the Coupler (2) to the Base (1)
using Bolts (3b) and Washers (3a), as
shown.
2. Loosen the Height Knob (8). Extend
the Extension Pole (9) to the desired
height and tighten the Knob fully.
3.
11d
10
9
19
10a
11c
11b
11a
12
STEPS 3 & 4
Slide the Motor Flange (19) over the
top of the Extension Pole (9). Insert
the Bolt (11d) through the hole in the
center of the Flange and Pole and
secure it with Washer (11c), Lock
Washer (11b), and Nut (11a).
4. Insert the Carriage Bolt (10a) through
the lower slot as shown. The square
portion of the Bolt should prevent
it from turning. Thread the Angle
Knob (10) onto the Carriage Bolt and
tighten it to secure the Motor (12) in
place.
5. Remove the Nuts and Washers (13a,
13b, & 13c) from the front of the Mo-
tor (12).

SKU 47755 For technical questions, please call 1-888-866-5797. Page 5
6.
15
12
13a 13b 13c
STEP 6
Position Rear Grill (15) over exposed
studs as shown. Secure with Wash-
ers (13a), Lock Washers (13b), and
Nuts (13c).
7. Loosen Set Screw (14) on the side of
Blade (16).
8.
12
16
14
STEP 8
Line up the Set Screw (14) with the
at side of the Motor (12) shaft. Slide
the Blade (16) all the way onto the
Motor shaft with the Set Screw side
rst.
9. Securely tighten the Set Screw (14)
on the side of the Blade (16).
10. Swing all hinged clips on the Front
Grill (17) out.
11.
c
b
15
17
a a
b
c
STEP 11
Attach the Front Grill (17) as follows:
a. Hang the Front Grill on the Rear Grill
(15) using the hanger at the top.
b. Attach the two Grills to each other
using the Grill Screw (20).
c. Swing all hinged clips down over the
edge of the guard.
d. Double-check that the guard is as-
sembled securely and properly.
12. Assembly is complete. Check all
connections before plugging in or
operating the fan.

SKU 47755 For technical questions, please call 1-888-866-5797. Page 6
PLEASE READ THE FOLLOWING CAREFULLY
THE MANUFACTURER AND/OR DISTRIBUTOR HAS PROVIDED THE PARTS LIST AND ASSEMBLY DIAGRAM
IN THIS MANUAL AS A REFERENCE TOOL ONLY. NEITHER THE MANUFACTURER OR DISTRIBUTOR MAKES
ANY REPRESENTATION OR WARRANTY OF ANY KIND TO THE BUYER THAT HE OR SHE IS QUALIFIED
TO MAKE ANY REPAIRS TO THE PRODUCT, OR THAT HE OR SHE IS QUALIFIED TO REPLACE ANY PARTS
OF THE PRODUCT. IN FACT, THE MANUFACTURER AND/OR DISTRIBUTOR EXPRESSLY STATES THAT
ALL REPAIRS AND PARTS REPLACEMENTS SHOULD BE UNDERTAKEN BY CERTIFIED AND LICENSED
TECHNICIANS, AND NOT BY THE BUYER. THE BUYER ASSUMES ALL RISK AND LIABILITY ARISING OUT OF
HIS OR HER REPAIRS TO THE ORIGINAL PRODUCT OR REPLACEMENT PARTS THERETO, OR ARISING OUT
OF HIS OR HER INSTALLATION OF REPLACEMENT PARTS THERETO.
OPERATION
Read the ENTIRE RULES FOR
SAFE OPERATION section at
the beginning of this manual
including all text under
subheadings therein before set
up or use of this product.
1. Pull the chain on the Motor (12) to
turn on the fan and cycle through
low-medium-high-off settings.
2. To adjust the fan’s angle:
a. Unplug the fan and allow it to stop.
b. Loosen the Bolt (11d) and the Angle
Knob (10).
c. Adjust the fan’s angle, then retighten
the Bolt and Angle Knob securely
and plug in the fan before further
use.
3. To adjust the fan’s height:
a. Unplug the fan and allow it to stop.
b. Loosen the Height Knob (8).
c. Adjust the Extension Pole (9) to the
desired height.
WARNING! Do not over-extend the
Extension Pole. Over-extension
can cause the pole assembly to
fall apart.
d. Tighten the Height Knob securely
and plug in the fan before further
use.
INSPECTION AND
MAINTENANCE
TO PREVENT
SERIOUS INJURY
FROM ACCIDENTAL
OPERATION OR ELECTRIC
SHOCK:
Before appliance inspection
or maintenance, make sure
the appliance’s switch is
turned off, the cord is
unplugged, and the unit has
cooled completely.
TO PREVENT SERIOUS
INJURY FROM APPLIANCE
FAILURE:
Do not use damaged
appliances. If abnormal
noise or vibration occurs,
have the problem corrected
before further use.
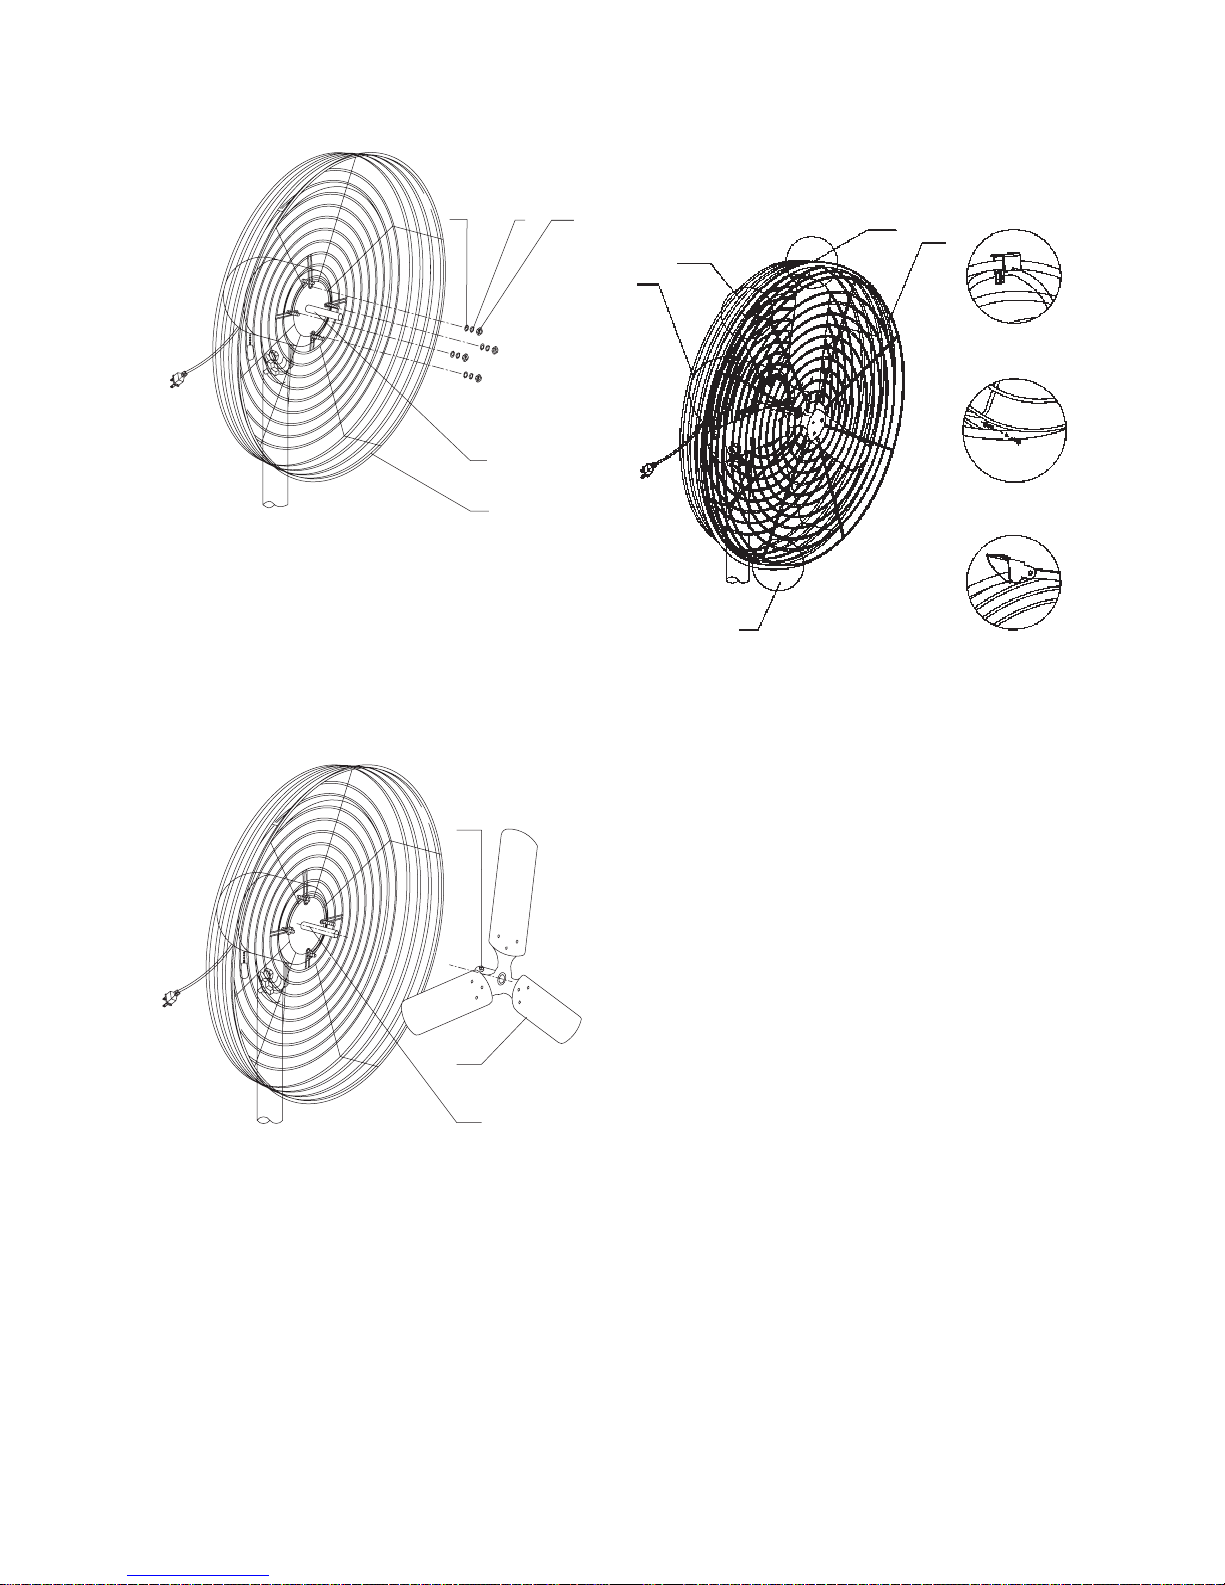
1. BEFORE EACH USE, inspect con-
dition of the Fan. Check for loose
screws, misalignment or binding of
moving parts, cracked or broken
parts, and any other condition that
may affect its safe operation.
2. Clean regularly to prevent dust from
accumulating on Blade. Use damp
cloth during cleaning and dry before
use.

SKU 47755 For technical questions, please call 1-888-866-5797. Page 7
Part Description Qty.
1 Base 1
2 Coupler 1
3a Washer 5
3b Screw 5
4 – 1
5 Stand Pole 1
6 Screw 2
7 Adjuster 1
8 Height Knob 1
9 Extension Pole 1
10 Angle Knob 1
10a Carriage Bolt 1
11a Nut 1
11b Lock washer 1
11c Washer 1
11d Bolt 1
12 Motor 1
13a Washer 4
13b Lock Washer 4
13c Nut 4
14 Set Screw 1
15 Rear Grill 1
16 Blade 1
17 Front Grill 1
18 Power Cord 1
19 Motor Flange 1
20 Grill Screws 1
1
2
3a
3b
5
6
8
7
9
10
10a
11a
11b11c11d
12 13a
13b
13c 14 16 17
19
18
15
Record Product’s Serial Number Here:
Note: If product has no serial number, record month and year of purchase instead.
Note: Some parts are listed and shown for illustration purposes only, and are not available individually as
replacement parts.
PARTS LIST AND ASSEMBLY DIAGRAM
REV 08i

SKU 47755 For technical questions, please call 1-888-866-5797. Page 8
LIMITED 90 DAY WARRANTY
Harbor Freight Tools Co. makes every effort to assure that its products meet high
quality and durability standards, and warrants to the original purchaser that this prod-
uct is free from defects in materials and workmanship for the period of 90 days from
the date of purchase. This warranty does not apply to damage due directly or indirectly,
to misuse, abuse, negligence or accidents, repairs or alterations outside our facilities,
criminal activity, improper installation, normal wear and tear, or to lack of maintenance.
We shall in no event be liable for death, injuries to persons or property, or for incidental,
contingent, special or consequential damages arising from the use of our product. Some
states do not allow the exclusion or limitation of incidental or consequential damages,
so the above limitation of exclusion may not apply to you. This warranty is expressly in
lieu of all other warranties, express or implied, including the warranties of merchantabil-
ity and tness.
To take advantage of this warranty, the product or part must be returned to us with
transportation charges prepaid. Proof of purchase date and an explanation of the com-
plaint must accompany the merchandise. If our inspection veries the defect, we will ei-
ther repair or replace the product at our election or we may elect to refund the purchase
price if we cannot readily and quickly provide you with a replacement. We will return re-
paired products at our expense, but if we determine there is no defect, or that the defect
resulted from causes not within the scope of our warranty, then you must bear the cost
of returning the product.
This warranty gives you specic legal rights and you may also have other rights
which vary from state to state.
3491 Mission Oaks Blvd. • PO Box 6009 • Camarillo, CA 93011 • (888) 866-5797
Table of contents
Other Harbor Freight Tools Fan manuals

Harbor Freight Tools
Harbor Freight Tools 98625 User manual

Harbor Freight Tools
Harbor Freight Tools 66471 Installation manual

Harbor Freight Tools
Harbor Freight Tools 95907 Parts list manual

Harbor Freight Tools
Harbor Freight Tools 66950 Installation manual

Harbor Freight Tools
Harbor Freight Tools 57896 Assembly instructions