Section 3 Parts Replacement
Load Cell Replacement, All Models
1. Remove power to the scale.
2. Gain access to the load cell cable.
3. Disconnect the load cell cable from the indicator.
Note: The color and location of the load cell wires.
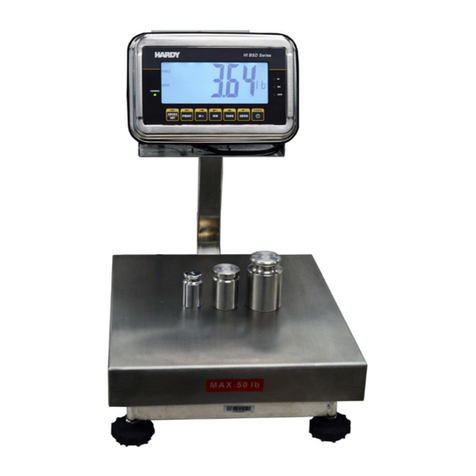
4. Remove the Bench Scale cover and the locator plate.
5. Remove the bolts holding the "spider" to the load cell. Remove the "spider", the
load cell cover, and the upper load cell block.
6. From the underside of the Bench Scale, remove the load cell mounting bolts.
7. Remove any tie wraps securing the load cell cable to the base.
8. Remove the old load cell and the lower load cell block.
9. Clean all parts before assembling and use an anti-seize product on all bolts.
10. Place the lower load cell block under the new load cell and secure it to the bottom
of the Bench Scale using the load cell bolts.
11. Route the load cell cable through the hole in the bottom of the Bench Scale.
12. Replace the upper load cell block, the load cell cover and the "spider" and secure
with the bolts.
13. Replace the locator plate and the Bench Scale cover.
14. Connect the wires to the indicator.
Excitation (+)
Sense (+)
Green
−
Shield
Output (+)
Shield
White
15. Recalibrate the indicator as necessary.

