manuals.online logo
Brands
  1. Home
  2. •
  3. Brands
  4. •
  5. Hatco
  6. •
  7. Commercial Food Equipment
  8. •
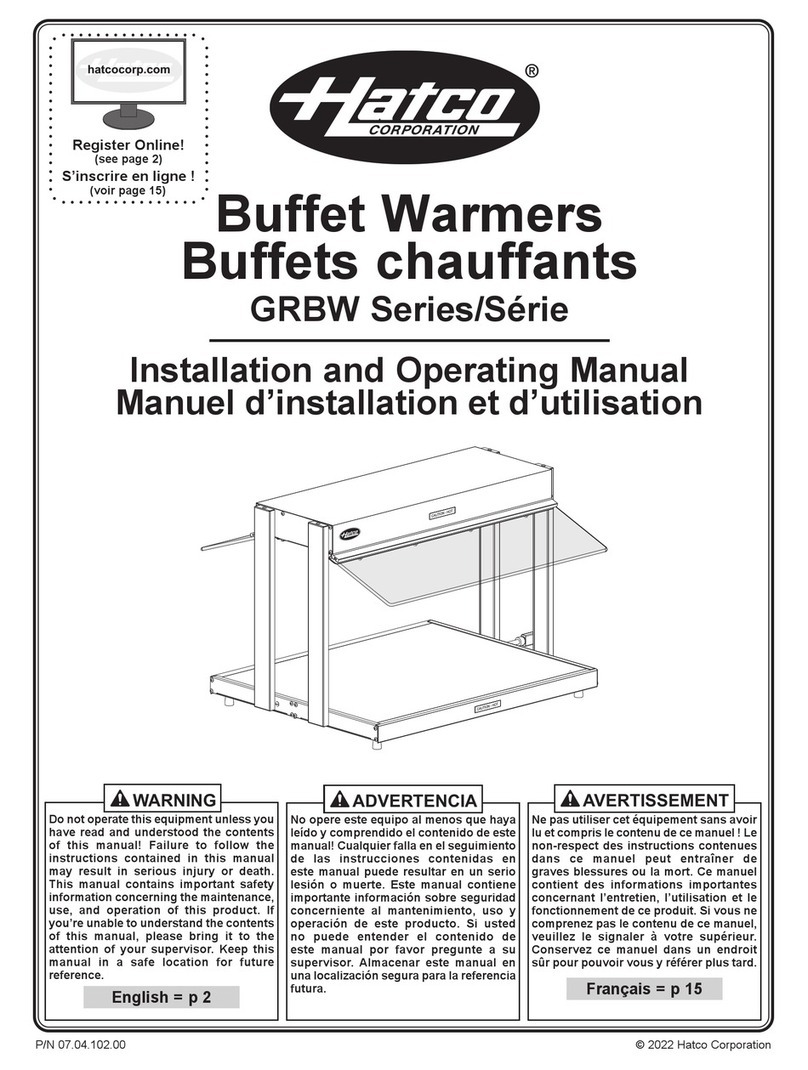
  9. Hatco Flav-R-Shield ORBIT-720 User manual

Hatco Flav-R-Shield ORBIT-720 User manual

© 2022 Hatco Corporation 1
Use non-abrasive cleaners and cloths only. Abrasive
cleaners and cloths could scratch finish of unit, marring
its appearance and making it susceptible to soil
accumulation. Use of abrasive materials will void
warranty.
Assembly and Installation
1. Unpack all components. In addition to the appropriate glass
panel and machine screws, verify that the appropriate number
of the items below are present.
Orbit
Bracket
Orbit
Bracket
Orbit
Bracket
Slotted Glass
Bracket
Thumb
Screw
Base
Plate
Thumb
Screw
Vertical
Post
Thumb
Screw
Filler Cap
Covers
Thumb
Screw
Top Plate
w/Nylon
Washer
2. Determine which mounting holes to use on the base plates and
the glass panel.
• Depending on the installation, the vertical posts can be
positioned in either the center or forward mounting holes of
the base plates. Additionally, the glass panel can be mounted
to the Orbit brackets using either the center or forward
mounting holes.
Post and
glass in
center
postions.
Post and
glass in
center
postions.
Post and
glass in
forward
postions.
Post and
glass in
forward
postions.
NOTE: The post and glass mounted in the center positions usually
is employed when there IS a tray slide in use.
NOTE: The post and glass in the front positions usually is employed
when there IS NOT a tray slide in use.
Twist-Lock
Nut
Twist-Lock
Nut
Set Screw
Set Screw
Vertical
Post
Vertical
Post
3. Install the vertical posts to
the base plates in the desired
mounting holes.
4. Slide an Orbit bracket onto
each vertical post to the desired
position. Hand-tighten the
brackets securely in place
by turning the twist-lock nut
clockwise. Tighten the safety set
screws to lock each twist-lock in
position.
continued...
P/N 07.14.003.00-0622 [ORBIT720_IG]
INSTALLATION GUIDE
Flav-R-Shield™
Portable Sneeze Guards
Model ORBIT-720
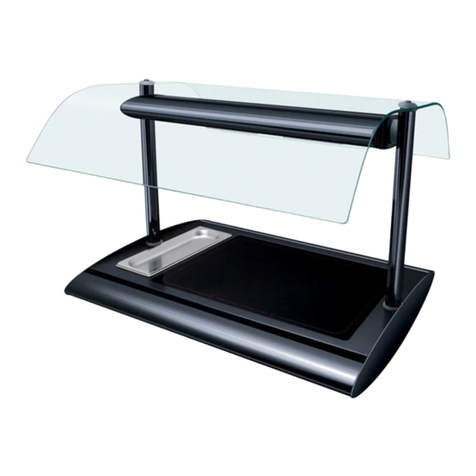
Model ORBIT-720 Portable Sneeze Guards are available in
four, single bay widths from 24″–60″ (610–1524 mm). All of the
available widths are height adjustable up to 23″ (584 mm) and
have a common base plate depth of 14″ (356 mm).
For additional information regarding the ORBIT-720, scan the QR
Code below:
Important Safety Information
To avoid serious injury and damage to equipment or property, read
the following safety information before installing this equipment.
Do not attempt to assemble and install sneeze guards
alone. Installation of sneeze guards requires two or
more people, dependent upon unit.
Orbit bracket comes standard with a thumb screw to
lock the position of the bracket. For additional security
and to prevent unauthorized adjustment, a hex cap
screw is available in place of the thumb screw.
Orbit
Bracket
Orbit
Bracket
Thumb
Screw
Hex Cap
Screw
Thumb
Screw
Hex Cap
Screw
Hex cap
screw
installed.
Hex cap
screw
installed.
Twist-Lock
Nut
Twist-Lock
Nut
Securing position of
Safety Set Screw
on post.
Securing position of
Safety Set Screw
on post.
Twist-lock nut on
bracket requires a
strong twist to ensure
no movement along
post. For additional
safety and security,
and to prevent
unauthorized
adjustment, the
safety set screw on the twist-lock nut must be secured.
Failure to install safety set screws properly will void
product warranty.
Always remove glass when adjusting vertical position
of sneeze guard/Orbit brackets. Website animations are
shown for demonstration of adjustment and movement
capabilities only. Hatco will not be liable for injuries or
damages due to customer failure to comply with safety
guidelines.
Always wear proper protective eye wear when handling
glass sneeze guards.
Never spray cleaners directly onto sneeze guard
surfaces. Sprayed cleaner will make vertical post
slippery and may cause a bracket failure. Spray cleaner
into non-abrasive cloth, and then wipe down surfaces.
Do not place anything on top of sneeze guard. It is not
designed to be a weight-bearing component.
© 2022 Hatco Corporation2
Cleaning/Maintenance
Clean the unit daily using non-abrasive cloths and cleaners.
• Always spray/apply cleaner to the cloth, then wipe down the
sneeze guard. Do not spray cleaner directly onto the sneeze
guard.
Accessories
End Panels
Glass End Panels with a depth of 18″ (457 mm) are available for all
ORBIT-720 portable sneeze guards.
5. Prepare to install the glass panel. Always wear proper protective
eye wear when handling glass.
View from underside
of glass.
View from underside
of glass.
Filler
Cap
Cover
Filler
Cap
Cover
• There are two mounting holes
provided on each side of a
glass panel. Choose the hole
position that will work for the
installation. Install the provided
filler cap covers in the unused
holes using a coin to hand-
tighten.
6. Install the glass panel.
a. Adjust the Orbit brackets so
that the glass panel will be in the horizontal position during
installation.
b. Install a slotted glass bracket on top of each Orbit bracket.
c. Position the glass panel on top of the slotted glass brackets,
making sure to gently press the slotted glass brackets into
the side edges of the glass.
d. Place a top plate w/nylon washer on top of the glass panel
aligned with each Orbit bracket, and secure in position using
an included machine screw. Tighten the screw until it holds
the glass securely—do not over-tighten.
Orbit bracket
horizontal.
Top plate w/nylon washer
on top of glass.
Press bracket into
glass here.
Slotted Glass
Bracket
Machine Screw
7. Adjust the angle of the glass panel, if necessary. NOTICE: Two
people are required for this step.
• The angle of the glass panel can be adjusted in 15°
increments.
• Simultaneously loosen the thumb screw/hex cap screw on
each Orbit bracket, carefully rotate the glass panel to the
desired position, and re-tighten the thumb screws/hex cap
screws securely.
24 Hour 7 Day Parts and Service
Assistance available in the United States
and Canada by calling 414-671-6350.
HATCO CORPORATION
P.O. Box 340500
Milwaukee, WI 53234-0500 U.S.A.
414-671-6350
[email protected]
www.hatcocorp.com

Other Hatco Commercial Food Equipment manuals

Hatco CWBR Series User manual

Hatco

Hatco CWBR Series User manual

Hatco CSUR Series User manual

Hatco

Hatco CSUR Series User manual

Hatco IWEL Series User manual

Hatco

Hatco IWEL Series User manual

Hatco HEATMAX RHW Series User manual

Hatco

Hatco HEATMAX RHW Series User manual

Hatco GLOMAX GMHD Series User manual

Hatco

Hatco GLOMAX GMHD Series User manual

Hatco GLO-RAY GRS Series Installation instructions

Hatco

Hatco GLO-RAY GRS Series Installation instructions

Hatco HCSBFR Series User manual

Hatco

Hatco HCSBFR Series User manual

Hatco Flav-R-Shield EP-950 ACRYLIC User manual

Hatco

Hatco Flav-R-Shield EP-950 ACRYLIC User manual

Hatco FLAV-R-SAVOR User manual

Hatco

Hatco FLAV-R-SAVOR User manual

Hatco HBG Series User manual

Hatco

Hatco HBG Series User manual

Hatco SWC Series User manual

Hatco

Hatco SWC Series User manual

Hatco SW series User manual

Hatco

Hatco SW series User manual

Hatco Flav-R-Shield ES90 User manual

Hatco

Hatco Flav-R-Shield ES90 User manual

Hatco THERMO-FINISHER TFWM Series User manual

Hatco

Hatco THERMO-FINISHER TFWM Series User manual

Hatco CWB Series User manual

Hatco

Hatco CWB Series User manual

Hatco GLO-RAY GRFHS Series User manual

Hatco

Hatco GLO-RAY GRFHS Series User manual

Hatco Toast Qwik TQ-10 Series User manual

Hatco

Hatco Toast Qwik TQ-10 Series User manual

Hatco HEATMAX RCTHW2 Series User manual

Hatco

Hatco HEATMAX RCTHW2 Series User manual

Hatco FTB Series User manual

Hatco

Hatco FTB Series User manual

Hatco HEATMAX RHW Series User manual

Hatco

Hatco HEATMAX RHW Series User manual

Hatco HSBF Series User manual

Hatco

Hatco HSBF Series User manual

Hatco TOASTMAX TM3-5 Series User manual

Hatco

Hatco TOASTMAX TM3-5 Series User manual

Hatco Glo-Ray 2-Go GRS2G Series User manual

Hatco

Hatco Glo-Ray 2-Go GRS2G Series User manual

Hatco CWBP Series User manual

Hatco

Hatco CWBP Series User manual

Popular Commercial Food Equipment manuals by other brands

Angelo Po 090FT1G Use and installation  manual

Angelo Po

Angelo Po 090FT1G Use and installation manual

Diamond C2.6B/10PM instruction manual

Diamond

Diamond C2.6B/10PM instruction manual

Iarp DELIGHT LITE User instructions

Iarp

Iarp DELIGHT LITE User instructions

LRS Table Tracker Implementation guide

LRS

LRS Table Tracker Implementation guide

Metos 74GFTIST Installation and user manual

Metos

Metos 74GFTIST Installation and user manual

Hussmann Mobile Produce instruction manual

Hussmann

Hussmann Mobile Produce instruction manual

Crown EMTS-40 Installation & operation manual

Crown

Crown EMTS-40 Installation & operation manual

Rational SelfCookingCenter SCC WE Training manual

Rational

Rational SelfCookingCenter SCC WE Training manual

Tecfrigo Sommelier 63 Installation and use

Tecfrigo

Tecfrigo Sommelier 63 Installation and use

Omcan PE-BR-0500 instruction manual

Omcan

Omcan PE-BR-0500 instruction manual

Pratica ES9 Installation and operation manual

Pratica

Pratica ES9 Installation and operation manual

Tyler TLM Installation & service manual

Tyler

Tyler TLM Installation & service manual

Fagor SBG9-10 General instruction for installation use and maintenance

Fagor

Fagor SBG9-10 General instruction for installation use and maintenance

Cavavin V-024WDZ instruction manual

Cavavin

Cavavin V-024WDZ instruction manual

Hendi MAXI GN 1/1 user manual

Hendi

Hendi MAXI GN 1/1 user manual

Belshaw Brothers 718LFG Operator's manual

Belshaw Brothers

Belshaw Brothers 718LFG Operator's manual

Etalex E Series installation manual

Etalex

Etalex E Series installation manual

Hoshizaki ROX-20TB2-U instruction manual

Hoshizaki

Hoshizaki ROX-20TB2-U instruction manual

manuals.online logo
manuals.online logoBrands
  • About & Mission
  • Contact us
  • Privacy Policy
  • Terms and Conditions

Copyright 2025 Manuals.Online. All Rights Reserved.