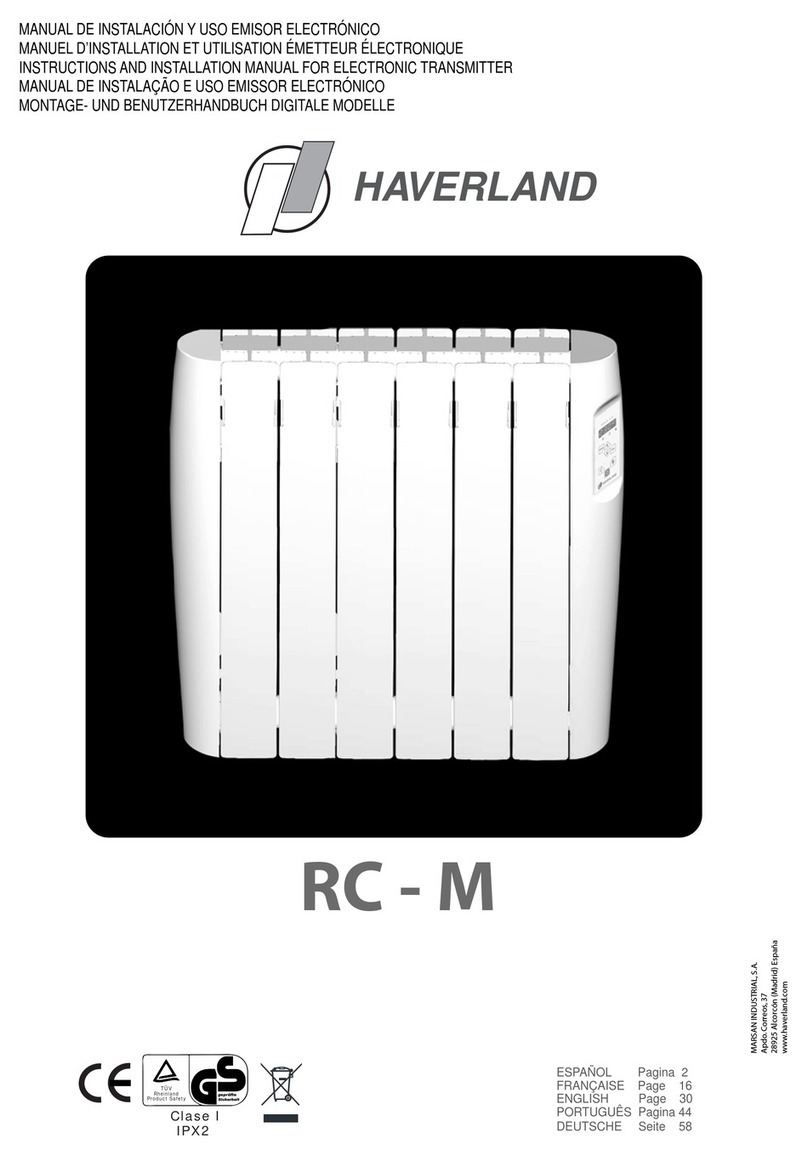
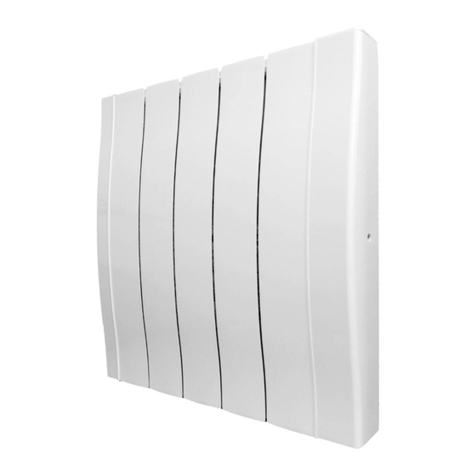
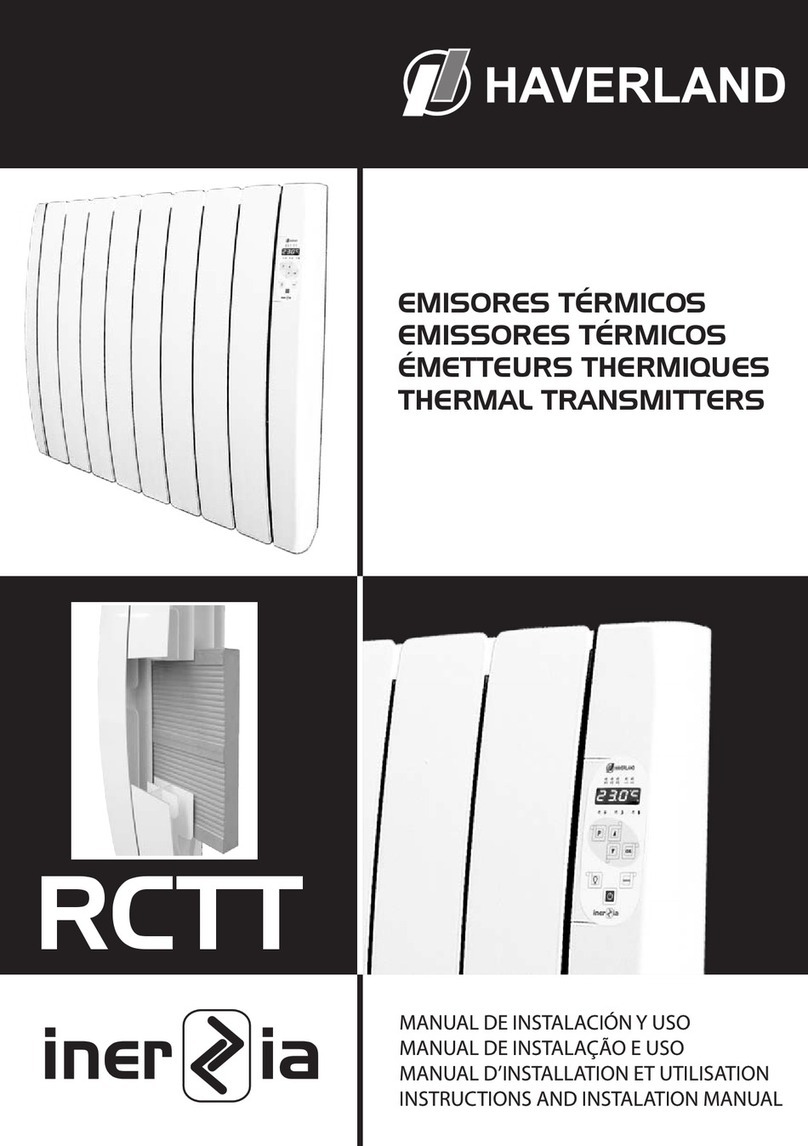
Haverland RC-A Manual

EMISORES TÉRMICOS
ÉMETTEURS THERMIQUES
THERMAL TRANSMITTERS
EMISSORES TÉRMICOS
HAVERLAND
MODELOS MODÈLES MODELS MODELLE
RC-A 2015
MANUAL DE INSTALACIÓN Y USO
MODELOS ELECTRÓNICOS
MANUEL D’INSTALLATION ET UTILISATION
MODÈLES ÉLECTRONIQUE
INSTRUCTIONS AND INSTALLATION MANUAL FOR
ELECTRONIC MODELS
MANUAL DE INSTALAÇÃO E USO
MODELOS ELECTRÓNICOS
MARSAN INDUSTRIAL, S.A.
Apartado de Correos, 37
28925 Alcorcón (Madrid) España
www.haverland.com
IPX4

14
* This thermal transmier is an appliance to be fixed to the wall. Please read the explicatory instrucons for its
assemblage.
* This transmier has been filled with determined quanty of special thermal fluid. For this reason the necessary
reparaons that need the opening of the deposit or presence of any kind of escape should be undertaken by the
manufacturer or by its Technical Assistance Service.
* Never pull the wire. Do not leave the connecon wire in contact with the appliance while it is on.
* During its funconing, one must be careful to maintain the appliance far from combusble material such as
curtains, carpets furniture etc.
*
DO NOT COVER THE APPLIANCE. DO NOT USE IT TO DRY CLOTHES. If it is covered there
is an overheang risk.
* In order to prevent children from modifying the thermal transmier programming, a safety blocking funcon is
incorporated.
* To enter the programming mode the “PROG” key must be pressed for at least 2 seconds.
* DANGER: If the power supply cable is damaged, it should be substuted by the manufacturer or its Technical
Assistance Service, or any qualify personal.
* If the appliance is going to be installed in the bathroom, it should be put in such a way that nobody in the
bathtub or shower should be able to touch it.
* The appliance should not be located under or in front of a power supply socket.
* In order to disconnect the thermal transmier from the mains power supply, unplug from the wall socket.
* Ensure that the thermal transmier has been unplugged from the wall socket before carrying out any operaon
inside.
* At the moment of geng rid of these transmiers, the established rules for their treatment and recycling should
be kept into account (thermal fluid).
* The installaon should be undertaken according to the correct rules regarding the electric installaon.
* The appliance should have a ground connecon.
* The appliance should be installed in such a way that the power supply plug should always be accessible.
* This transmier should not be fied in. Please respect the safety distance.
* This heater is not designed to be handled by children or physically, mentally or sensory handicapped persons,
with lile experience or knowledge, unless under the supervision of a person responsible for their safety and in
possession of the corresponding instrucons on use. Children must be supervised to ensure they do not play with
the heater.
* Children under 3 years must be kept well away from the heater unless under constant supervision.
* Children aged from 3 years and less than 8 years shall only switch on/off the appliance provided that it has been
placed or installed in its intended normal operang posion and thy have been given supervision or instrucon
concerning use of the appliance in a safe way and understand the hazards involved.
* Children aged from 3 years and less than 8 years shall not plug in, regulate and clean the appliance or perform
user maintenance.
* This appliance may be used by children age 8 and over and by persons with physical, sensorial or mental
disabilies or without experience or knowledge, provided they have been duly trained and are supervised by
somebody who understands the hazards.
The cleaning and maintenance to be carried out by the user must not be done by children. Children should not
play with the appliance.
* PRECAUTION: Certain parts of this heater may become very hot during operaon and cause burns. Special care
must be taken when children and other vulnerable persons are present.
* PRECAUTION: Keep bags and other accessories well out of the reach of children.
* Do not touch the outside of the heater during operaon.
* The transmier can work with external programming devices or any other device of exterior control, providing
that the period of electrical disconnecon is not superior to 24 h.
* The guarantee of the appliance will not cover any damage caused by not reading and following carefully these
instrucons.
1. GENERAL WARNINGS

15
MODELS RC-A
MODELS
RC-A
WATTS
(W)
VOLTS
(V) ~
MEASUREMENTS
IN mm.
L X W X D
Nº. OF FINS
RC 4 A 500 230 435 X 580 X 94 4
RC 6 A 750 230 593 X 580 X 94 6
RC 8 A 1000 230 751 X 580 X 94 8
RC 10 A 1250 230 909 X 580 X 94 10
RC 12 A 1500 230 1067 X 580 X 94 12
WORKING OF THE RC-A MODELS WITH
ELECTRONIC THERMOSTAT
• Connect the appliance to the power supply with the switch in
position 0 (Fig.1). Press the ON/OFF button located on the right side.
• Switch on the transmitter turning the commutator to the position I.
The appliance has a built in thermostat that can be regulated and it
controls the temperature.
• The light will turn on indicating that the radiator is working.
• To settle the room temperature, turn the electronic thermostat
control knob to the desired position. Once the comforttemperature
is reached, the pilot light will be off.
The electronic thermostat will maintain a constant temperature.
• The thermostat has an antifreeze position. With the thermostat
control at minimum, the transmitter connected to the power supply
and the switch control knob in the position I, the appliance will start
working when the room temperature goes down to 5ºC.
TECHNICAL INFORMATION
All our thermal transmitters have a rating label on their right side
explaining their characteristics as follows (Fig.2):
1) The transmitter model(here the number of elements that the
transmitter model is made up of and the type of thermostat it
has, are described):
RC 12 = block of 12 elementos.
A = Electronic Thermostat.
2) The power of the transmitter (expressed in Watts).
3) The tensión (Volts) and the frequency (Hz) that has to be
applied to the transmitter.
FIG. Nº. 2
FIG. Nº. 1
- 12 ºC
12 - 18 ºC
ECONOMY
13 - 25 ºC
COMFORT
ANTIFREEZE
SWITCH
LIGHT
AMBIENT
THERMOSTAT

16
EVENTUAL BOLSTER
Minimum 15 cm
Minimum 15 cm
Minimum 15 cm
Minimum 15 cm
WALL OR
THE NEAREST
OBJECT
WALL OR
THE NEAREST
OBJECT
FLOOR
MODEL A (mm) B (mm) C (mm)
RC 4 A 420 246 159
RC 6 A 420 246 319
RC 8 A 420 246 478
RC 10 A 420 246 638
RC 12 A 420 246 638
INSTRUCTIONS FOR THE INSTALLATION
It is important that the transmitter IS FIXED FIRMLY TO A SOLID AND LEVELLED WALL. Please
make sure that transmitter remains COMPLETELY VERTICAL with respect to the floor. It is important
that you follow these instructions very carefully.
- Open the packaging box and make sure that the transmitter is in perfect condition. MAKE SURE
THAT THERE IS A SOCKET NEAR THE AREA WHERE YOU ARE GOING TO PLACE IT.
- Take out from the box the PATTERN TO SEE THE EXACT POSITION OF THE BORES
NECESSARY TO PUT THE TRANSMITTER ON THE WALL.
- To avoid problems and to obtain maximum heating results it is necessary to keep a minimum
distance of 15 cm between the transmitter and any combustible material such as curtains,
furnitures, etc. The rest of the distances to be respected are described in the following figure
(Fig.3).
- Apart from taking out the template explaining the fixing on the wall, take out the two wall
supports and the bag with the accessories.
- The measurements of the wall bores are (Fig.4):
FIG. Nº. 3
FIG. Nº. 4

17
- If the thermal transmitter is going to be put in the bathroom or toilet, please respect the safety
measurements described in the Fig.5 to avoid electric risks (See Fig.5).
- Place the template on the floor(follow the instructions in the template) and mark the 4 points
existing in the template in such a way that the 4 positions get marked on the wall (Fig.6). (Keep
the template for future reference or change of place of the transmitter).
- Take out the 4 cleats (diameter 8 mm) from the bag of accessories, the 4 5,5 x 50 mm screws
and the 2 6 x 40 mm screws.
- Make the 4 bores in the 4 points made on the wall to introduce the 4 cleats of 8 mm.
- Screw the 2 supports with the four long screws in such a way that the supports are in
the way as indicated in Fig. 7.
FIG. Nº. 6
FIG. Nº. 5

- Take the two 6 x 40 mm screws and
screw each one of them lightly on
both supports (Point 1 Fig. 8).
- Then take the appliance in such way
that the controls panel is on the right
side. Incline the appliance with the
upper part towards you.
- Place the transmitter on the lower
side of the wall separators (Point 2
Fig. 9).
- Move the transmitter carefully towards the
left or right till it is centralized and fixed on
the two canals which are on its back.
- Place the transmitter vertically and once it
is parallel to the wall, let it fall gently till the
upper separators get into both canals
(Point 3, Fig. 10).
- To have the transmitter perfectly fixed to
the wall, screw completely the 6 x 40 mm
screws in the upper part of the separators
(Point 1, Fig. 8).
- Make sure that the transmitter is perfectly
fixed to the wall to avoid future risks.
- Then connect the plug to a nearby power
supply (socket).
- You have just installed the HAVERLAND Thermal Transmitter. We
hope it satisfies your heating needs.
SCREWS
FIG. Nº. 7
FIG. Nº. 8
2
WALL
TRANSMITTER
FLOOR
3
TRANSMITTER
WALL
FIG. Nº. 9
FIG. Nº. 10
1
2
SCREWS
18

19
MAINTAINANCE
This thermal transmitter does not need any special maintenance.
Dust it with a dry and soft cloth ONLY WHEN THE TRANSMITTER IS DISCONNECTED AND IS
COLD.
NEVER USE DISOLVENTS OR ABRASIVE PRODUCTS.
We recommend to clean the surface of the transmitter at the beginning of the heating season
(ALWAYS BEFORE SWITCHING IT ON).
At the end of the heating season, it recommended to switch the transmitter off turning the output switch
selector in position 0.
Besides this, once the heating season is over, to unplug the transmitter from the socket.
POSSIBLE INCIDENTS
• THE TRANSMITTER DOES NOT HEAT UP. Please check that the transmitter is not covered or the
air entrances are not obstructed.
• THE TRANSMITTER DOES NOT HEAT UP ENOUGH. Please check that temperature chosen with
the room temperature selector is the desired one. If the selector knob is placed at maximum position
and the appliance is not stilll heating enough, it is possible that room needs a higher heating powder.
Marsan Industrial SA reserves the right to make any modification without previous warning.
Emissión:
m00r@A2015
Where you see this symbol on any of our electrical products or packaging, it indicates
that the relevant electrical product should not be disposed of as general household
waste in Europe. To ensure the correct waste treatment of the product, please
dispose of it in accordance with any applicable local laws or requirements for disposal
of electrical equipment. In so doing, you will help to conserve natural resources and
improve standards of environmental protection in treatment and disposal of electrical
waste.

CERTIFICADO DE GARANTÍA HAVERLAND (VALIDO SOLO PARA ESPAÑA)
CERTIFICAT DE GARANTIE HAVERLAND (VALABLE UNIQUEMENT EN ESPAGNE)
HAVERLAND GUARANTEE CERTIFICATE (VALID ONLY FOR SPAIN)
MARSAN INDUSTRIAL, S.A. garantiza la conformidad de los aparatos con las especificaciones del
contrato.
Esta garantía cubre la reparación del aparato y comprenderá los gastos necesarios realizados para
subsanar la falta de conformidad de los bienes con el contrato. Dicha subsanación será garantizada
durante un plazo de 24 meses desde la fecha de compra conforme a la factura contra cualquier
defecto de fabricación y funcionamiento durante el uso normal y doméstico de éste producto. Esta
garantía ampara únicamente el aparato cuyo modelo esté anotado en este documento.
El coste del material (piezas y recambios) será garantizado durante un plazo de 36 meses y por 10
años la estanqueidad del cuerpo de aluminio desde la fecha de compra conforme a la factura.
Esta garantía NO CUBRE la instalación inadecuada, el mantenimiento, limpieza o conservación del
aparato, así como tampoco las averías motivadas por fuerza mayor, agentes químicos o fenómenos
atmosféricos, por uso indebido del aparato, por una instalación eléctrica del comprador
defectuosa, transporte del aparato, ni por la manipulación del aparato por personal no autorizado
por MARSAN INDUSTRIAL, S.A.
Esta garantía no tendrá ninguna validez si no está debidamente cumplimentada, fechada y sellada
por el establecimiento autorizado del vendedor. El consumidor deberá disponer del presente
certificado de garantía debidamente sellado por el establecimiento autorizado y acompañado de la
factura original de compra.
Esta garantía no debe ser modificada, alterada ni extendida, y el Fabricante no autoriza a nadie a
actuar en su nombre en la modificación, alteración o extensión de ésta. Esta garantía se aplica al
Producto solamente.
Para la reparación del aparato, el consumidor deberá dirigirse al Servicio de Asistencia Técnica al
teléfono
91 324 40 60 (Horario: Lunes a Viernes de 9 a 20 h) o enviar un correo electrónico a
info@haverland.com solicitando la información necesaria sobre el procedimiento a
seguir.
Para la sustitución, cancelación o rebaja del precio, en su caso, el consumidor deberá dirigirse al
establecimiento vendedor. Esta garantía no afecta a los derechos de que dispone el consumidor
conforme a las previsiones dispuestas en la Ley 23/2003, de Garantía en la Venta de Bienes de
Consumo.
CERTIFICADO DE GARANTÍA HAVERLAND
FECHA DE COMPRA: ______________MODELO: ____________________________
Nombre del comprador:
Dirección:
Población:
Provincia:
Teléfono: Sello de establecimiento vendedor
TELÉFONO:
ASISTENCIA TÉCNICA HAVERLAND
91 324 40 60 (L-V: 9 - 20 h)
E-MAIL:
info@haverland.com
rca2015_amor@2015_05_v04
This manual suits for next models
5
Table of contents
Other Haverland Transmitter manuals
Popular Transmitter manuals by other brands

Sony
Sony TMR-IF130 Service manual

Synco
Synco G1T user manual

PRYME Radio Product
PRYME Radio Product PRYMEBLUPUSH-TO-TALK user guide

Yoda
Yoda Smart Home MAGNETIC DELUXE YSH Series quick start guide

Selve
Selve commeo Multi Send Operating instruction

Williams Sound
Williams Sound SoundPlus WIR TX10 Installation guide & user manual