Haztec International Ltd ∙ Moorfield Road ∙ Leeds ∙ LS19 7BN ∙ UK
3-3751-XX-RM
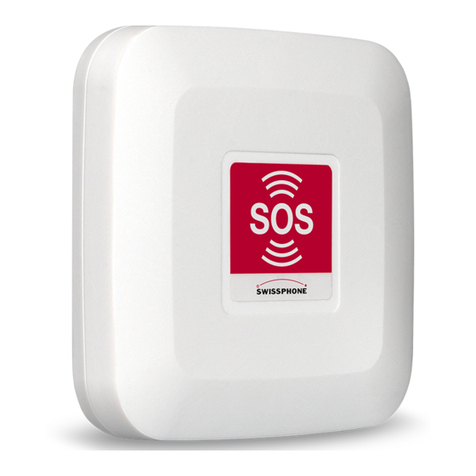
ELP LED Beacon
M103 Issue 1.2 Created by: Technical - 2 - January 2020
Operating Instructions:
The Beacon is supplied with its own charging and control cable with two switches
ON/OFF (with tell-tale LED); switches the charge/supply power on or off
Momentary (Pattern Select); see ‘Available Flash Patterns’
On/Off switch also located on the side of the Beacon body
Before first use ensure the main switch is set to ‘OFF’ then connect the charge/control
cable to a suitable power outlet
Turn the charging supply switch on and allow to charge fully for 4 hours. A green LED will
illuminate indicating that the battery is fully charged
The Beacon has three operating modes;
Mode 1; this allows the user to select the required flash pattern
Mode 2; operates in the same way as Mode 1 but all flash patterns are at 50%
brightness (DIM mode)
Mode 3; only one flash pattern operates which must be selected when in either
Mode 1 or 2
The flash pattern can be advanced by pressing the momentary switch for less than one
second. See ‘Available Flash Patterns’ (Mode 1 & 2 only)
The Beacon can be operated when the charging cable is connected
Status LEDs:
There are two LEDs located on top of the Beacon which indicate the following:
Fully charged (main switch off and power connected)
Battery temperature too low for charge or overheating
Mode Change: (not available on CAP168 version)
Connect the charge/control cable to a power source
Press and hold the momentary switch until the lamp turns off then release the
momentary switch
The lamp will flash to indicate the mode selected for restarting the flash program; once
for Mode 1, twice for Mode 2 and three times for Mode 3
