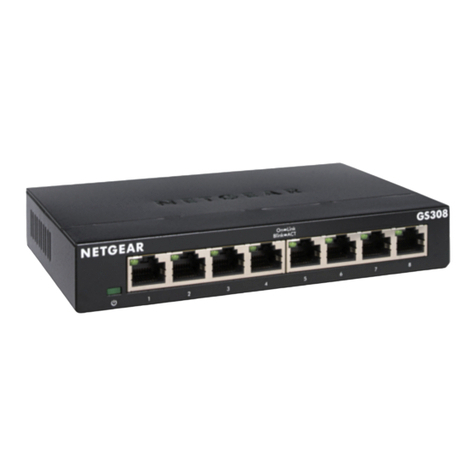
HDanywhere MHUB User manual

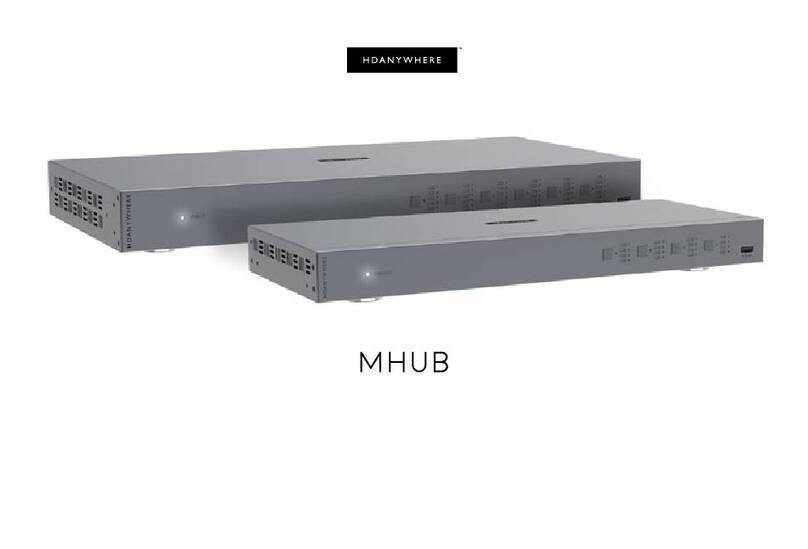
mHub
Contents
mHub
Introduction
What is mHub?
The best quality picture and sound
All your devices and subscriptions on every TV
‘Follow-Me-TV’
De-cluttered viewing areas and living spaces
Easy to Install
In the box
Package Contents
System Features - the technical bit
Before you start
HDMI over Cat wiring guidance
What is the best type of cable to use?
Shielded cables
Best Practice
HDMI over Cat with patch panels & wall plates
Connection termination
The central hub
Front panel
Rear panel
TV receivers
Front panel
Rear panel
Side Panel
IR Equipment
First time setup
Before you connect up your system:
Connecting up your mHub
Initial Connections
Addition Setup Options
Coaxial Audio Connection
Short Run Adjustment
ARC (Audio Return Channel)
IR setup
Step 1 - Central hub IR cable set up
Step 2 - In-room TV receiver IR set up
Step 3 – Test basic operation
Forward IR ports
When using two identical source devices, such as set-top boxes
Powering your system on for the first time
Completing your set up
Adding new or changing sources / displays to the system
Power consumption
SimplEDID
What is EDID
Operating your system
HDanywhere.co.uk
2

mHub
Manual operation
Remote control operation
Third Party Control via RS232 comms port or over IP
Troubleshooting
To perform the hard reset:
ISSUE 1: No/intermittent picture on HDTV, blocky images or sparkles
ISSUE 2: IR control not working, or only working intermittently
Specifications
Product Registration
The process is quick and easy.
One-Year Replacement Warranty & Guarantee
Warranty Details
Got an idea on how we can improve our manuals?
HDanywhere.co.uk
3

mHub
Introduction
You’ve made the right decision choosing mHub. With mHub you can access up to four of your entertainment
devices, recordings and on-demand services at up to four HDTVs at the same time. Soon, you will be
experiencing high definition entertainment throughout your home.
Chris Pinder
Managing Director, HD Connectivity Ltd.
HDanywhere.co.uk
4

mHub
What is mHub?
mHub is designed for anyone looking for a simpler, more affordable way to experience HDTV throughout their
whole home. mHub lets you select, watch and control your media devices on up to four HDTVs. By installing
mHub you can create more open living spaces and get rid of the multiple set top boxes that are cluttering your
home.
The best quality picture and sound
Get the best performance possible from your HDTVs with uncompressed, full HD 1080p video and audio in
pixel-perfect original quality, just as the creators intended.
All your devices and subscriptions on every TV
mHub lets you enjoy and get the most from every set-top box, TV channel, Blu-ray/DVD player and games
console that you own, by enabling you to access them on up to four HDTVs simultaneously, without losing a
single pixel of picture quality.
‘Follow-Me-TV’
With mHub you can watch and control movies and shows in multiple rooms at the same time. The ‘Follow-Me
TV’ feature allows you to pause a movie in one room and resume watching it in another. This feature is great
when switching between rooms and floors in your house.
De-cluttered viewing areas and living spaces
You can remove all the cables, boxes and TV furniture from your viewing area and hide them away. mHub’s mini
receiver boxes tuck behind your HDTVs. The only visible element to mHub is the infrared transmitters that
measure a tiny 10 x 6.5cm, and can be discretely attached to the side of your TV.
Control to suit you
IR magic eyes allow you to continue to use the original remote controls that came with your entertainment
devices across your four desired HDTVs, or you can ditch your pile of handsets in favour of a universal remote.
Easy to Install
mHub is simple to install, requiring only a single network / Cat cable to carry HD video, audio and control
between the central hub and the TV receivers, thanks to the latest HDMI over Cat transmission technology.
HDanywhere.co.uk
5

mHub
In the box
Each mHub package contains everything you need. The only thing we haven’t included is HDMI and Cat5/6/7
cabling. For more about Cat cables turn over to pages 7 and 8.
Package Contents
1 x central hub
1 x remote control for the central hub
1 x DC12V power supply for the central hub
4 x mini TV receiver boxes (sometimes in this manual we call them TV receivers)
4 x DC5V power supplies for the mini TV receiver boxes
5 x IR magic eye receivers
4 x IR emitters
2 x 19” Rack Mounting Ears
4 x Mounting Ears for receivers
System Features - the technical bit
●Uses a single Cat5e/6/7 wiring structure with reliable performance up to 40m
●Supports the highest HD resolutions, including 1080p 3D
●IR passback allows you to select and control what you watch from every room
●Fully compatible with universal remote controls
HDanywhere.co.uk
6

mHub
Before you start
HDMI over Cat wiring guidance
mHub requires a single network cable to be run from each HDTV location back to a central point. Single wire
systems like mHub use HDMI over Cat technology to transmit over a Cat5e/6/7 cable up to a distance of forty
metres.
What is the best type of cable to use?
You can use Cat5e, Cat6, Cat6e, Cat6a, Cat7 or Cat7a cables with HDanywhere products.
Please do not not use copper clad aluminium (CCA) or copper clad copper (CCC) Cat 5/6/7 cables FOR
HDMI over Cat products.
The baseline cable standard for HDanywhere systems is Cat5e. Greater distances can be achieved by using
Cat6, or greater still with Cat7, which have thicker copper cores for easier signal transfer.
Whichever network cable type you choose, ensure that the main wiring architecture is solid core, not stranded
patch cabling. Patch cabling can be used for the last few metres of a run, for example from a wallplate, but
should be avoided over longer runs, as signal transfer over stranded cores is heavily reduced.
The use of pre-made leads is not recommended unless you can be absolutely sure of their construction
credentials (i.e. solid core 568B).
Shielded cables
Unlike other systems, shielded FTP cable is not a stipulation for mHUb. If, however, you prefer this type of cable,
then please make sure that compatible shielded accessories are used. Failure to terminate cable screen at all
points can cause interference rather than eliminating it. But a properly installed shielded cable can result in
greater transmission distances.
Best Practice
It is best practice to always use a straight piece of cable that is terminated directly at the matrix and the TV
receiver ends.
HDMI over Cat with patch panels & wall plates
If the patch panels are terminated correctly and well, there is minimal loss of distance with HDMI over Cat.
The use of wallplates and patch panels always has the potential to cause increased resistance on the cable,
introducing 'pinch points' for signal transmission, and could reduce advertised transmission lengths.
Instead of using RJ45 wallplates, you can use brush plates instead to maintain the neat finish.
For the most up to date installation advice, please visit:
http://www.hdconnectivity.com/support
HDanywhere.co.uk
7

mHub
Connection termination
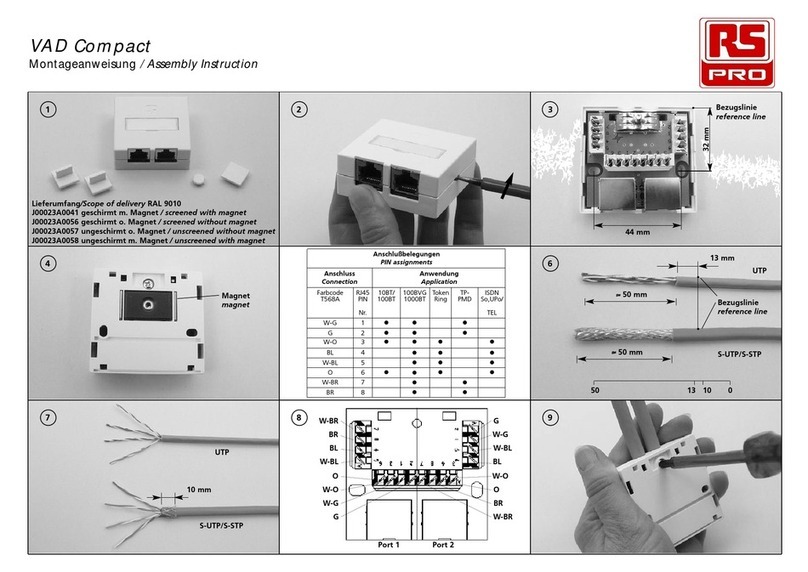
Terminate the cabling using RJ45 connectors to the 568B wiring standard shown below.
Please note that local building regulations may apply to the installation of cabling in properties. It is
important to check building regulations to guarantee that you are in accordance with the laws of your
territory.
HDanywhere.co.uk
8

mHub
The central hub
The central hub is the heart of the mHub system.
Front panel
1. LCD display
2. IR receiver window
3. Power button
4. Lock button- locks all controls on front of unit
5. Input and output control button panel
6. SimplEDID management control panel
Rear panel
1. Unit control panel including IP and RS232 ports
2. IR input and output ports
3. HDMI input ports
4. HDMI over Cat output ports (RJ45) to TV locations (4-3-2-1) including mirrored HDMI outputs
5. DC12V power input
HDanywhere.co.uk
9

mHub
TV receivers
Front panel
●HDMI output port
●Power LED (blue)
●Lock LED (blue)
●Coaxial audio output
●ARC switch (See ARC)
Rear panel
●DC5V power input
●IR receiver port
●IR transmitter port
●Cat connection from central hub
Side Panel
●Short Run Adjustment Dip switch (see Short Run Adjustment for details)
HDanywhere.co.uk
10

mHub
IR Equipment
HDanywhere.co.uk
11

mHub
First time setup
mHub is designed so that you can set it up quickly and start using it right away.
Before you connect up your system:
●Ensure that any manufacturer HDMI link, HDMI control or CEC protocol settings (such as Samsung
Anynet Link, Sony Bravia Link, Panasonic Viera Link) are switched off on both the source devices and the
HDTVs that are intended be connected to system. This setting is likely to be found in the HDMI menu
settings of the devices that you are using.
●After you have changed the CEC setting, switch off all your HDMI source devices and HDTVs. Now
unplug them from the mains.
●Only connect and disconnect HDMI cables while the central hub and TV receivers are powered off.
Connecting up your mHub
The diagram on the next page shows how the complete system appears when connected with four sources and
four TVs.
Please note that the HDanywhere product warranty does not cover damage due to electrical
disturbances. If possible safeguard your equipment by connecting all provided power supplies to an
electrical surge suppressor / line conditioner.
Initial Connections
●With all your products powered off, connect your HDMI source devices to the desired HDMI input ports
(1, 2, 3 or 4) on the central hub.
●For Blu-ray 3D, high speed HDMI cables must be used (usually under 8m in length). Passive HDMI cables
over 15m in length are not recommended under any circumstances.
●Connect your most commonly watched source device to HDMI input 1. It is recommended that if a
Satellite HD Receiver is being used that this is connected to HDMI input 1.
●Connect the HDMI cables between the TV receivers and your chosen TVs / Displays / Projectors on the
first HDMI port.
●Now connect the Cat cabling from the corresponding TV Receiver locations to the HDMI over Cat (RJ45)
TV output ports (1, 2, 3 or 4.)
When placing the TV Receivers at your TV locations, please take care not to block the vents on the TV receiver
casing.
Before switching your unit on at this stage, please refer to page 17 of this manual.
HDanywhere.co.uk
12

mHub
HDanywhere.co.uk
13

mHub
Addition Setup Options
Coaxial Audio Connection
The mHub receivers come with a built in coaxial output. This gives the the ability to feed audio directly into an
amplifier. The use this function, simply connect the cable as shown on the connection diagram above. Also
when ARC is selected via the receiver, audio from the attached display will be output via the coaxial connection
Please note - The audio output type will be directly related to the audio capabilities of the connected display.
i.e. If you display can only decode stereo audio, only stereo audio will be passed from the coaxial output.
Short Run Adjustment
The mHub receivers also come equipped with controls for allowing HDMI over Cat pass-through over shorter
lengths of cable. Located on the side of the receivers is a bank of two dip switches. Please see the table below
for recommended settings when shorter cable runs are installed.
Dip Switch Position
Cable Length
Cables lengths from 1m to 20m
Cable Lengths from 21m to 29m
Cable lengths 30m or above
ARC (Audio Return Channel)
The Audio Return Channel (ARC) enables a display to send an audio signal from the built in freeview/smart
functions upstream via a connected HDMI cable to an AV receiver or audio controller, eliminating the need for a
separate audio cable. For this function to be available both display and AV Receiver(AVR) must support ARC and
specific HDMI ports may be required.
The ARC switch changes where the audio from the display is being sent.
ARC OFF - Display audio will come from the display’s internal speakers.
ARC ON - Display audio signal is sent downstream via the attached HDMI cable to the AV receiver.
HDanywhere.co.uk
14

mHub
The above diagram shows how audio is fed to an attached AVR when the ARC is turned off and on,
HDanywhere.co.uk
15

mHub
IR setup
Step 1 - Central hub IR cable set up
Connect the IR TX emitter cables to the 3.5mm jack ports labelled IR output 1, 2, 3, 4 on the rear panel, and
position the IR emitter “bud” on the front of the source, over the IR receiving window on each of the
corresponding connected source devices 1, 2, 3, 4.
(i.e. The IR TX plugged into port 1 is positioned in front of the HDMI source connected to HDMI input 1)
Step 2 - In-room TV receiver IR set up
In order to use any of your source device remotes, the HDanywhere system remote or a universal remote at the
TV Receiver locations, ensure that the IR RX cable receiver eye is connected to the 3.5mm jack port (labelled IR
RX) and positioned in sight of where you would usually point your remote control(s).
Step 3 – Test basic operation
The easiest way to verify your IR setup is to go to your display device connected to output 1 of the central hub.
Use the matrix remote to select source input 1 and then use the remote control for your chosen source 1 to
verify control. Do this for each of the other sources connected to the matrix. If you wish, you can then repeat
the process at each of the display locations you have connected to the system.
Forward IR ports
mHub has forward IR ports on the rear of the central hub. These allow IR signals to be sent from the central hub
to the individual TV receivers. This feature is for use when integrating with third party control systems. In
normal use these ports are not used or required. For example, a third party smart home system such as
Control4, Crestron, AMX or RTI can send IR commands to control devices at the TV receiver location from the
location of the central hub.
When using two identical source devices, such as set-top boxes
mHub has discrete IR, so it is possible to have two or more identical source devices without annoying IR clashes
that result in the operation of all identical devices. When using two or more identical source devices, please take
measures to avoid IR transmission leaks that could cause the other identical source devices to respond. You can
take measures to shield source devices from the IR being emitted by other source device IR TX emitters by
locating them on different shelves, for example.
HDanywhere.co.uk
16

mHub
Powering your system on for the first time
The very first time you turn on your mHub is crucial to its future operation and performance. The central hub
incorporates a small memory. This memory stores the initial handshake negotiations and authentications
between all the connected sources and HDTVs, in order to aid faster switching times between the connected
source devices from then on.
●Power your HDTVs on at the mains. Bring out of standby mode and select the correct HDMI channel
that the HDanywhere TV Receiver is connected to.
●Power on the HDMI source devices at the mains and bring them out of standby mode. Please note that
Sky+HD can take one minute or so to power on from standby.
●Connect the power cable to the central hub and power it on at the mains switch.
●Finally power on the system by using the manual power ‘on’ switch located on the front panel.
Completing your set up
After completing the process above, all HDTVs should be displaying the video and audio from your selected
HDMI source device.
Adding new or changing sources / displays to the system
If at any time a connected source device or HDTV is changed to a different HDMI input port, or if a source device
is replaced with a different model, a factory reset and re-initialisation of the system is recommended.
To perform the hard reset you need to power down every device connected to the central hub: all of your
sources and all of your HDTVs. Now power down the central hub itself and leave it off at the mains for at least
ten to fifteen minutes. Finally connect and power on the central hub again, as if doing so for the very first time,
as described in the four bullet points above.
Power consumption
The mHub is designed to be powered on constantly, using low power consumption. In some cases, when the
system has been powered off fully at the mains for over fifteen minutes, the four bullet points above may need
to be repeated to sync the HDTVs again with the HDMI source devices.
HDanywhere.co.uk
17

mHub
SimplEDID
What is EDID
EDID (Extended Display Identification Data) is data provided by HDTVs to describe its capabilities to a connected
source, and it presents such information as screen resolution, refresh rates and audio capabilities.
SimplEDID allows you to fix a specific EDID profile internally on the mHub to assist with the connection between
the display and source. By ‘fixing’ the EDID you can specify the maximum resolution, 3D functionality and audio
output type from the splitter instead of the HDTV dictating what the source should output.
You have the option, through the EDID management control panel to choose how the unit will manage the EDID
profiles from the displays and sources. The matrix has multiple EDID management modes that will control how
the EDID profiles from the individual displays and devices are combined, ignored and routed.
To use the SimplEDID system, first press the MENU button, this will enter into the EDID management mode.
Next using the UP and DOWN buttons select the required EDID profile using the table on the next page. Next
press ENTER to select the required input the EDID profile will be written to, then finally press ENTER again to
write the EDID profile.
Please see the table on the next page (page 16) for a list of pre-stored EDID profiles.
HDanywhere.co.uk
18

mHub
Position
EDID profile description
1
1920 x 1080i, 2 channel audio
2
1920 x 1080i, 5.1 Multi-channel audio
3
1920 x 1080i, 7.1 Multi-channel HD audio
4
1920 x 1080p, 2 channel audio
5
1920 x 1080p, 5.1 Multi-channel audio
6
1920 x 1080p, 7.1 Multi-channel HD audio
7
3D, 1920 x 1080p, 2 channel audio
8
3D, 1920 x 1080p, 5.1 Multi-channel audio
9
3D, 1920 x 1080p, 7.1 Multi-channel HD audio
10
3840 x 2160, 2 channel audio
11
3840 x 2160, 5.1 Multi-channel audio
12
3840 x 2160, 7.1 Multi-channel HD audio
13
DVI 1024 x 768
14
DVI 1920 x 1080
15
DVI 1920 x 1200
16
Copied EDID from HDMI input 1
17
Copied EDID from HDMI input 2
18
Copied EDID from HDMI input 3
19
Copied EDID from HDMI input 4
HDanywhere.co.uk
19

mHub
Operating your system
Manual operation
You can switch between sources manually by using the buttons on the front of the central hub. First press one
of the four output buttons for the required output to be changed. Next select which input is to be routed to that
output by pressing one of the input buttons. There are two additional buttons labelled ‘ALL’ and ‘PTP’. If you
press the ‘ALL’ button then select an input, this will change all outputs to the selected input (i.e pressing ALL
then Input1 will set all outputs to Input1). Pressing the PTP button will match all outputs to all inputs ( Output1
to Input1, Output2 to Input2, Output3 to Input3, Output4 to Input4)
Remote control operation
The small remote control shown below is included with mHub. This can operate the system from directly in
front of the main unit, via the IR receiver window on the front of the unit also via the IR RX cables connected to
TV Receivers, which are sometimes referred to as the 'magic eye' cable. Additional remotes are available to
purchase.
Third Party Control via RS232 comms port or over IP
Please visit www.hdconnectivity.com/support to download our available third party integration drivers or
the control codes for advanced user integration with third party hardware. Alternatively you can contact
HDanywhere.co.uk
20
Other manuals for MHUB
4
Table of contents
Other HDanywhere Switch manuals
HDanywhere
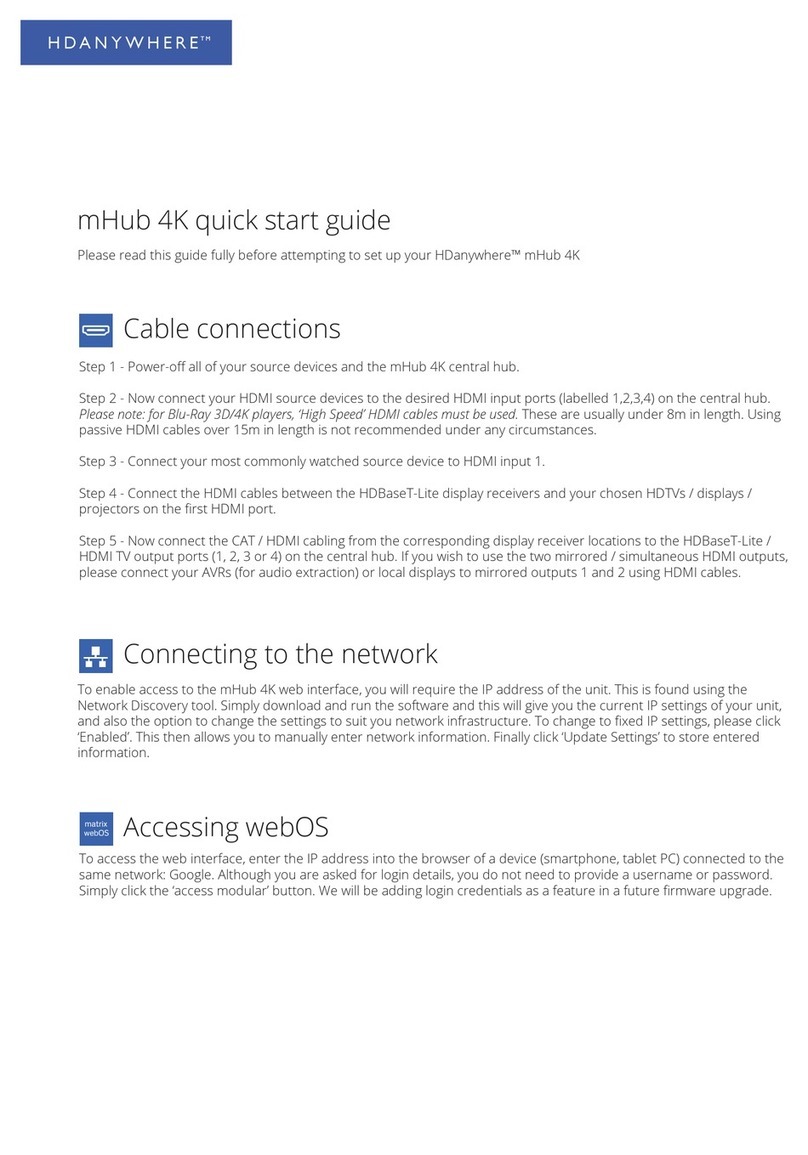
HDanywhere mHub 4K User manual

HDanywhere
HDanywhere MHUB4K862 User manual

HDanywhere
HDanywhere HKSP0104CAT-UK User manual
HDanywhere
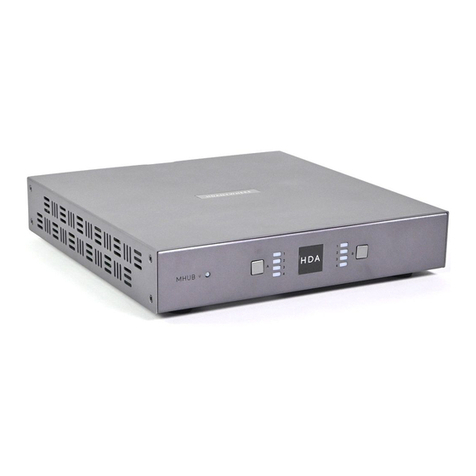
HDanywhere MHUB U 4x1+1 40 User manual
HDanywhere
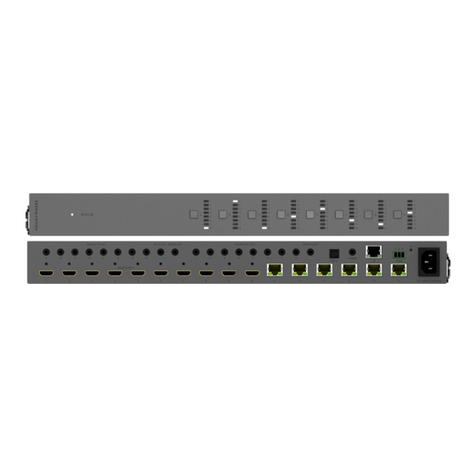
HDanywhere MHUB862U40 User manual

HDanywhere
HDanywhere MHUB (8X6+2) User manual
HDanywhere
HDanywhere MHUB 100A User manual
HDanywhere
HDanywhere mHub 2K PoE User manual
HDanywhere
HDanywhere MHUB431U User manual

