manuals.online logo
Brands
  1. Home
  2. •
  3. Brands
  4. •
  5. Heat & Glo
  6. •
  7. Indoor Fireplace
  8. •
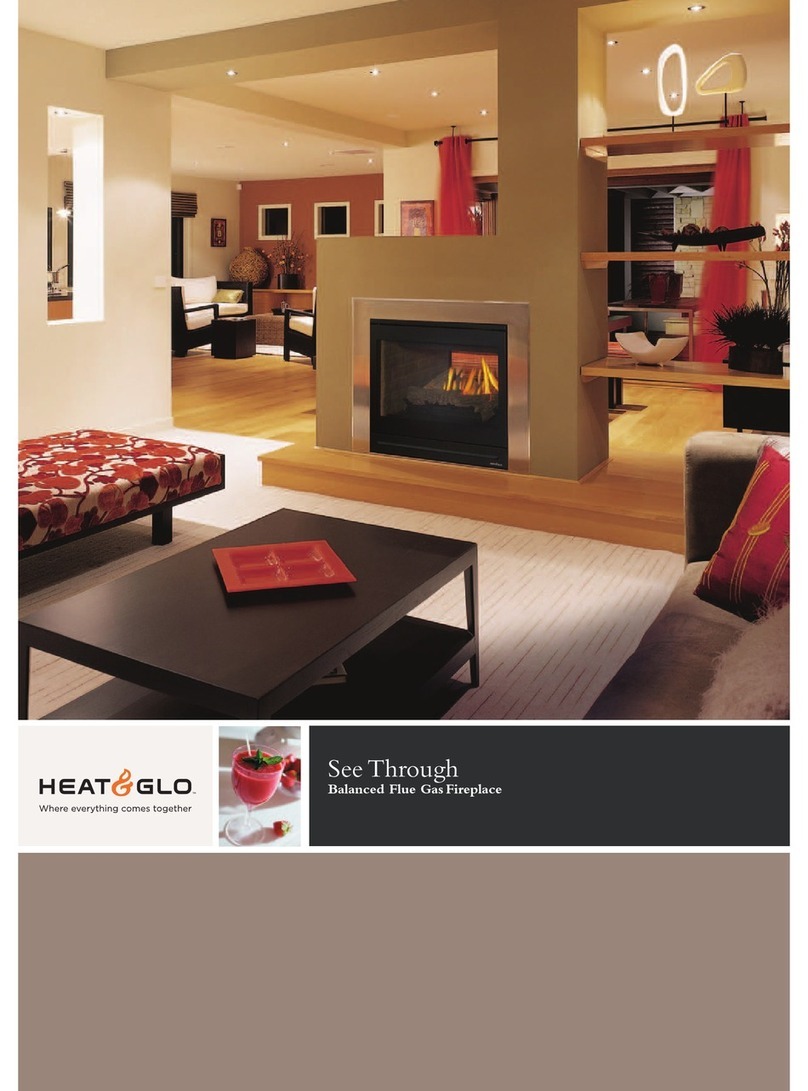
  9. Heat & Glo KENWOOD SERIES User manual

Heat & Glo KENWOOD SERIES User manual

Heat & Glo • Kenwood Corner Surround • 2118-934 • 4/07 1
CAUTION
Sharp Edges
• Wear protective gloves and safety
glasses during installation.
KENWOOD CORNER SURROUND
- Installation Instructions -
• These instructions apply only to the cabinet and facing
material that will surround the firebox.
• See the fireplace manufacturer’s installation instructions to
ensure that all clearance and installation requirements are
being met.
PREPARATION
Before beginning installation of this mantel, verify that the walls
and floor in the area of the installation are clean, plumb and
level. Any major deviation should be remedied before installing
the fireplace, marble or the mantel /cabinet.
These questions should also be considered and answered
before beginning installation of the mantel.
a. Is base molding already installed?
b. Where are the electrical outlets or firebox switch?
c. Is there enough distance between windows and edge
of cabinet?
d. Is the fireplace centered between walls?
e. Where is the return air vent located?
f. Is the fireplace centered between windows?
g. Where are the electrical & cable outlets positioned?
h. What type of finished flooring is to be installed?
It is recommended that two people assemble this mantel due to
its weight and upright positioning.
CAUTION
WARNING
Risk of Fire
• Improper installation or adjustment can
cause injury or property damage. For
assistance or additional information, contact
a qualified installer, service agency or the
gas supplier.
• Comply with all minimum clearances to
combustibles as specified in the fireplace
manual.
CAUTION
Leave this manual with party responsible for
use and operation.
Tools and supplies needed:
#2 Phillips Screwdriver
High Temperature Silicone Caulk
Finishing Nails & Hammer
Level
Figure 1. Kenwood Corner Mantel Shown with Optional Base (Left) or without Base (Right).
Heat & Glo • Kenwood Corner Surround • 2118-934 • 4/072
MANTEL TOP
LEFT LEG
RIGHT LEG
UPPER TRIM
RIGHT TRIM
LEFT TRIM
FACE BOARD
BASE (OPTIONAL)
TOP FINISH SUPPORT
SIDE FINISH
SUPPORT
Parts List and Diagram
MANTEL PARTS:
QTY DESCRIPTION
1 Mantel Top
1 Right Leg
1 Left Leg
1 Face Board
1 Upper Trim
1 Left Trim
1 Right Trim
1 Base (Optional)
2 Side Ledger Board (not shown)
2 Top Ledger Board (not shown)
1 Top Finish Support
2 Side Finish Support
ASSEMBLE MANTEL
1. Remove all components from packaging. Confirm
that all components are included. See Figure 2.
Note: Side and Top finish material supports may come
pre-assembled to left and right legs and face board. If
they are shipped separately they should be attached
prior to step 2.
2. Position left and right mantel legs laying flat on a
clean floor.
3. Attach face board to the legs. See Figure 3.
4. Make sure all seams and edges are tight and
square.
5. Carefully lift assembly into upright position.
6. Have someone hold the front and legs from the front,
and set the mantel top into location. Attach the mantel
top. See figure 4.
Figure 2. Components Overview
Figure 3. Attaching Face Board
Figure 4. Attaching Mantel
Note: Using the optional base will raise the fireplace by
9-1/4 inches above finished floor level. All dimensional
requirements of the fireplace installation manual should be
adjusted accordingly. See fireplace installation manual for
more details.
INSTALLATION
1. Position base on the floor in the desired fireplace
location (optional).
2. Set Fireplace into position.
3. Carefully position mantel in desired location.
Heat & Glo • Kenwood Corner Surround • 2118-934 • 4/07 3
Figure 5. Installed View-Shown prior to installation of
finishing material
Please contact your Heat & Glo dealer with any
questions or concerns.
For the location of your nearest Heat & Glo dealer,
please visit www.heatnglo.com.
Heat & Glo, a brand of Hearth & Home Technologies Inc.
20802 Kensington Boulevard, Lakeville, MN 55044
www.heatnglo.com
4. Adjust fireplace position to align properly with mantel.
5. Mark final location of fireplace.
6. Using a sharp pencil, draw lines across the back
edges of the mantel and also on the outside edges
of the vertical legs.
7. Carefully remove the mantel and fireplace from the
base.
8. Measure 3/4 in.down from the top lines, and 3/4 in.
in from the side lines. Mark 2 points off of each line,
and draw corresponding line. These lines will be
used to locate the top and side ledger boards.
9. Using a stud finder or other method, mark off the lo-
cations of the vertical studs that intersect with the top
edges of the mantel. Attach the top and side ledger
boards using 3” drywall screws.
10. Install fireplace according to instructions in fireplace
installation manual.
Risk of Fire
• When being installed in a corner cabinet, SL-
TRS models (SL-350TRS, SL-550TRS, SL-
750TRS) MUST be rear vented using one 90°
elbow off the rear of the unit and an additional
90° elbow to vent out through the wall. See
fireplace installation manual for more details.
• Failure to vent appropriately may cause
excessive heat and/or fire.
WARNING
11. Place the mantel in the corner with the top resting
on the ledger board. Pre-drill holes down through
the top of the mantel into the ledger board. Pre-drill
holes through the legs of the mantel into the side led-
ger boards. Attach the mantel to the ledger boards
using nails through the pre-drilled holes. Caulk sides
of mantel if needed with silicone caulk.
12. Install non-combustible facing material with a maxi-
mum thickness of 1 inch.
13. To install trim strips, place the top, left and right trim
strips in position. Cut trim strips to length. Pre-drill
holes in trim strips and attach them to mantel using
nails. Be careful not to hit the facing material when
nailing the trim strips in place.

Other Heat & Glo Indoor Fireplace manuals

Heat & Glo ST-HVBI-AUB User manual

Heat & Glo

Heat & Glo ST-HVBI-AUB User manual

Heat & Glo EXCLAIM-50 User manual

Heat & Glo

Heat & Glo EXCLAIM-50 User manual

Heat & Glo MEZZO36 User manual

Heat & Glo

Heat & Glo MEZZO36 User manual

Heat & Glo 6000CL-IFT-S User manual

Heat & Glo

Heat & Glo 6000CL-IFT-S User manual

Heat & Glo ST-550T-IPI User manual

Heat & Glo

Heat & Glo ST-550T-IPI User manual

Heat & Glo 8000TR-OAK User manual

Heat & Glo

Heat & Glo 8000TR-OAK User manual

Heat & Glo NORTHSTAR-BK User manual

Heat & Glo

Heat & Glo NORTHSTAR-BK User manual

Heat & Glo i30-X User manual

Heat & Glo

Heat & Glo i30-X User manual

Heat & Glo ST-550T-IPI User manual

Heat & Glo

Heat & Glo ST-550T-IPI User manual

Heat & Glo MEZZO48-B User manual

Heat & Glo

Heat & Glo MEZZO48-B User manual

Heat & Glo Pier-HVB-IPI User manual

Heat & Glo

Heat & Glo Pier-HVB-IPI User manual

Heat & Glo MEZZO36 User manual

Heat & Glo

Heat & Glo MEZZO36 User manual

Heat & Glo BAY-40 User manual

Heat & Glo

Heat & Glo BAY-40 User manual

Heat & Glo Everest User manual

Heat & Glo

Heat & Glo Everest User manual

Heat & Glo 6000G User manual

Heat & Glo

Heat & Glo 6000G User manual

Heat & Glo ST-HVBI-AUB User manual

Heat & Glo

Heat & Glo ST-HVBI-AUB User manual

Heat & Glo FOUNDATION FDN-4-PIER User manual
Heat & Glo

Heat & Glo FOUNDATION FDN-4-PIER User manual

Heat & Glo LUX36 User manual

Heat & Glo

Heat & Glo LUX36 User manual

Heat & Glo Paloma User manual

Heat & Glo

Heat & Glo Paloma User manual

Heat & Glo LOGS-2531 User manual

Heat & Glo

Heat & Glo LOGS-2531 User manual

Heat & Glo 550TRSI-AUF User manual

Heat & Glo

Heat & Glo 550TRSI-AUF User manual

Heat & Glo 6000CMOD-IPI User manual

Heat & Glo

Heat & Glo 6000CMOD-IPI User manual

Heat & Glo 6000C-LP User manual

Heat & Glo

Heat & Glo 6000C-LP User manual

Heat & Glo 6000TRS-CE Assembly instructions

Heat & Glo

Heat & Glo 6000TRS-CE Assembly instructions

Popular Indoor Fireplace manuals by other brands

Trimline Fires Trimline 83 Front DB installation instructions

Trimline Fires

Trimline Fires Trimline 83 Front DB installation instructions

Enviro EF THERMO EF THERMO 28 owner's manual

Enviro

Enviro EF THERMO EF THERMO 28 owner's manual

Desa Design Dynamics VTD-18N-BTB OWNER'S OPERATION AND INSTALLATION MANUAL

Desa

Desa Design Dynamics VTD-18N-BTB OWNER'S OPERATION AND INSTALLATION MANUAL

Heatilator GNTC80 Installation & operating instructions

Heatilator

Heatilator GNTC80 Installation & operating instructions

Home Decorators Collection 1004151455 Use and care guide

Home Decorators Collection

Home Decorators Collection 1004151455 Use and care guide

CARBEL C-70 Plus Double-sided instruction manual

CARBEL

CARBEL C-70 Plus Double-sided instruction manual

Stoll Essential Build-out Kit Installation & user guide

Stoll

Stoll Essential Build-out Kit Installation & user guide

Osburn Designer DV36 Installation and operation instructions

Osburn

Osburn Designer DV36 Installation and operation instructions

Monessen Hearth Unvented Vent-Free Fireboxes BUF500 Product specifications

Monessen Hearth

Monessen Hearth Unvented Vent-Free Fireboxes BUF500 Product specifications

RSF Energy OPEL 2000 owner's manual

RSF Energy

RSF Energy OPEL 2000 owner's manual

pleasant hearth 18-100-001 Installation and operating instructions

pleasant hearth

pleasant hearth 18-100-001 Installation and operating instructions

Desa CGCFTN OWNER'S OPERATION AND INSTALLATION MANUAL

Desa

Desa CGCFTN OWNER'S OPERATION AND INSTALLATION MANUAL

Monessen Hearth HBDV300N/PV7 user manual

Monessen Hearth

Monessen Hearth HBDV300N/PV7 user manual

Dimplex BOF4056 Service manual

Dimplex

Dimplex BOF4056 Service manual

Dimplex DF2608 Service manual

Dimplex

Dimplex DF2608 Service manual

Heatilator GDST5244I owner's manual

Heatilator

Heatilator GDST5244I owner's manual

Paragon TURBO PLUS LPG User instructions

Paragon

Paragon TURBO PLUS LPG User instructions

Cadel ZEFIRO3-ZEN AIRTIGHT Installer manual

Cadel

Cadel ZEFIRO3-ZEN AIRTIGHT Installer manual

manuals.online logo
manuals.online logoBrands
  • About & Mission
  • Contact us
  • Privacy Policy
  • Terms and Conditions

Copyright 2025 Manuals.Online. All Rights Reserved.