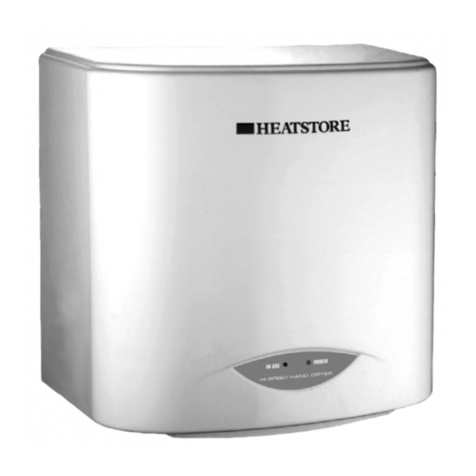
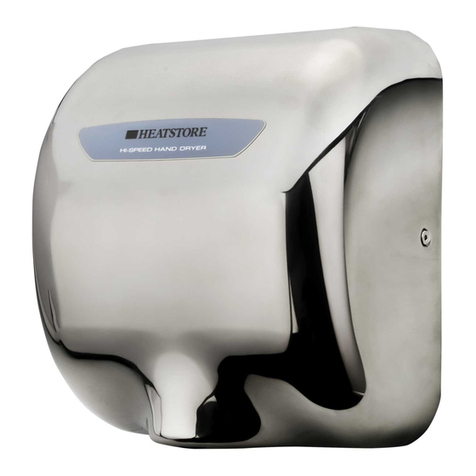
Heatstore Tornado2 HS5810 User manual

IMPORTANT SAFEGUARDS
WHEN USING ANY ELECTRICAL APPLIANCE, BASIC SAFETY
PRECAUTIONS SHOULD ALWAYS BE FOLLOWED.
PLEASE READ ALL INSTRUCTIONS CAREFULLY
AND RETAIN FOR FUTURE REFERENCE.
IF IN ANY DOUBT ABOUT THE INSTALLATION OR USE OF THIS
PRODUCT, CONSULT A COMPETENT ELECTRICIAN.
HS5810 Tornado 2
Hi-Speed Hand Dryer
Installation and Operating Instructions
HS5810_instructions 19/4/13 08:47 Page 1

The HS5810 TORNADO 2 is a stylish, hi-speed hand dryer for
commercial applications. It has an antibacterial coating for added
hygiene, can blow hot or cool air – settable on installation. It is fitted
with a self-diagnostic function and has tamper-proof controls.
Figure 1: Components
The shaded area
indicates the
antibacterial coating
2
Important Safety Information – Please Read before Proceeding
The information contained in these installation instructions must be read
carefully before any attempt to install the hand dryer.
Failure to accurately follow these instructions may result in the incorrect
operation of the unit, damage to property and/or personal injury.
Heatstore will not be held liable for any damage to property or personal
injury as a result of failure to comply with the instructions contained
herein.
All electrical installation and repair work should be carried out by a
qualified electrician in accordance with current UK IEE regulations and
any local codes or regulations.
Any maintenance to this appliance should be carried out by a qualified
electrician.
This product must be earthed.
Isolate power to the device before installation or servicing.
Check that the electrical supply corresponds to that shown on the rating
plate on the device.
NOT to be used for any purpose other than drying hands.
The cover for the
controls is lockable
HS5810_instructions 19/4/13 08:47 Page 2

Before installation
Be sure to select a suitable position where the unit is easy to use, and
away from direct sunlight, high condensation or corrosive elements.
Choose a flat surface, away from high traffic. The unit is IPX4 rated.
Make certain that you have all the parts and appropriate tools for
installation.
Be sure that the electrical supply (via a switched fuse spur/connection
box to which you intend to connect the device) has been
isolated/switched off to reduce the risk of electric shock.
Ensure that there is no pipe work or electrical cables located directly
within the drilling area.
All pole-disconnection must be incorporated in the
fixed wiring in accordance with applicable wiring
regulations.
Installation
Note
This unit is equipped so that it can blow hot and cool air when in
operation. This may be set using the switch under the tamper-
proof flap on the top left-hand side of the unit, and should be set
during the installation of the appliance – see figure 2/2a.
Electrical
Use a single-phase alternating current 220V-240V
power supply.
This unit comes pre-wired ready for installation.
Installation
The left side of the unit must be at least 150mm away
from any walls to allow access to the control panel.
Before ‘offering up’ the backplate and marking the wall:
remove the drain tank as you would for
cleaning – see page 6.
remove the cover by removing the 2 screws
behind the drain tank – see figure 3.
remove the one screw located behind the drain
tank to remove the back plate.
remove the separate backplate from the main
unit ready for fixing to the wall.
Figure 3: retaining screws
Figure 2a
Figure 2
3
HS5810_instructions 19/4/13 08:47 Page 3

Offer up the separate backplate to the wall
and mark the position of the four holes and
drill to a suitable depth – see figure 4.
loosely fix the backplate to the wall and pull the
fixed power cord through to the backbox.
tighten the screws holding the backplate to the
wall.
attach the rear of the main unit to the 3 hooks
on the backplate panel, and secure with the
installation screws – see figure 5. NOTE:
These installation screws for the unit will not
tighten completely if the hooks at the bottom
of the installation panel are not in place. ensure
the lower hooks are completely hooked onto
the rear of the unit.
Re-attach the cover using the two screws
located behind the drain tank.
Fixed wiring
This unit comes pre-wired ready for installation via
a suitable rated fused spur.
All wiring must be in accordance with the current
IEE regulations or any local codes or regulations.
Once the wiring has been completed, switch
on electrical supply.
Before using the hand dryer
for the first time
Before using the hand dryer for the first time, be sure it
is set up the way you want it to operate, with either hot
or cool air blowing.
Hot or cool air blowing
Be sure the power is switched off.
Open the tamper-proof switch cover on the left-
hand, top side of the unit.
Use the top right hand switch to select HOT or
COOL blowing.
Figure 5
Figure 4
Figure 6
4
HS5810_instructions 19/4/13 08:47 Page 4

Use the top left hand switch to select AUTO or
OVERRIDE.
• Setting AUTO provides hot blowing when the
ambient temperature is below 23°C – above 23°C it
blows cool.
• Setting OVERRIDE provides hot blowing at all
times when the right hand switch is set to hot.
When you have the desired setting, make sure the
POWER is set to on
Operation
This unit is easy to use. It starts and stops automatically
when your hands are inserted into and removed from
the unit. During operation the LED in the centre of the
control panel will show activity and count down from
10 seconds to zero during the drying process – see
figure 8.
When idle the LED displays the ambient temperature.
Drying your hands
Shake off excess water before inserting your hands into
the unit.
Step 1
Insert your hands into the unit with your fingers slightly spread. The hand
dryer will start automatically as you do this – figure 7a, Step 1.
Step 2
Slowly withdraw your spread fingers; you will feel the powerful air flow
pressing against your hands as you do this – figure 7b, Step 2.
Step 3
If your hands still feel wet repeat the first two steps – figure 7c, Step 3.
5
Fig 7a: Step 1 Fig 7b: Step 2
Figure 6a: Cool blowing
over 23°C ambient
Figure 8: countdown on
the LED, 10-0 seconds
Fig 7c: Step 3
HS5810_instructions 19/4/13 08:47 Page 5

Maintenance and cleaning
Note: Always switch the unit off before cleaning or disconnect the unit from
the electrical supply before completing any maintenance.
Emptying the water tank
From time to time you will need to empty the water tank located at the
front/bottom of the machine. Simply grasp the tank by the handle and pull
out. Then empty and replace the tank before further use.
To prevent any potential clogging, pour 200cc (around 1 cup) of water
through the drain hole to flush – see figure 9.
Pull the drain tank out horizontally to ensure water does not spill.
Remove the cover in the direction indicated, and empty – see figure 10.
Wash out the interior with warm soapy water and dry.
Close the water tank cover, and re-fit to the
unit, making sure it is firmly seated.
Cleaning the air filter
Remove the air filter by grasping the handle
firmly and pulling out – see figure 11.
Clean the air filter by beating it lightly by hand
or use a vacuum cleaner. The filter may be
washed in warm soapy water if it is particularly
dirty – ensure it is dry before re-installing.
Re-fit the filter by grasping firmly and inserting it
all the way in until it is seated. If it is not seated
correctly, dirt or dust may enter the unit and
shorten its service life.
General cleaning
It is recommended that all surfaces of the
Heatstore HS5810 Tornado2 Hi-Speed Hand Dryer are cleaned regularly
using a soft cloth and a non-abrasive/non-
caustic cleaning fluid to avoid damaging the
antibacterial coating.
Test procedure
After maintenance, re-connect the electrical
supply and ensure the unit is working correctly.
6
Figure 10
Figure 11
Figure 9
HS5810_instructions 19/4/13 08:47 Page 6

Self diagnostics
Should a malfunction or error occur, the self-
diagnostic indicator light – marked as
SERVICE – on the right-hand side of the
control panel will either light up or flash – see
figure 12.
Turn off the power, wait approximately 40
seconds until all the indicators go off, then turn the power back on.
If the indicator still lights up or flashes, turn off the unit, disconnect the unit
from the power, and contact Heatstore Technical.
Troubleshooting
There are some basic actions you can take should your hand dryer
malfunction.
7
PROBLEM CHECK ACTION
No air blows even if hands are inserted • Do the display indicators lights up? • Turn the ground-fault circuit breaker on.
• Is the power switched on? • Turn the power switch on.
• Are you inserting your hands correctly? • Put hands all the way in – SEE FIGURE 7, PAGE 5.
The unit does not stop blowing • Is the sensor blocked or dirty? • Turn the power switch off, and then, after all the
AUTO CUT-OUT AFTER 20 SECONDS lamps in the display have gone off, remove the dust
matter.
No hot air comes out • Check the switch settings are correct • Turn the power switch off, check all the indicators in
the display area have gone off (after approx. 40
seconds), then turn on the power switch again.
Figure 12
If the above actions do not work, turn off the power and the RCCB circuit
breaker, and call Heatstore Technical.
HS5810_instructions 19/4/13 08:47 Page 7

Telephone: 0117 923 5375 Fax: 0117 923 5374
Victoria Road, Avonmouth, Bristol BS11 9DB
www.heatstore.co.uk
ISSUE 1: 0413
Waste electrical products should not be disposed of with household waste. Please recycle
where facilities exist. Check with your local authority or retailer for recycling advice.
SPECIFICATION Heatstore Tornado 2 HS5810
Electrical: Cool: 800W or hot:1900W; 230/240V; 50Hz;
Air Speed: 95m/s ±5%;
Drying Time: 5-10 seconds;
Dimensions/Weight: 687(h) x 300(w) x 220 mm; 11kG
Sound level: 75dB
IP
X4
HS5810_instructions 19/4/13 08:47 Page 1
Table of contents
Other Heatstore Dryer manuals
Popular Dryer manuals by other brands

Whirlpool
Whirlpool GEW9250PT Use and care guide

Beko
Beko DA8112RX0W user manual

Siemens
Siemens WT46W491GB Assembly, installation and operation instructions

Electrolux
Electrolux T5350 Service manual

Bosch
Bosch WTG8640SGC Installation and operating instructions

Frigidaire
Frigidaire GCET1031FS4 owner's guide